Selling Your Rig in Ushuaia

Planning on Selling Your Rig at the End of the World?

We had done a great deal of research into this and still found ourselves surprised when we tried to execute the steps. The process seemed pretty simple:

  • Sign the title over
  • Go to a notary and get a power of attorney
  • Go to Aduanas to cancel and reissue import papers.

We visited three of the four notaries in Ushuaia and were told the same thing at all of them. Apparently they cannot issue a poder if the title hasn’t been officially translated into spanish. This, we were told, could only be done in Buenos Aires.

So, we did the best we could with what we had available:

  • First, we downloaded a standard bill of sale for used vehicles in both spanish and english and printed them out. We then signed and exchanged a version of each with each other.
  • I signed the title over to him and made a copy of it for my records.
  • I photoshopped my Colorado registration for the vehicle and replaced his name with mine. We never used our title at borders, only our registration paper. And although this registration would be a fake, there didn’t seem to be a more effective, better option.
  • Finally, we took our papers to the Aduanas office where a woman canceled my import permit in her computer but told him he could get his new import paper only at the border. We inquired as to whether it was okay to drive without import papers to the border to which she responded that he needed to carry the bill of sale, title, and my (supposedly) canceled import paper with him.

Apparently this all turned out fine at the border. He exited without issue and had no problem with the registration when importing into Chile. Unfortunately, there will be no updates as to how things progress in the future or at other borders as the buyers promptly rolled the van on a dirt road near Porvenir, completely wrecking it.

Loading

Read More

Chile

If you’ve been following our climbing posts we didn’t want you to think there wasn’t anything good in the Northern and Central parts of Chile. Unfortunately because we were having mechanical issues with our van that forced us to high tail it to Mendoza we were unable to stop at many spots that we would have otherwise not missed.

One place was about an hour south of San Pedro de Atacama called Toconao (Quebrada de Jerez). Definitely bring supplies to camp and climb in the morning or evening when it’s cooler. There is also a ton of climbing around the Santiago area, too much to list here having not been there ourselves.

Hopefully when we get further south we’ll dip back into Chile and update this page accordingly.

Loading

Read More

Argentina

Mendoza

Escaladas en Mendoza has fairly good info for most areas in both English and Spanish. You can purchase it at any climbing store in Mendoza.

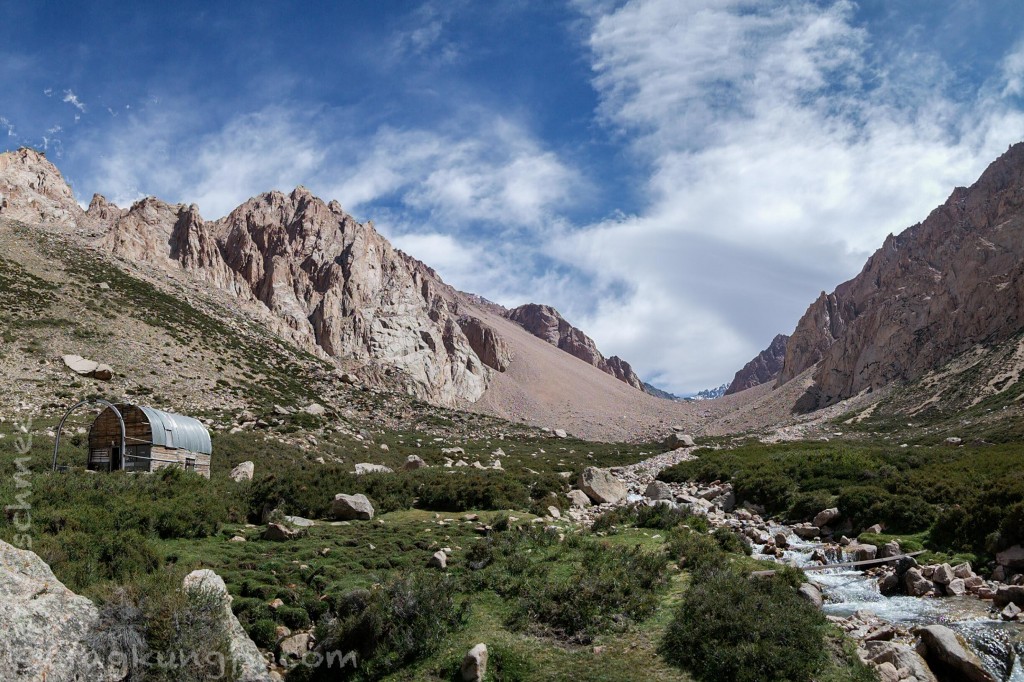
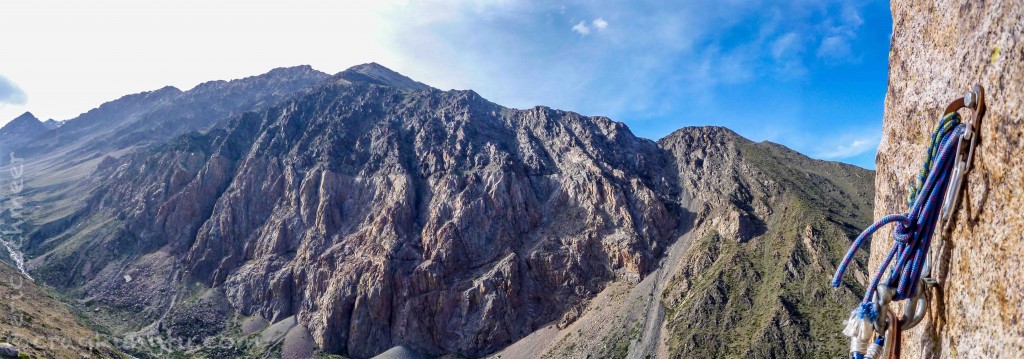
Arenales – Arenales is awesome and not to be missed. It’s about a 2.5 hour drive South of Mendoza. You can park before customs and climb multipitch trad with a short approach, park at customs and climb tons of trad or sport, or continue up the valley for legit alpine. Don’t forget your passport! If heading up valley, the camping at the refugio is excellent. It’s only a 10-15 minute walk from the car, so you can shuttle supplies in pretty easily without breaking your back. The refugio is great for cooking and hanging out in. You can sleep upstairs on very old mattresses/floor or bring a tent and pitch it in one of numerous good, flat spots around the area. They say the water is fine to drink without treatment, but given the amount of cow shit around I opted to use my filter. The approaches for the alpine routes are harder and longer than they look. There aren’t really any trails going up the scree and it’s as steep as anything you’ve hiked. For a big day, try Mejor No Hablar de Ciertas Cosas (Better Not to Speak of Certain Things), 500m / 6b (1,640 ft / 10c), ~16 pitches, it is everything you would expect from a big alpine route. You will definitely need two ropes for Arenales.

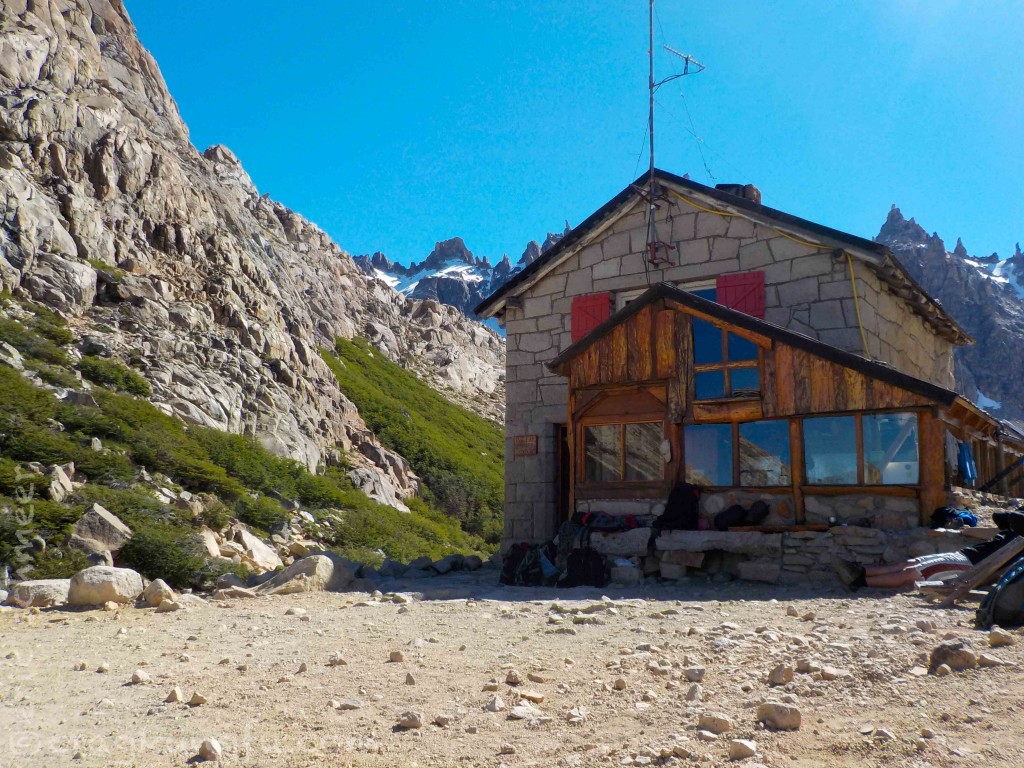
The Refugio with Cohete on the left
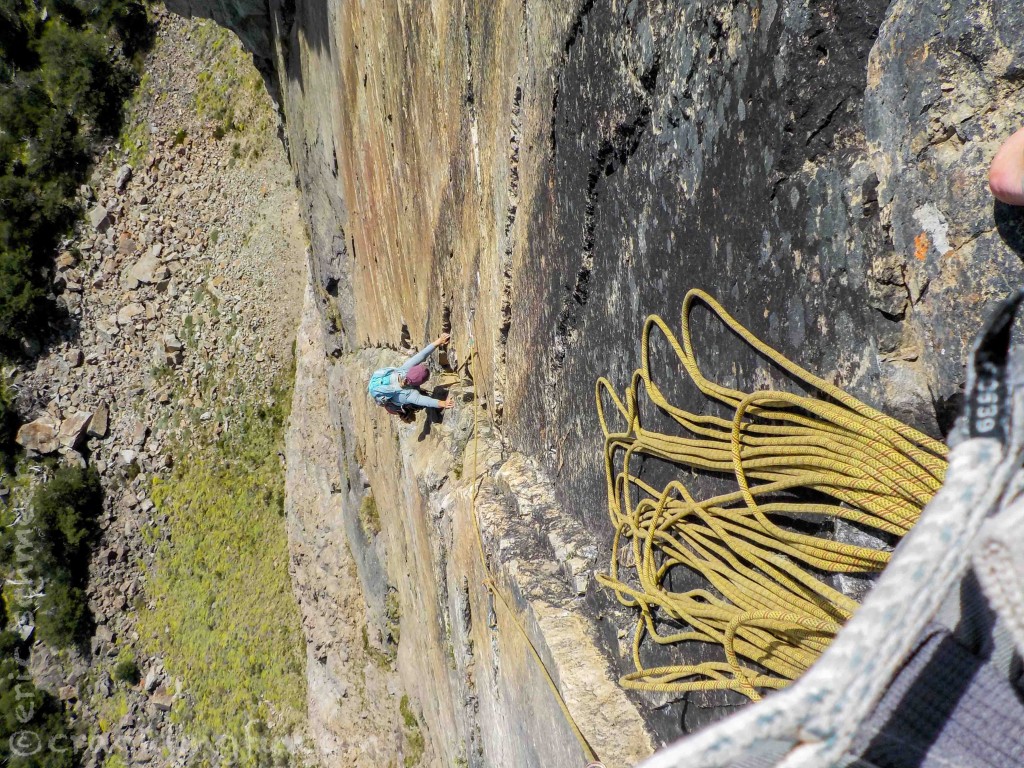
View from a belay on Mitria

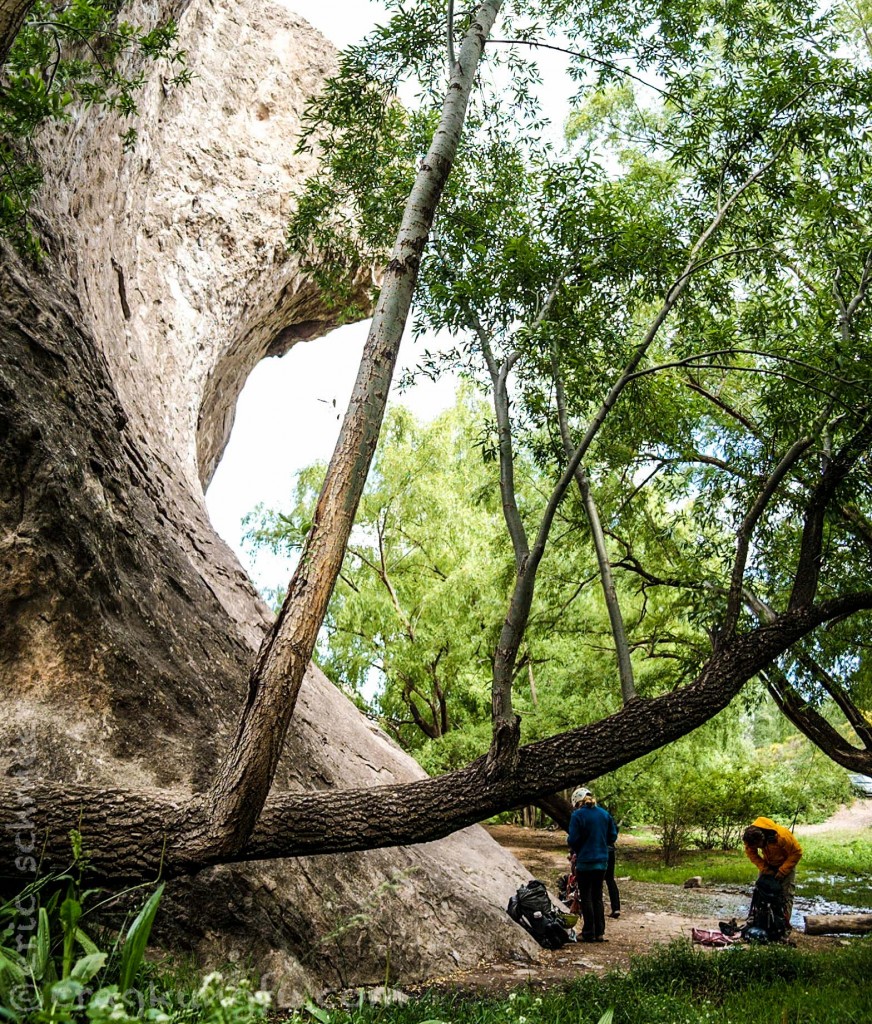
El Salto – Up highway 7 towards Chile. It’s about an hour drive from Mendoza, just outside of Portrerillos. Fun sport, good place to burn a day. The left side is all fun, easy 10s, all the routes in the wave are 12 and up.

SAM_1734

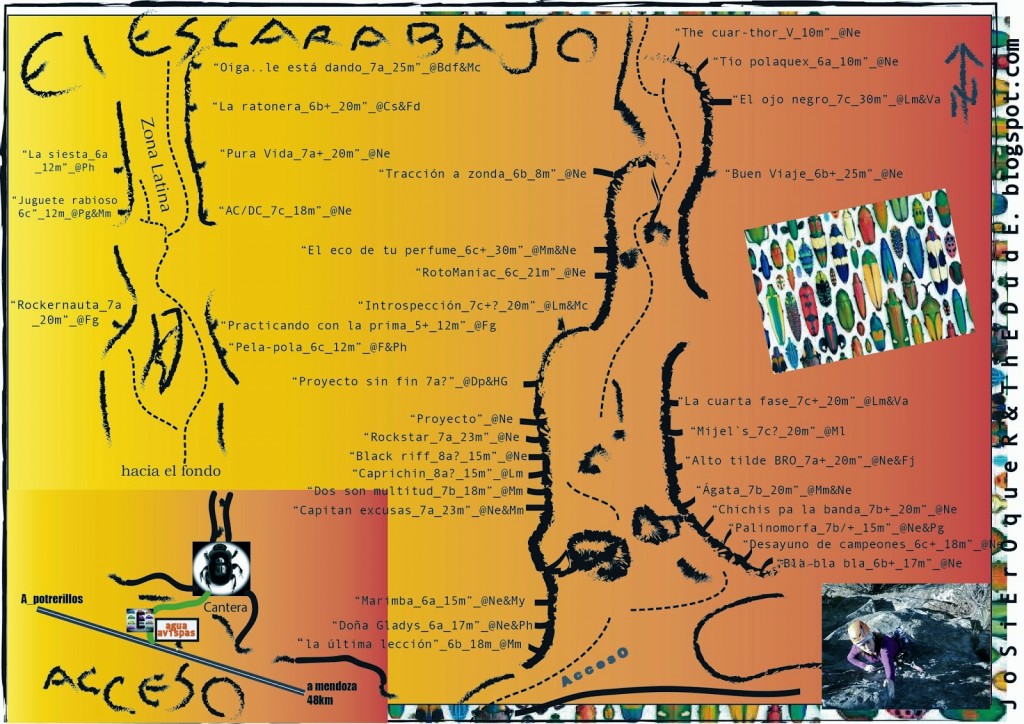
Portrerillos Area – On highway 7 before get to Portrerillos are two canyons with sport routes in them. There is also a area near the river in Portrerillos. These spots aren’t well documented in the Mendoza guide, the best info I found on it was here: http://josieroquerandthedude.blogspot.com.ar/2013/02/topoe-s-c-r-b-j-omzaarg.html

escarabajo_topo maestro_2013_actual

Barriloche

The Frey – Well, if you’re a climber and you’ve made it this far, the Frey doesn’t really need an introduction. Endless, perfect, splitter alpine spires just out of town. Spectacular setting, even better rock. Amazing!!! There’s tons of other stuff to climb around Barriloche but we pressed on to be sure we’d be in Ushuaia in time to meet our buyers.

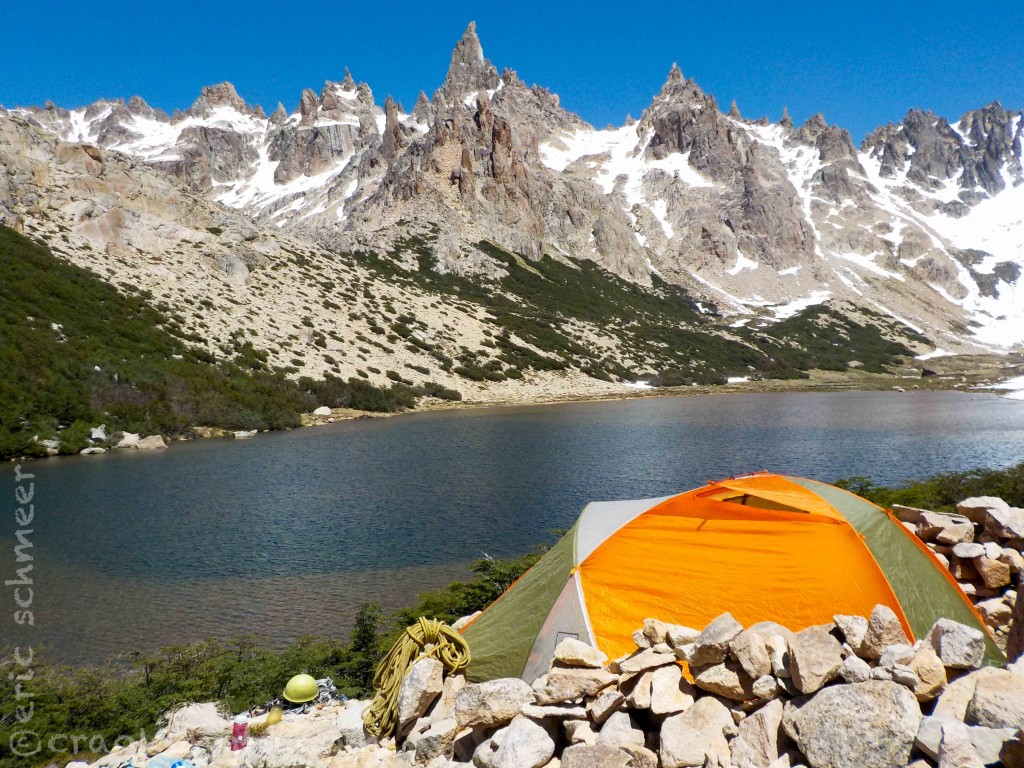
Sweet digs!
Sweet digs!
The refugio
The refugio

El Chalten

If you see a cliff or some rock somewhere, it’s probably developed. If the weather isn’t good or you’re not climbing one of the infamous, giant alpine routes, there is infinite sport opportunity everywhere you look. We saw lots of people bouldering as well. Also, if you’re going to sell gear on your trip, this is THE place to do it – just stop by Porter’s and start chatting up the locals.

DSCN1323
Unknown route. Across the river just at the end of town.


Loading

Read More

Patagonia

This page will include info for both southern Chile and Argentina. Click here for information on northern Chile and here for information on northern Argentina.

Border 1: Paso Dorotea

Argentina side – Rio Turbio

  • Pull up to unmarked green building. Stamp out at migracion. They will look at car permit and take your tourist card.
  • At Aduana hand over permit.

Chile Side

  • At migracion stamp in, give registration or title for them to look over, fill out tourist card, and get paper that they will stamp.
  • Adauna next. If you are already in their system like we were, they will look at the registration but will already have info in the computer and print out a new permit.
  • Go to SAG for declaration. Remember to put yes if you have any milk, meat, fruit, vegetables, or eggs. If you don’t do this they can fine you if they find these items in your car. Give them the ticket with stamps.

Border 2: San Sebastion

Chile Side
  • Park after the hosteria. Migracion first to stamp out, show permit to them and give over tourist cards.
  • Adauna next, hand over permit.
Argentina side (a few kilometers down the road)
  • Migracion: need reciprocity paper if from US. Stamp in, no need for tourist card here.
  • Aduana: give driver passport and registration. They issue a new permit.
  • Quick search of car for fruits and vegetables by personnel.

Our Route – Mainland (Esquel to Punta Arenas)

Our Route – Tierra del Fuego (Porvenir to Ushuaia)

Patagonia Tips

  • Not only is it a long way between gas stations, but some of them don’t have gas all the time, and others might limit how much fuel they will give you. Never pass up a chance to get gas!
  • Most of Route 40 in Argentinas side of Patagonia is paved now. We had a very current paper map and of the several hundreds and hundreds of kilometers of dirt it showed, only 100-200 of it was dirt and it was nearly finished being paved as well.
  • A tailwind will make you feel like you don’t need gas at all! A headwind will have you wondering if you’ll even make it to the next gas station!
  • Gas on the Argentinian side of Patagonia is way cheaper then the rest of Argentina or Chile.
  • There is a quicker and more laid back border just north of Rio Turbio if you’re heading from Calafate to Torres del Paine (or vice versa) but the be advised there is no ATM and often no gas. For us this meant driving to Puerto Natales regardless of which border we took simply to get Chilean pesos for Torres del Paine.
  • The fairy from Punta Arenas runs twice a day. It was approximately $40 US for two people and our van. Might be a good idea to make a reservation the day before in the busy season. We heard the other ferry on the 257 further north is cheaper and runs all day.

Loading

Read More

Argentina

This page will include everything north of Patagonia in Argentina. For the Patagonian region, click here.

Border 1: Cristo Redentor de los Andes

Chilean Side

  • The border and buildings before the tunnel are for people coming into Chile. Simply drive by the booth where you will be stopped and given a ticket with how many people are in your vehicle written on it.

Argentinian Side

Just after the view point for Aconconagua take a left into the obvious immigration/customs area. Buses and very tall vehicles will be lined up in the right most lane, go around them. You’ll drive into the building in the left lane. Each kiosk you stop at has two people in it, one person from each country in it. It’s very easy and straight forward.

  • Kiosk 1: Stamp out of Chile and into Argentina. You’ll need passport, tourist card from Chile, new tourist card for Argentina (can be filled out in advance if you’re waiting in the line of cars), Chilean vehicle permit, and printed proof of payment for visa/reciprocity fee (purchased in advance if you’re from the US/Canada/Australia), and ticket from Chilean side with number of people in vehicle. They will stamp your ticket and you will need it later in Argentina, don’t lose it. We were not asked to show proof of insurance.
  • Kiosk 2: Turn in your Chilean vehicle permit. Argentinian person will issue you a new one. You’ll need driver passport, title/registration. No copies necessary.
  • Kiosk 3: Searching/Fumigation. They asked us if we had any fruits/vegies. We told them all we had was one onion; they didn’t take it, search us, or do any kind of fumigation. Exit building and get back on the highway.
  • After you pass the Puente de Inca there will be a person at a checkpoint who will check your papers and take your stamped ticket.

Our route

Argentina Tips

  • Take advantage of the unofficial exchange rates in Argentina to nearly double you money! Bring dollars with you and change them on the Blue Market. When we were in Argentina we were getting an average of 13 pesos to 1 USD while the official rate was 8.5. A few key things to remember:
    • Bring the money with you before entering Argentina. While you can get US dollars in Peru, Bolivia, and Chile for instance, you will not be able to in Argentina.
    • Bring unmarked, crispy, new 100 dollar bills for the best rates.
    • Try to find a reputable changer. Ask around, everyone knows where the best place to go is.
    • The more you change at once the better rate you will get. Don’t change too much though, it’s hard to change back when you leave!
    • Look up the current rate before you go to change, it’s constantly fluctuating. Many websites list it. Just google Dollar Blue.
    • Read a quick tutorial on how to spot counterfeit bills. We didn’t have any issues and visited numerous changers, but knowing how to check the bills certainly eases the mind.
  • Eat as much meat as you can! Grocery stores and carnecerias sell incredibly good cuts of meat for insanely good prices. We lived off fillet mignon practically our entire stay! Look up your cuts online. Bife and lomo, for instance, are good bets!
  • Drink lots of wine! It’s great and cheap!
  • Everything really closes down for siesta, especially in the not so touristy places and bigger cities. Be prepared to eat a dinner out quite late in the evening. Things get rolling around 10p!

Loading

Read More