Well, it’s been a little while since I updated the blog. The primary reason being an order-of-operations-based hold up. I have a mechanic that I know and trust. The bay door to his garage is 7′ tall. The van is also 7′ tall. It literally has less than a centimeter to spare and barely makes it in. In order to complete the insulation I figured I better get the wires run first for electrical. Also, the fan/vent would need to be installed before insulating as well. Thing is, the fan adds a few inches to the top of the van, therefore getting it into the mechanics garage for repairs needed to occur first. So there you have it.
A Visit to the Mechanic
Having a trustworthy mechanic made repairs to the vehicle immensely easier than taking it elsewhere. I basically asked him to treat it like it was his van and asked him to repair whatever he thought was necessary to have the van make it about 20,000 miles without issue. In addition to an obvious issue with the brakes I was already aware of, he recommended fixing the outer tire rods, the power steering gearbox, and the rear differential pinion seal. Turned out the rear brakes were so thrashed that the entire assemblies needed replacing including shoes, drums, and wheel cylinders. Add an alignment and an oil change to this and the total damage was just under $1000. This was expected and we gladly had him do the repairs hoping to minimize issues on the road, especially in areas where parts and services might be extremely difficult to come by. The good news is that the engine and transmission seem to be just fine – something we were banking on when we initially purchased a van that while a bit old only had 90k on it. We also finally sold the wheelchair lift we removed from the van for a couple hundred bucks, so that helped offset the cost a bit which was nice.
The Fan Install
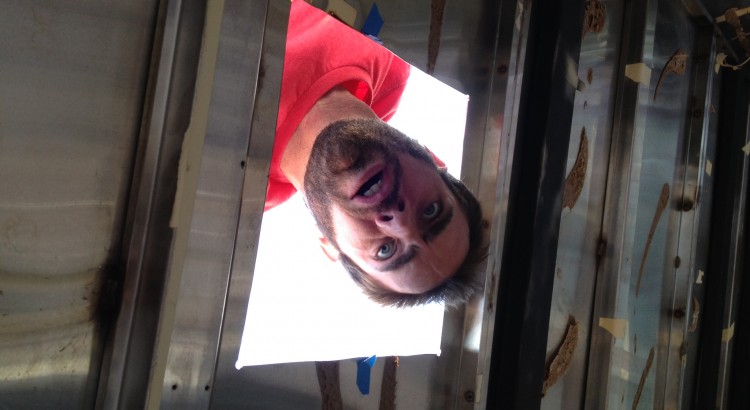
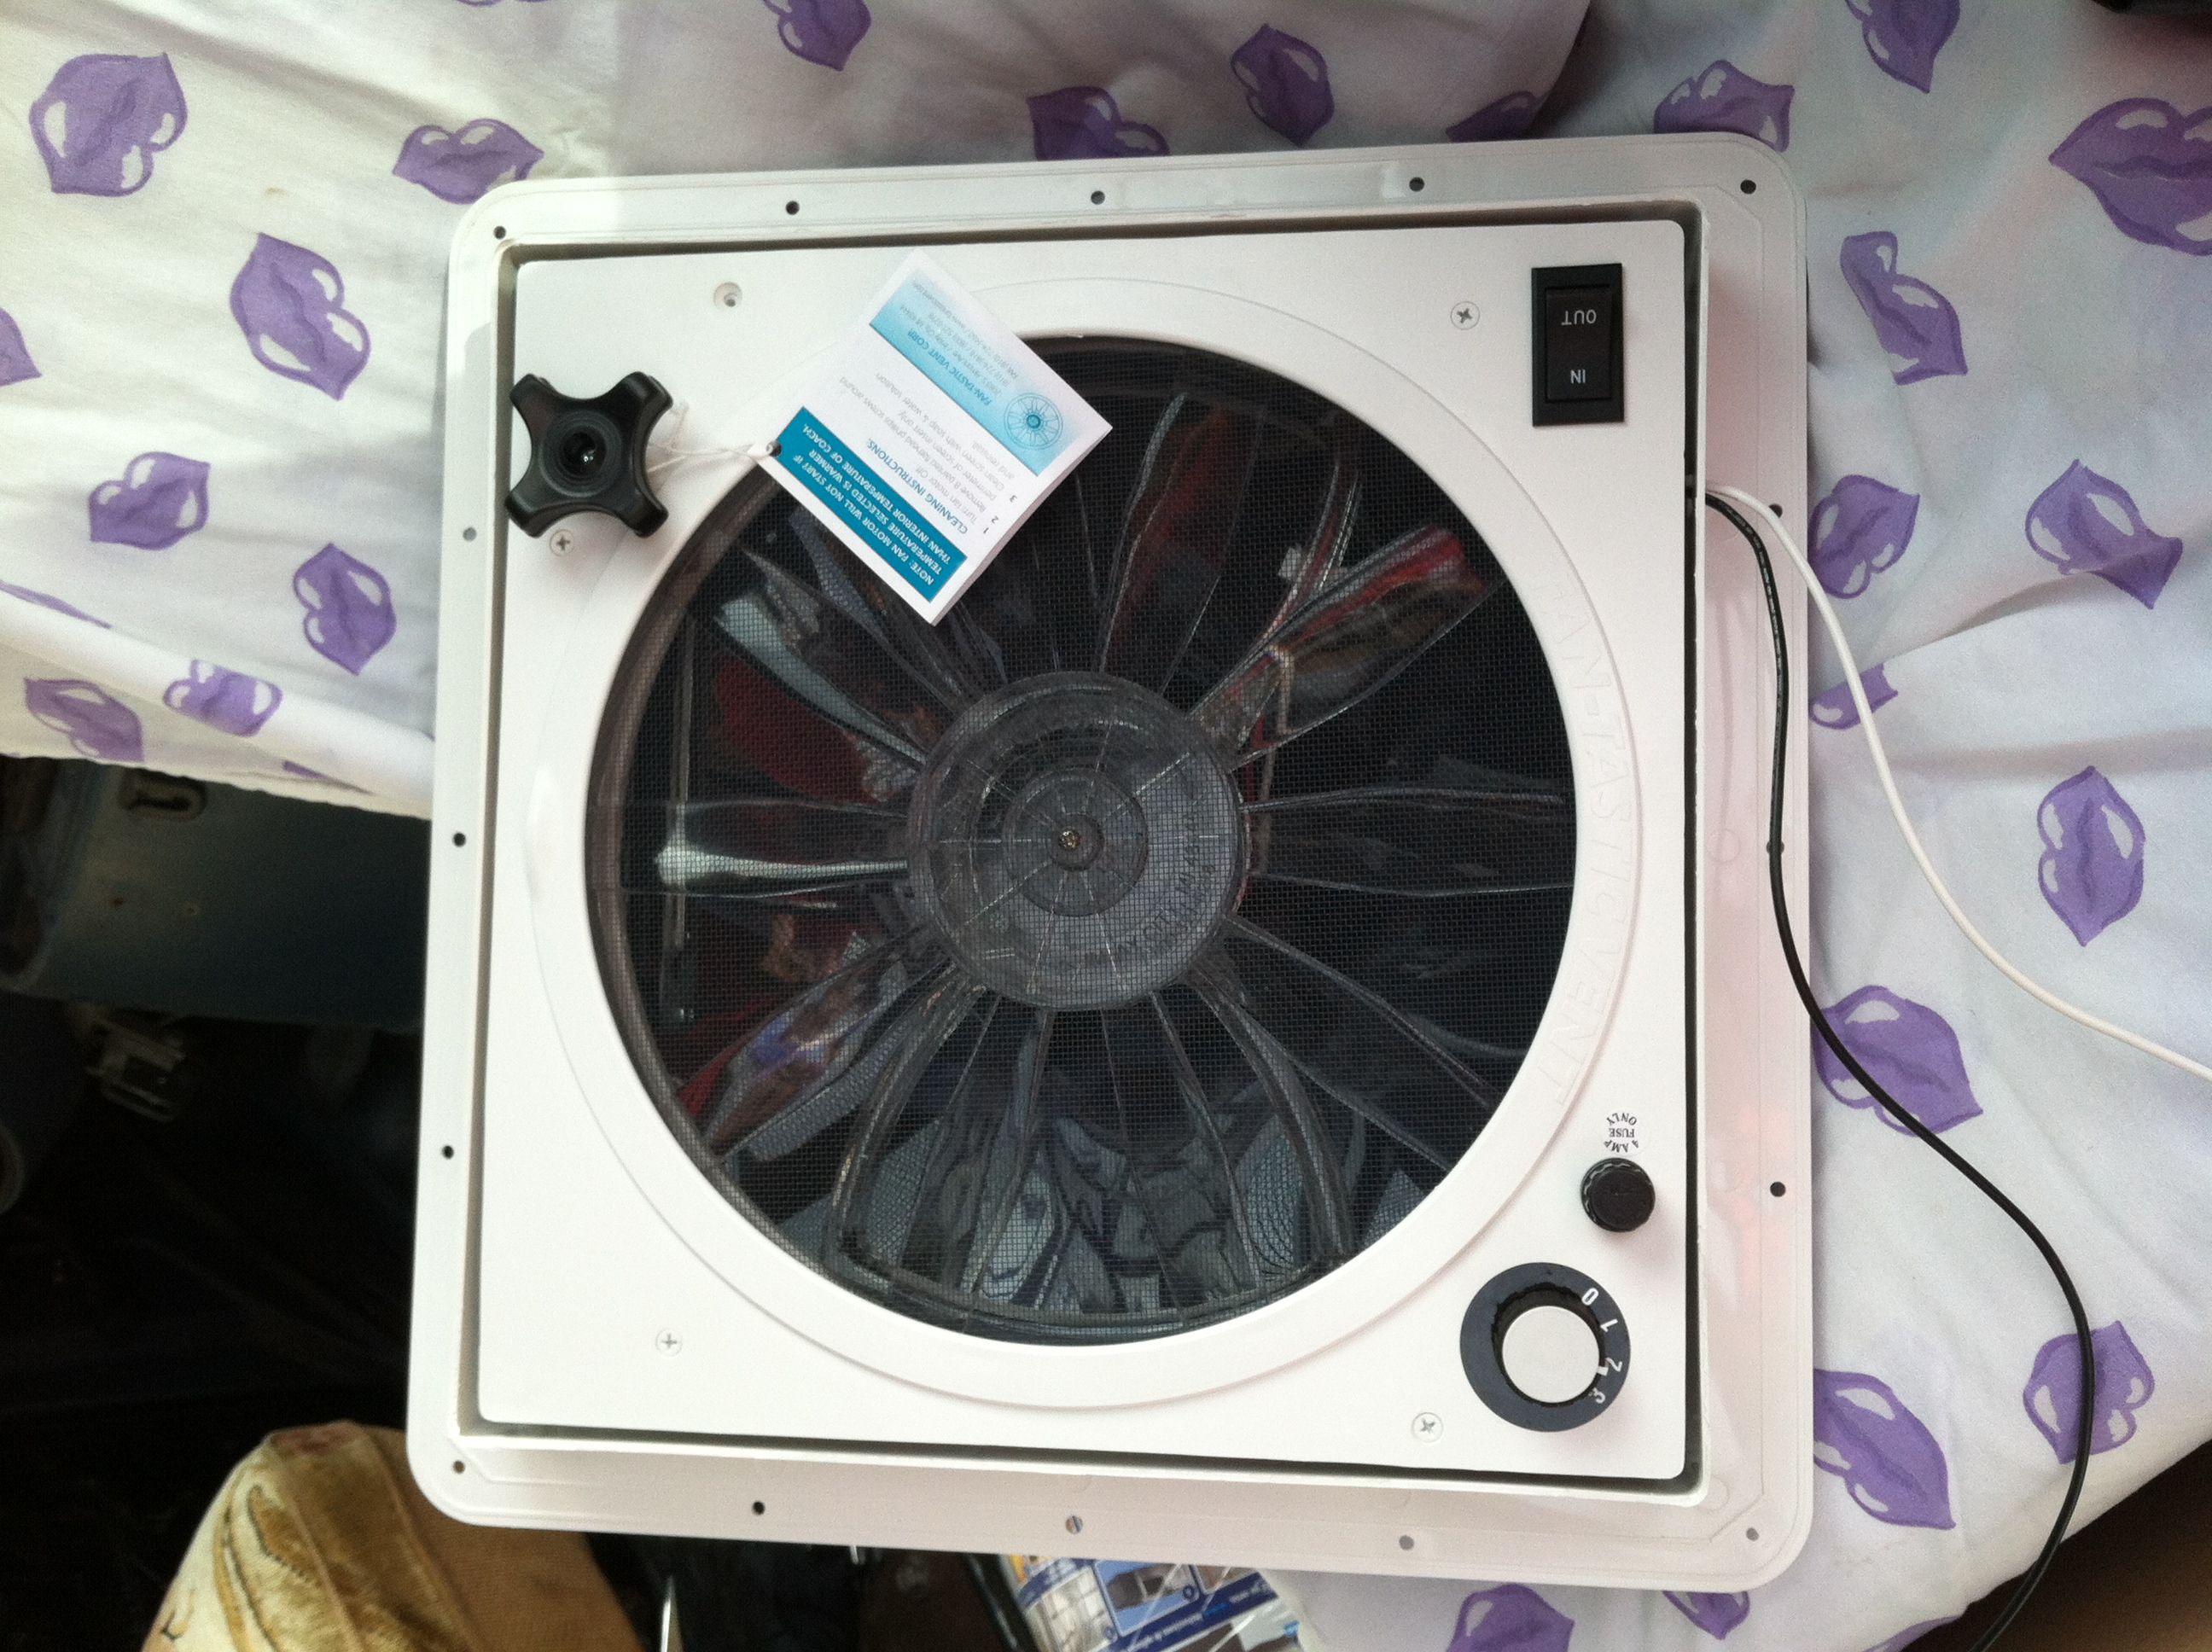
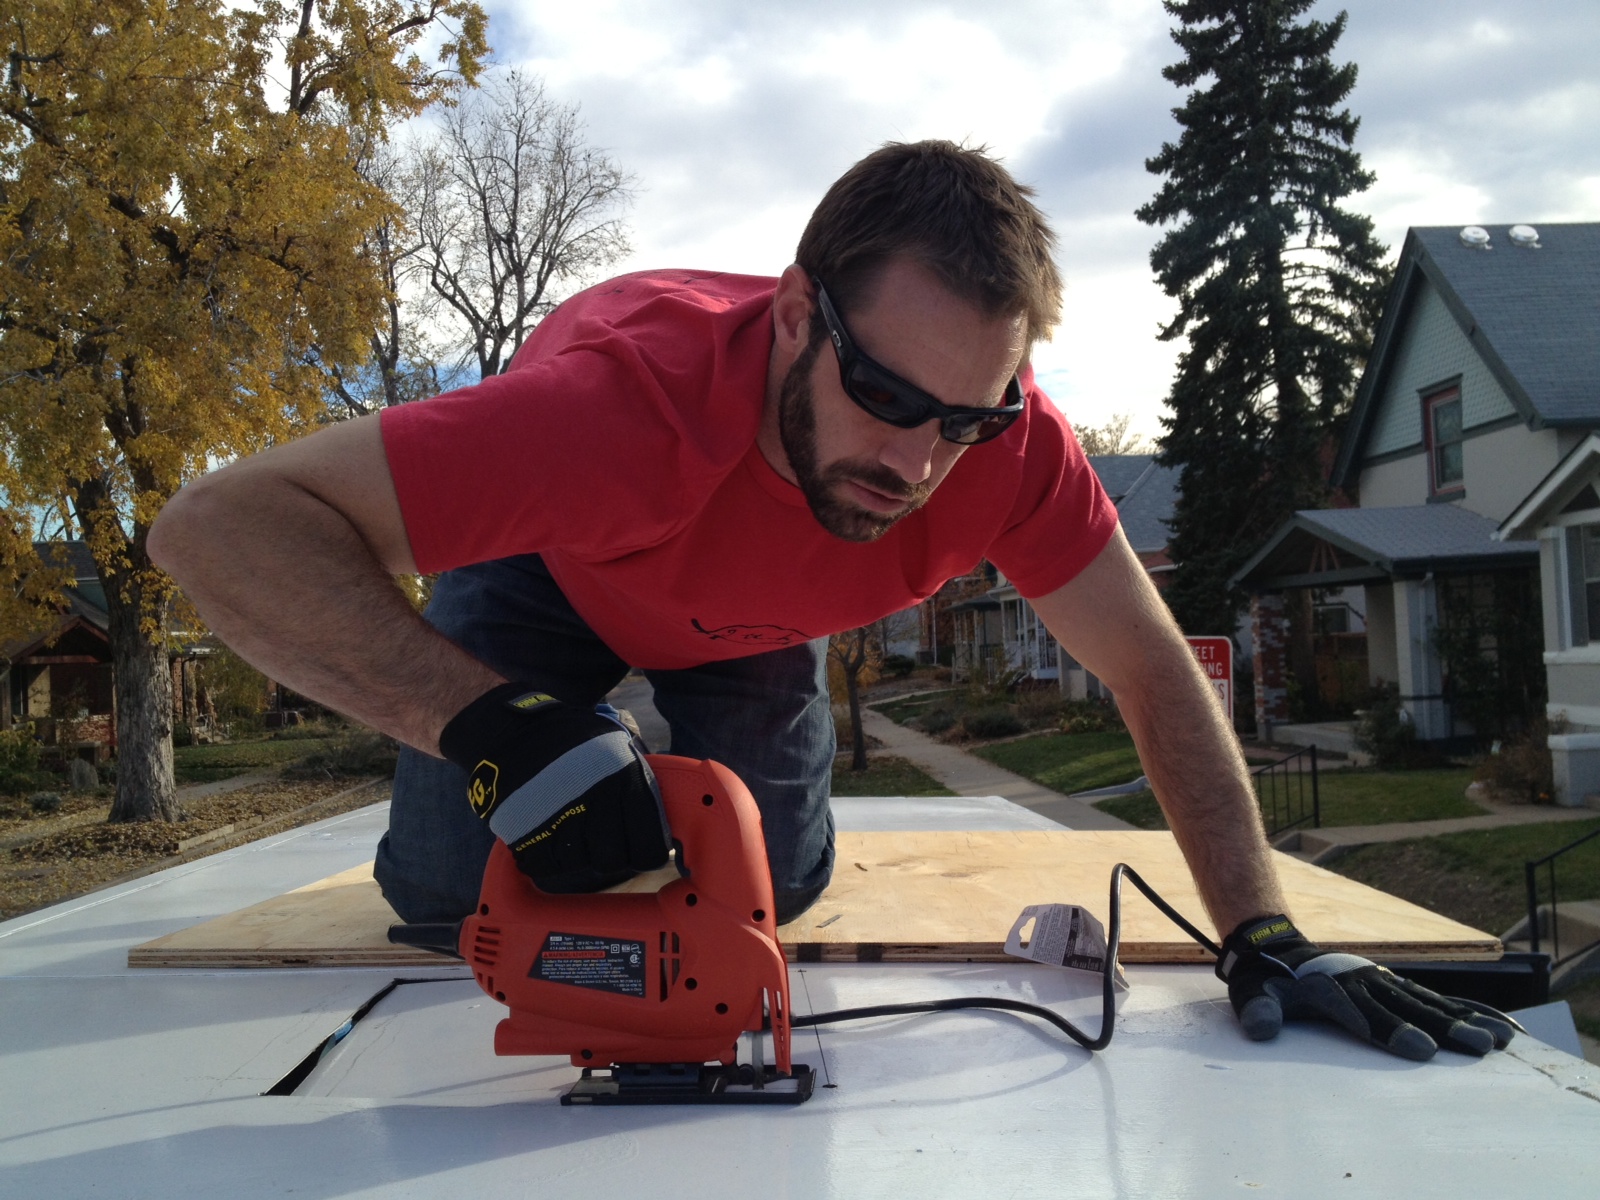
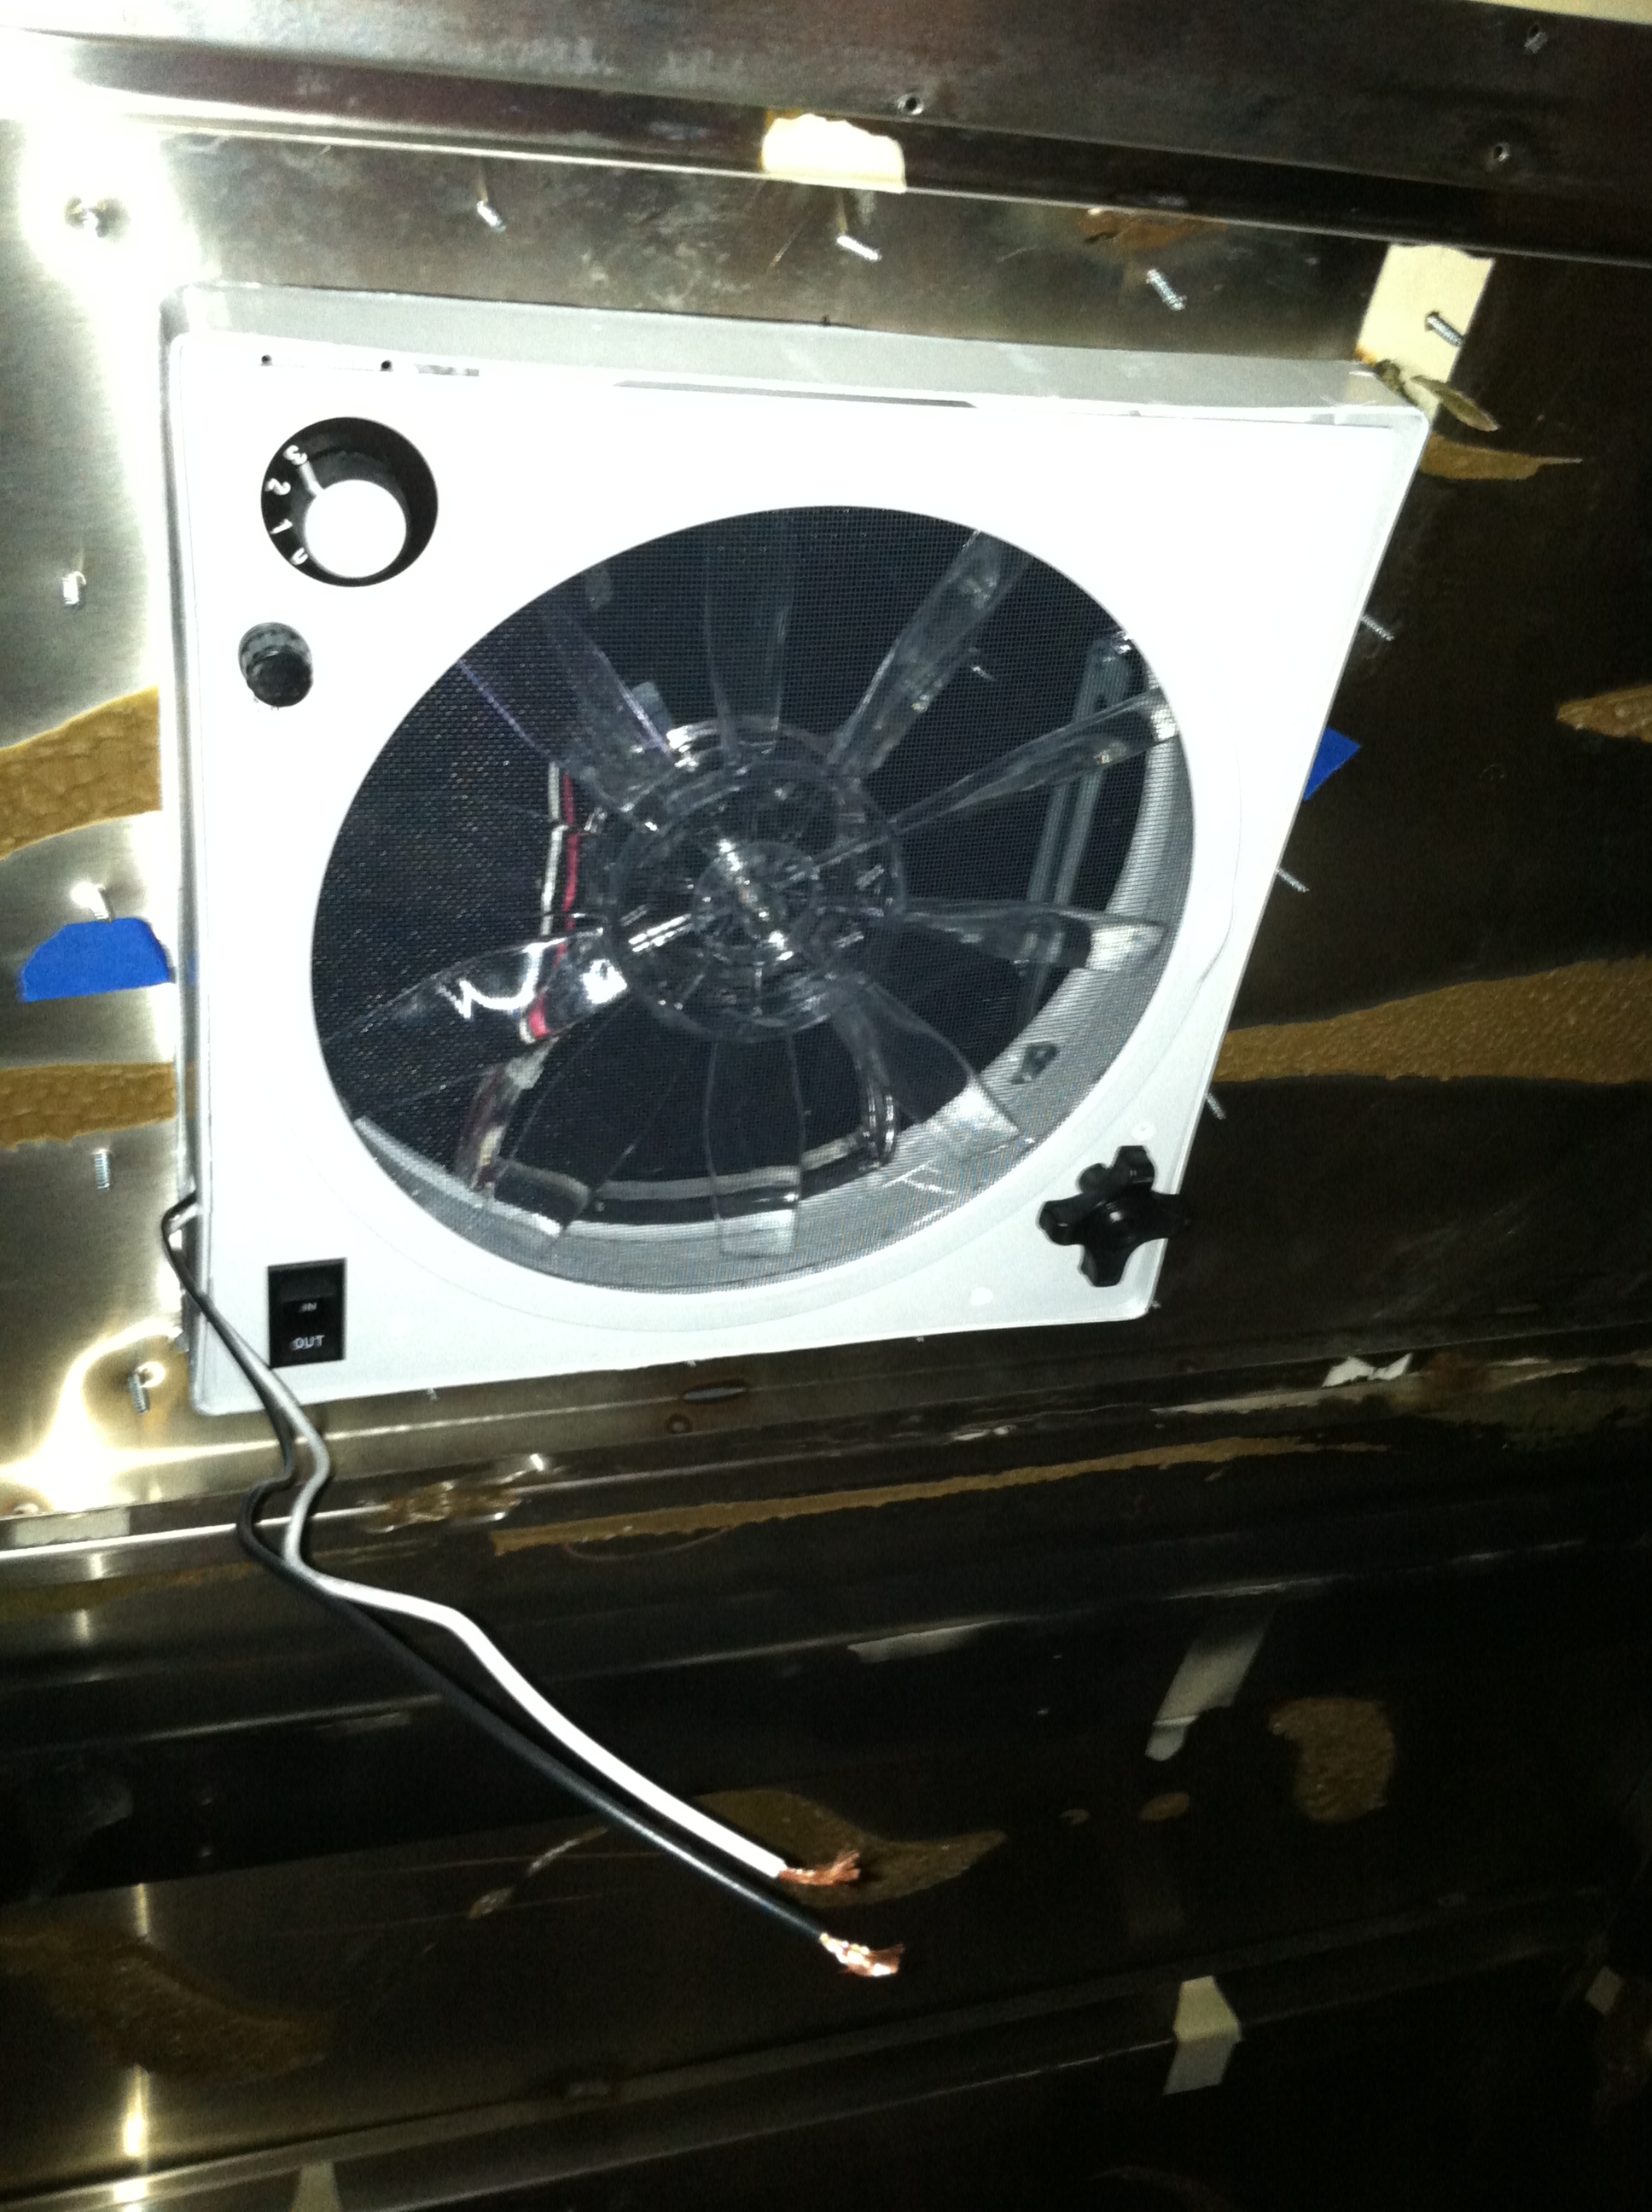
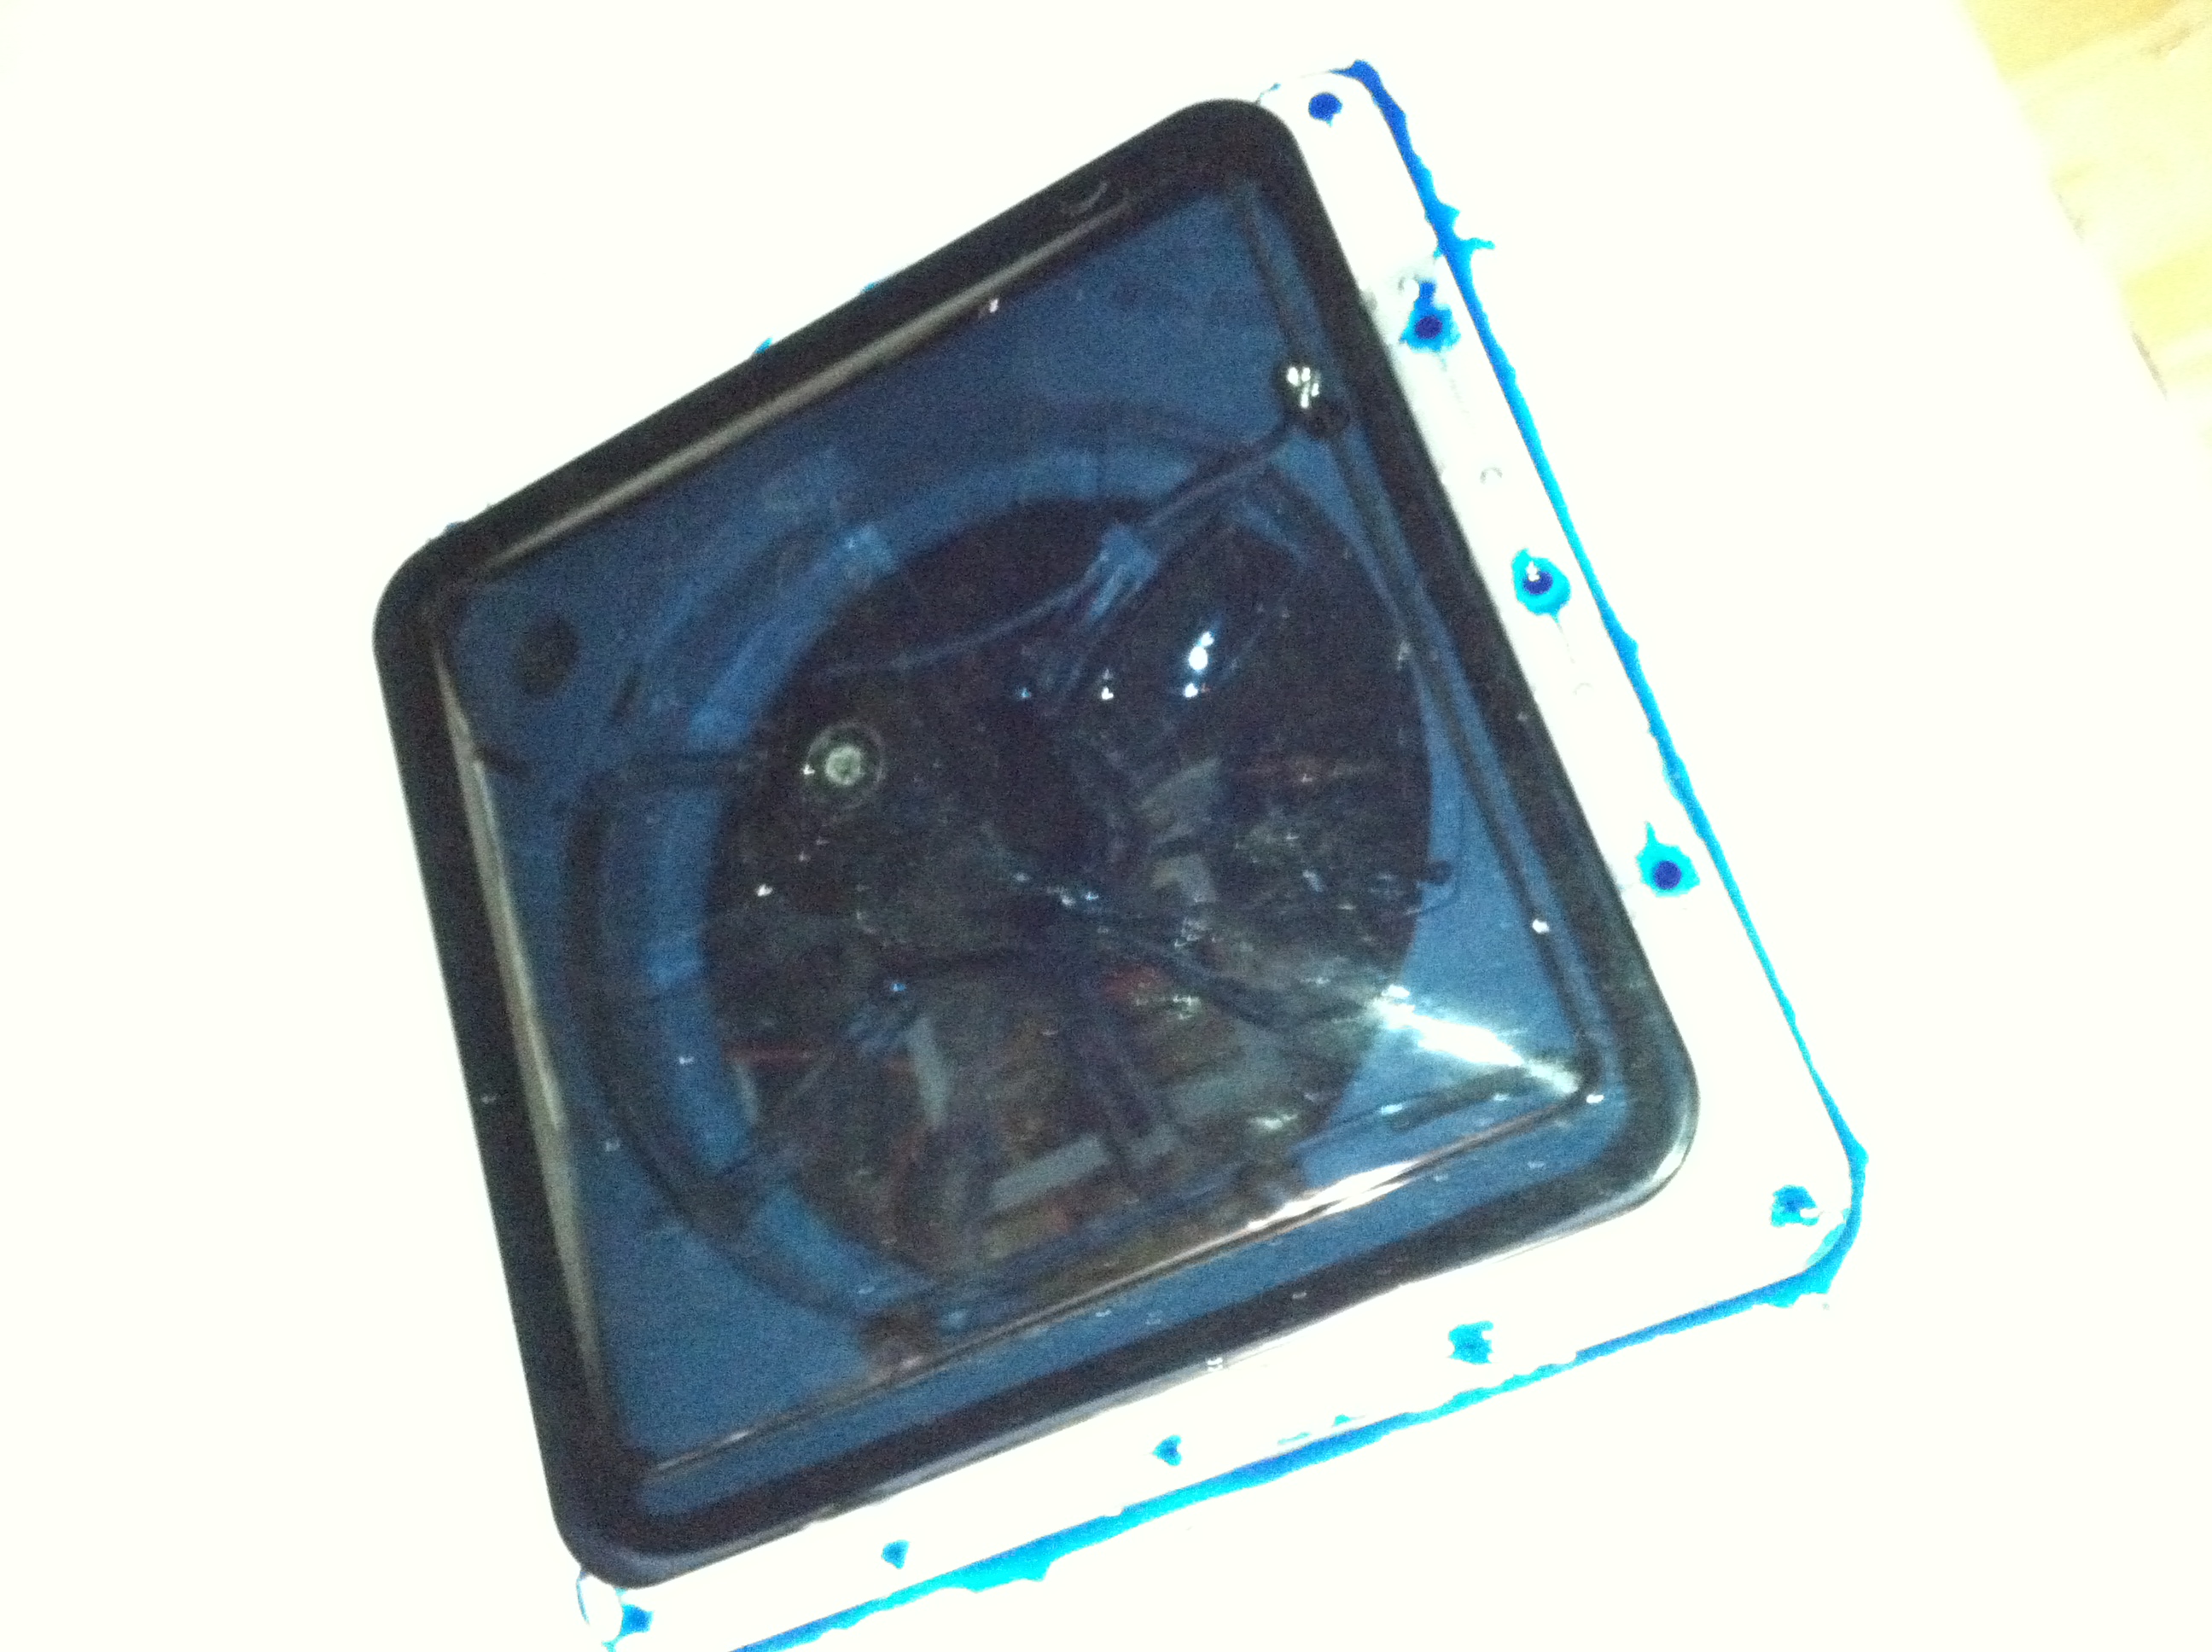
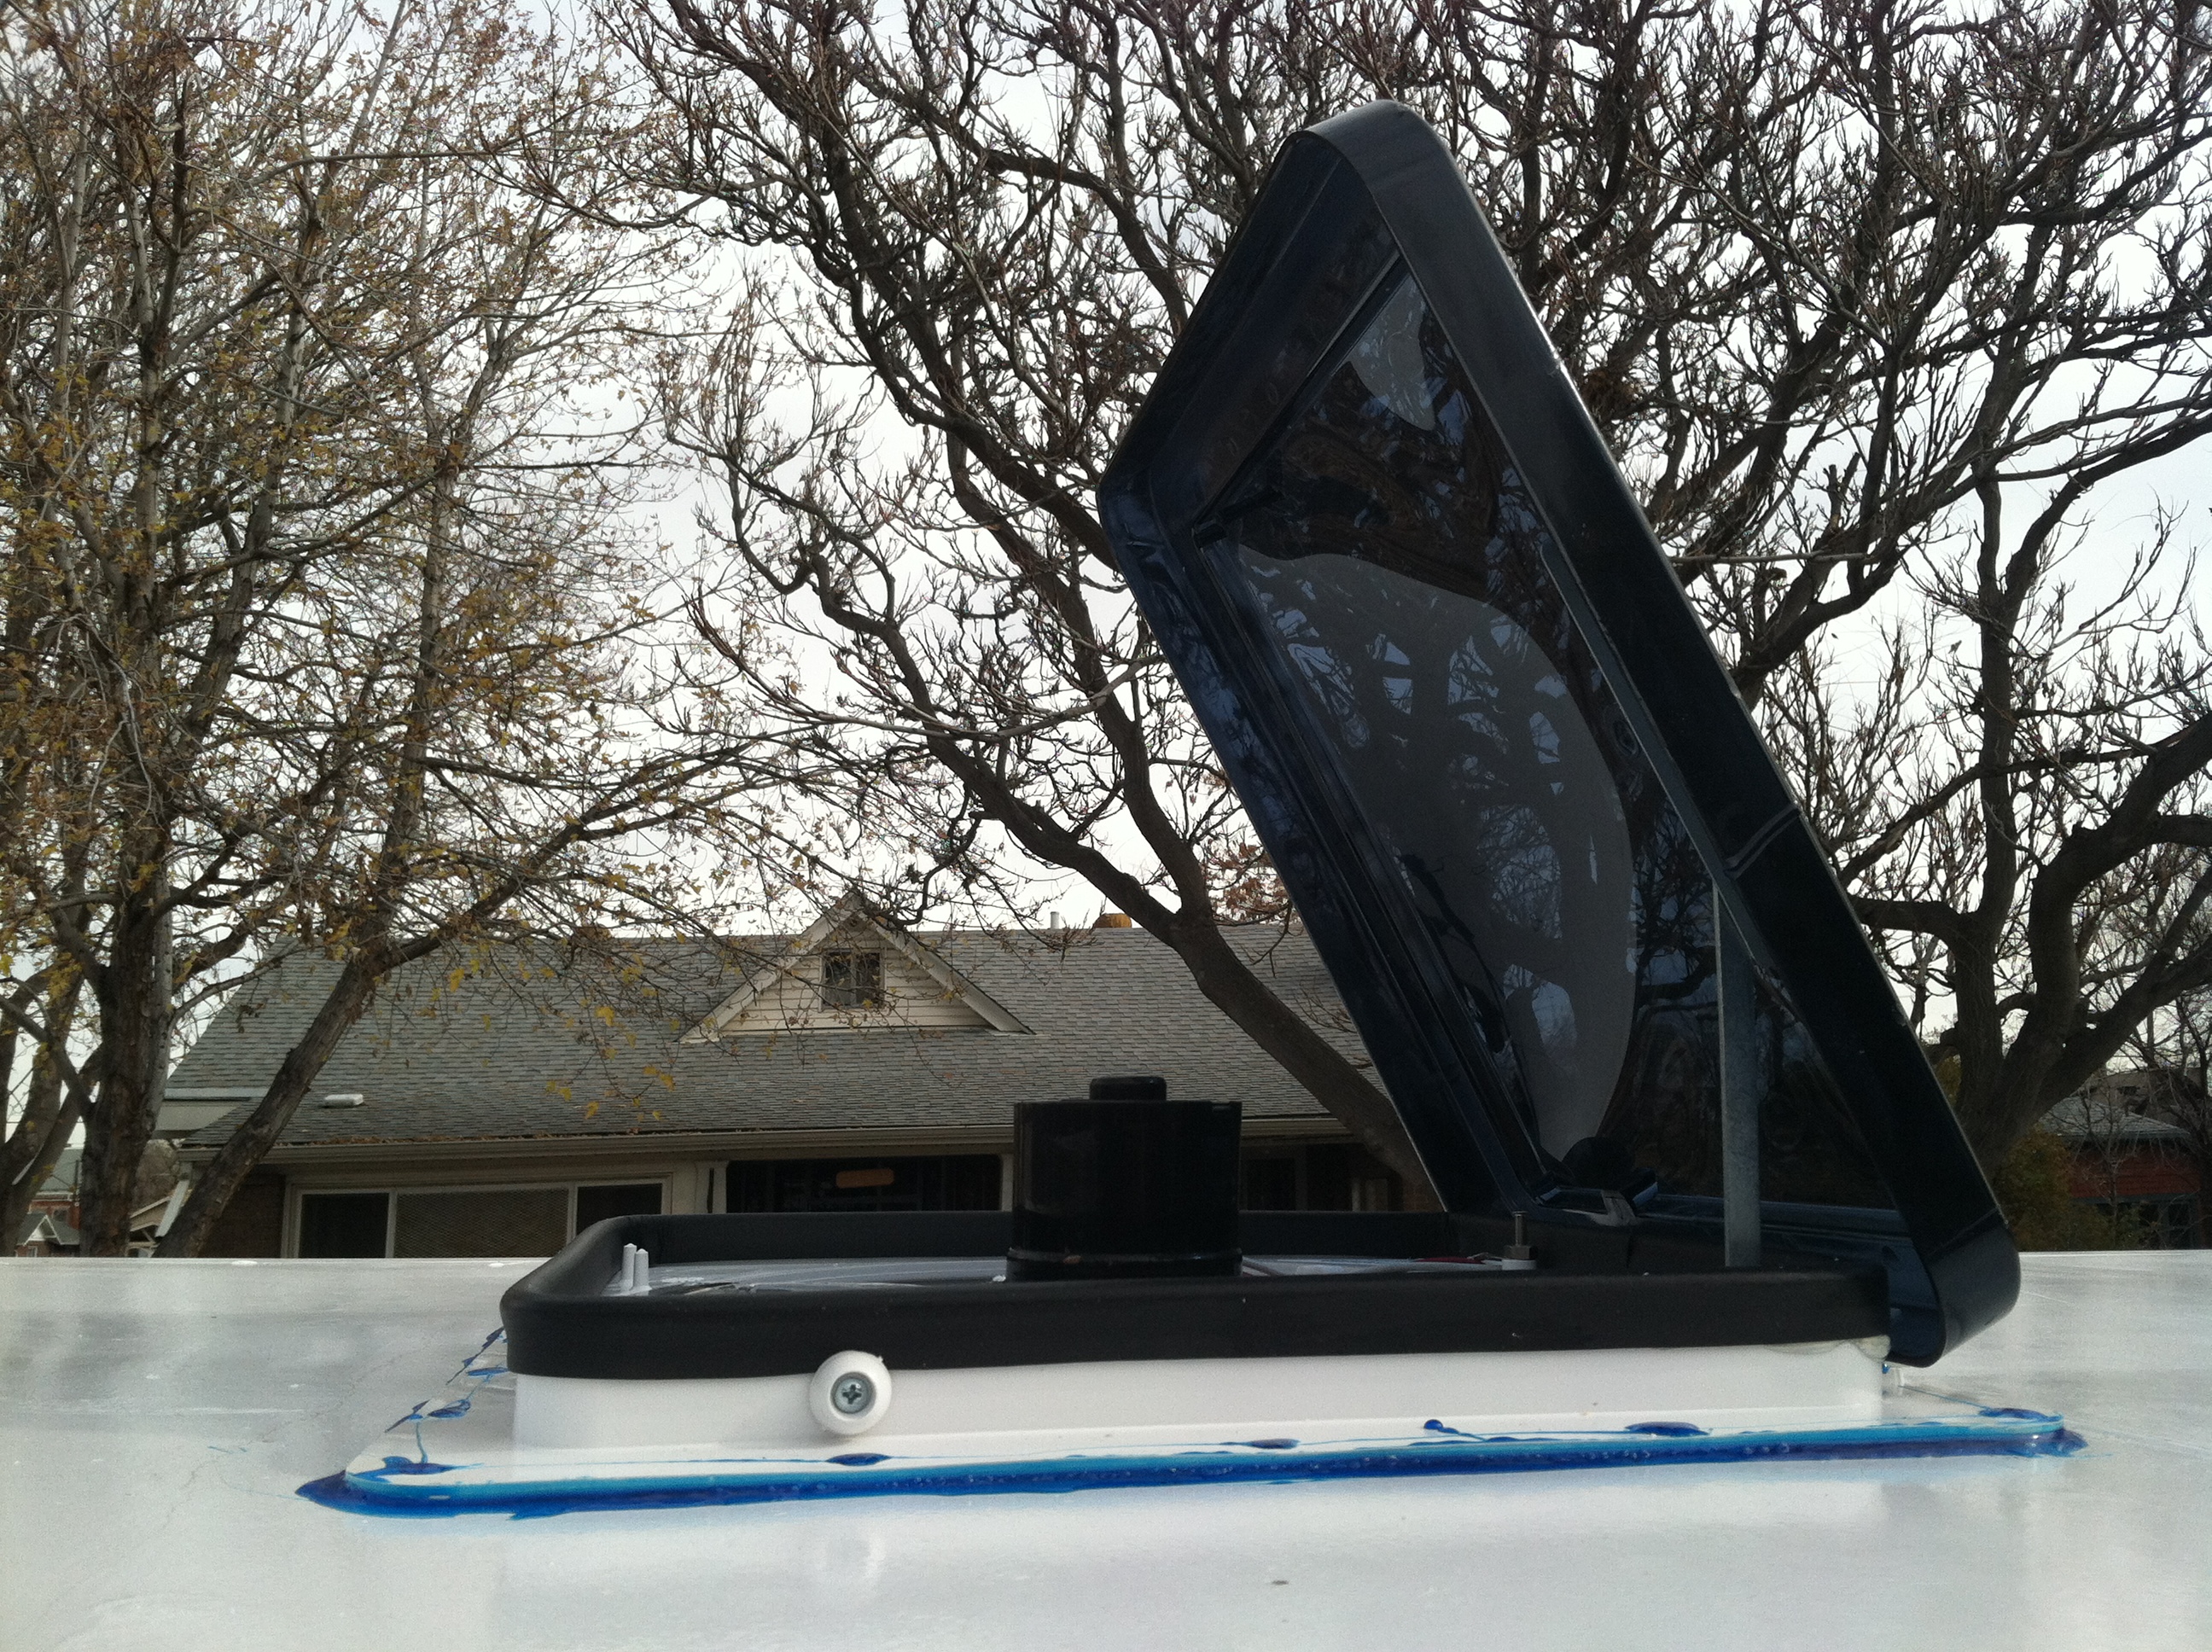
It’s funny to have spent so much time fixing the roof and preventing it from leaking only to cut a giant hole in it a few months later! After reading the forums and recommendations we shelled out the extra cash and bought a higher end Fantastic Fan for a $135. It includes a gasket, quality parts, and a 3-speed, reversible, 12-inch fan blade with a tinted bubble dome to cover it. After determining the ideal placement (near where we’ll sleep and an existing wire to provide it with juice) I measured out the necessary dimensions, drilled a hole at each corner big enough to allow a jig saw blade in to cut the square out. I used a grinder afterwords to fine tune the hole edges till the unit fit snug but not so tight as to prevent the interior housing to fit in place once the insulation goes in. I then mounted the fan on top of the provided gasket, drilled some more holes to allow the screws to bite into the aluminum, and then screwed it down tight. Finally, I used some of the leftover self-leveling, catalyzing seam sealer rather than the recommended silicone to seal the edges and screw holes. It looks pretty sharp and will certainly be extremely functional in the various climates we’ll be in as well as for airing it out when we cook in it.
Electrical and insulation are the upcoming projects. Before we do that though, we’ll put the floor in it and then take it to Indian Creek, UT over the Thanksgiving holiday for what should be an epic climbing trip and the Craggin’ Wagon’s maiden voyage!