The floor was tricky. I had a hard time finding good information on other people’s blogs regarding the best way to tackle it. The easiest thing to do would be to screw plywood directly to the frame. I felt that would not be the best solution as penetrating the steel floor with metal would likely lead to rusting issues. Further, it wouldn’t be as insulated or as sound proof as other ideas. What I finally decided to do was a bit entailed. Thankfully I had a couple buddies helping me and was able to get most of the work done in one day after substantial planning and supply shopping (big thanks to Chip and Chris).
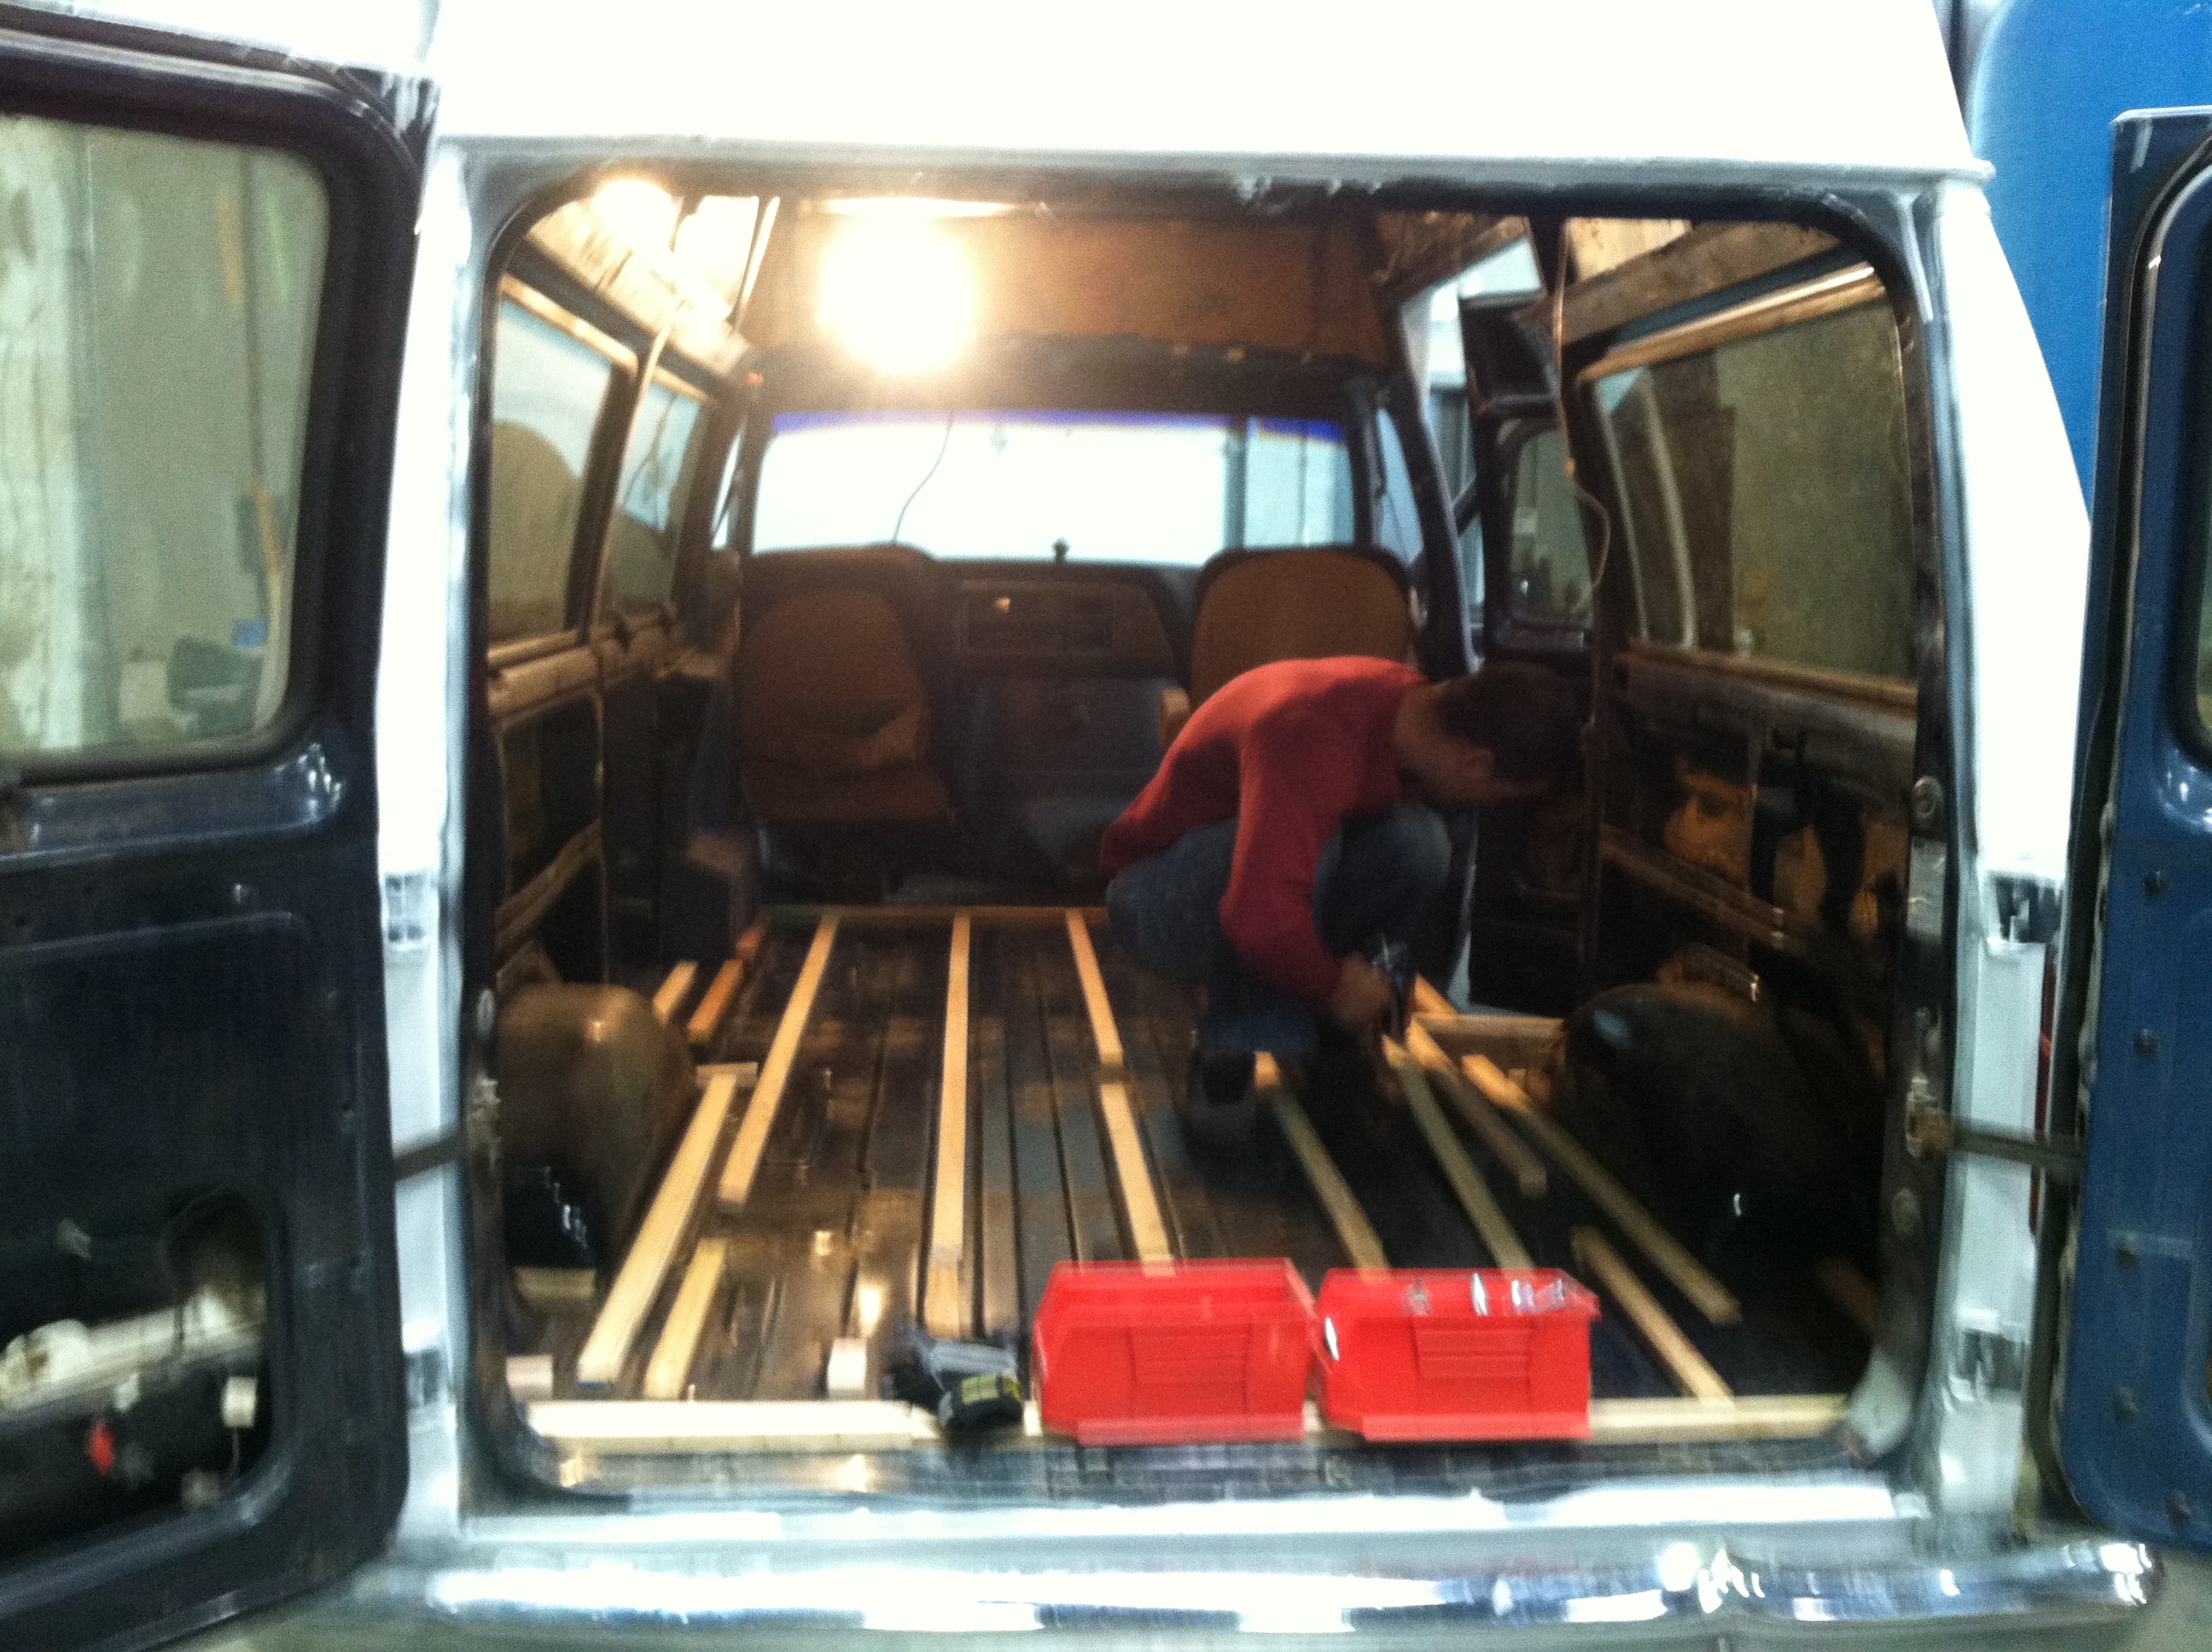
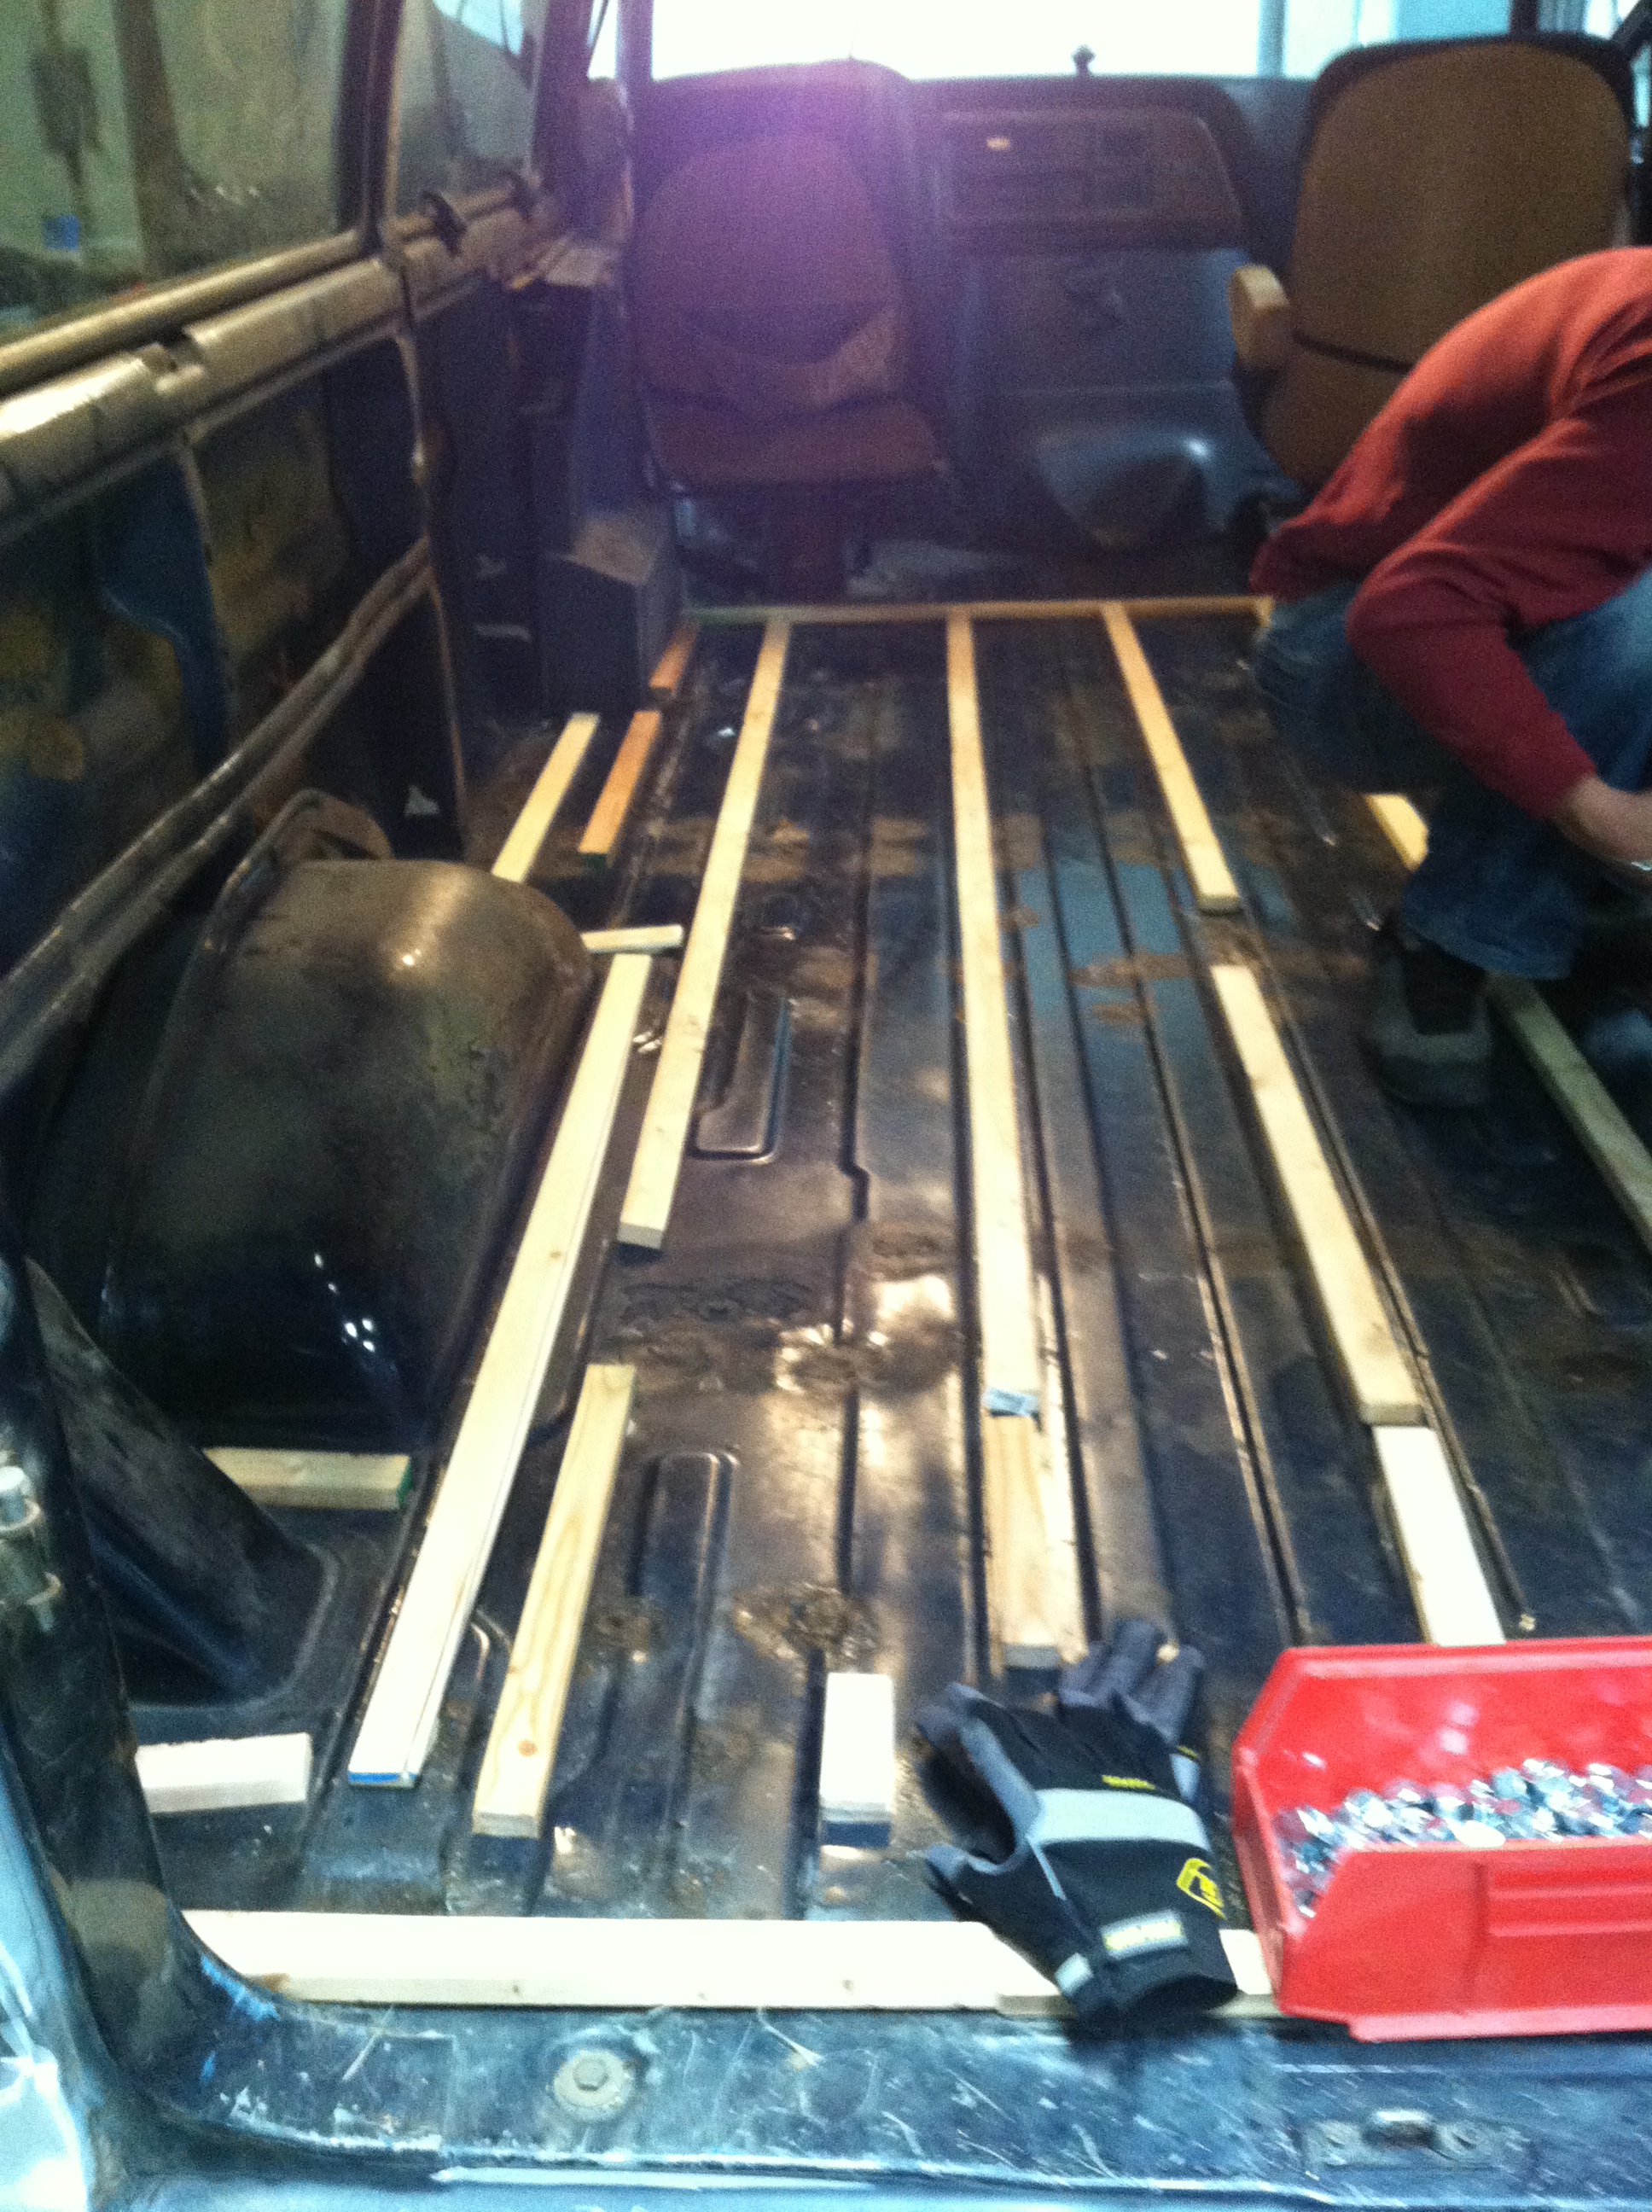
First, the frame
Due to the corrugated nature of the metal floor, I purchased cheap 1X2’s to begin with because they fit nicely in the depressed channels in the metal. I then bought thin strips of wood that I think they use for flooring or something. Two of the thin strips placed on the raised part of the corrugation met evenly with a 1X2″ in the depressed portion. I determined that if I placed a 1X2″ in every other channel that the plywood wouldn’t flex too much. I added the thinner pieces where necessary and basically built a skeleton for the floor. The pieces were then glued to the bare metal with liquid nails.
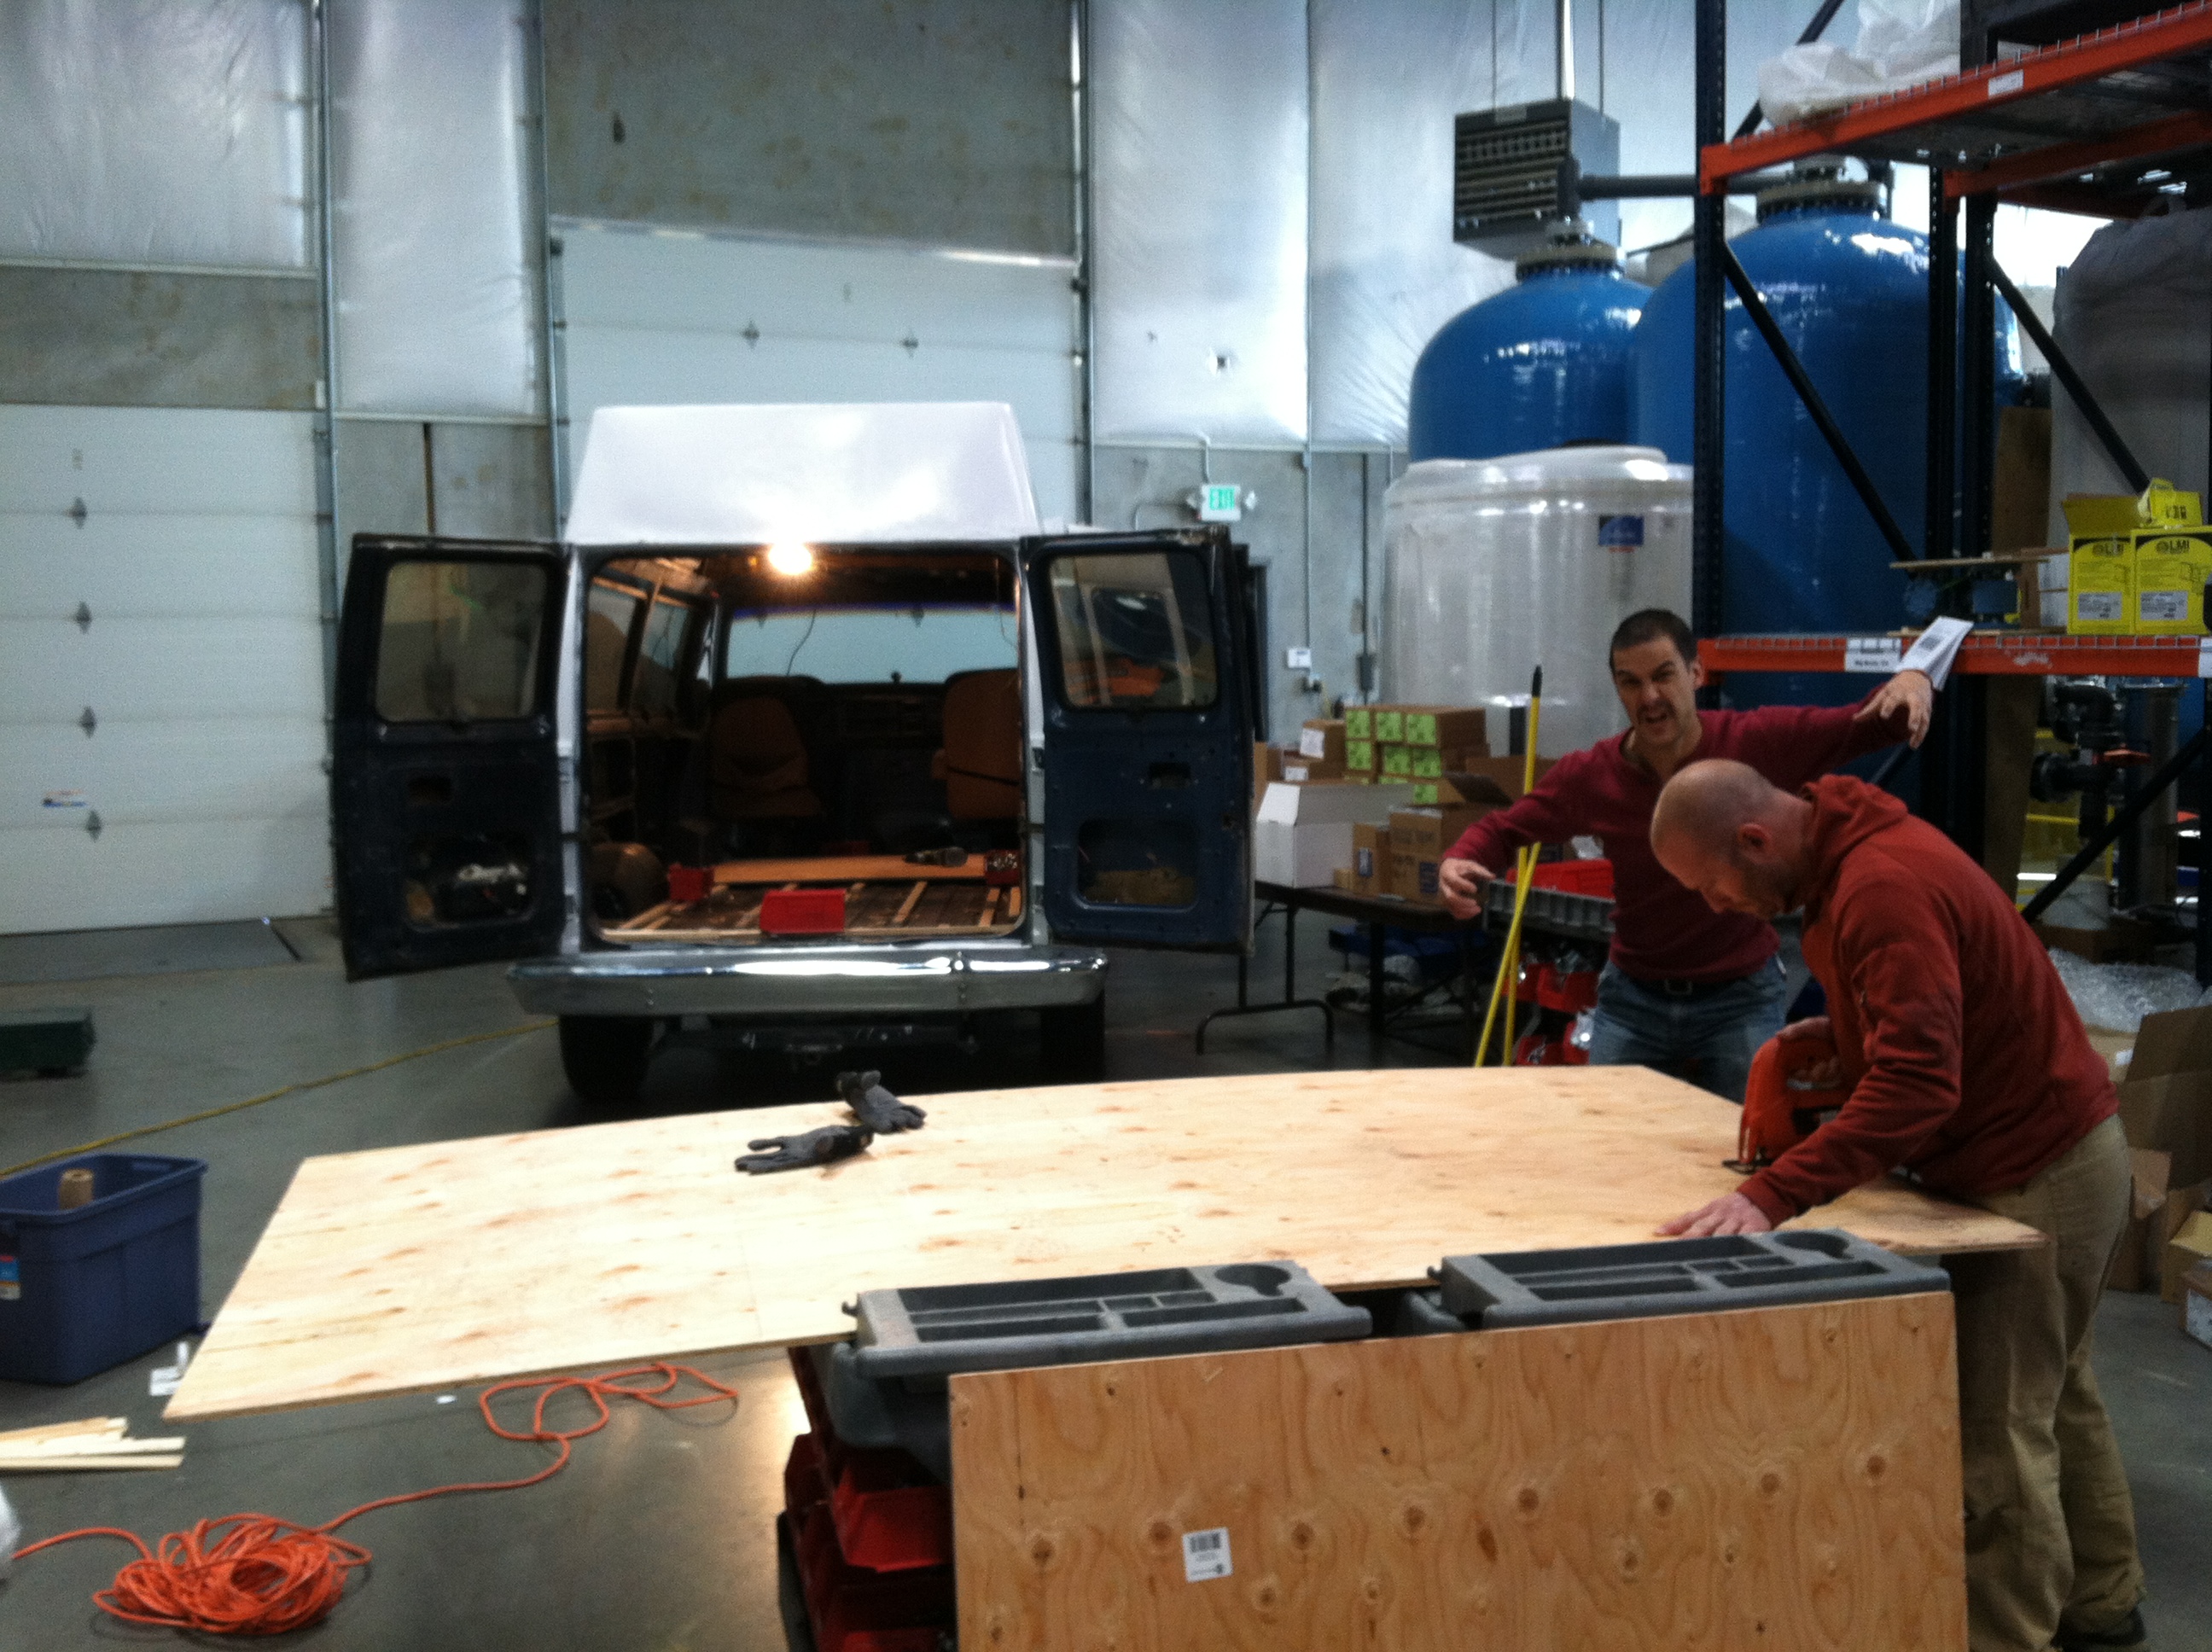
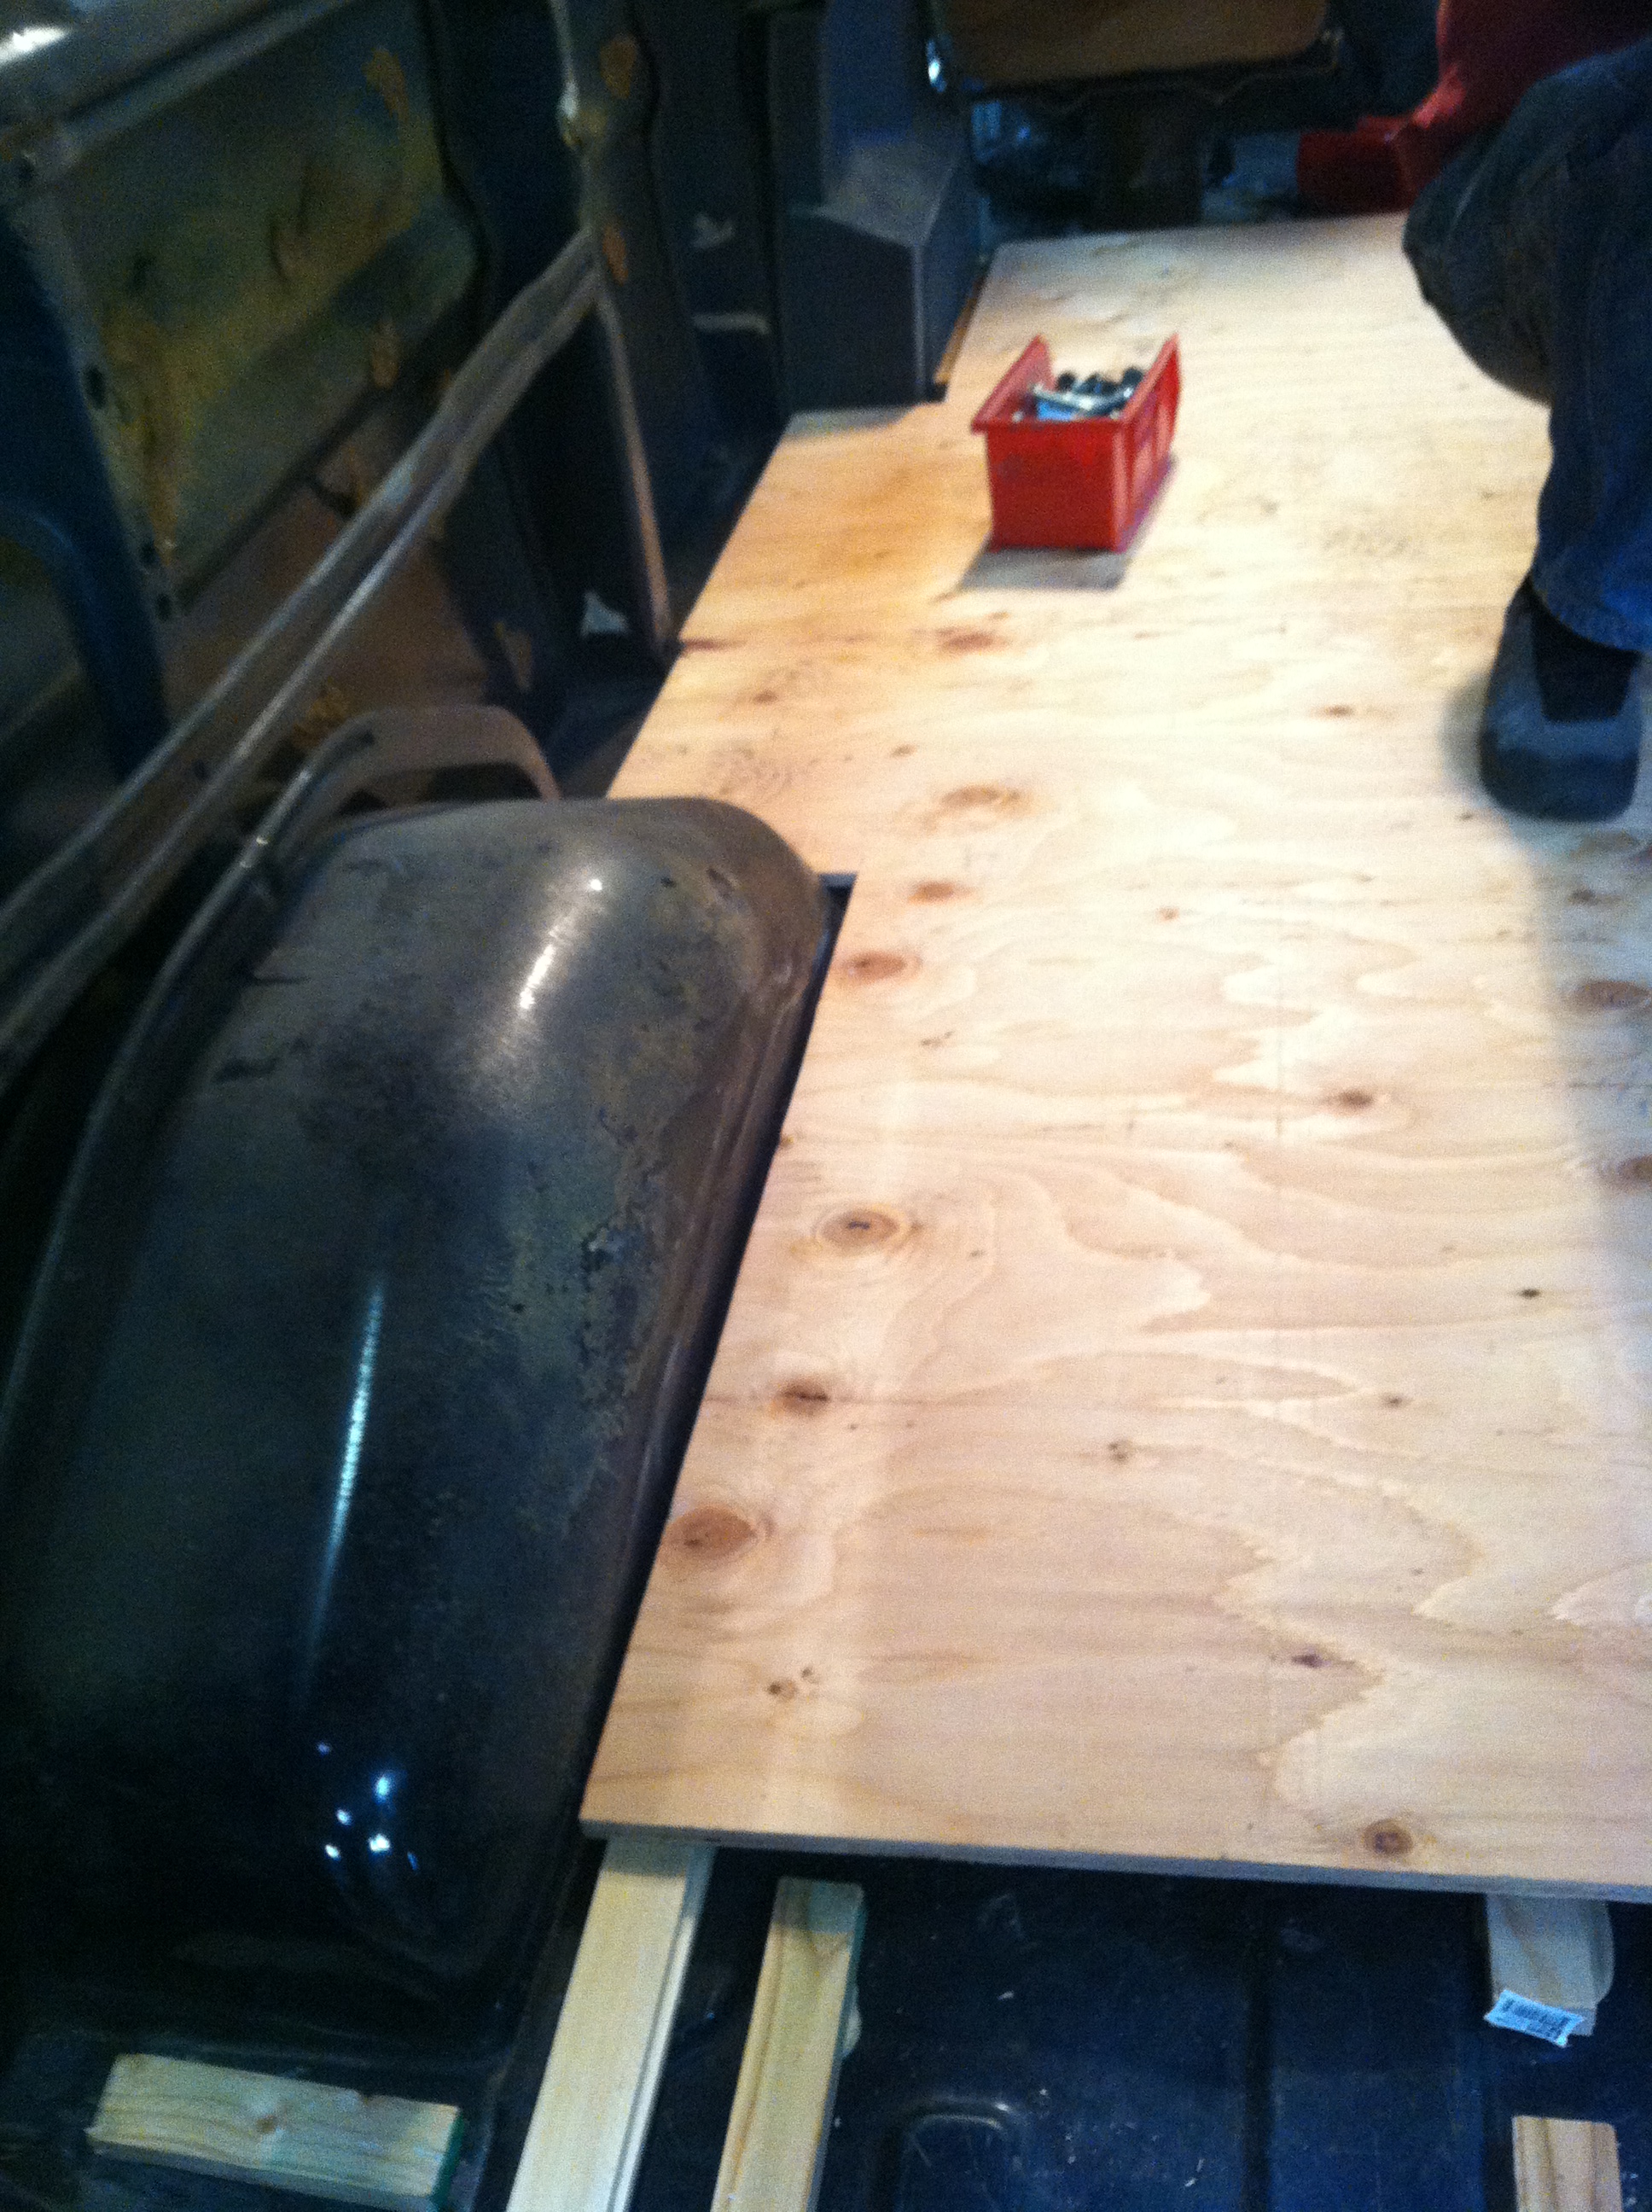
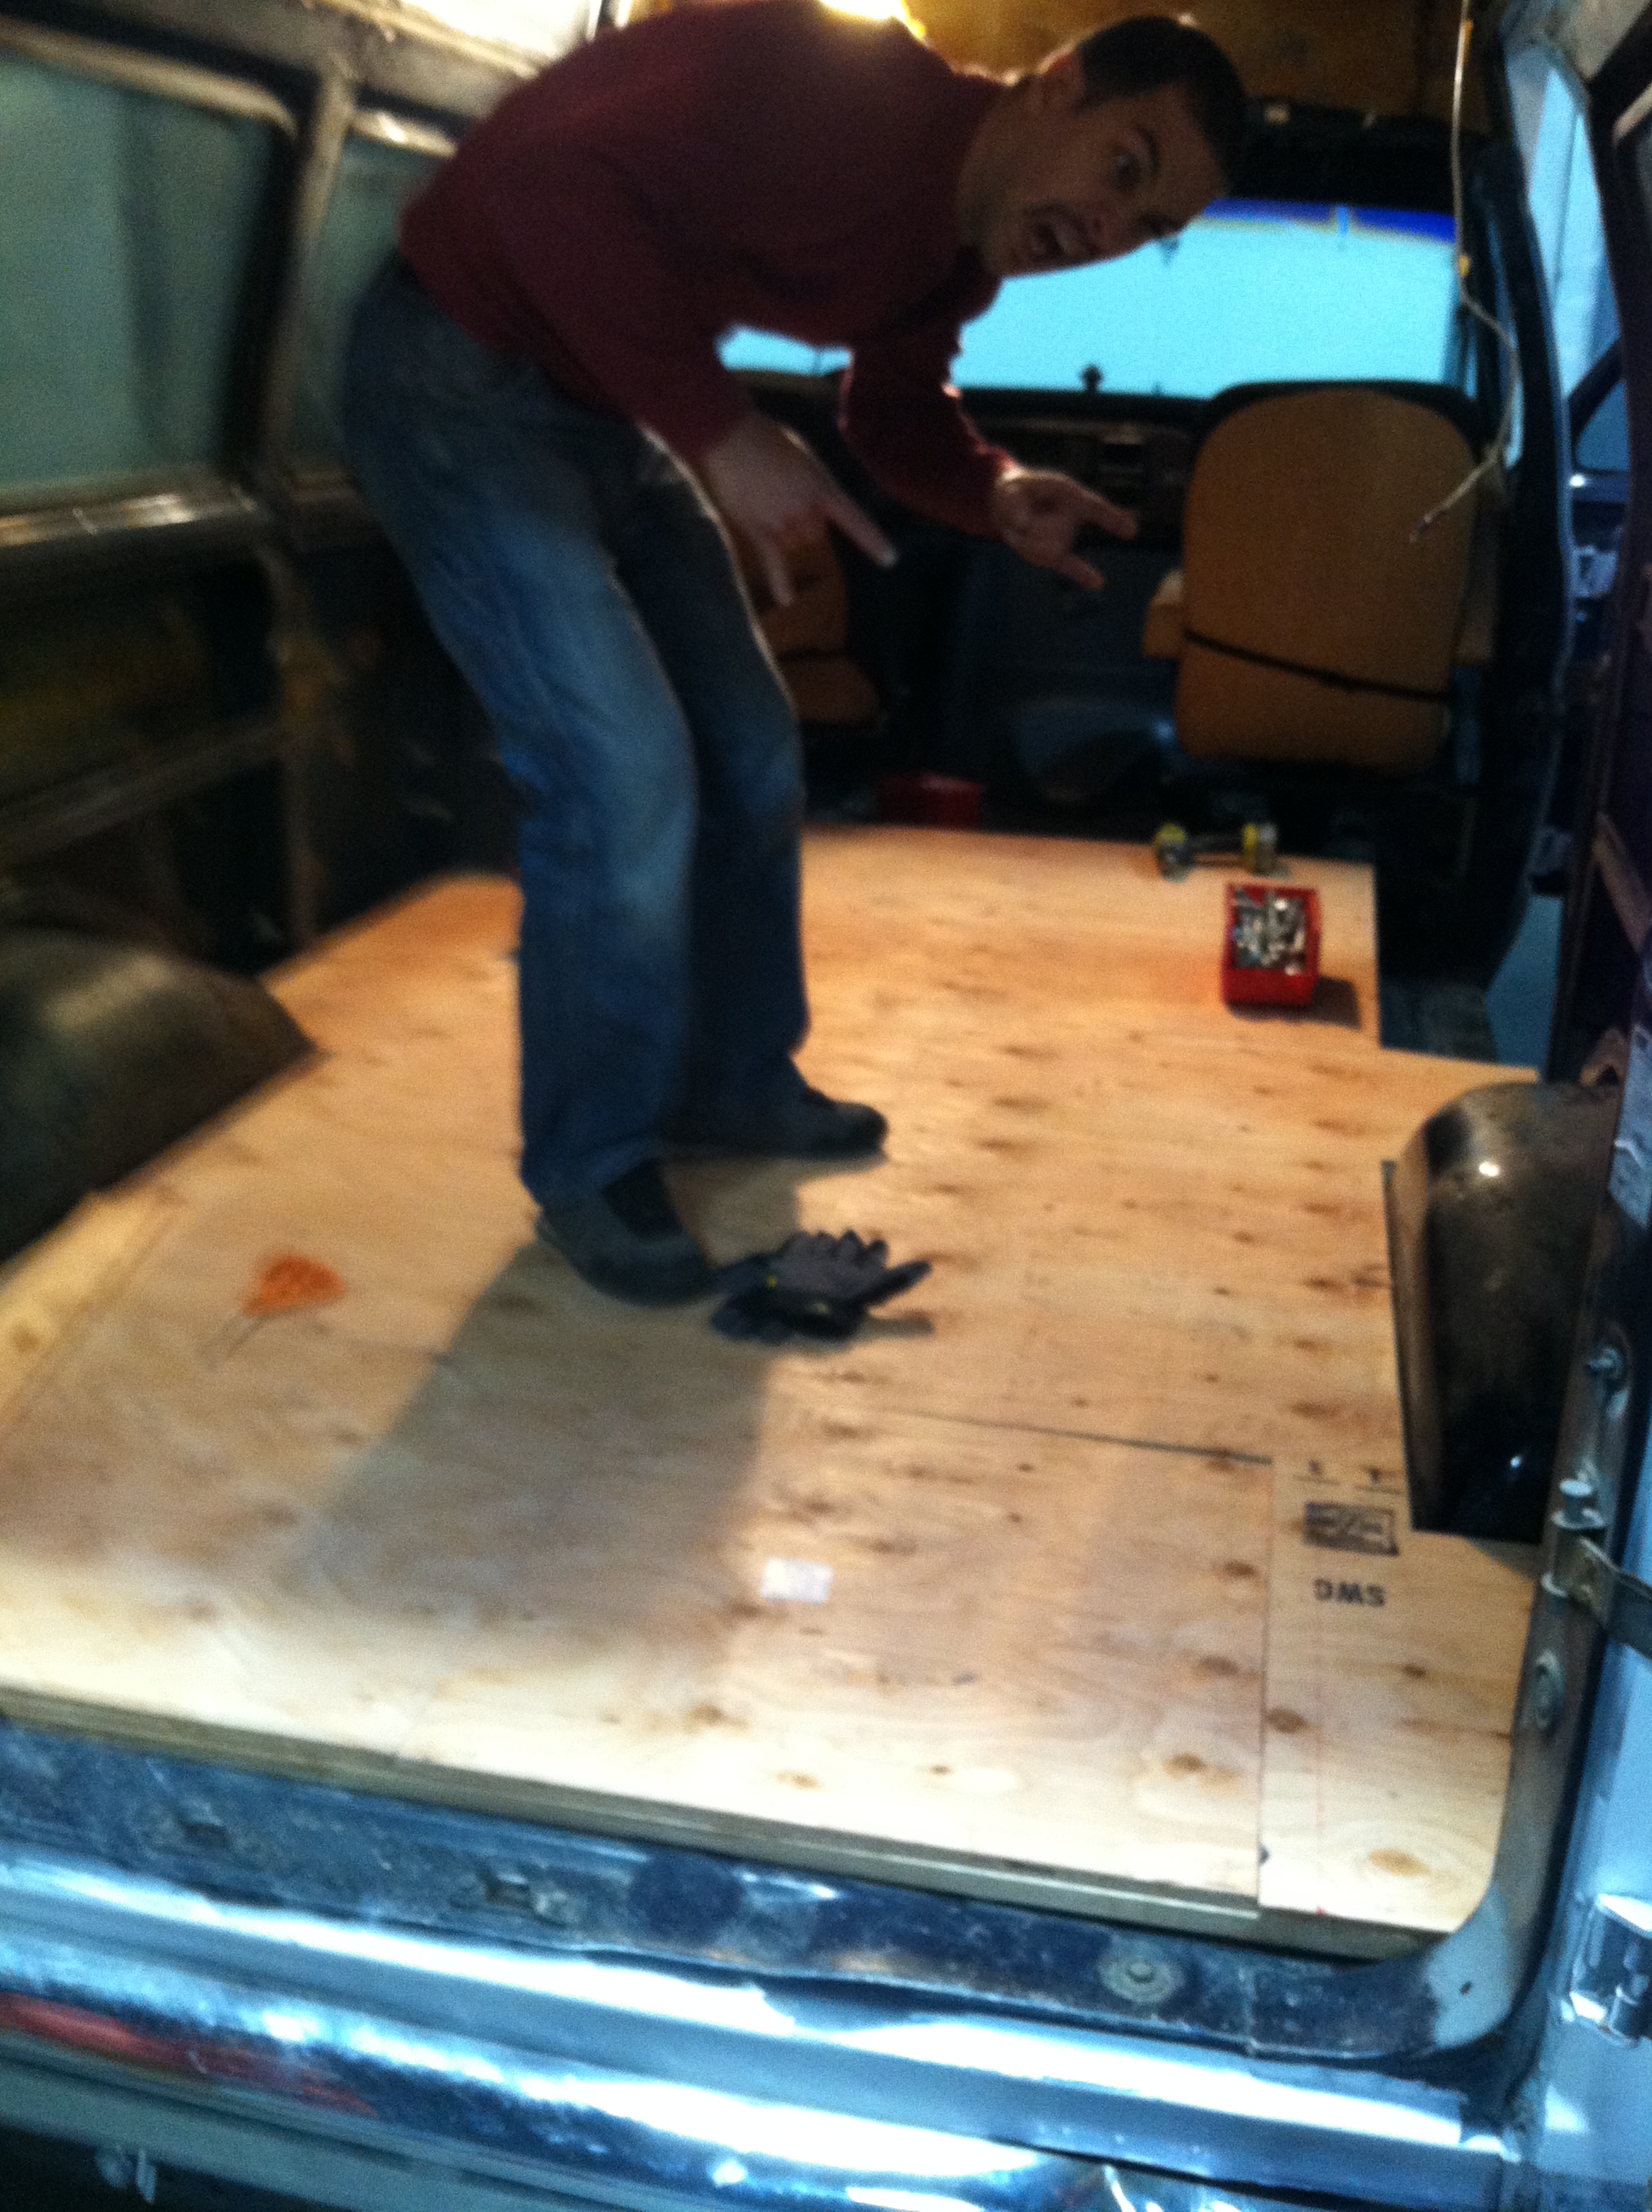
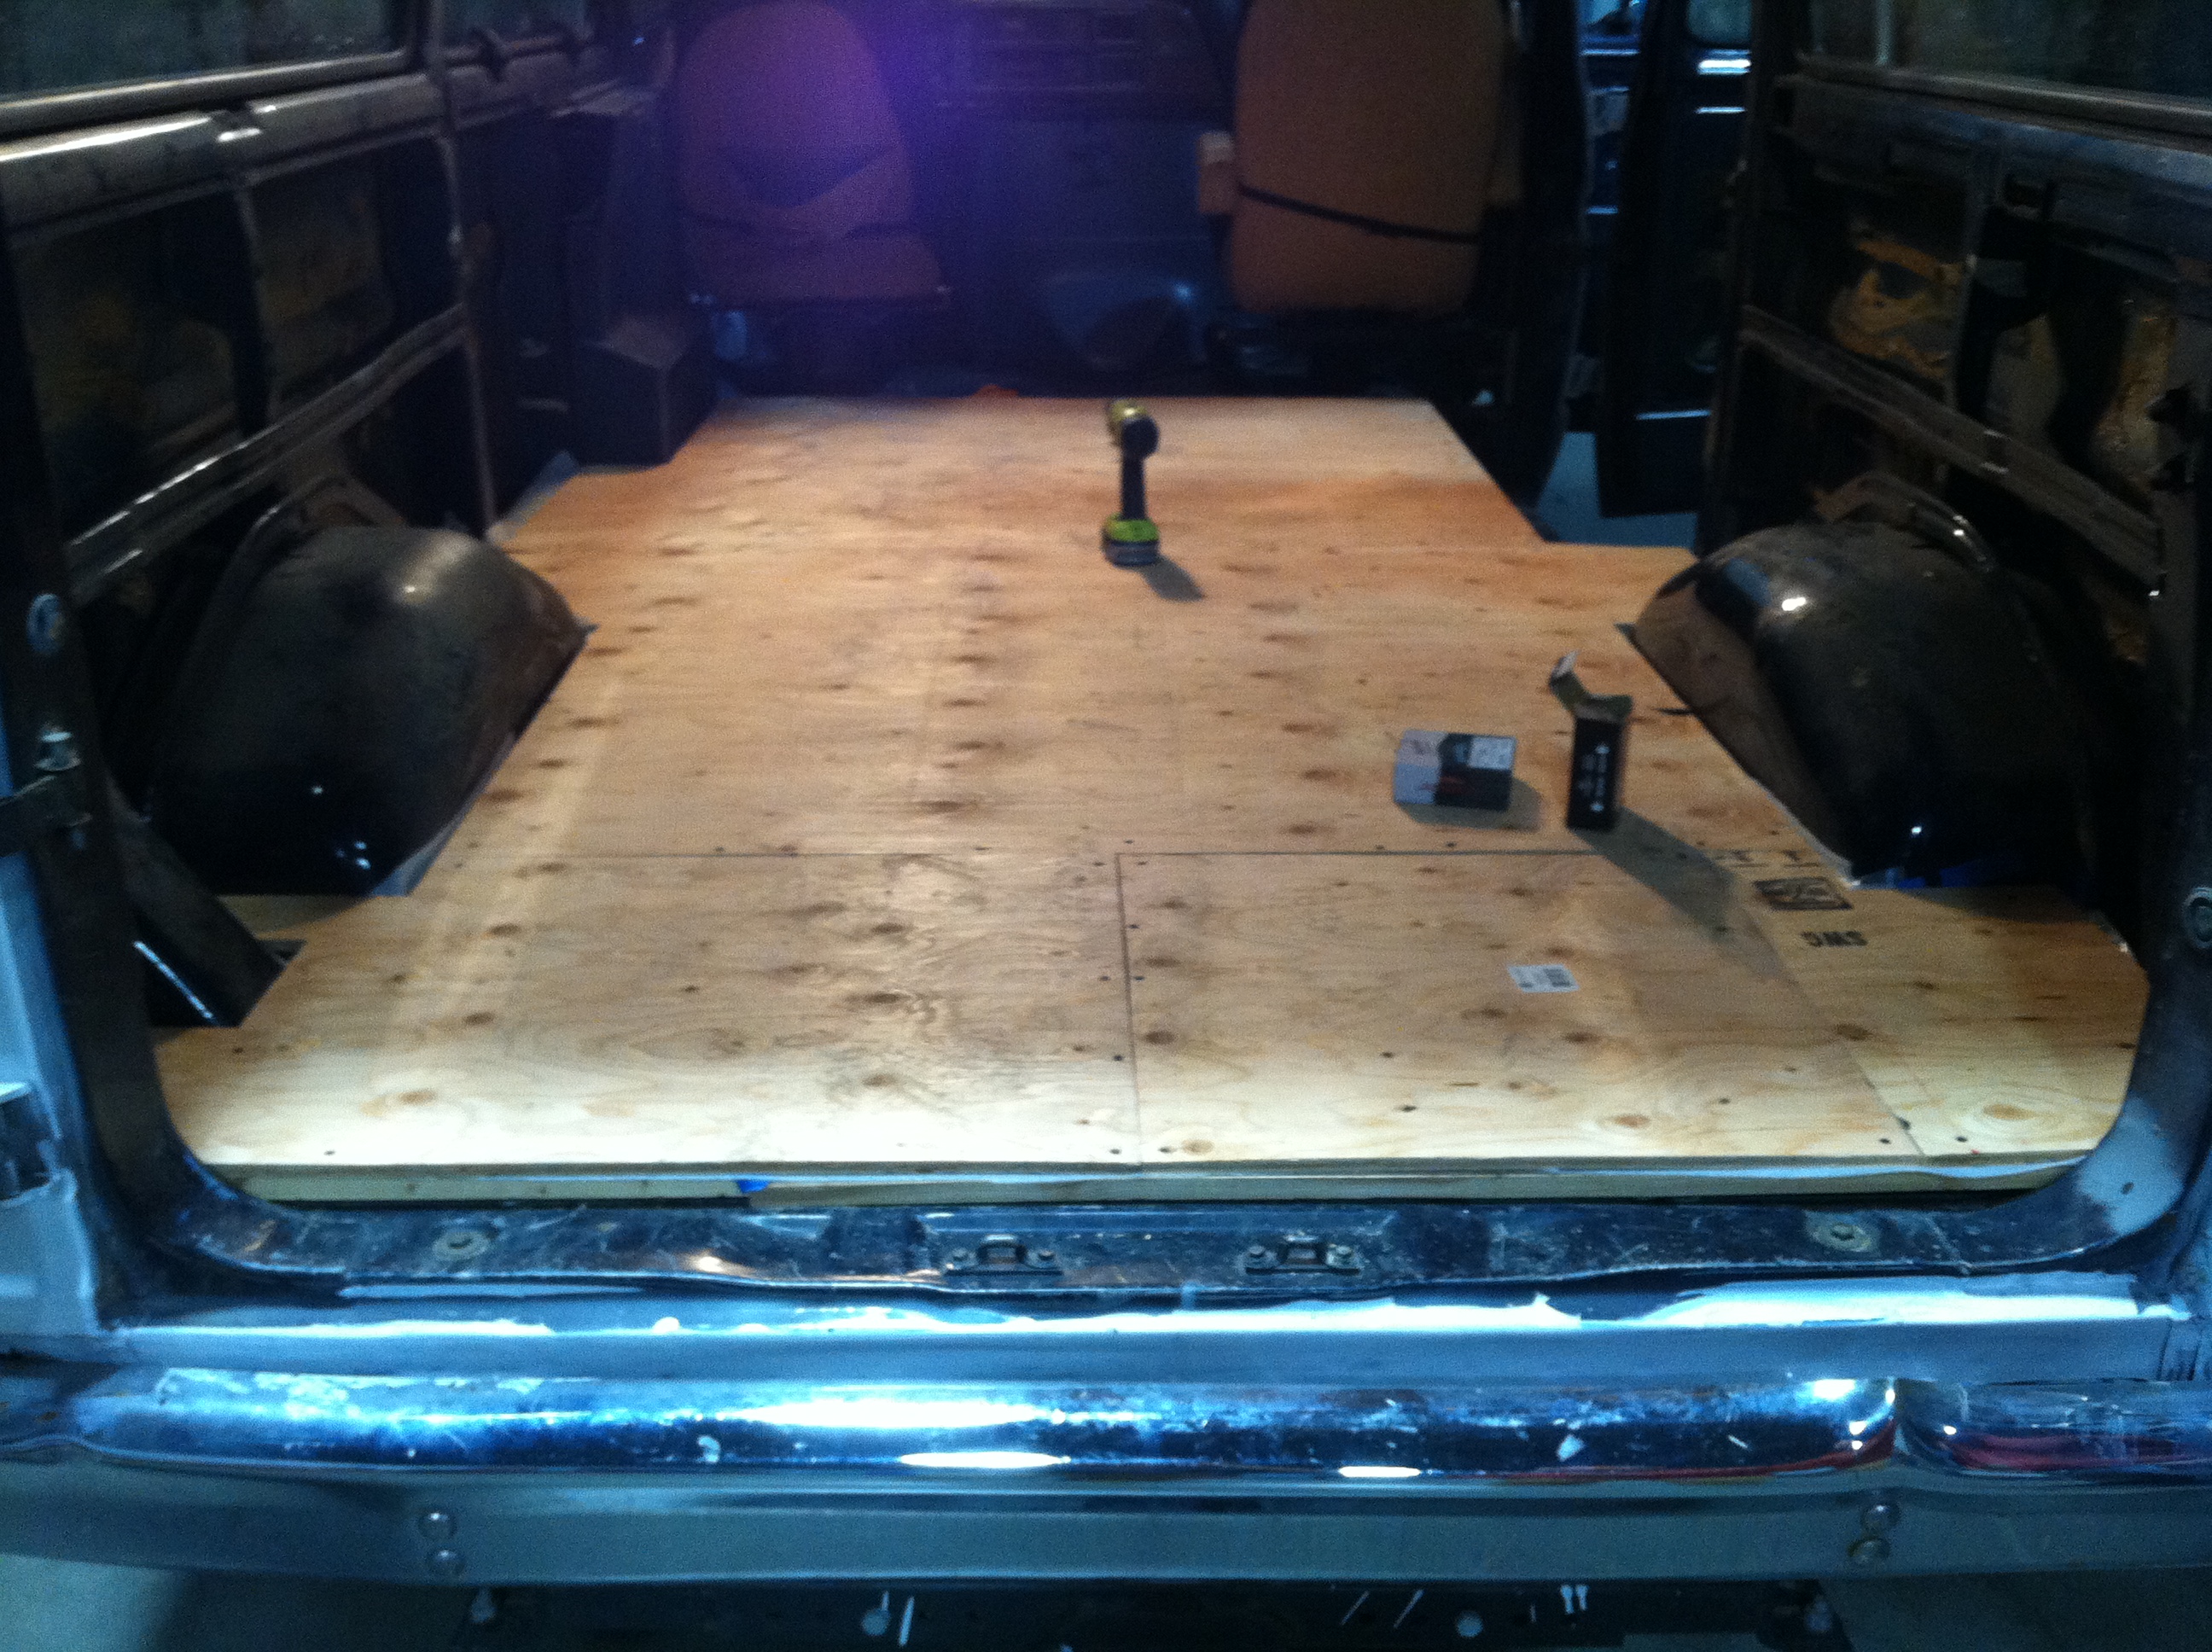
Cut to fit
This part concerned me. Plywood isn’t really expensive, but goofing up and having to buy more would suck. Measure twice, cut once they say. I chose to run the grain from wall to wall as running it lengthwise would make the grain parallel to the longer pieces of 1X2 under making it weaker and more likely to bow and flex. I chose 15/32″ sheets and bought two. I used the two whole pieces up front where most of the foot traffic will be and used the cuttings to fill in the small portion left in the back as that will be where we store stuff under the bed and will see little in the way of traffic. The measuring/cutting went quite well with only a jigsaw and before I knew it I had the pieces cut and fit.

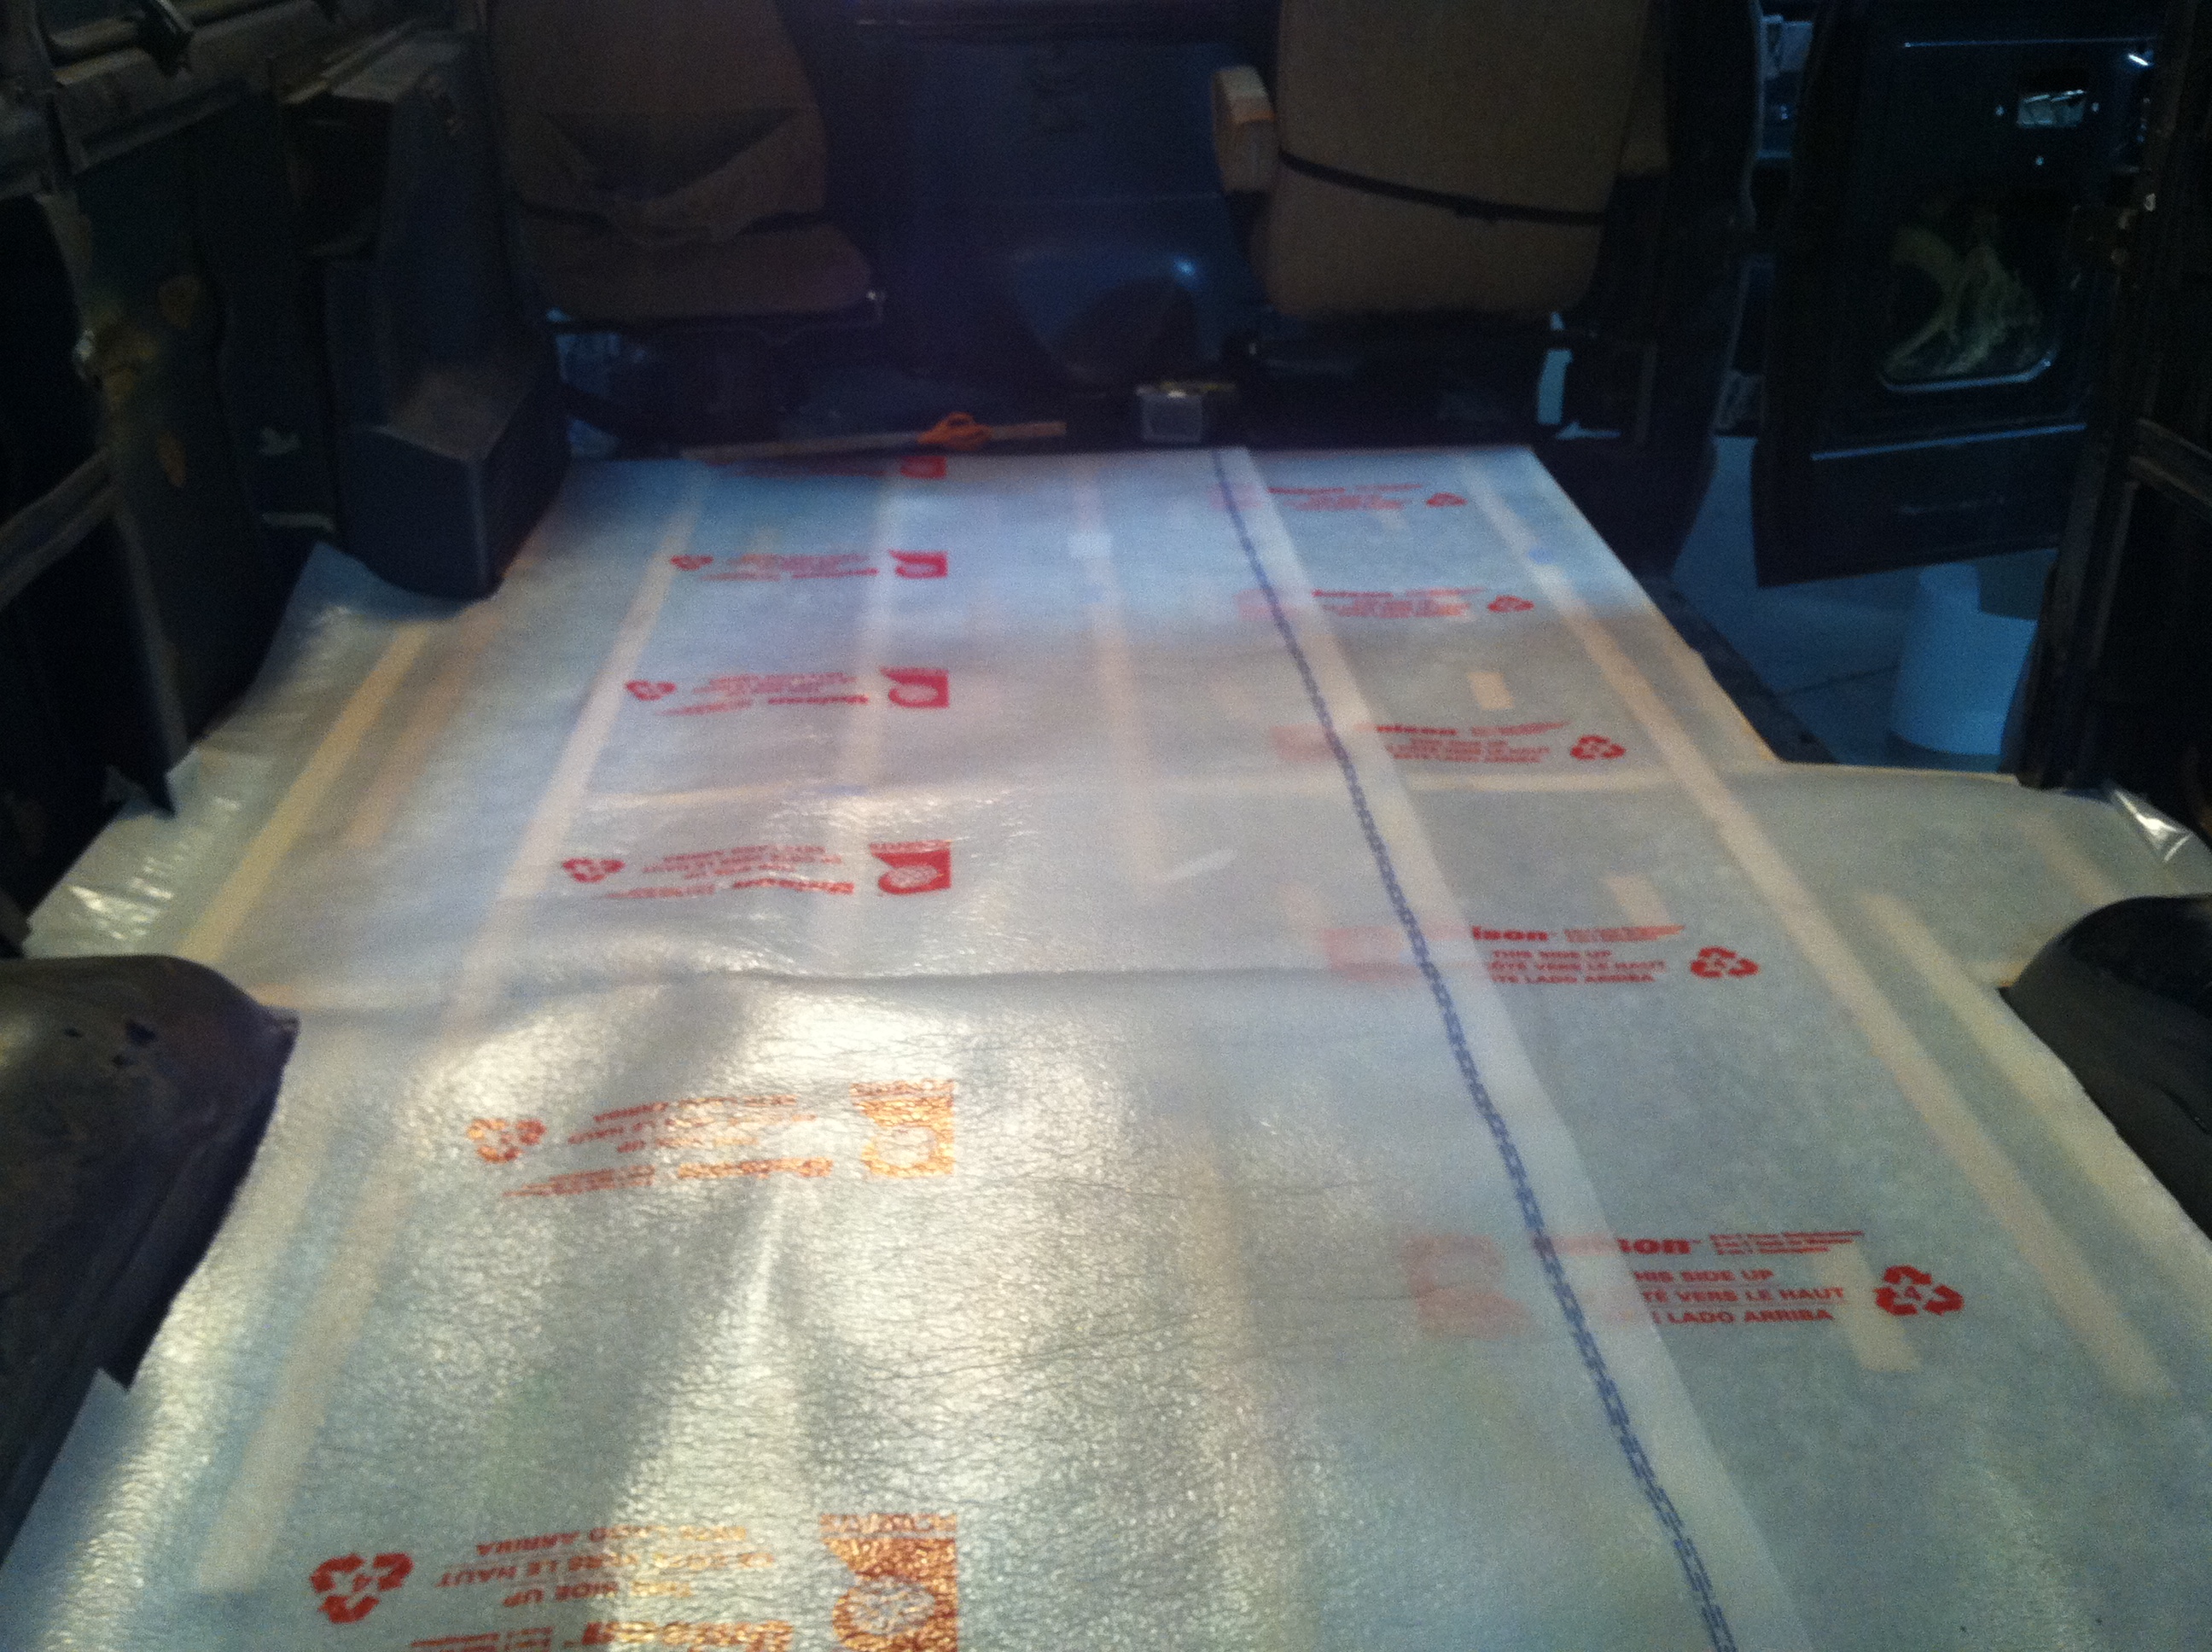
Insulation/sound proofing
Before securing the floor I removed it and set about cutting strips of carpet underlay to fit between the frame pieces. I designed this so the 1X2’s and the thin strips would be slightly higher than the raised portion of the corrugation so that there would be space under the floor for an insulator. Insulation doesn’t work as well when it is smashed, it needs space to do it’s job. After laying down the carpet underlay, I put a layer of plastic hardwood flooring underlay over that to act as additional insulation but mostly to provide a vapor barrier so that condensation inside would not be able to reach the frame and rust it. Once this was laid out I brought the ply back in, fit it, and screwed it to the frame using 1″ wood screws. The result was a secure frame, with insulation and a vapor barrier, and no holes in the metal floor underneath.


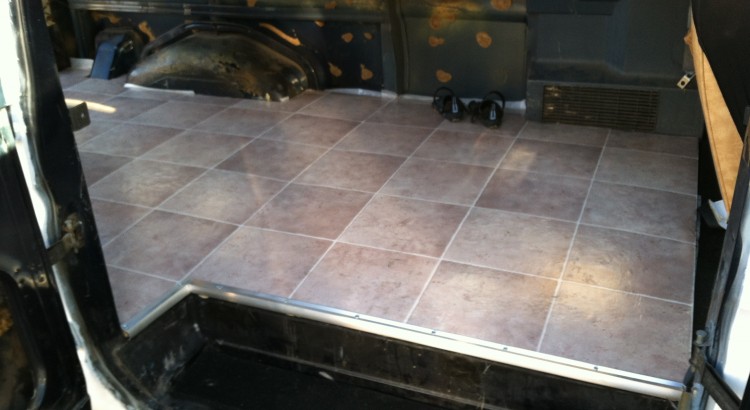
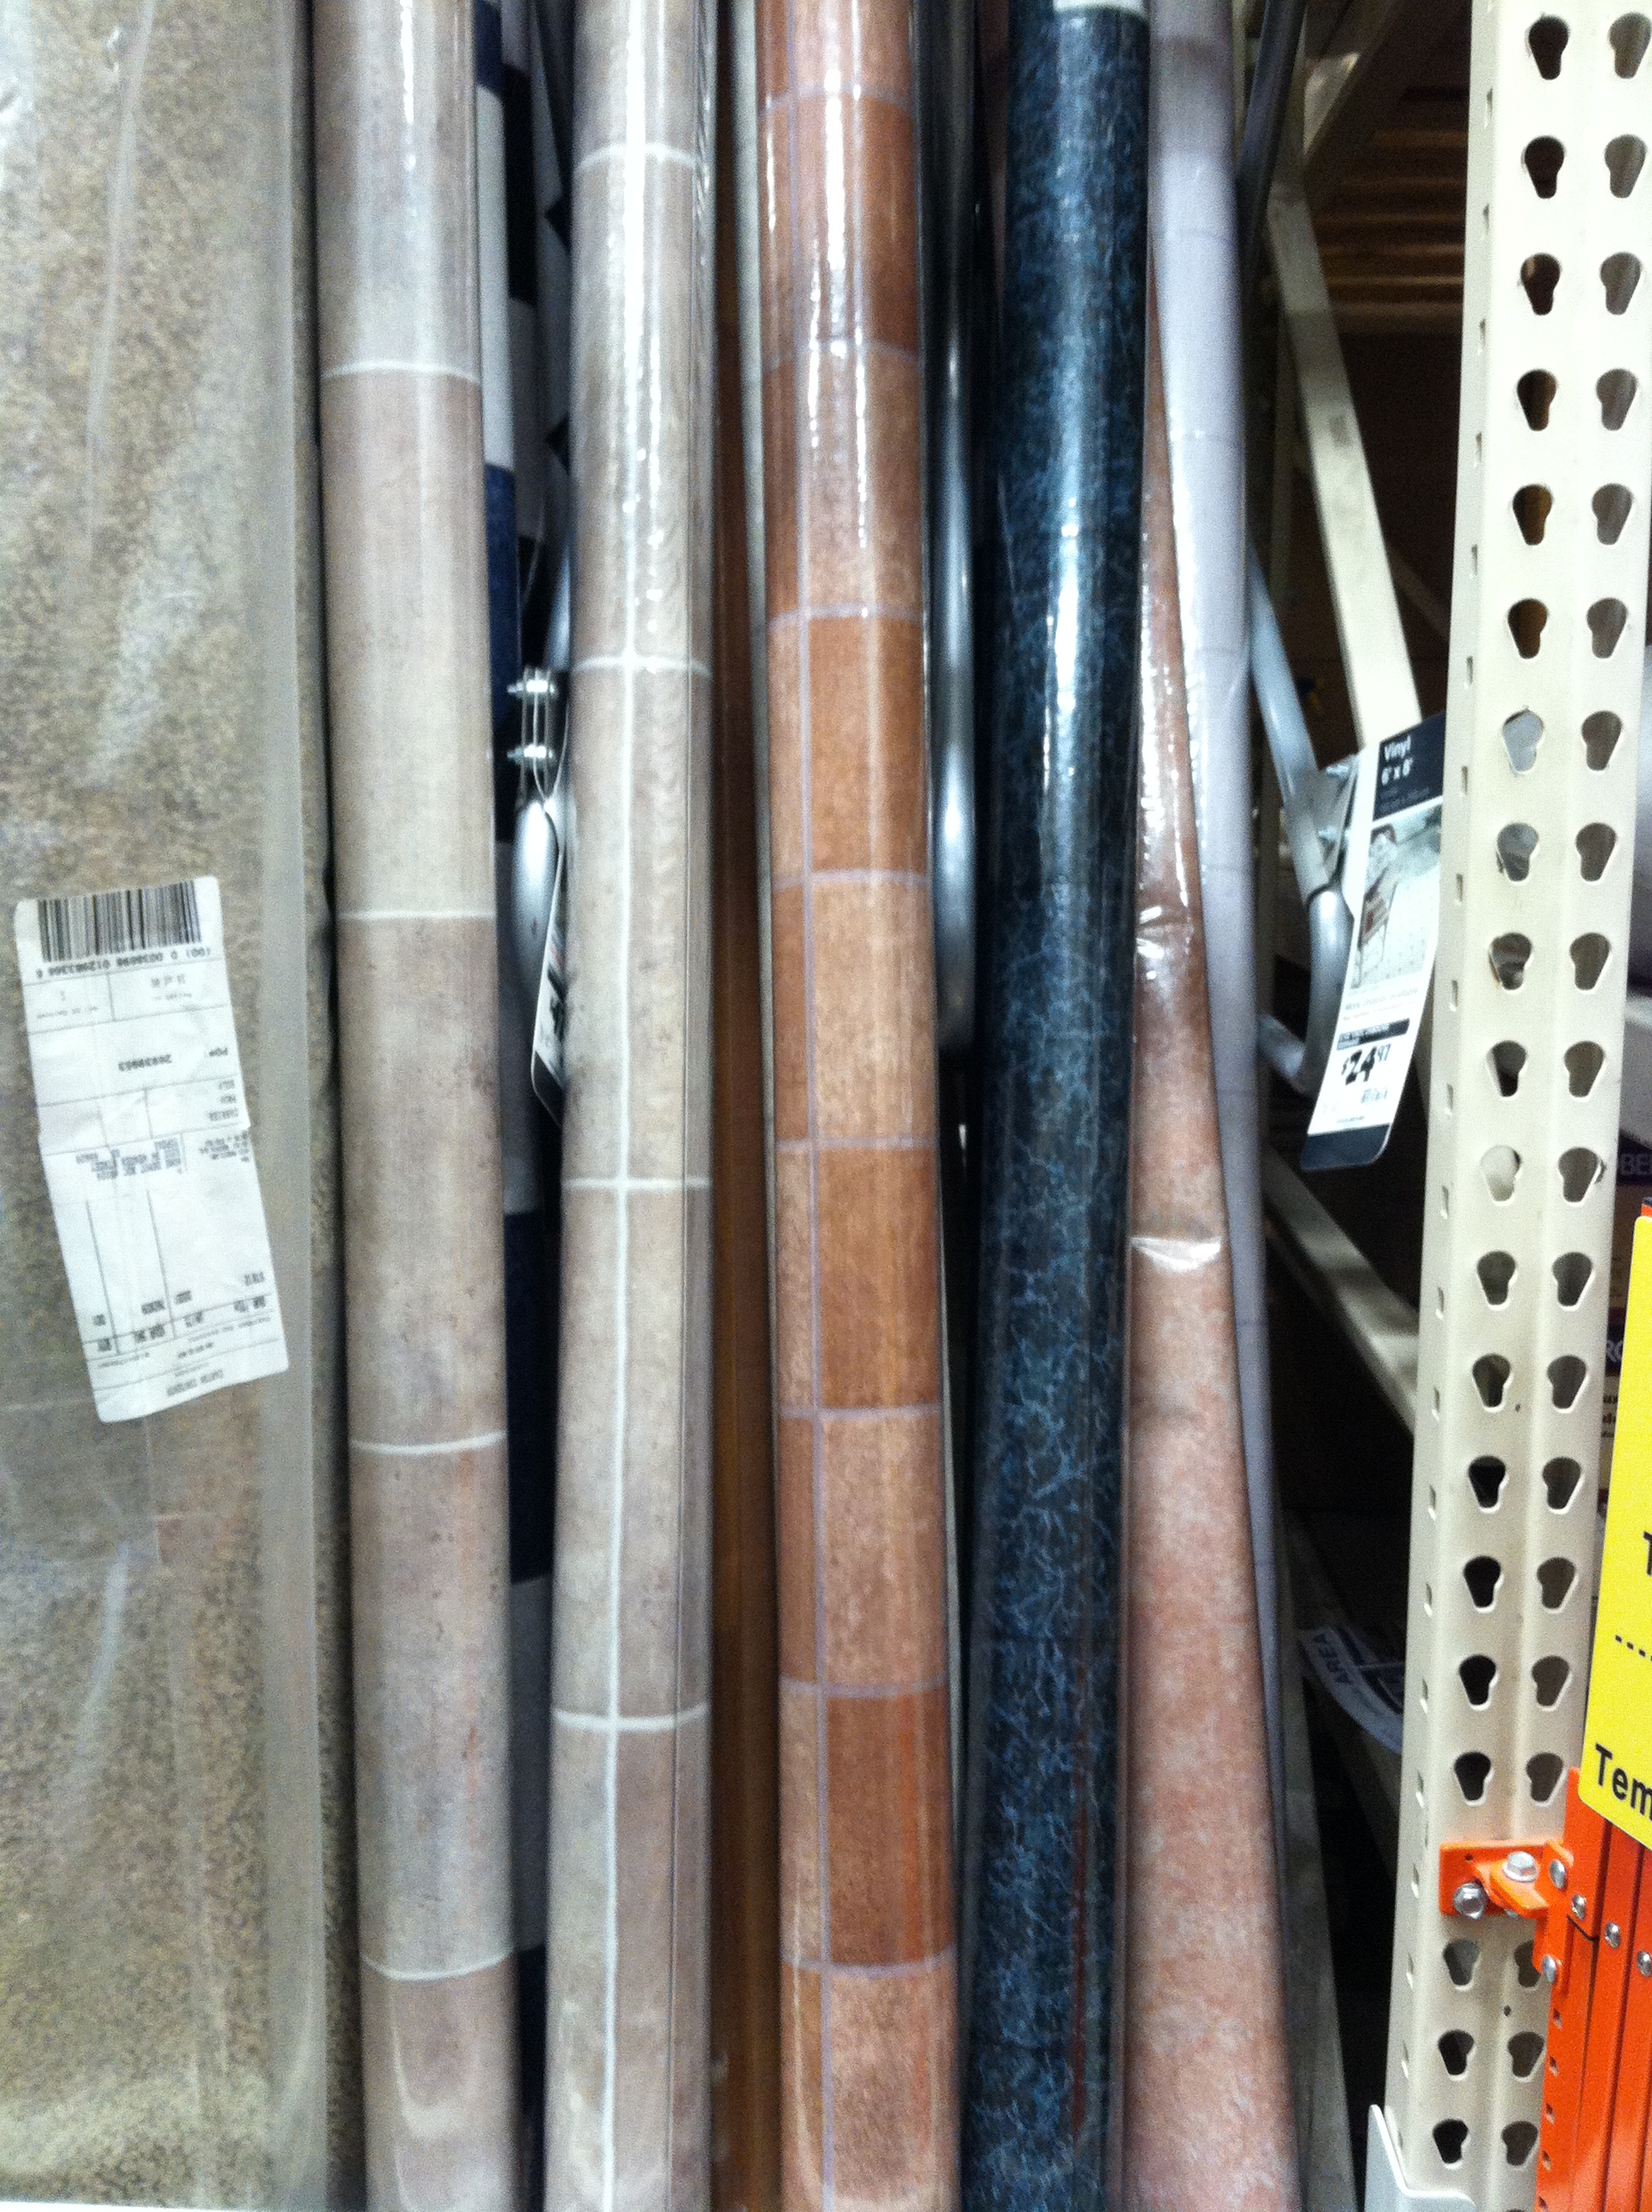
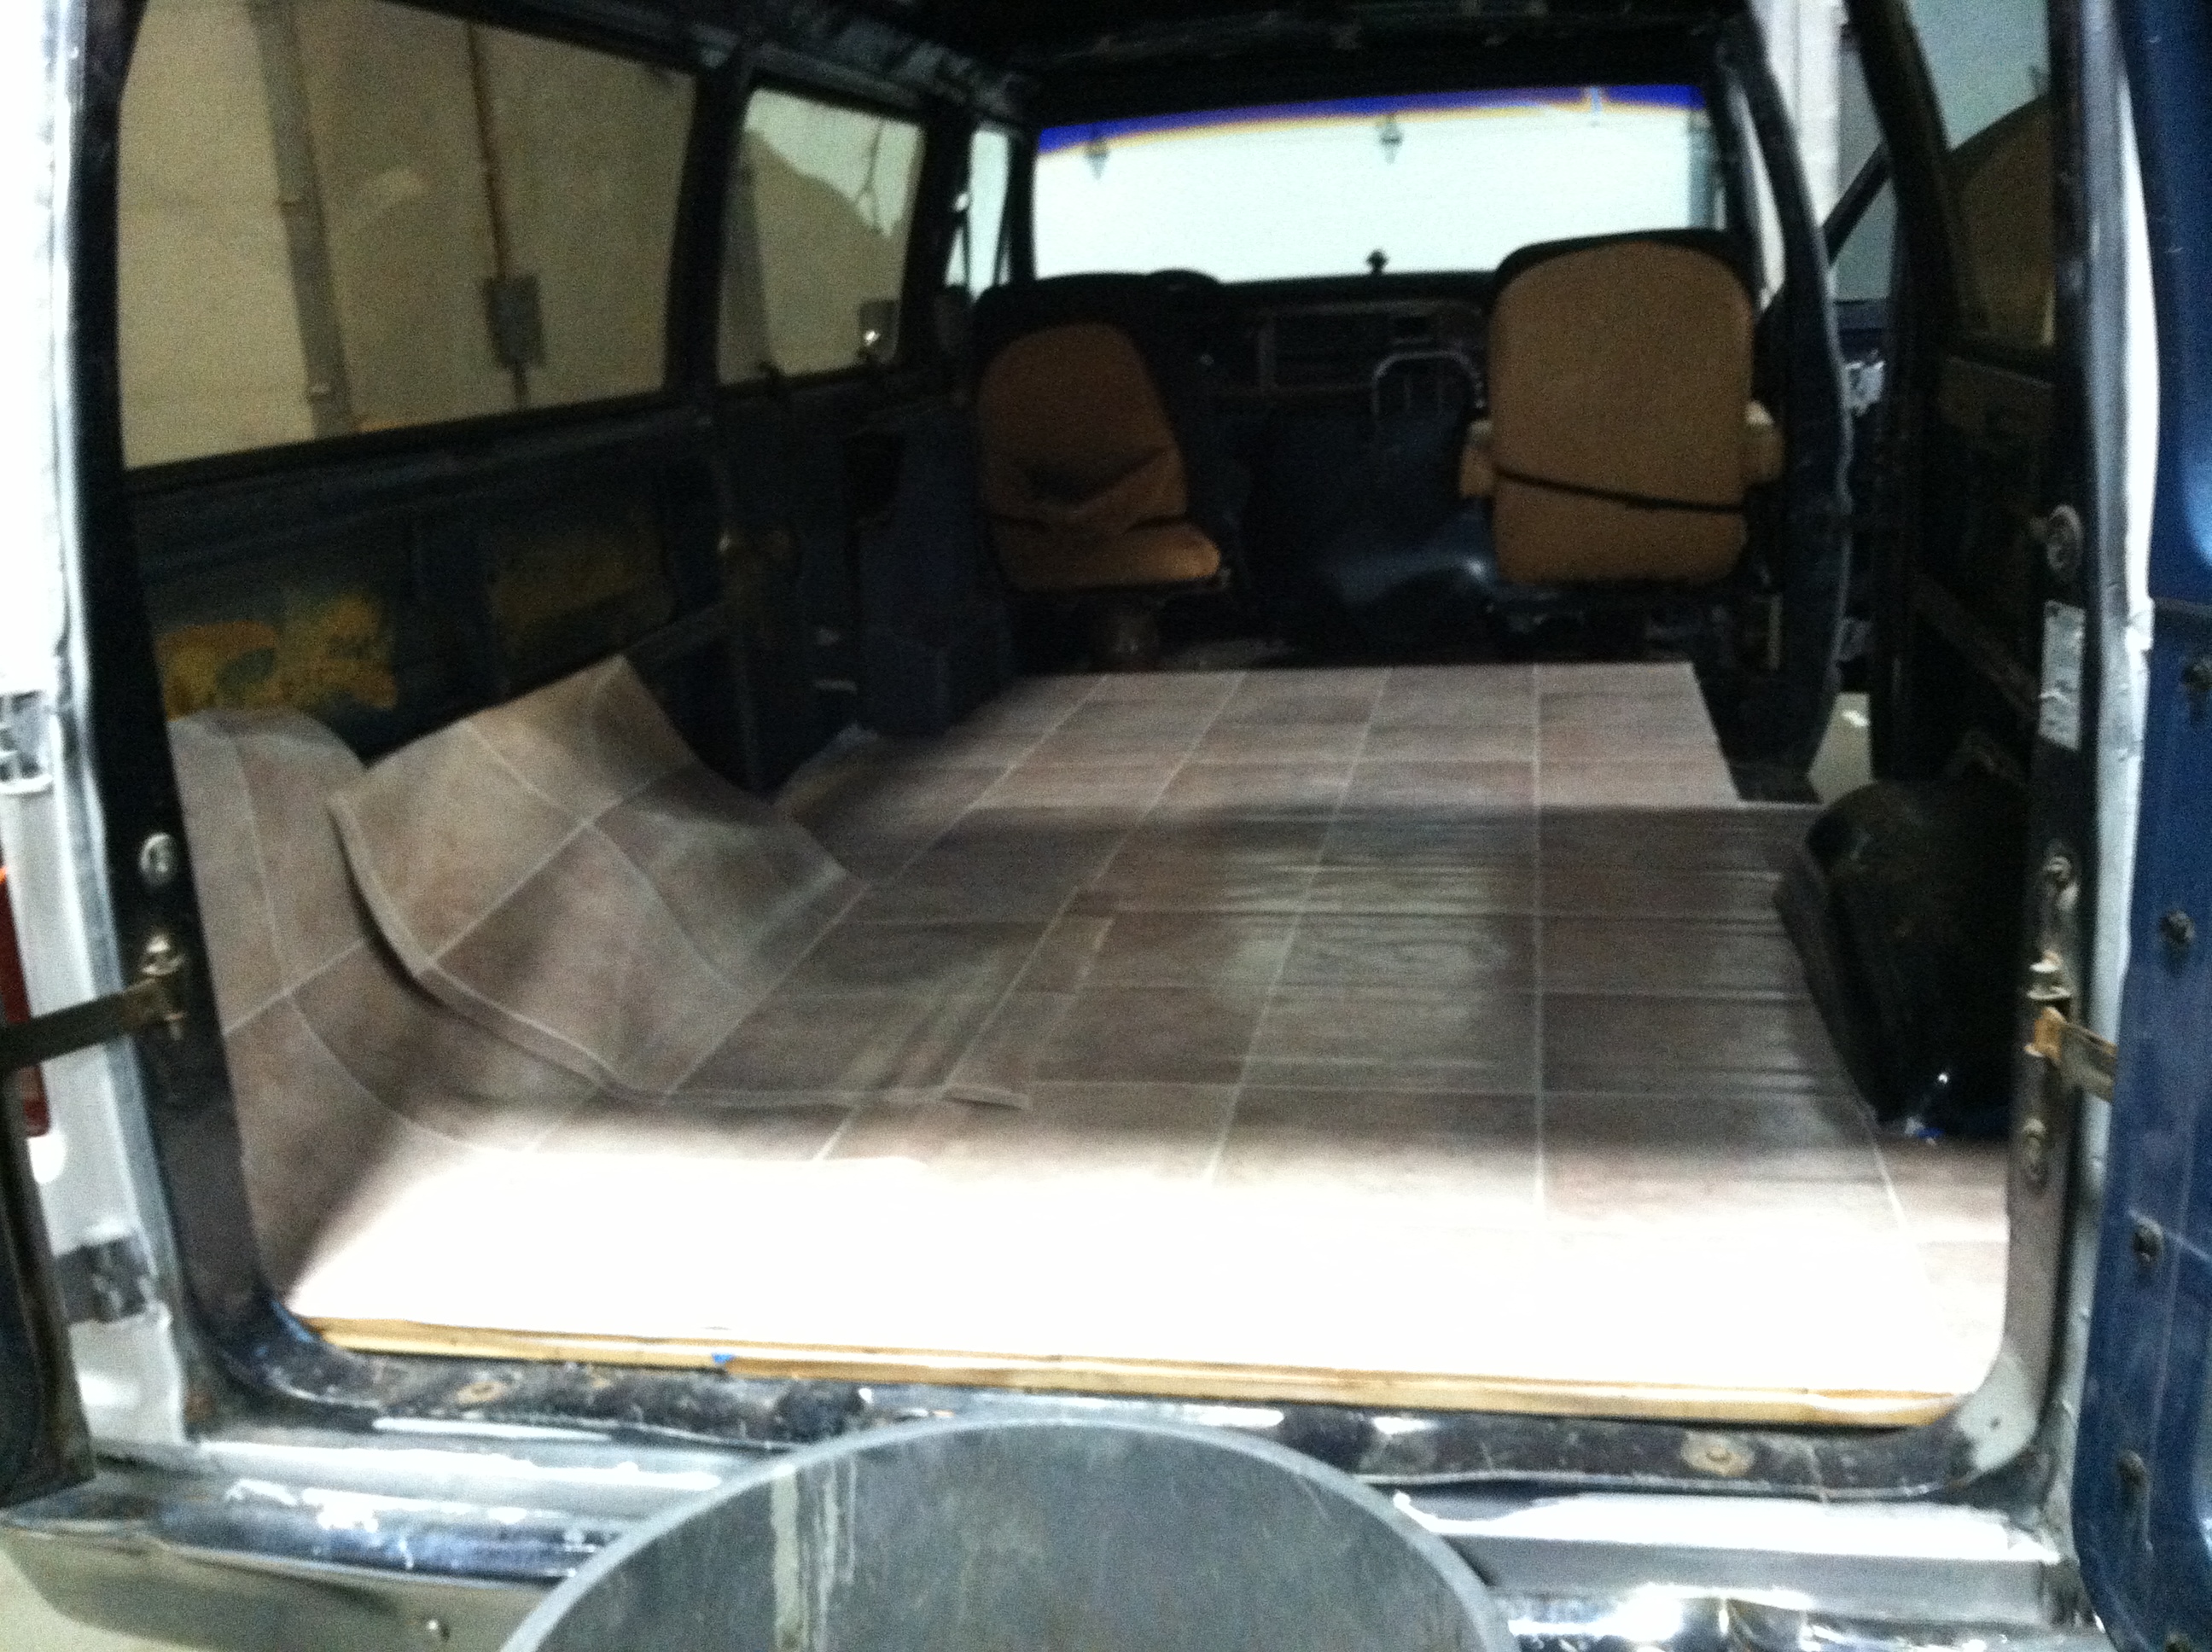
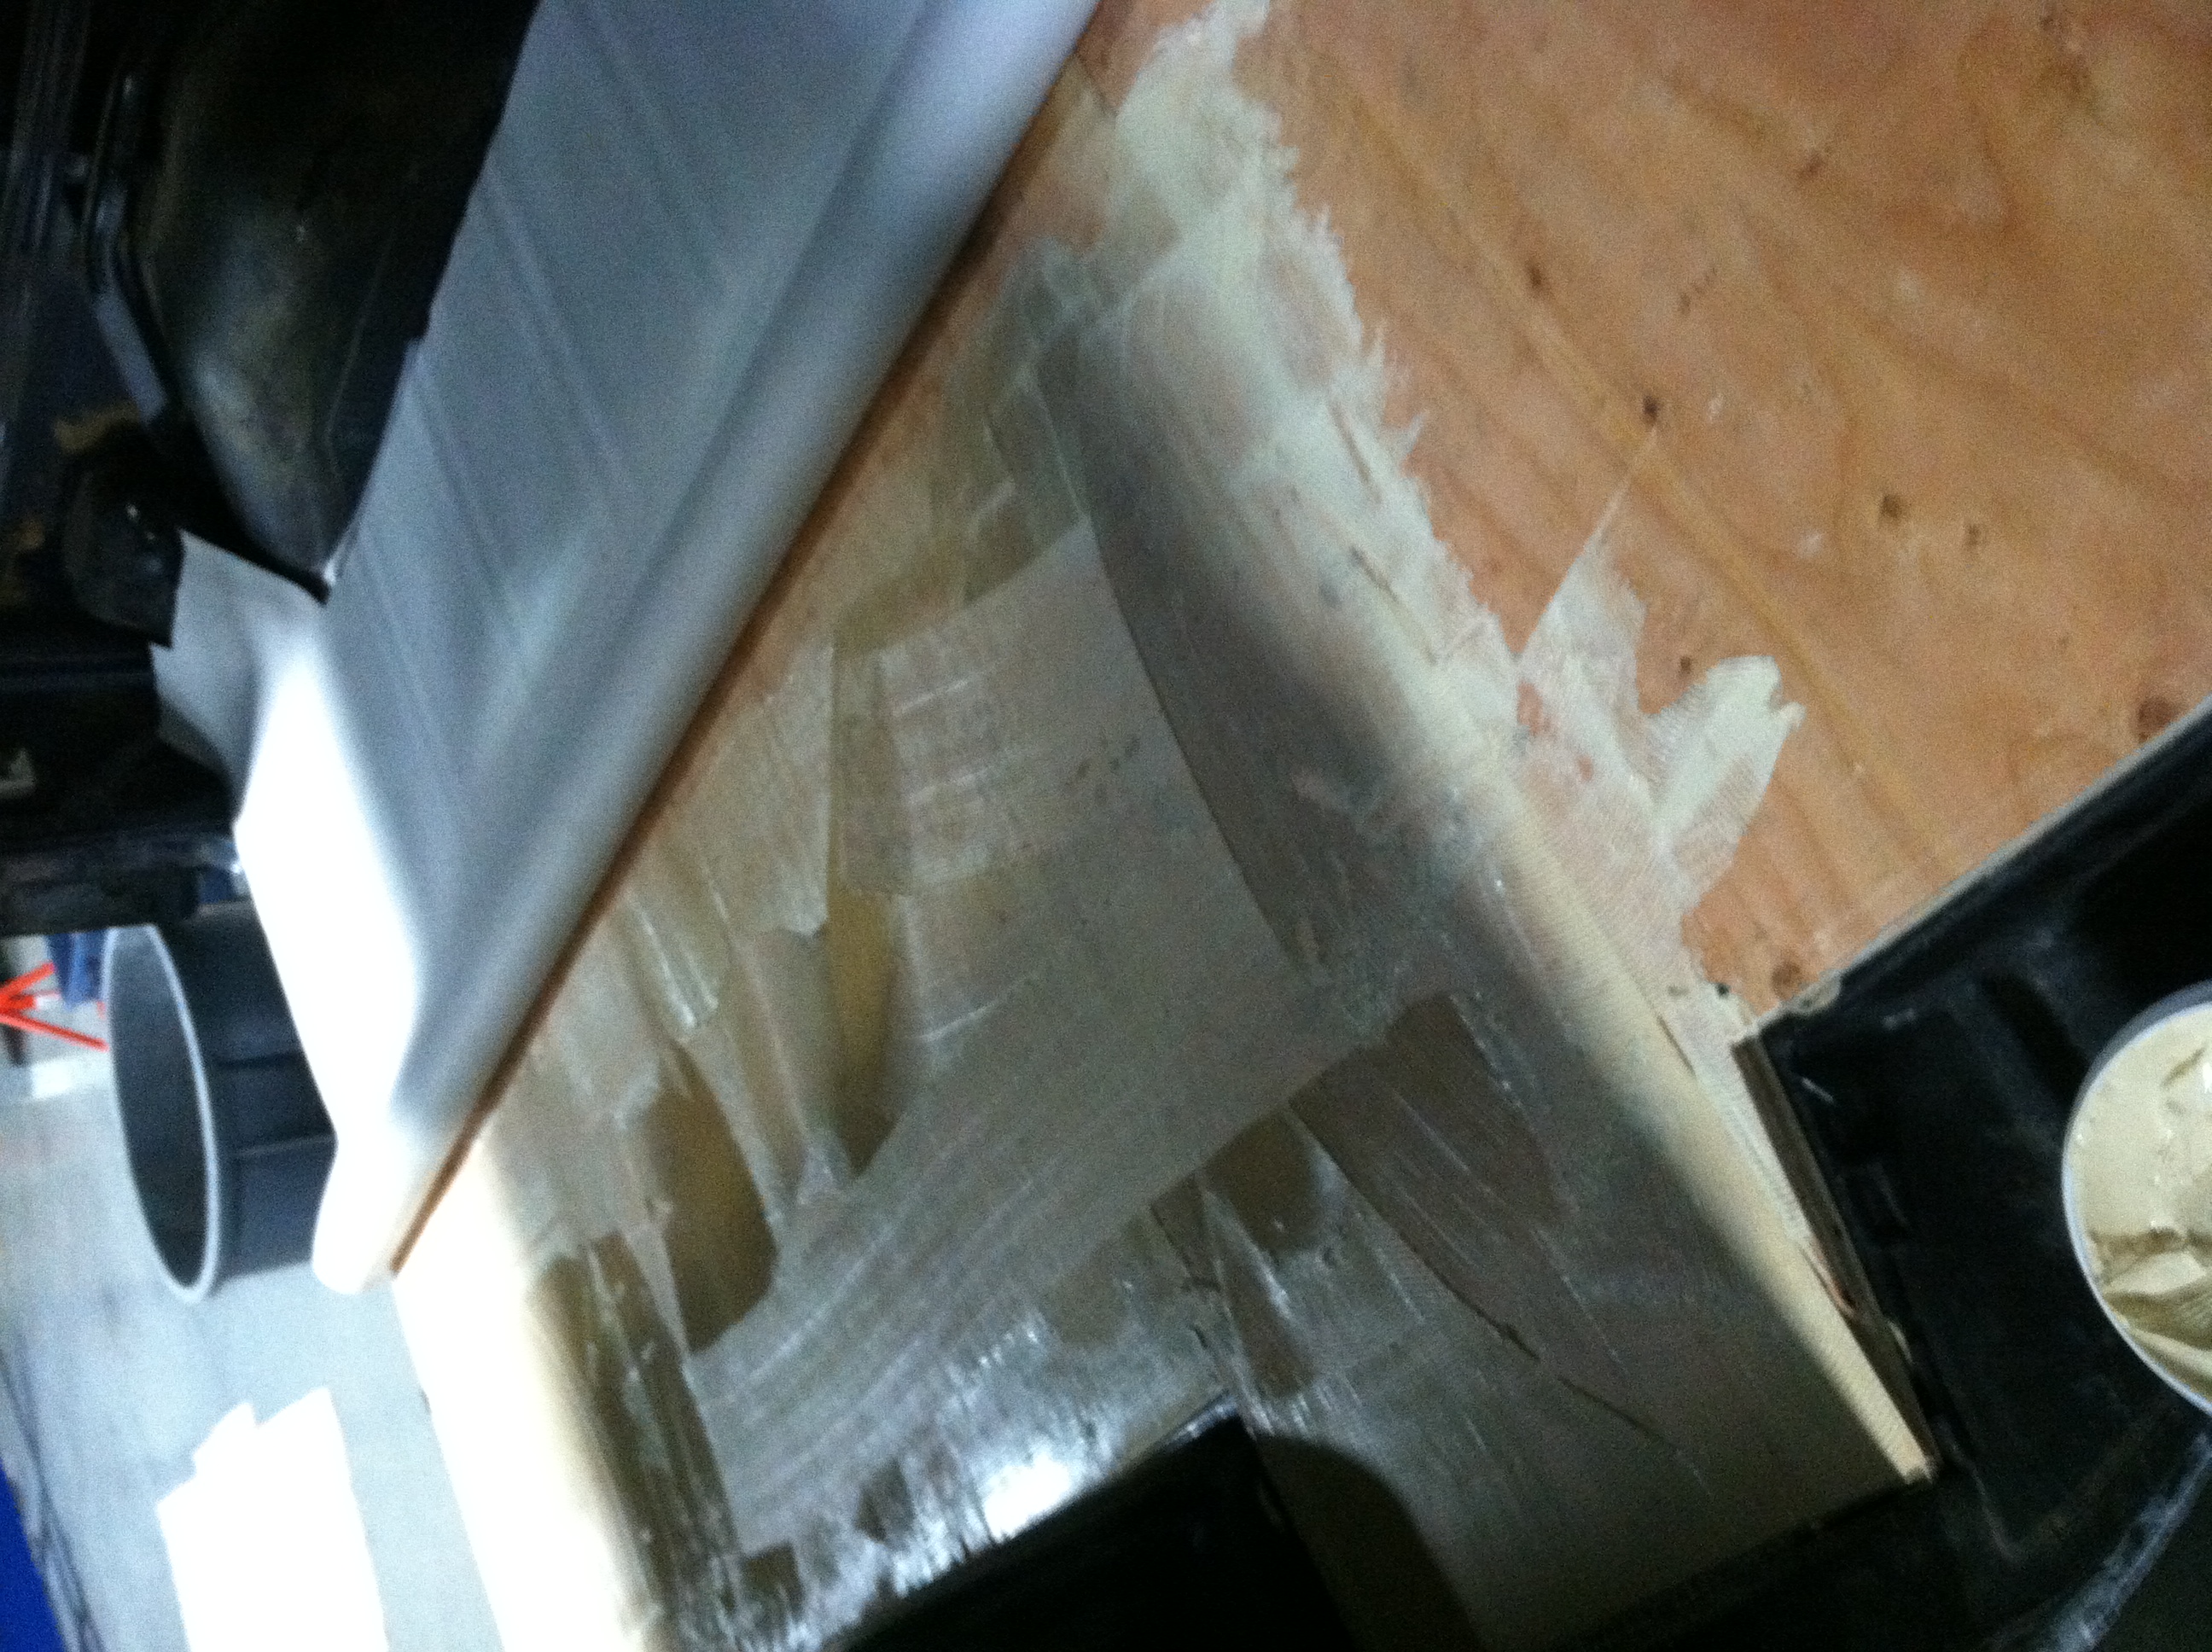
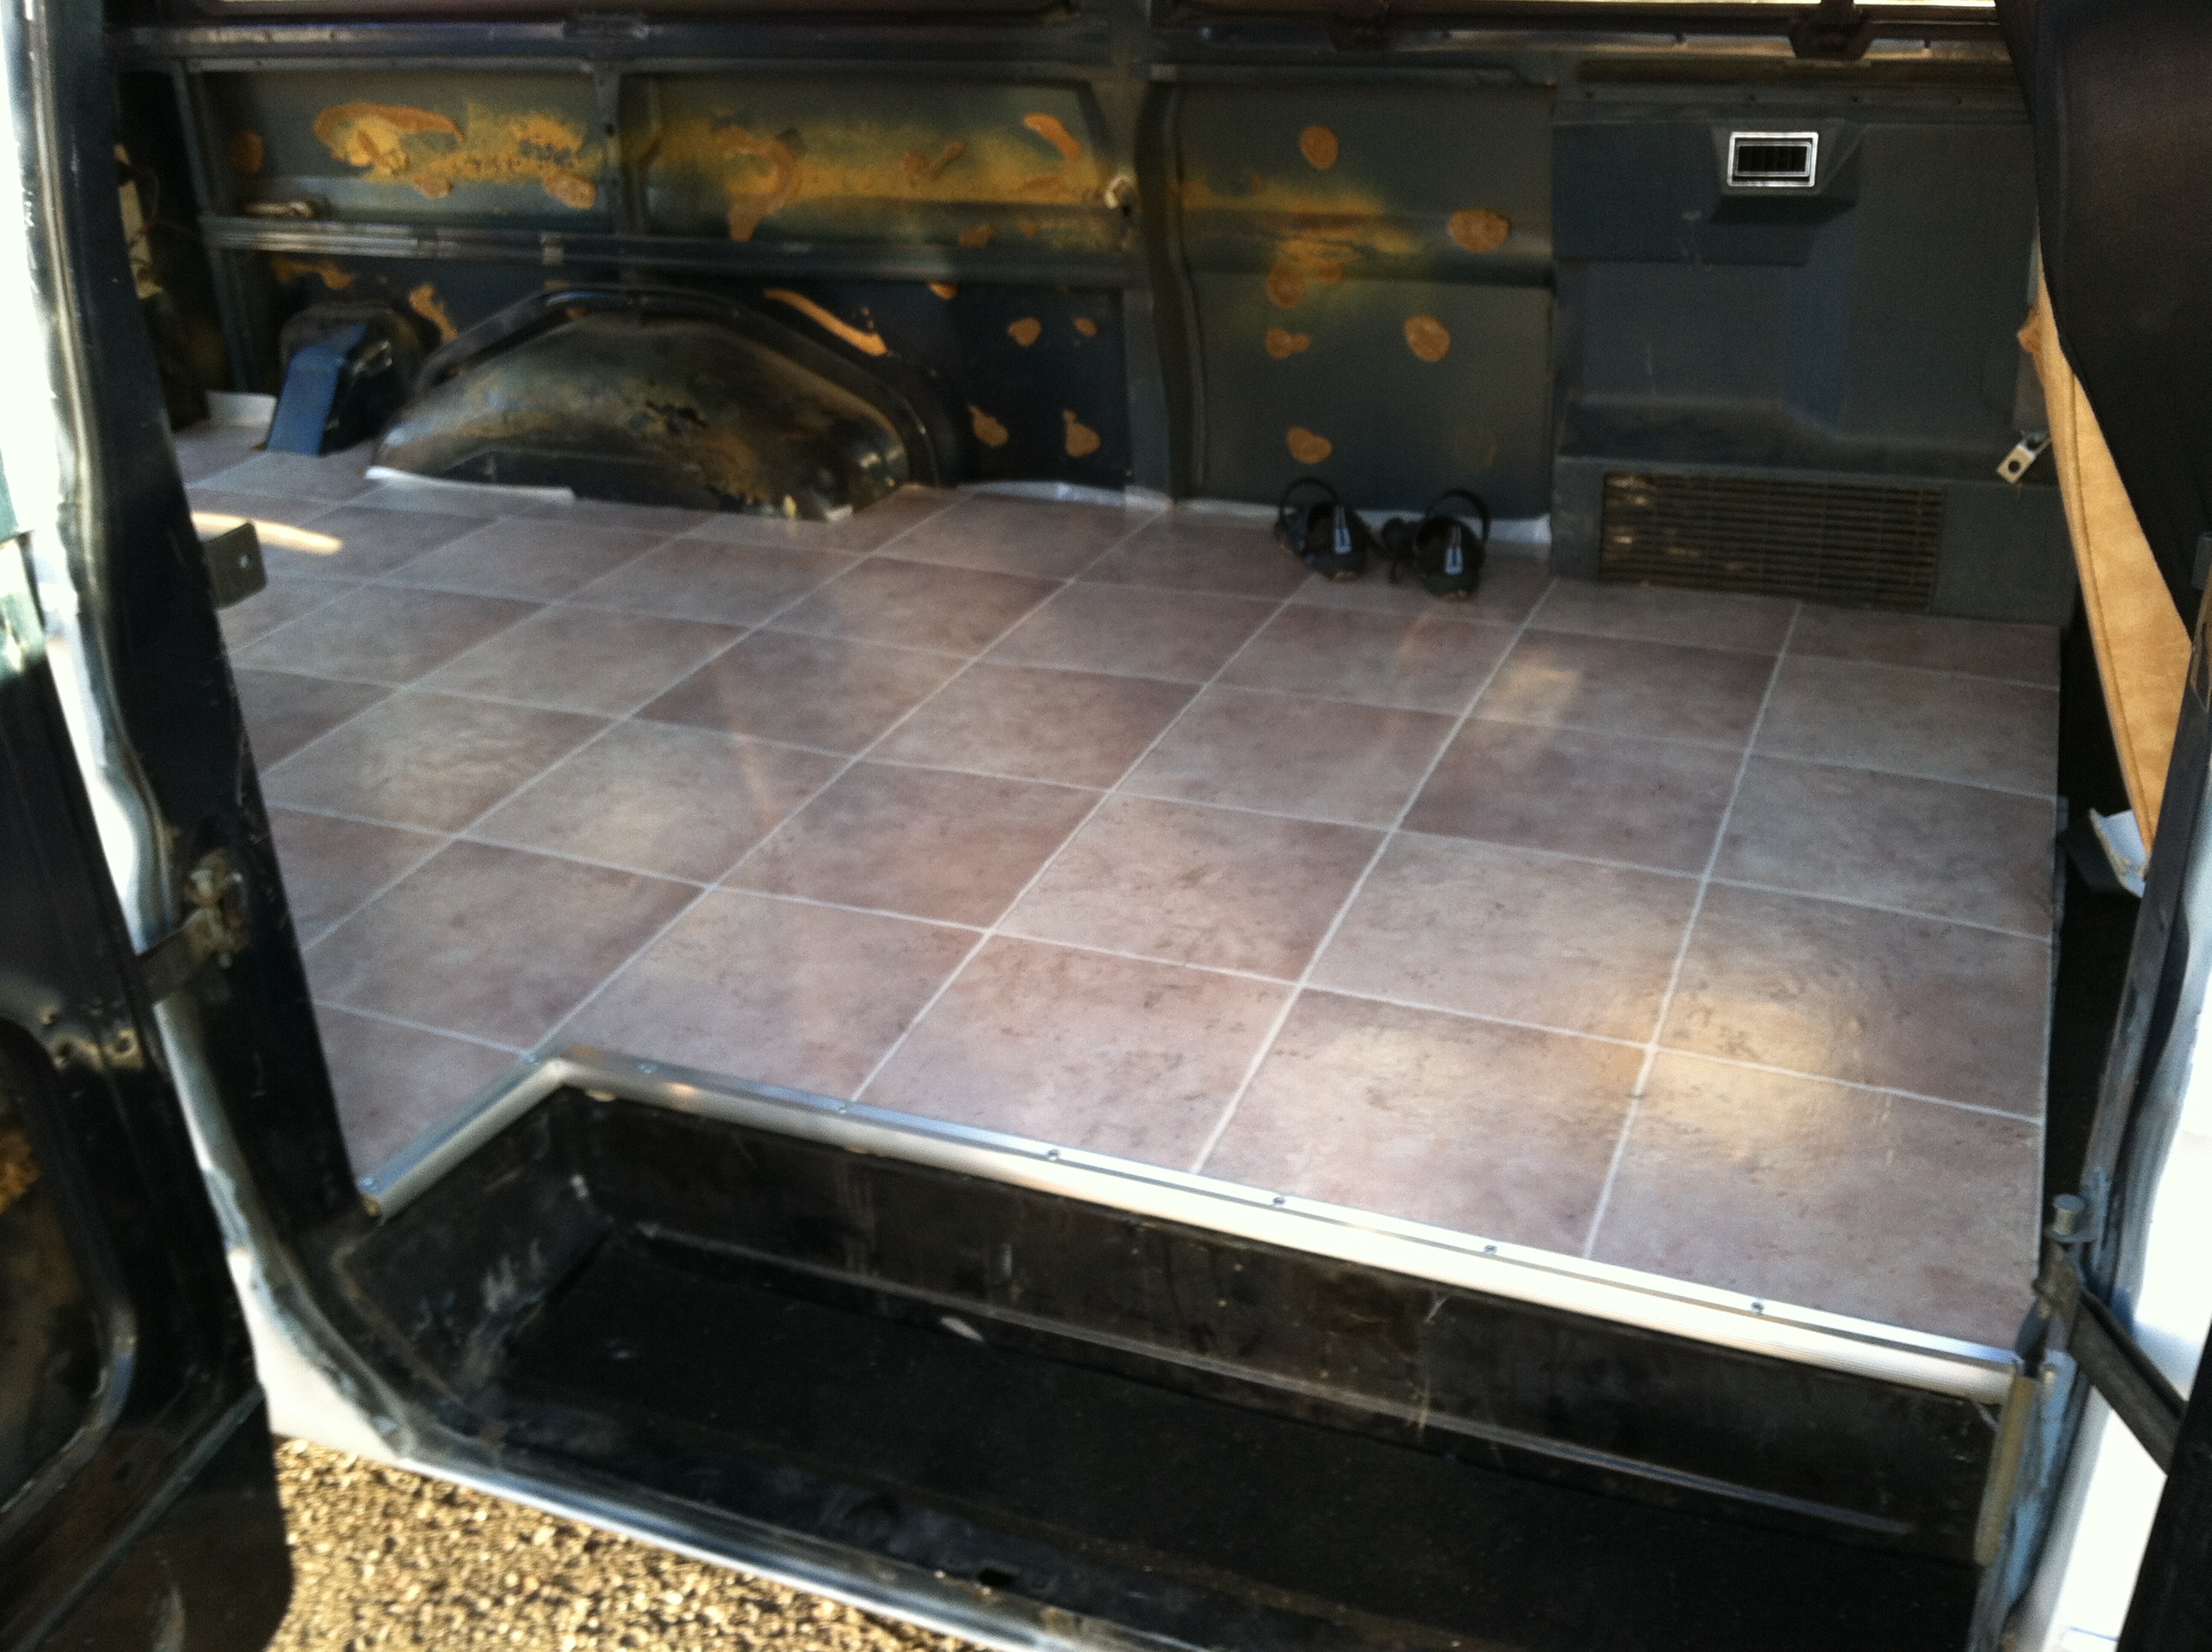
Vinyl
The next step was to purchase a roll of vinyl and glue it down. Pretty straight forward. We purchased a 8′ X 12′ remnant roll for a discount. You toss it in (careful not to rip it as it is very thin and fragile before being fit and glued), cut it to shape then fold each respective half back as you glue the other. Buy a roller to press out the wrinkles and get it to adhere completely to the glue.


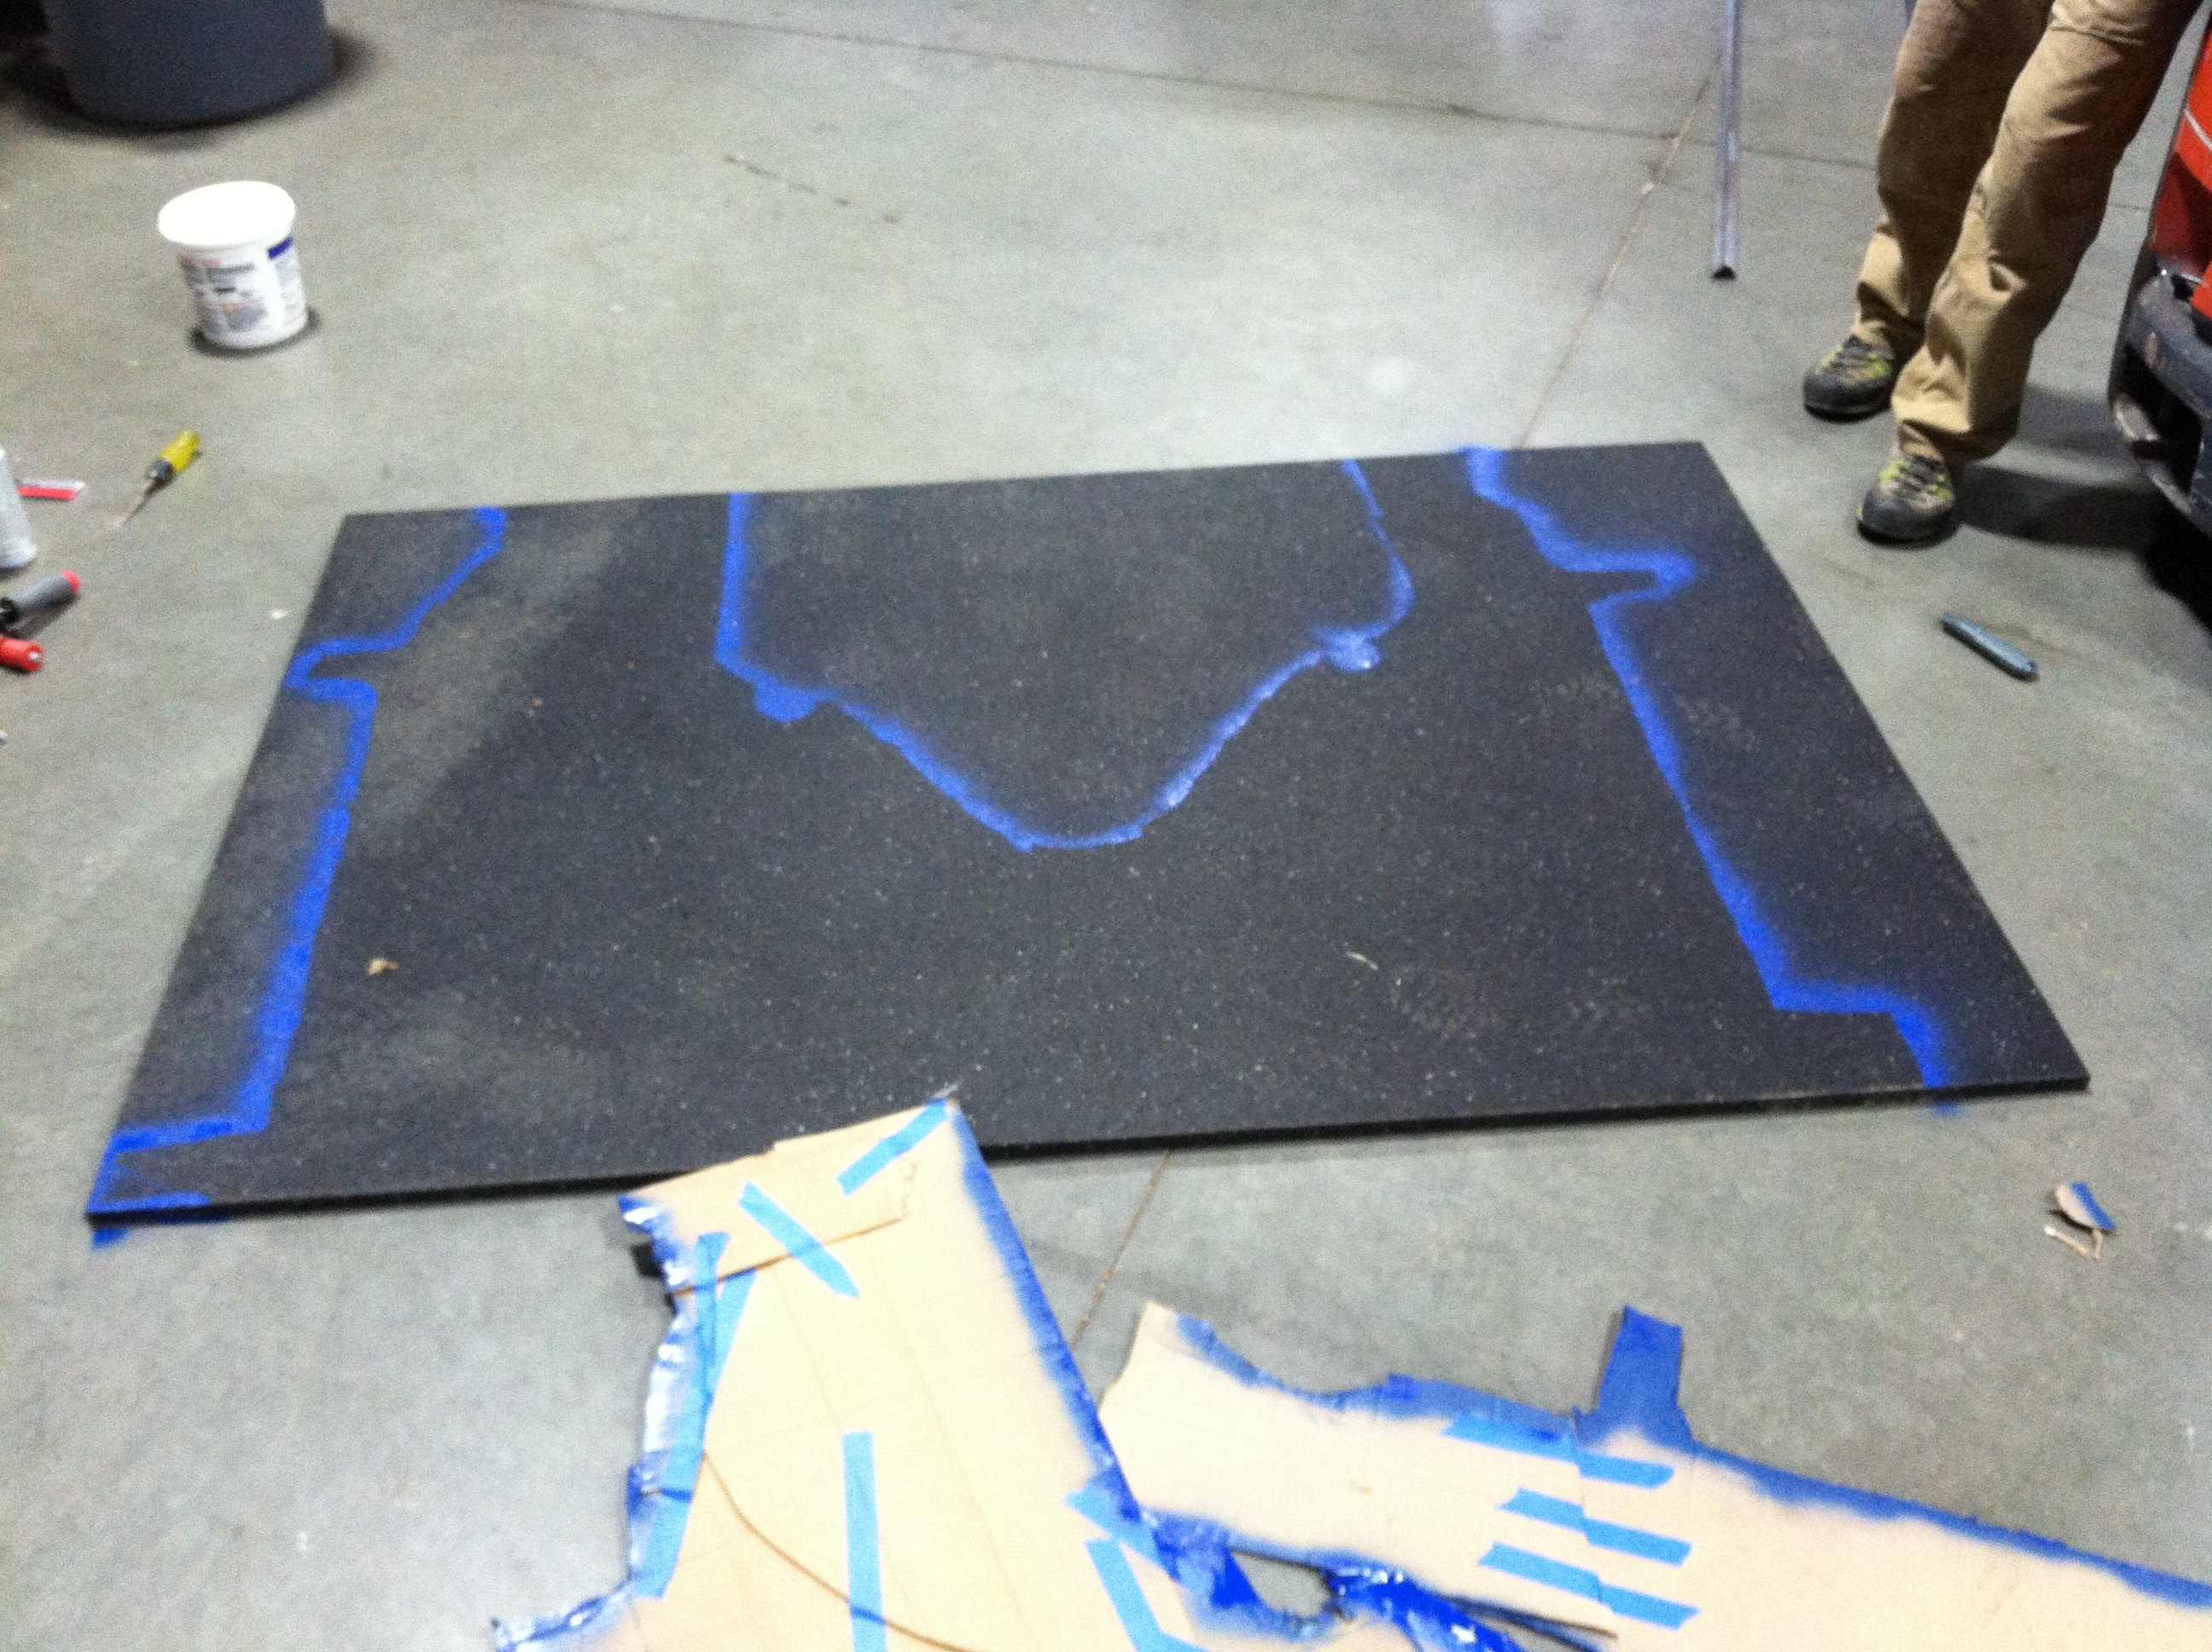
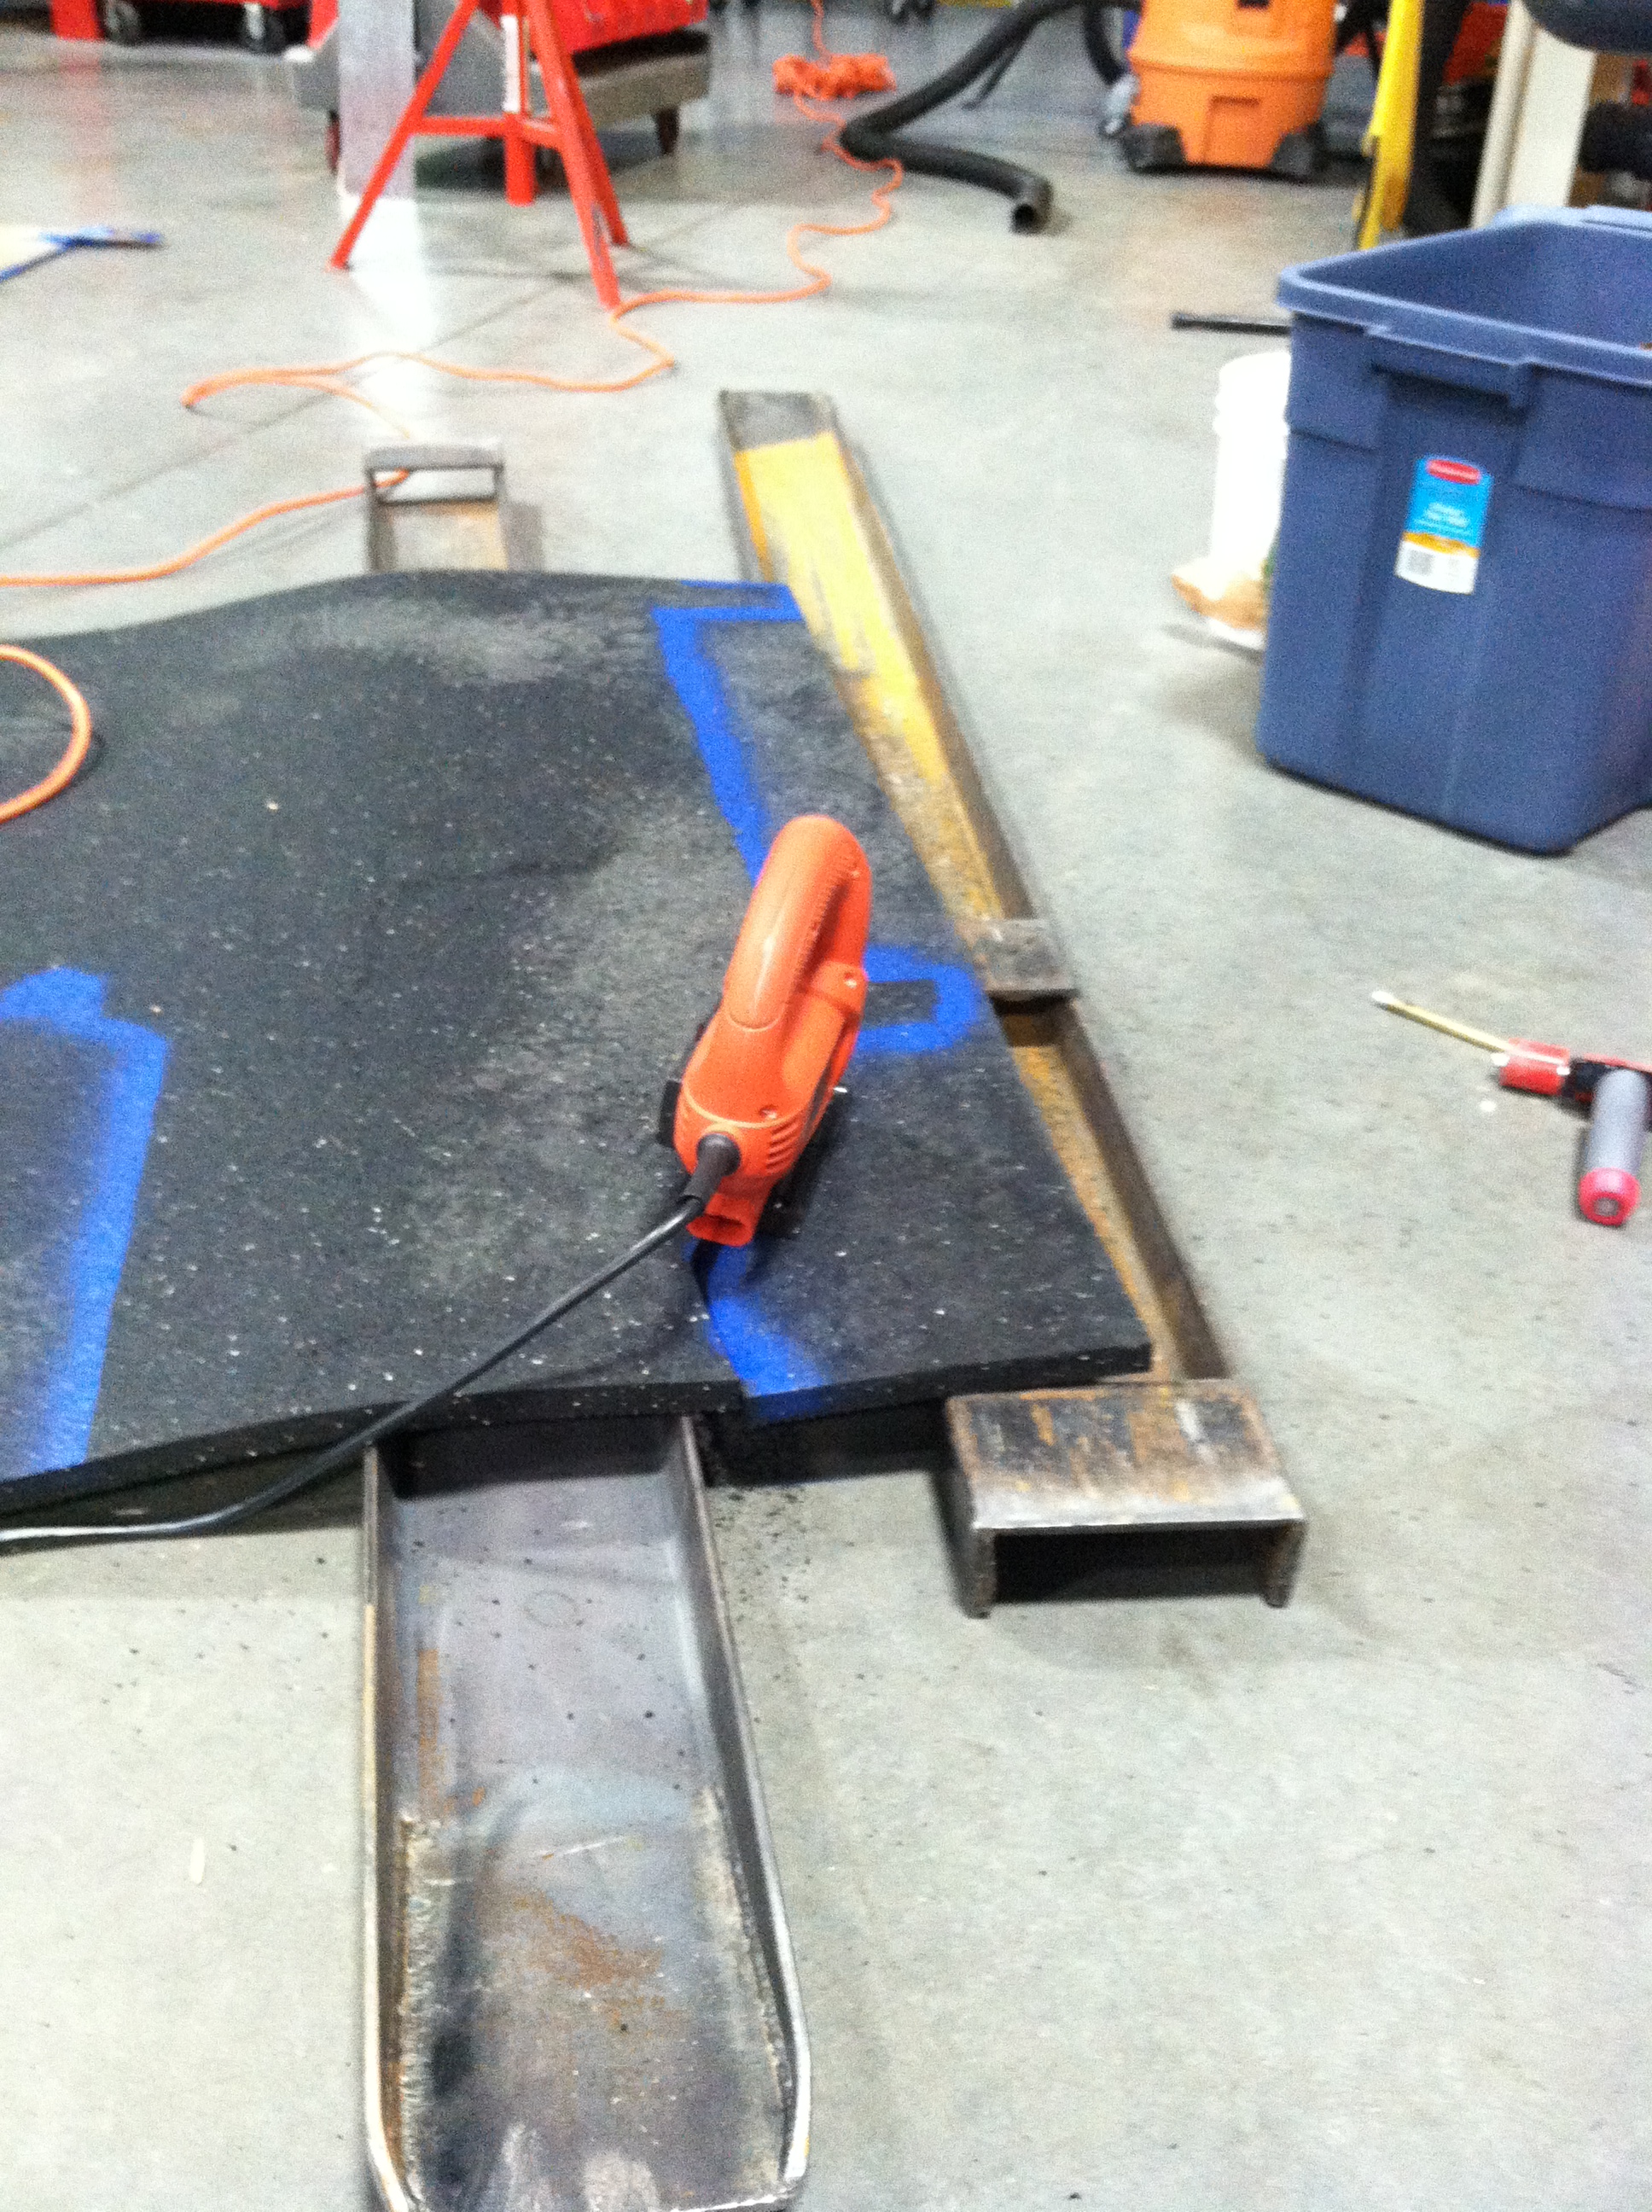
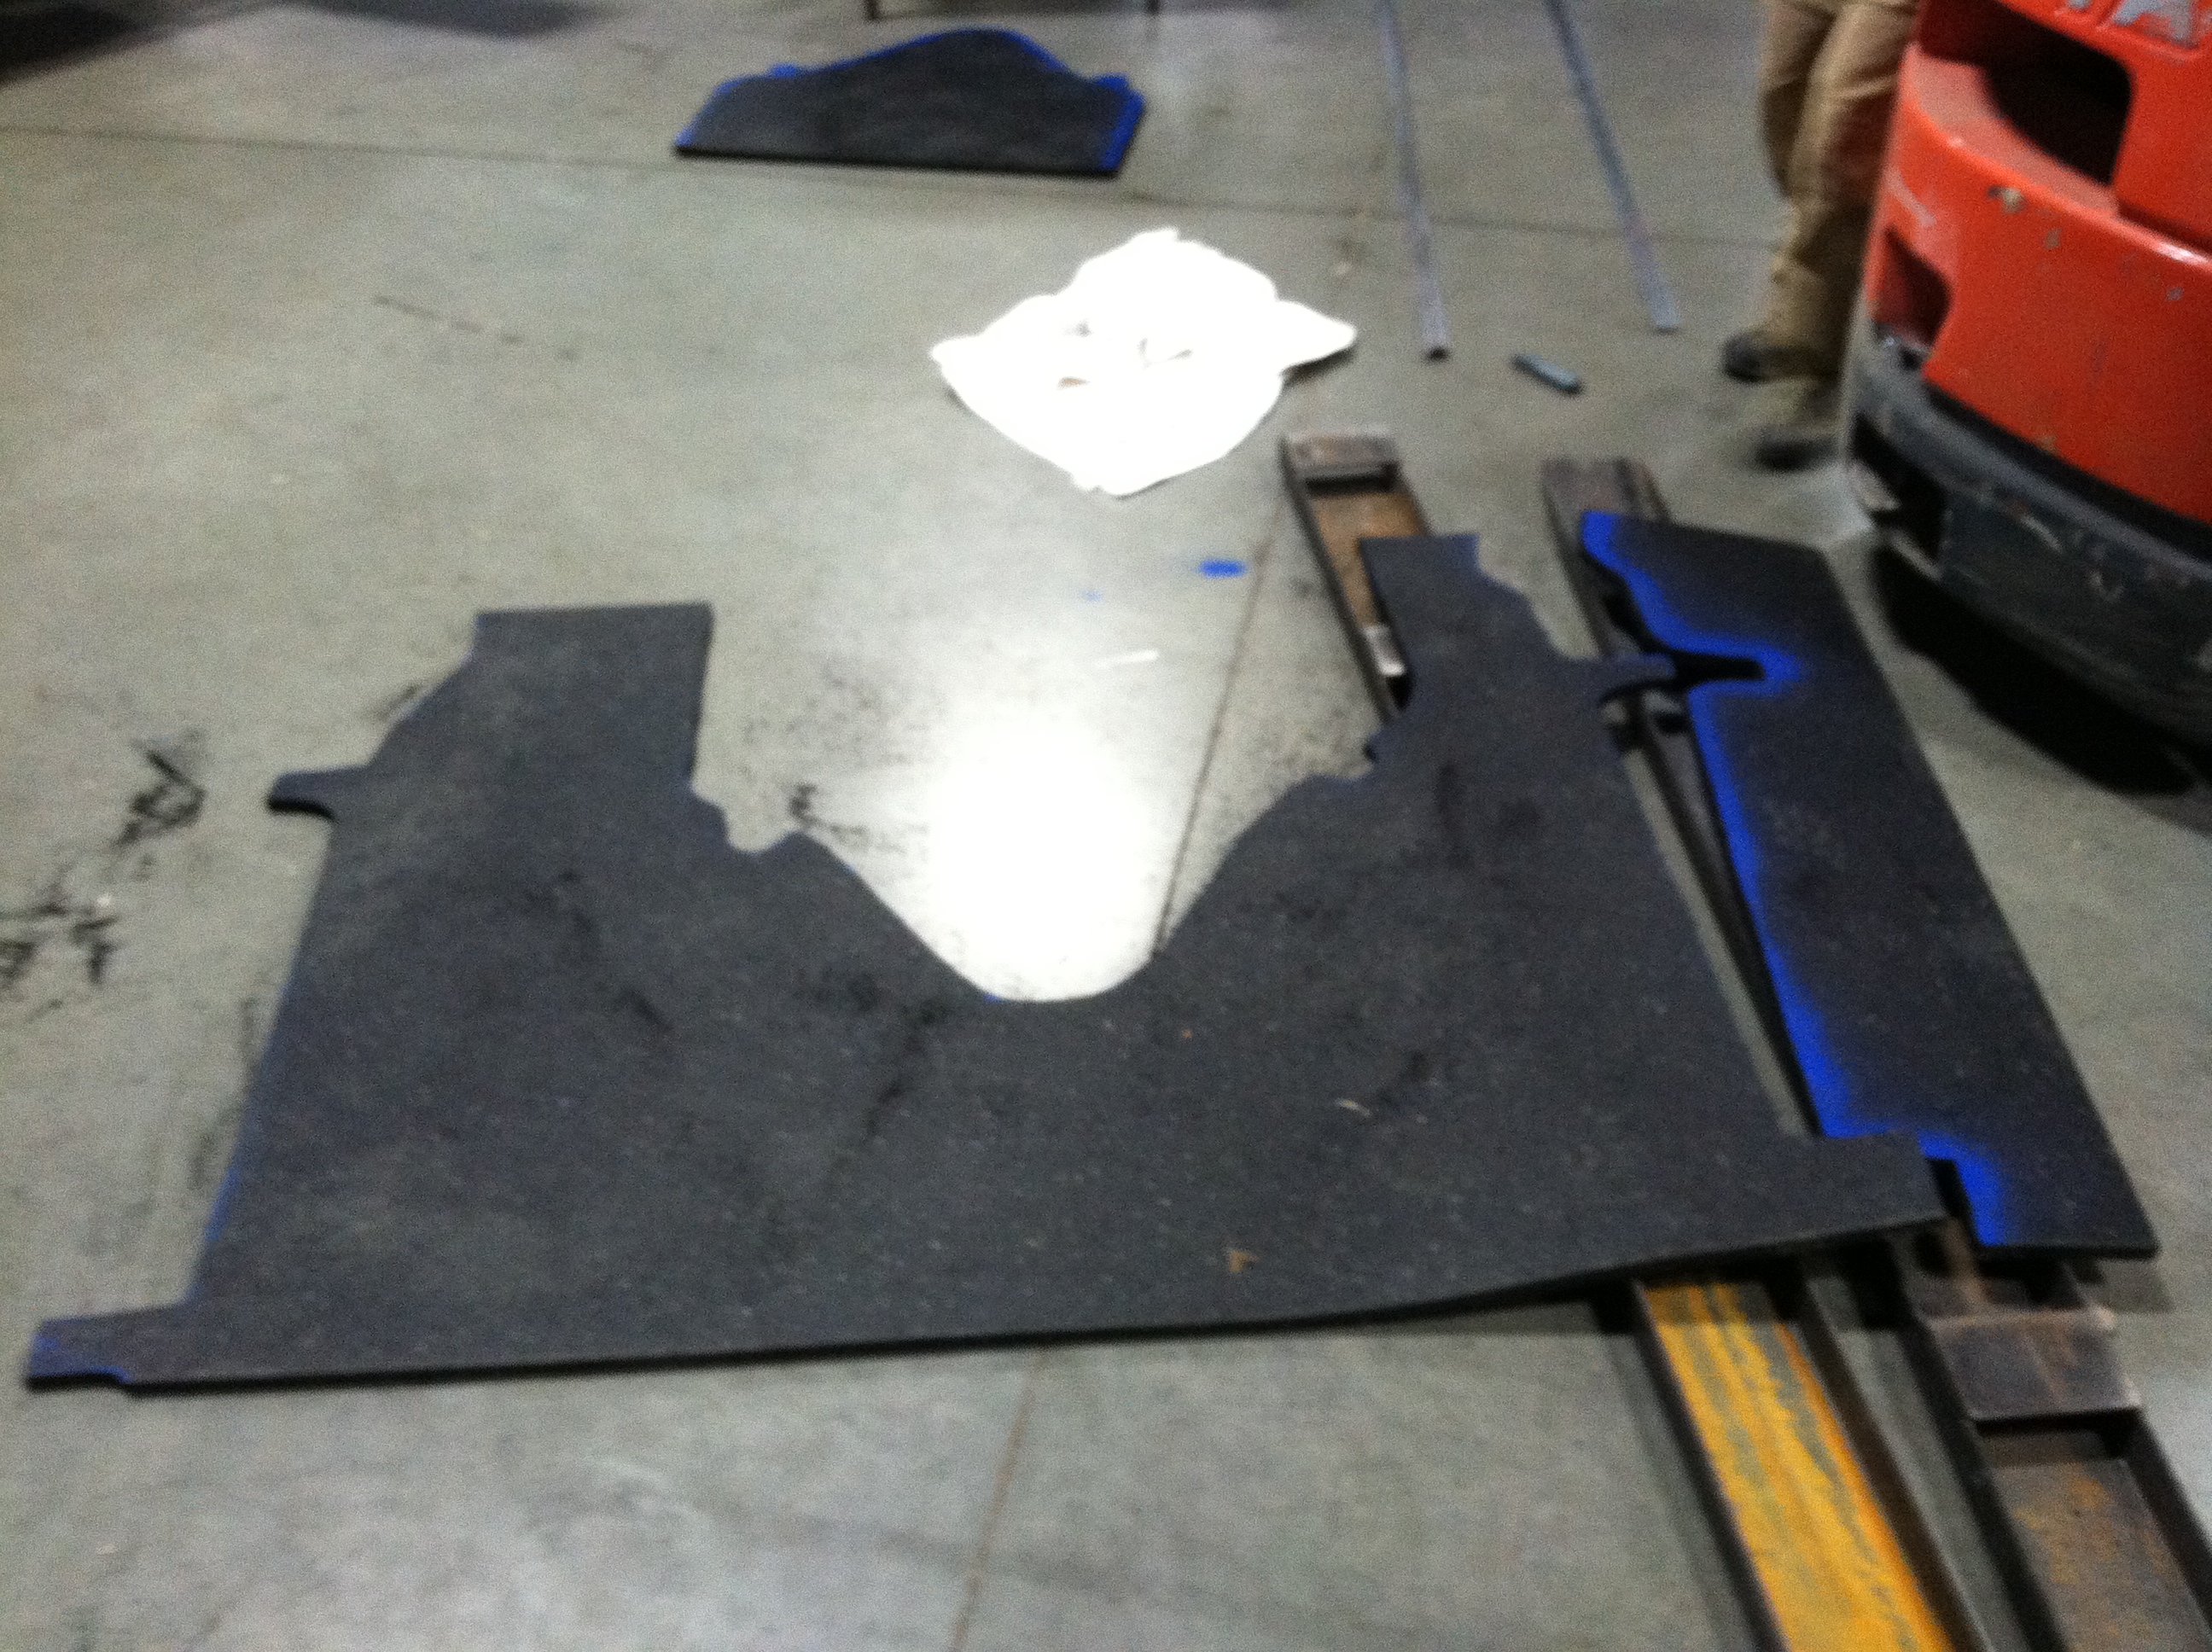
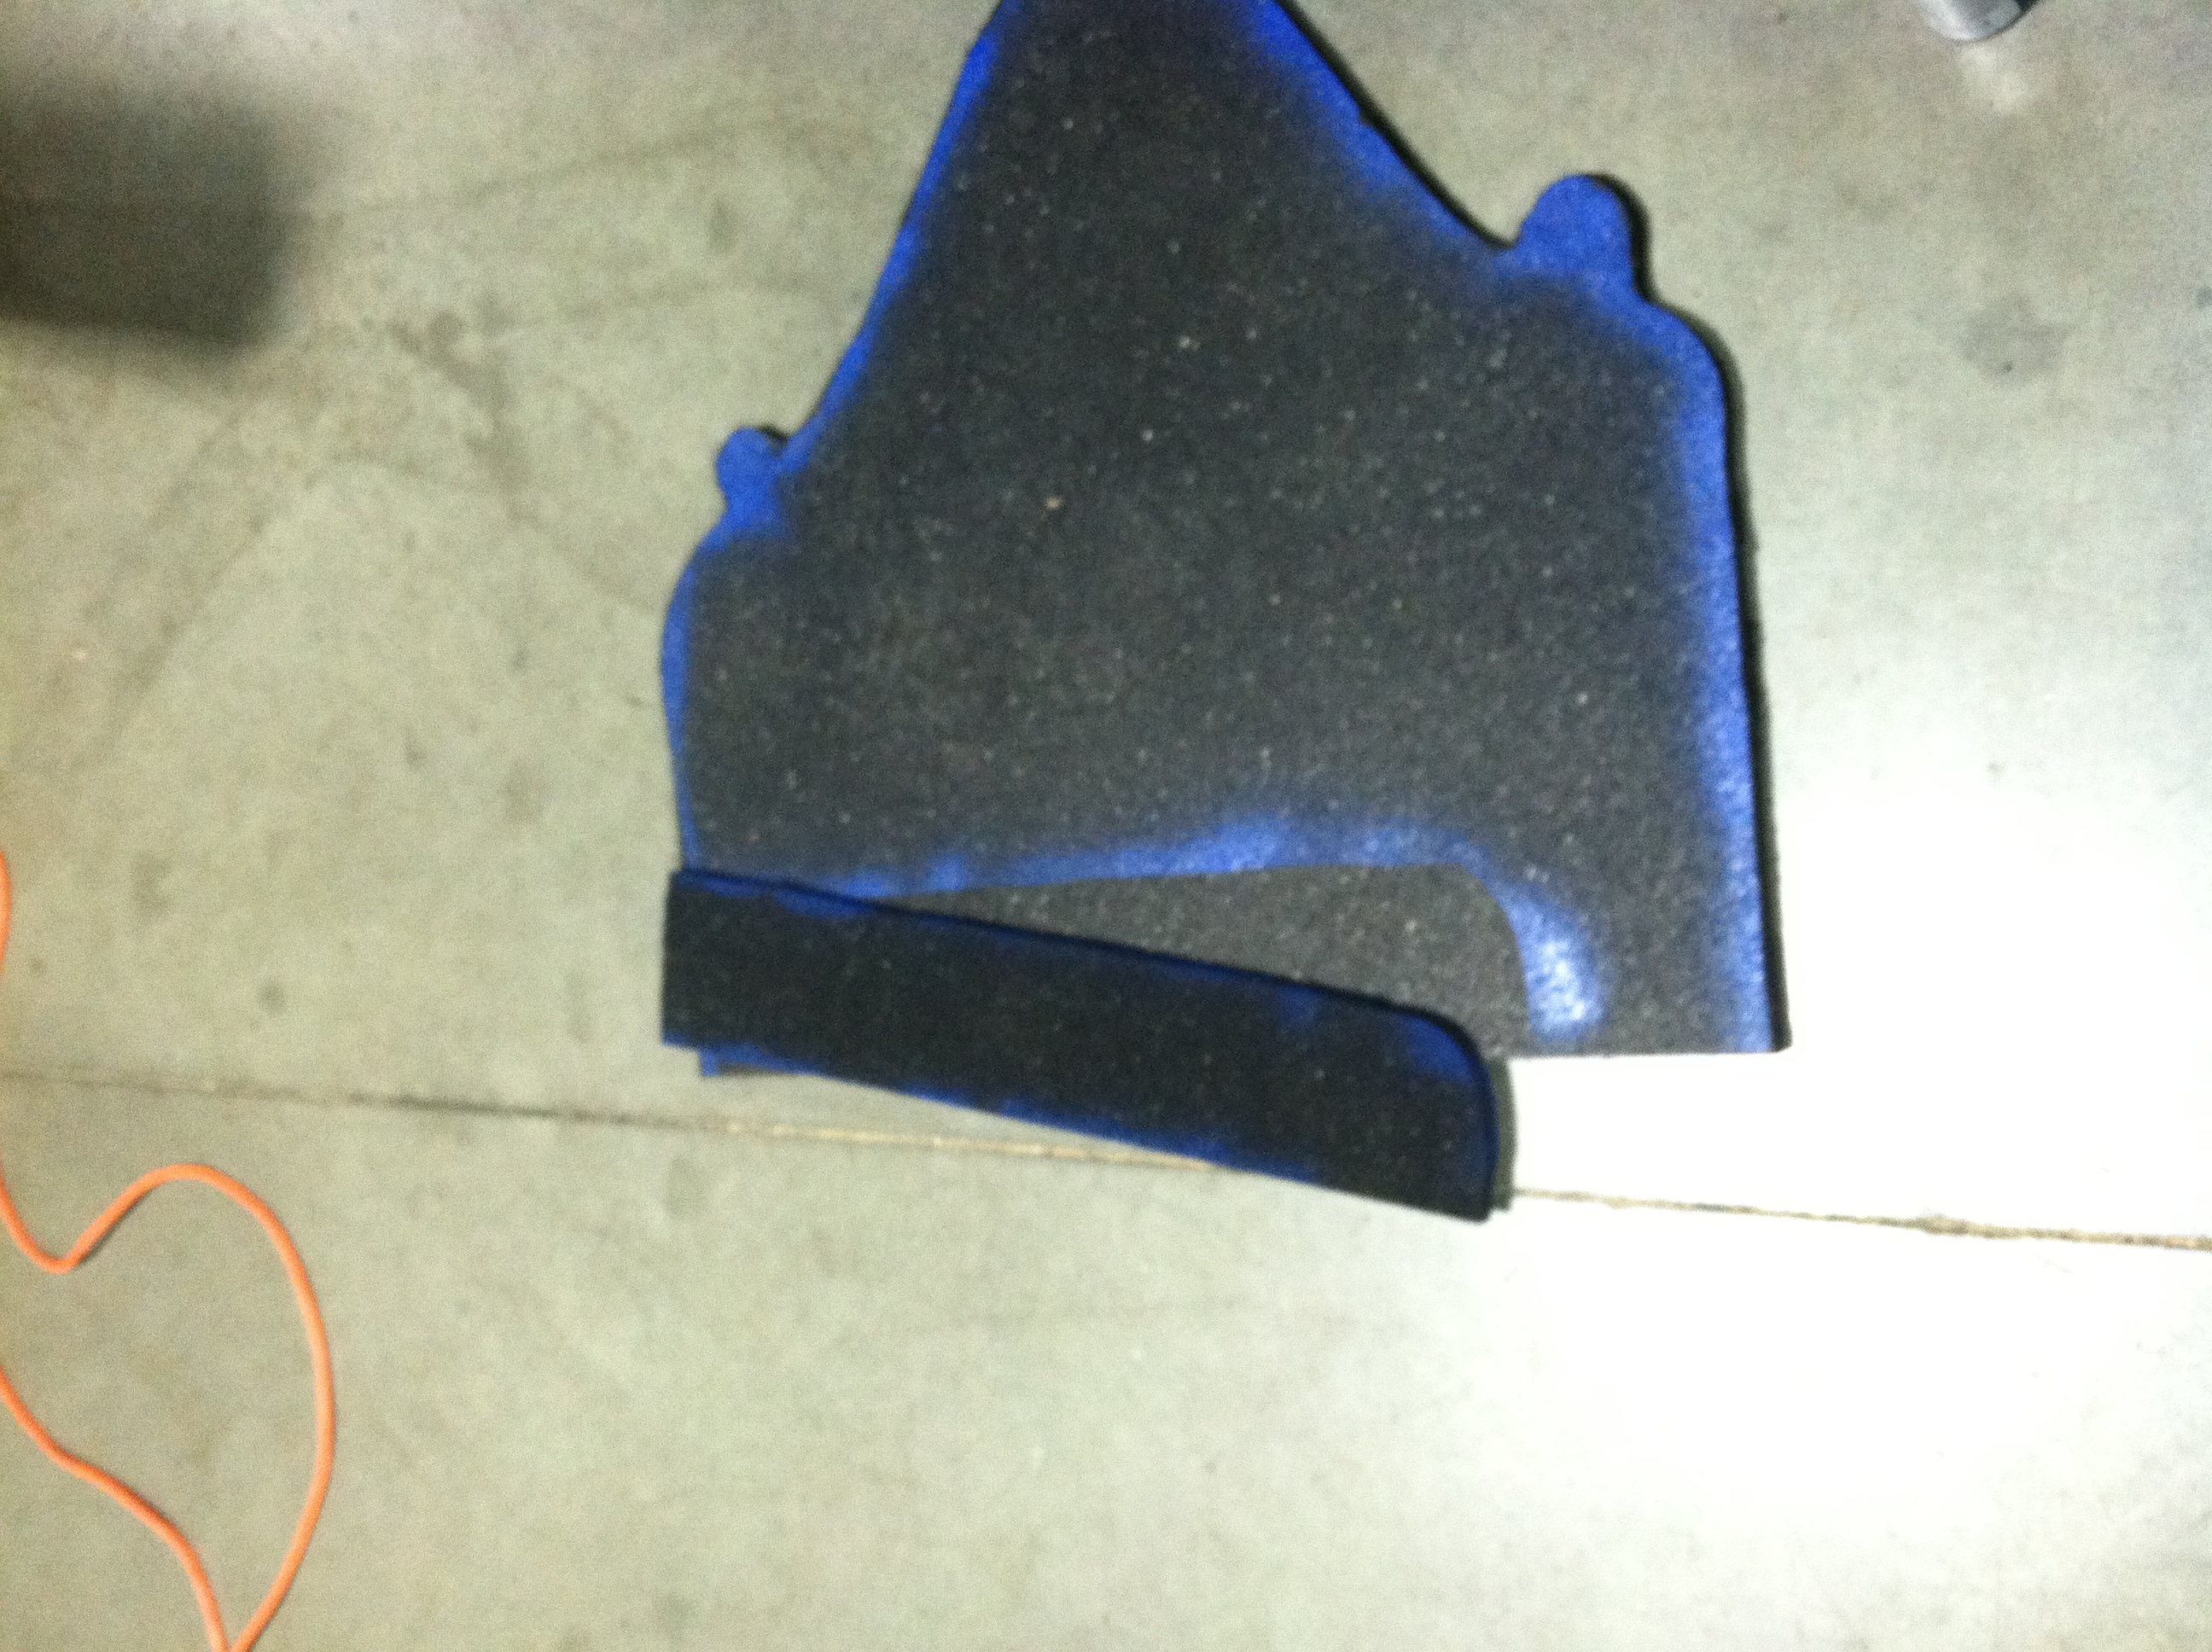
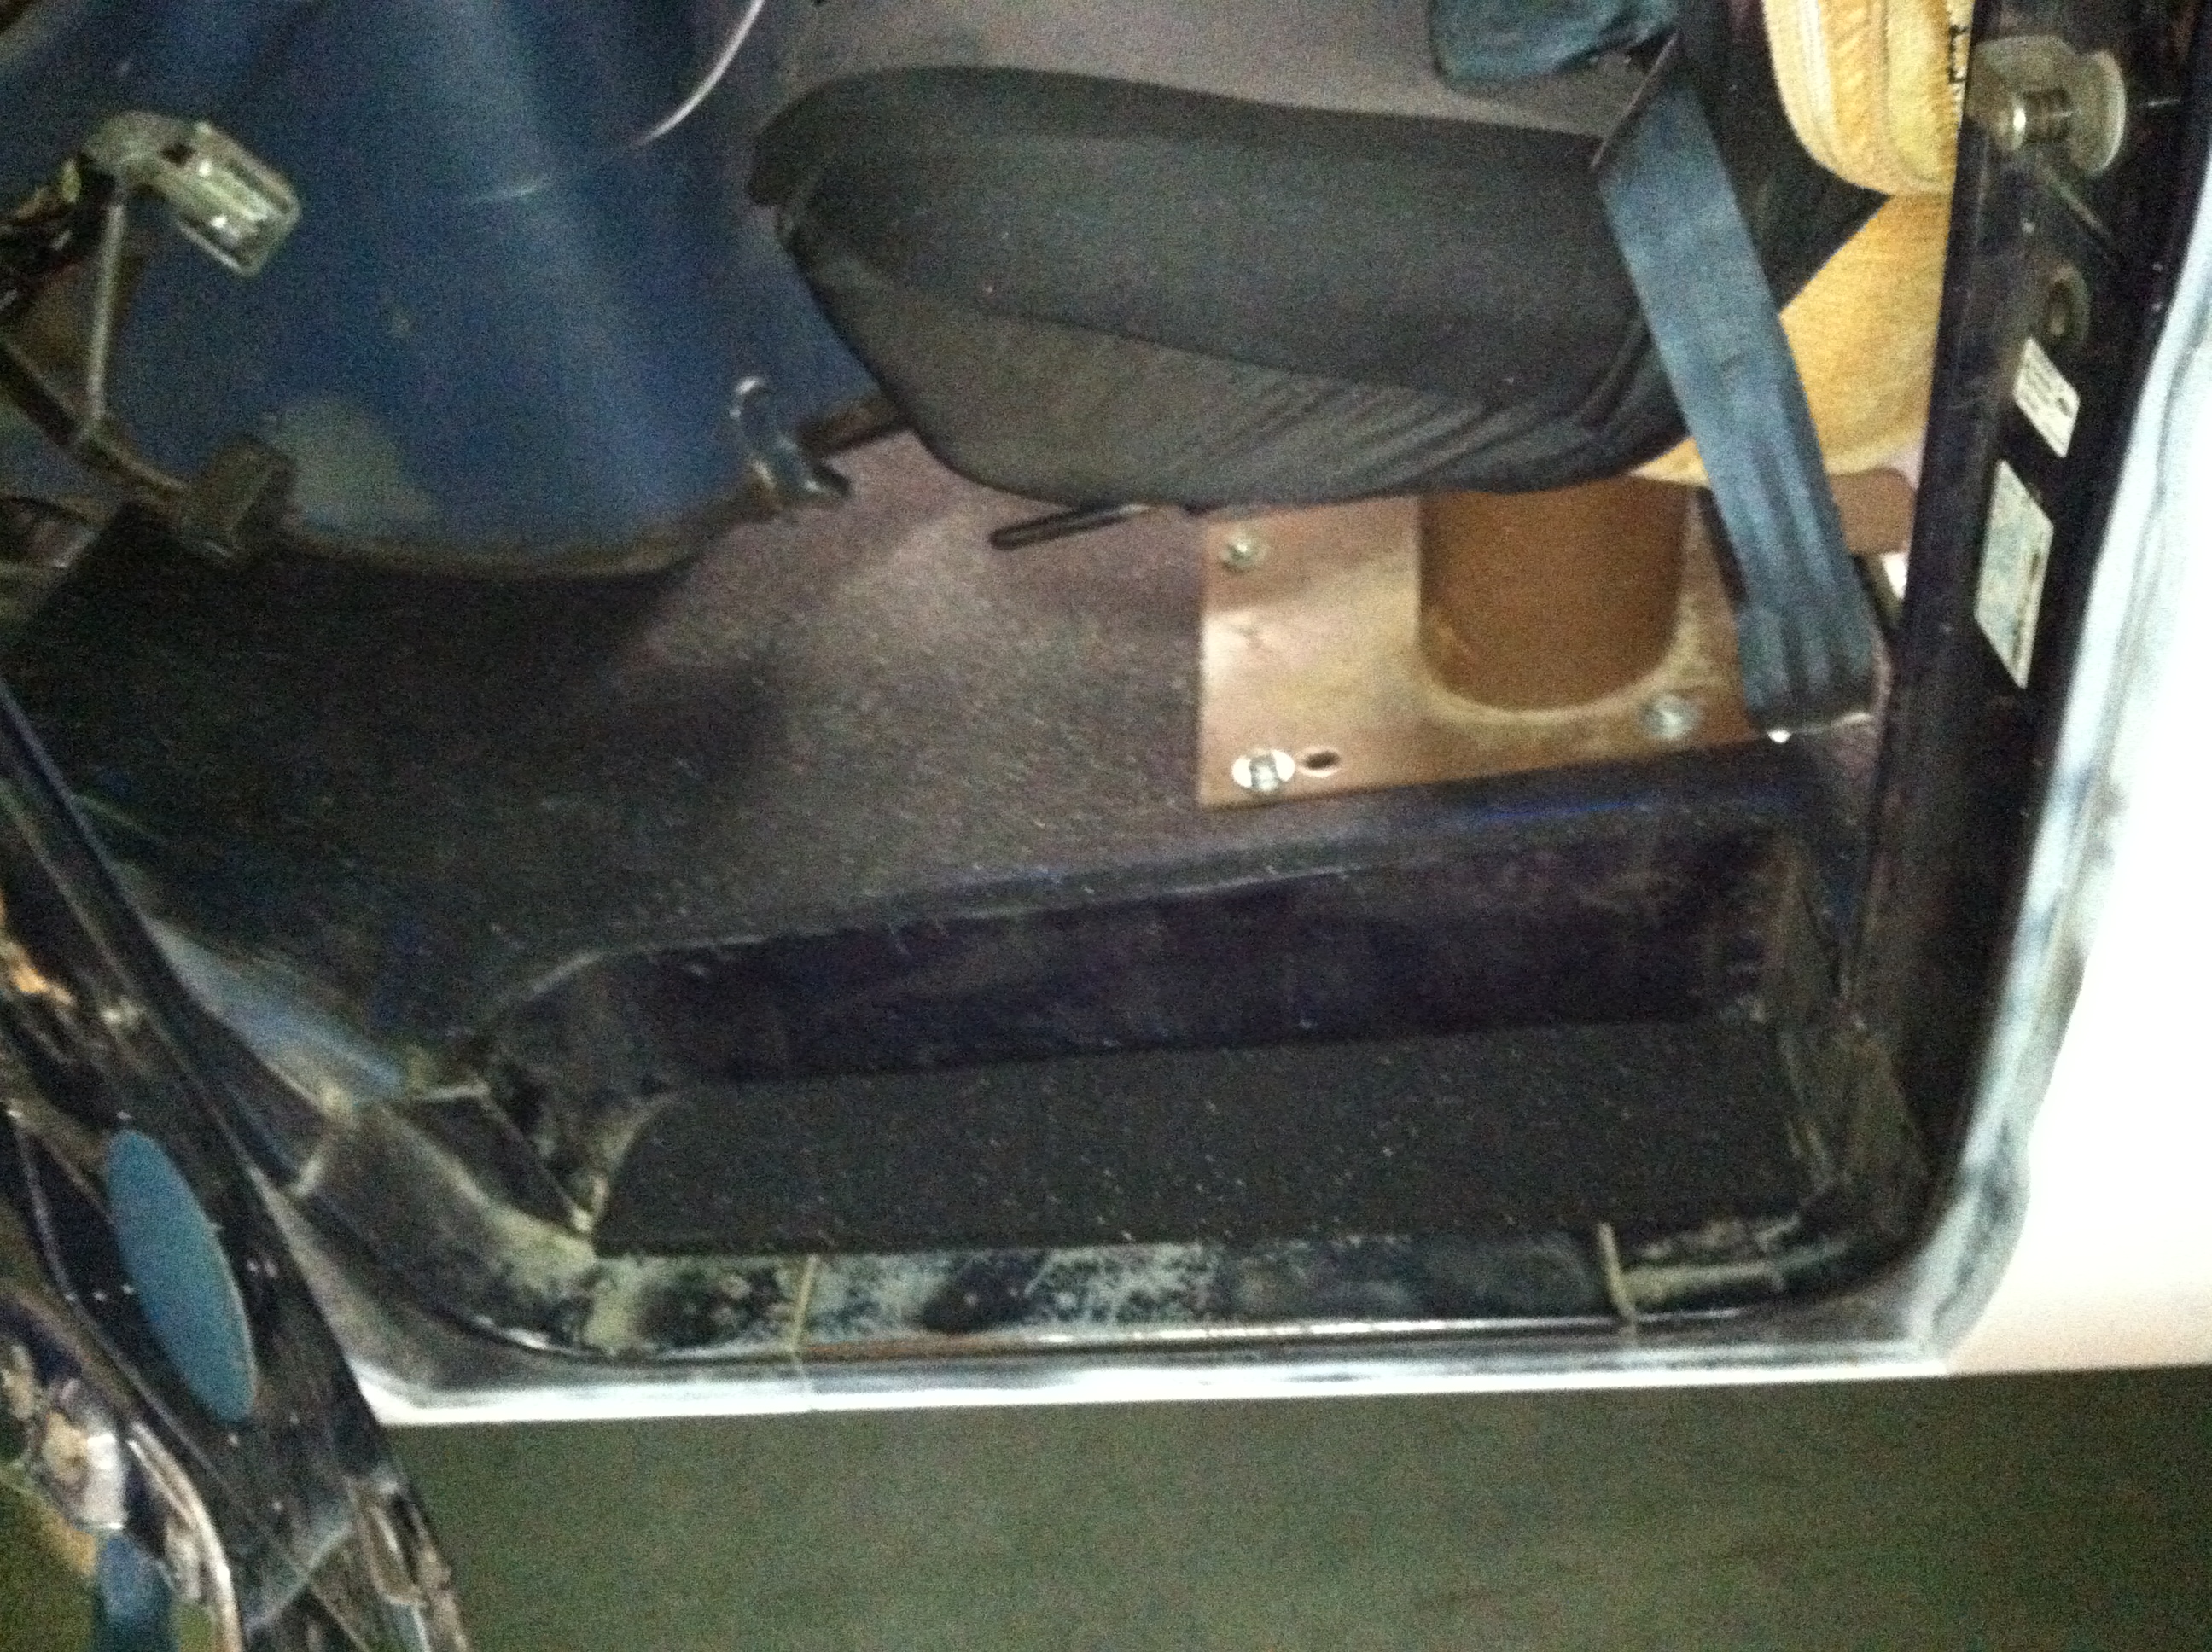
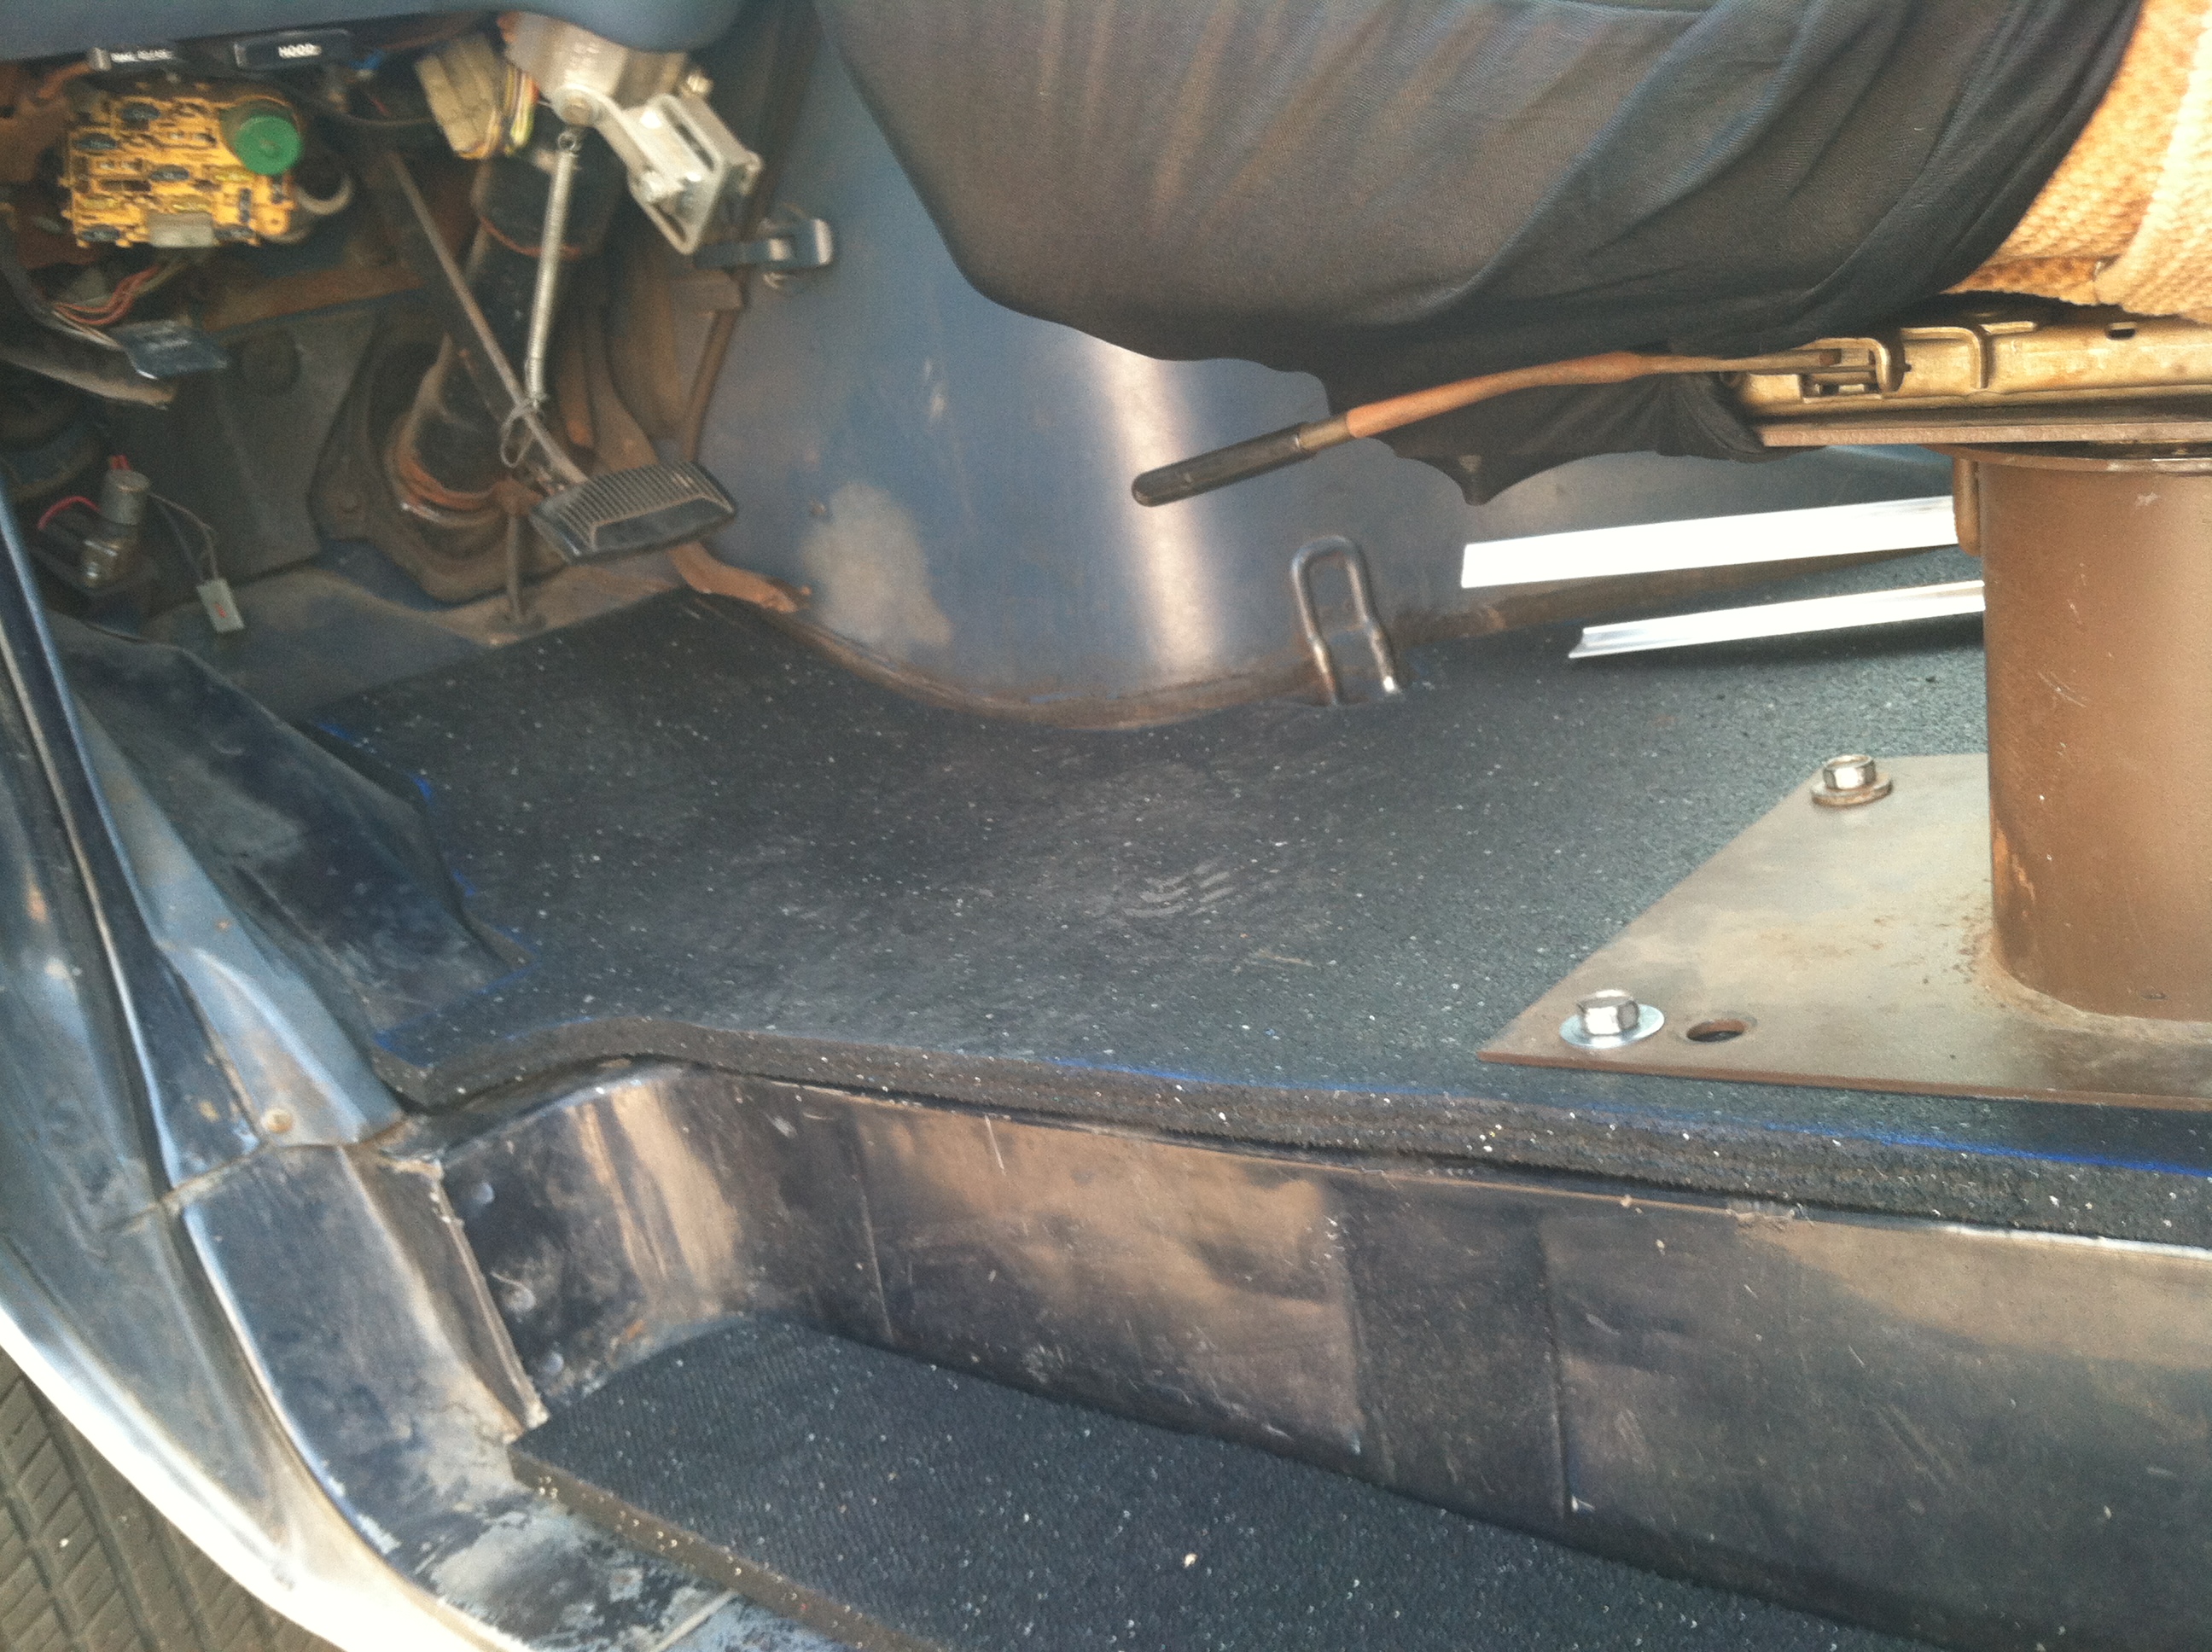
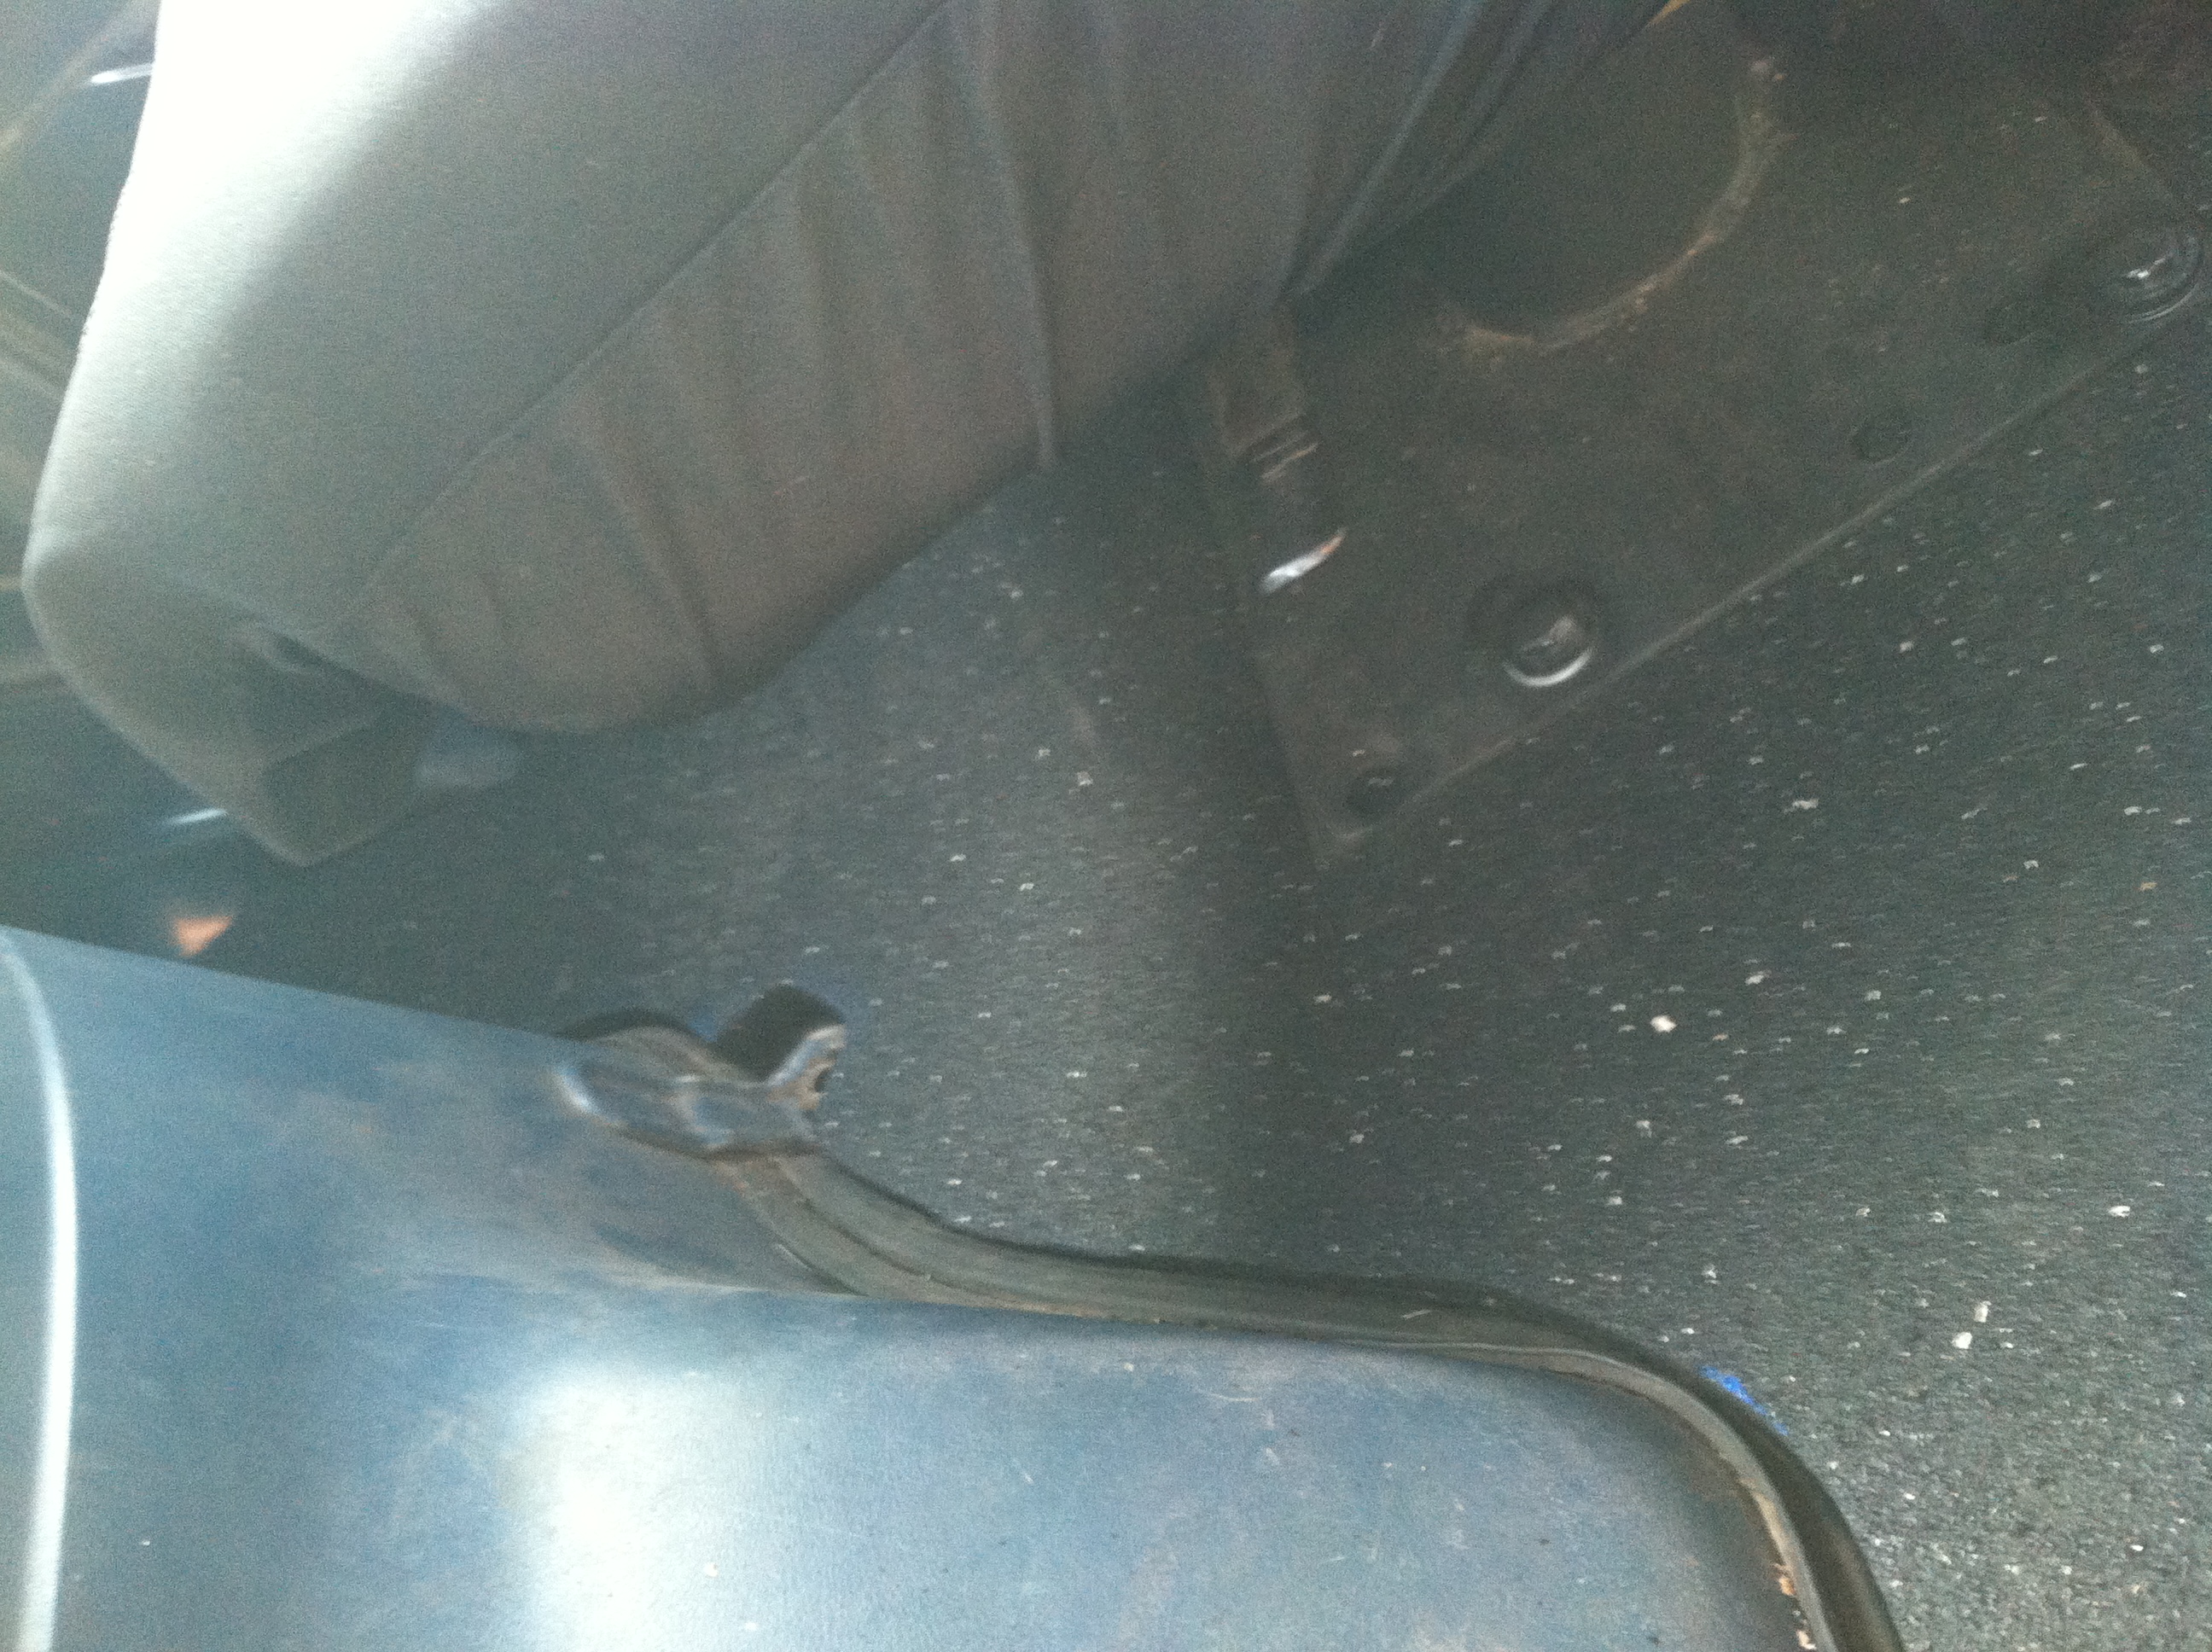
The cab
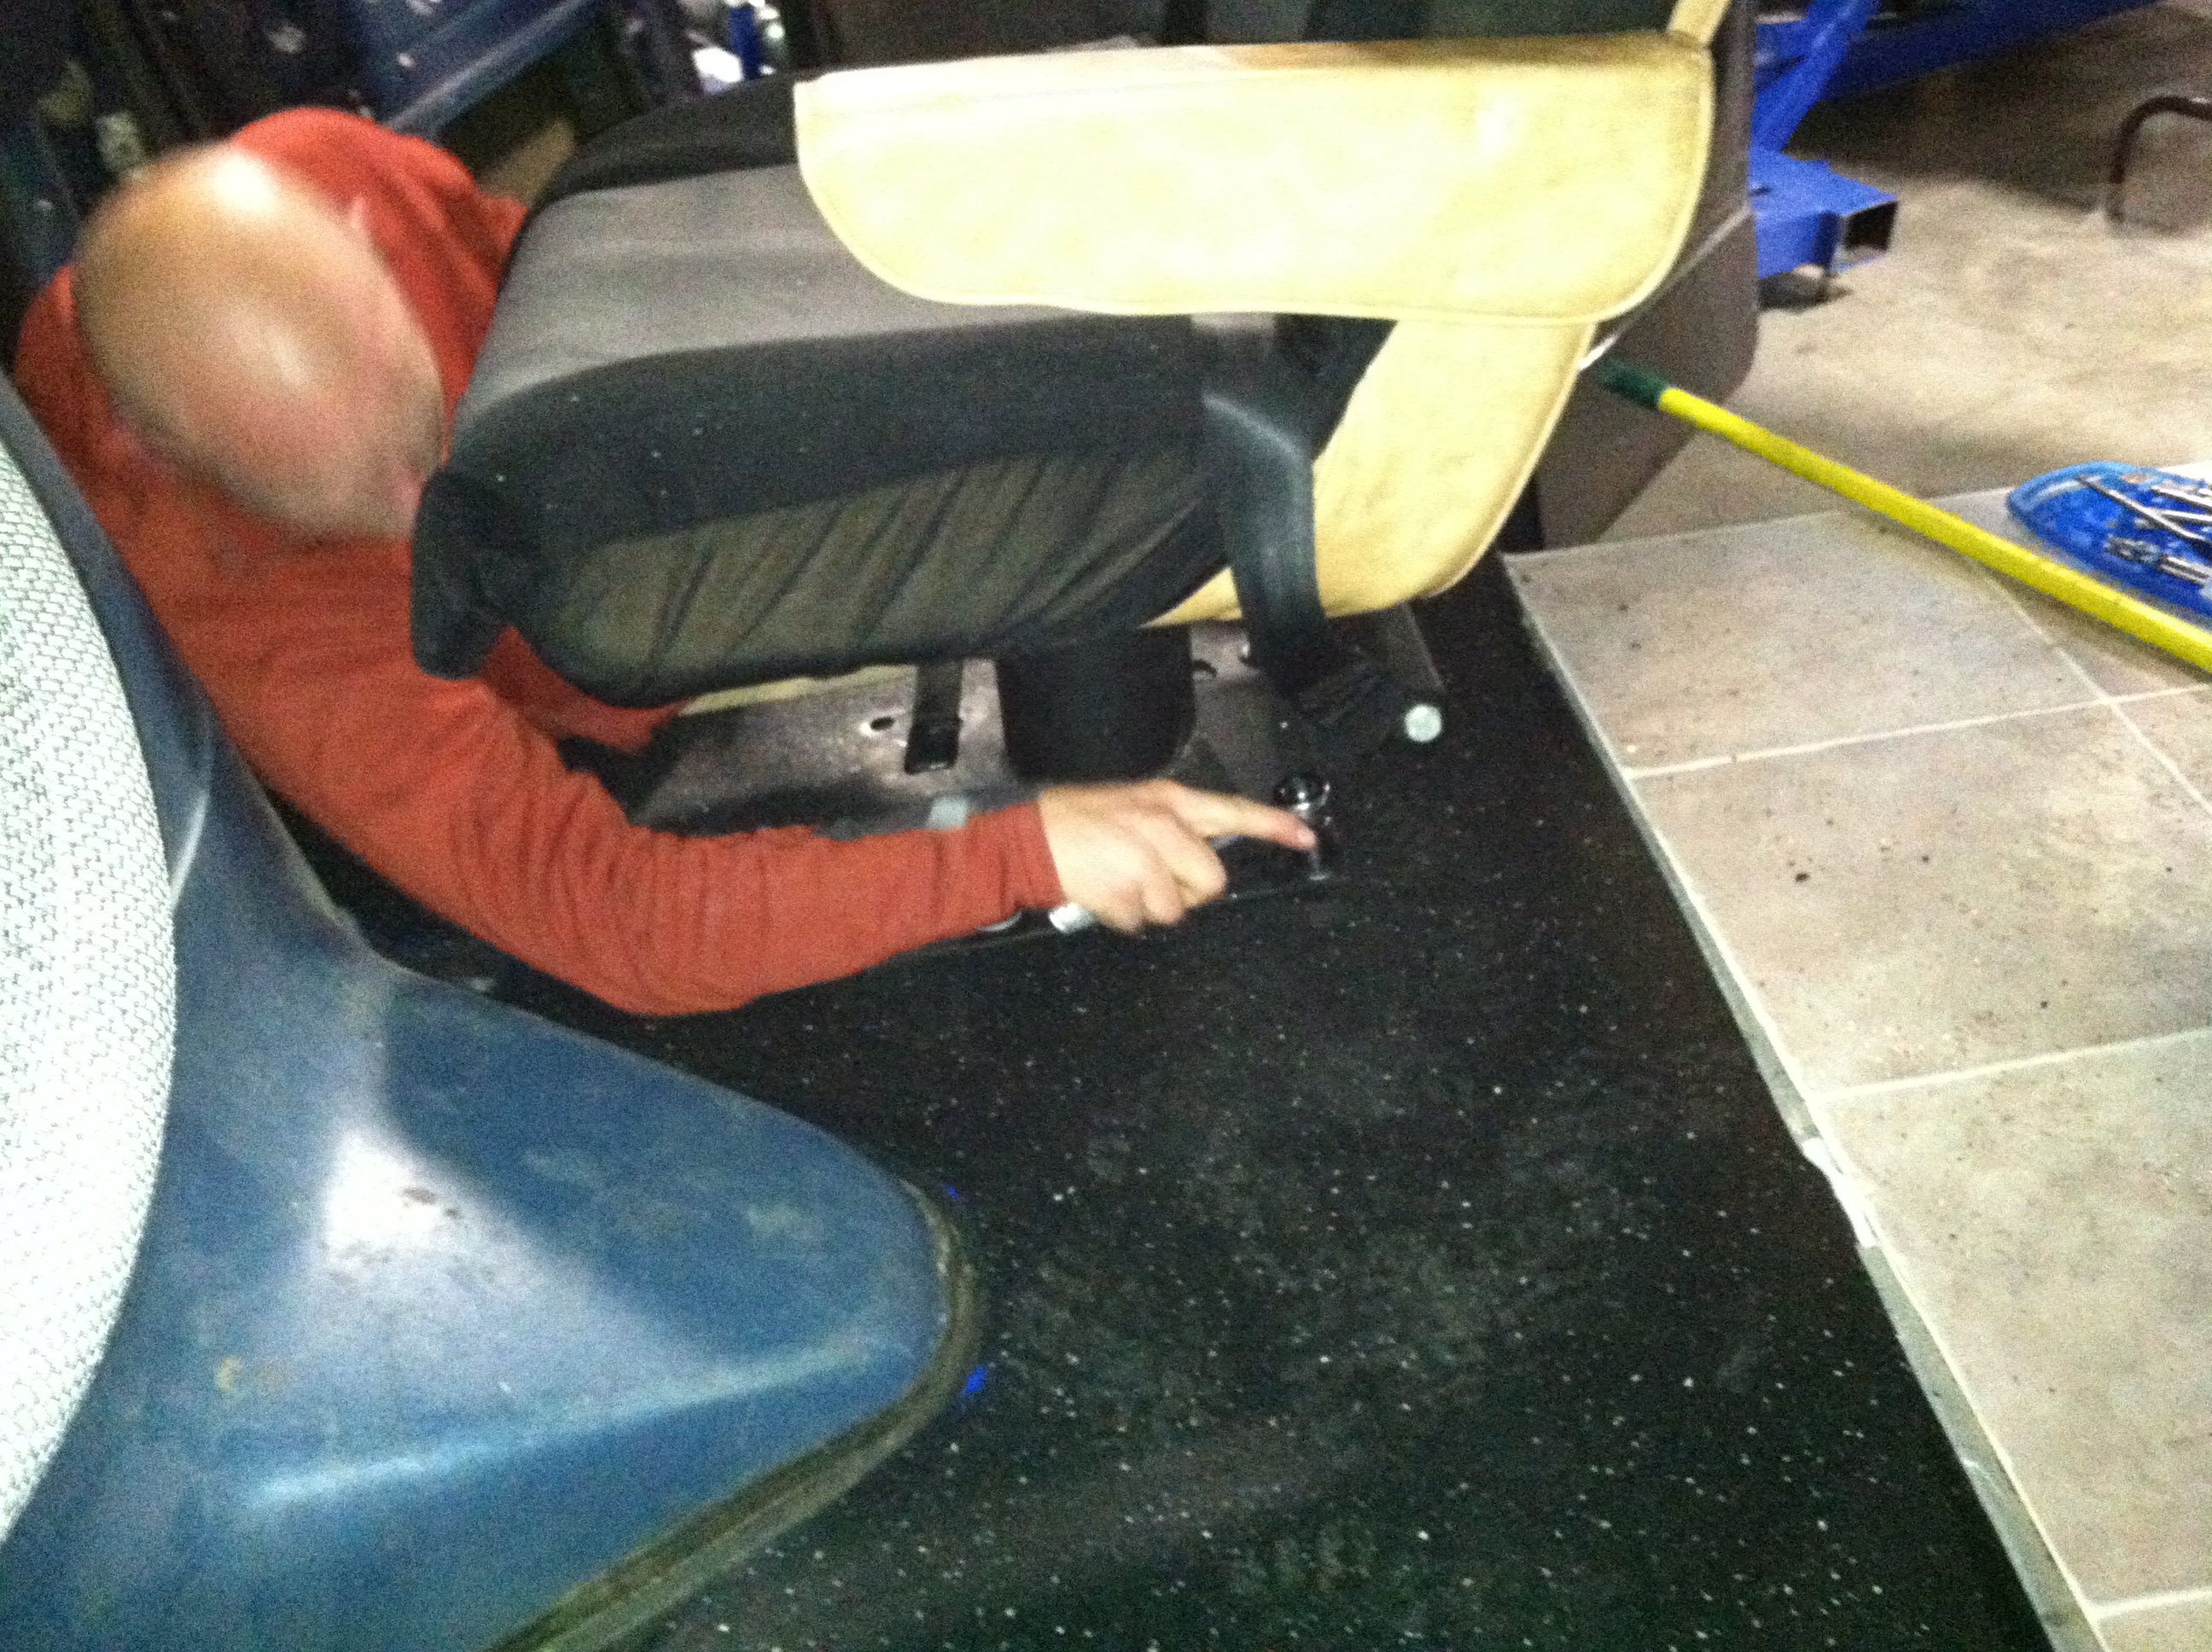
The wood floor ended right about where the front seats are. The front of the cab was still bare metal floor. It has some contour to it and the engine access cover to deal with as well as the seats, so it took a great deal of pondering before I arrived a good plan of action. Borrowing from a post I saw on a Sprinter forum I found 3/4″ thick 6′ X 4′ stall mats at a ranch supply store for only $40. This stuff is amazing! Extremely durable, good insulator, great sound proofing, and easy to work with. I pulled both seats out, put some cardboard down, and made a template. I placed that on the rubber mat, used some spray paint to outline the template, and set about cutting it with a jigsaw. Supporting it while making the cuts is a challenge but a few 4X4 or anything high enough to keep the jigsaw blade from hitting the floor should do the trick. After cutting out the pattern I tossed it in to find it was an unbelievably good fit, on the first try no less. I hope the remaining projects go this smoothly. I drilled holes in the mat where the seat bolts go and mounted the seats directly on top of the rubber. I did have to use a sharp razor to cut a little piece near the gas pedal so it could go all the way down. After a few more cuts the left over pieces fit perfectly in the driver, passenger, and side door steps. I’ll likely come back later and carpet over this… or maybe not. It fits very well and looks pretty good.
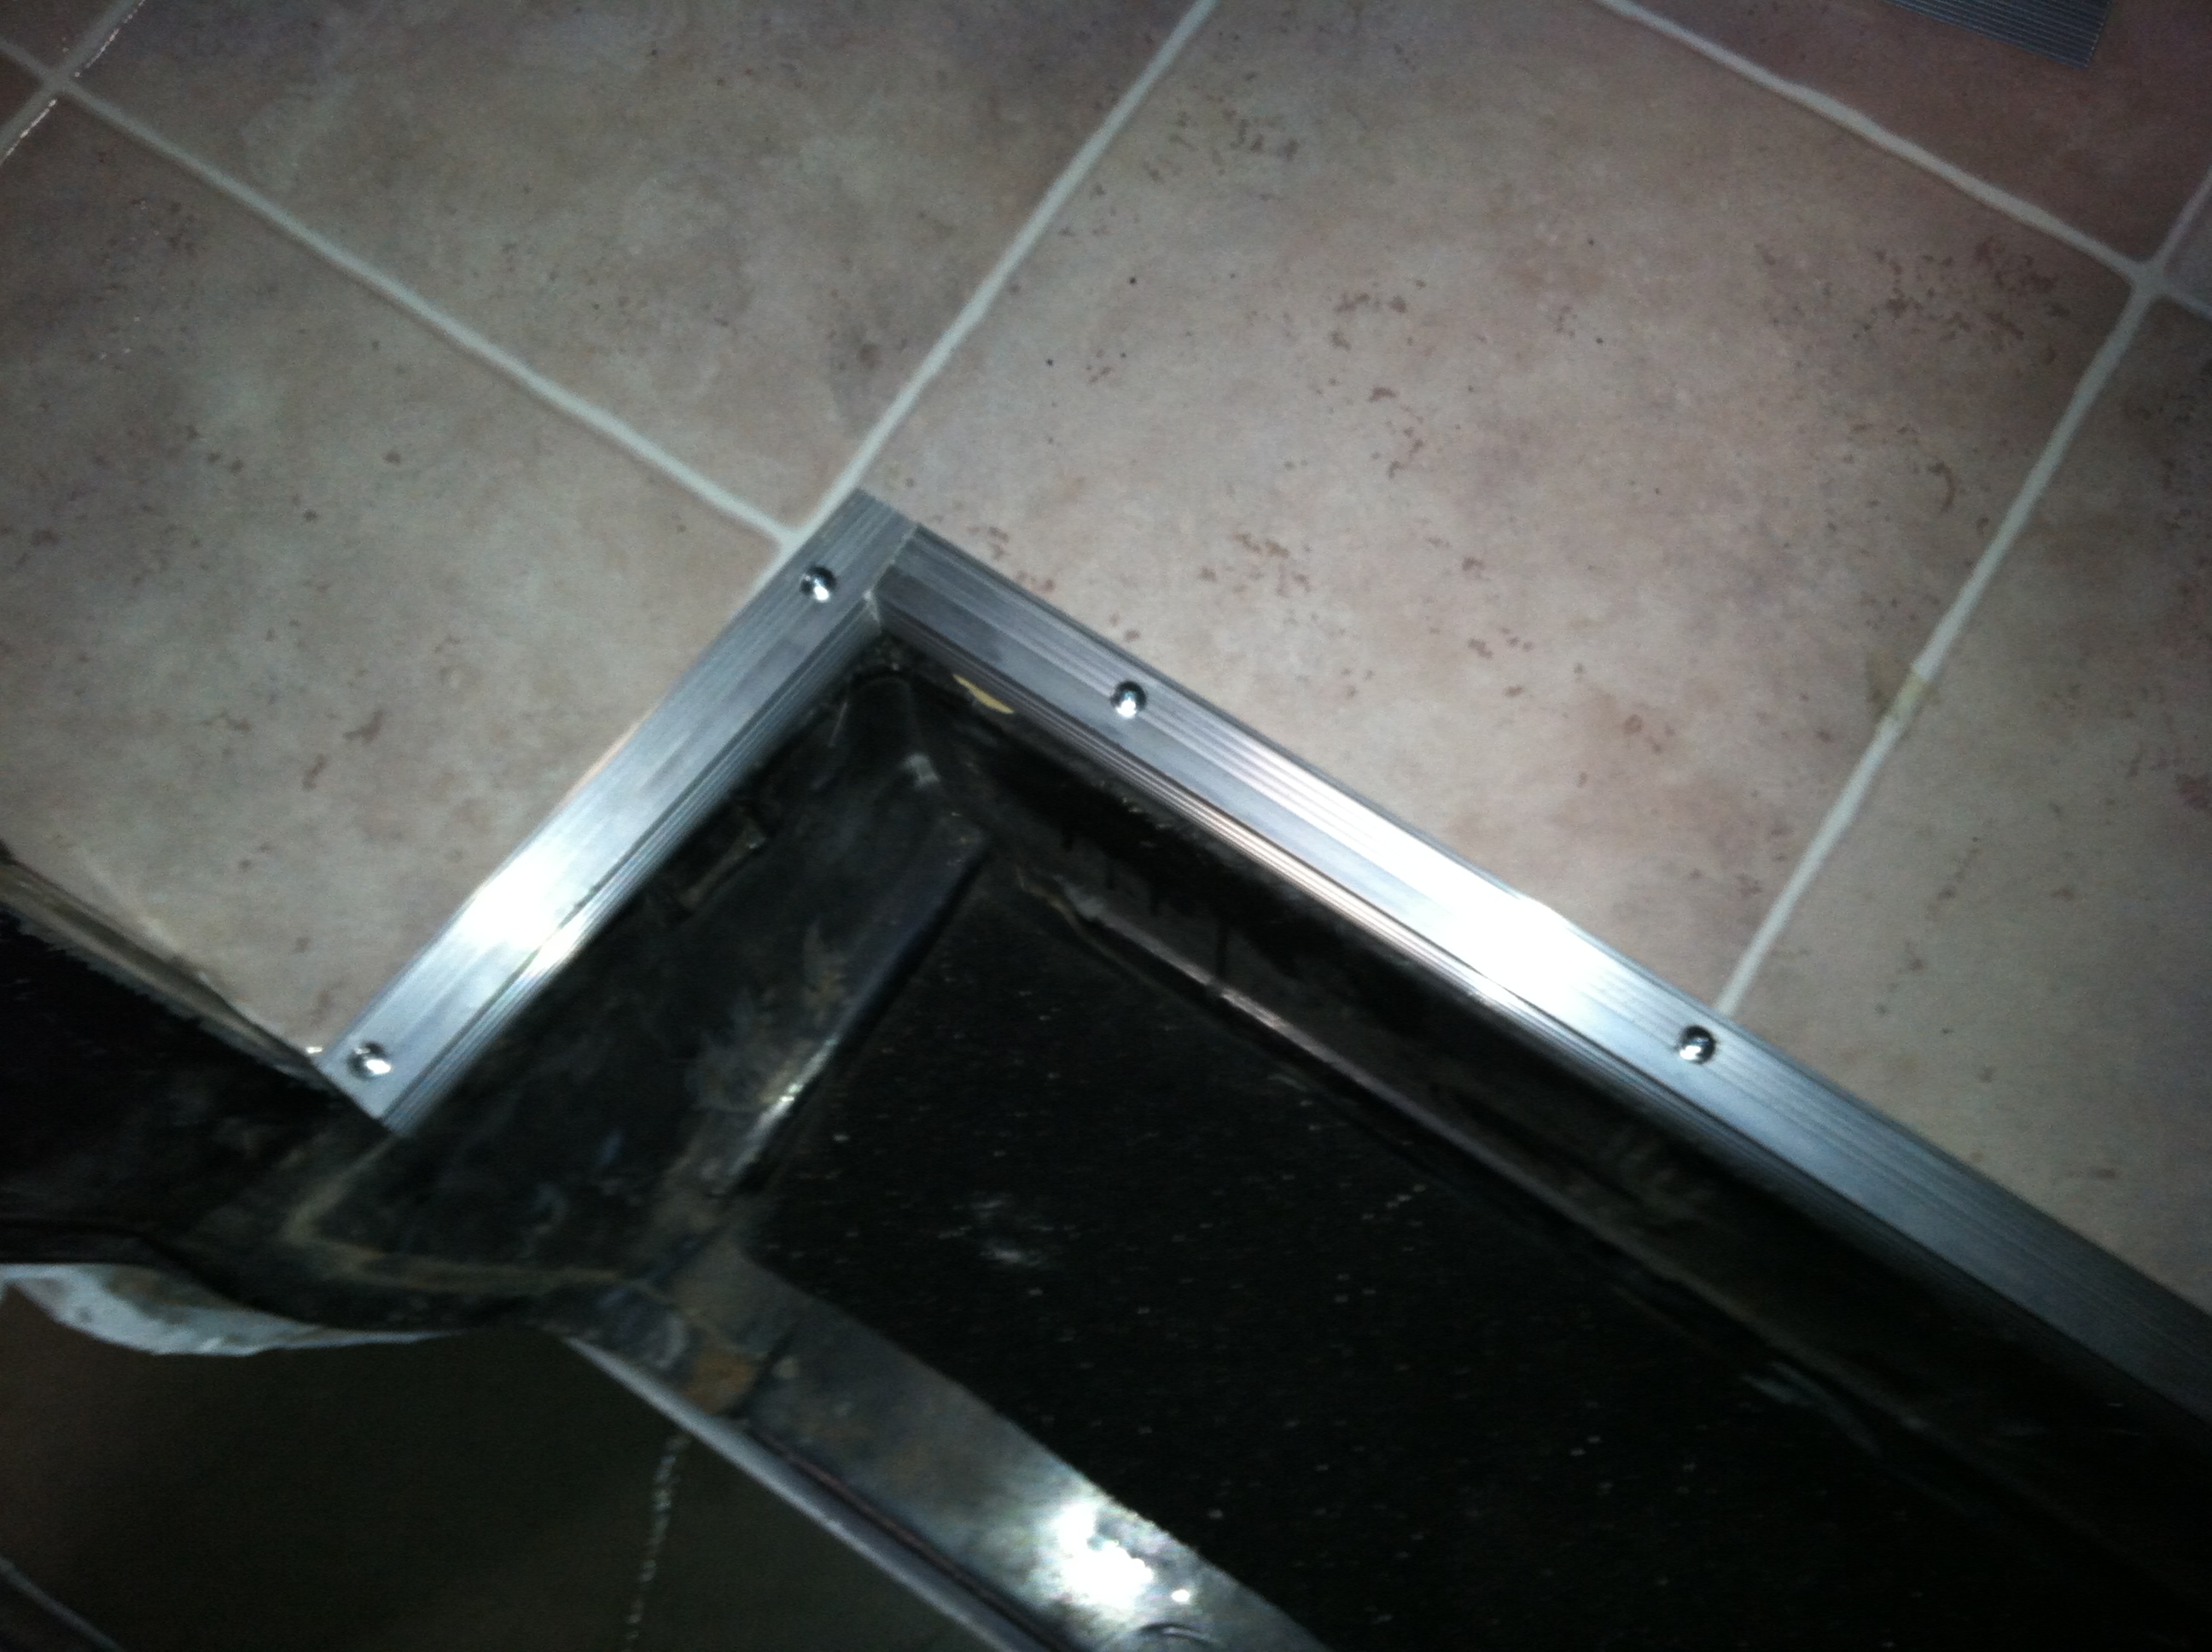
Trim
The last thing to add was some trim as not to rip up the nice new vinyl flooring. The same stuff used to trim up carpeting on stairs and thresholds was easy to work with and cheap.

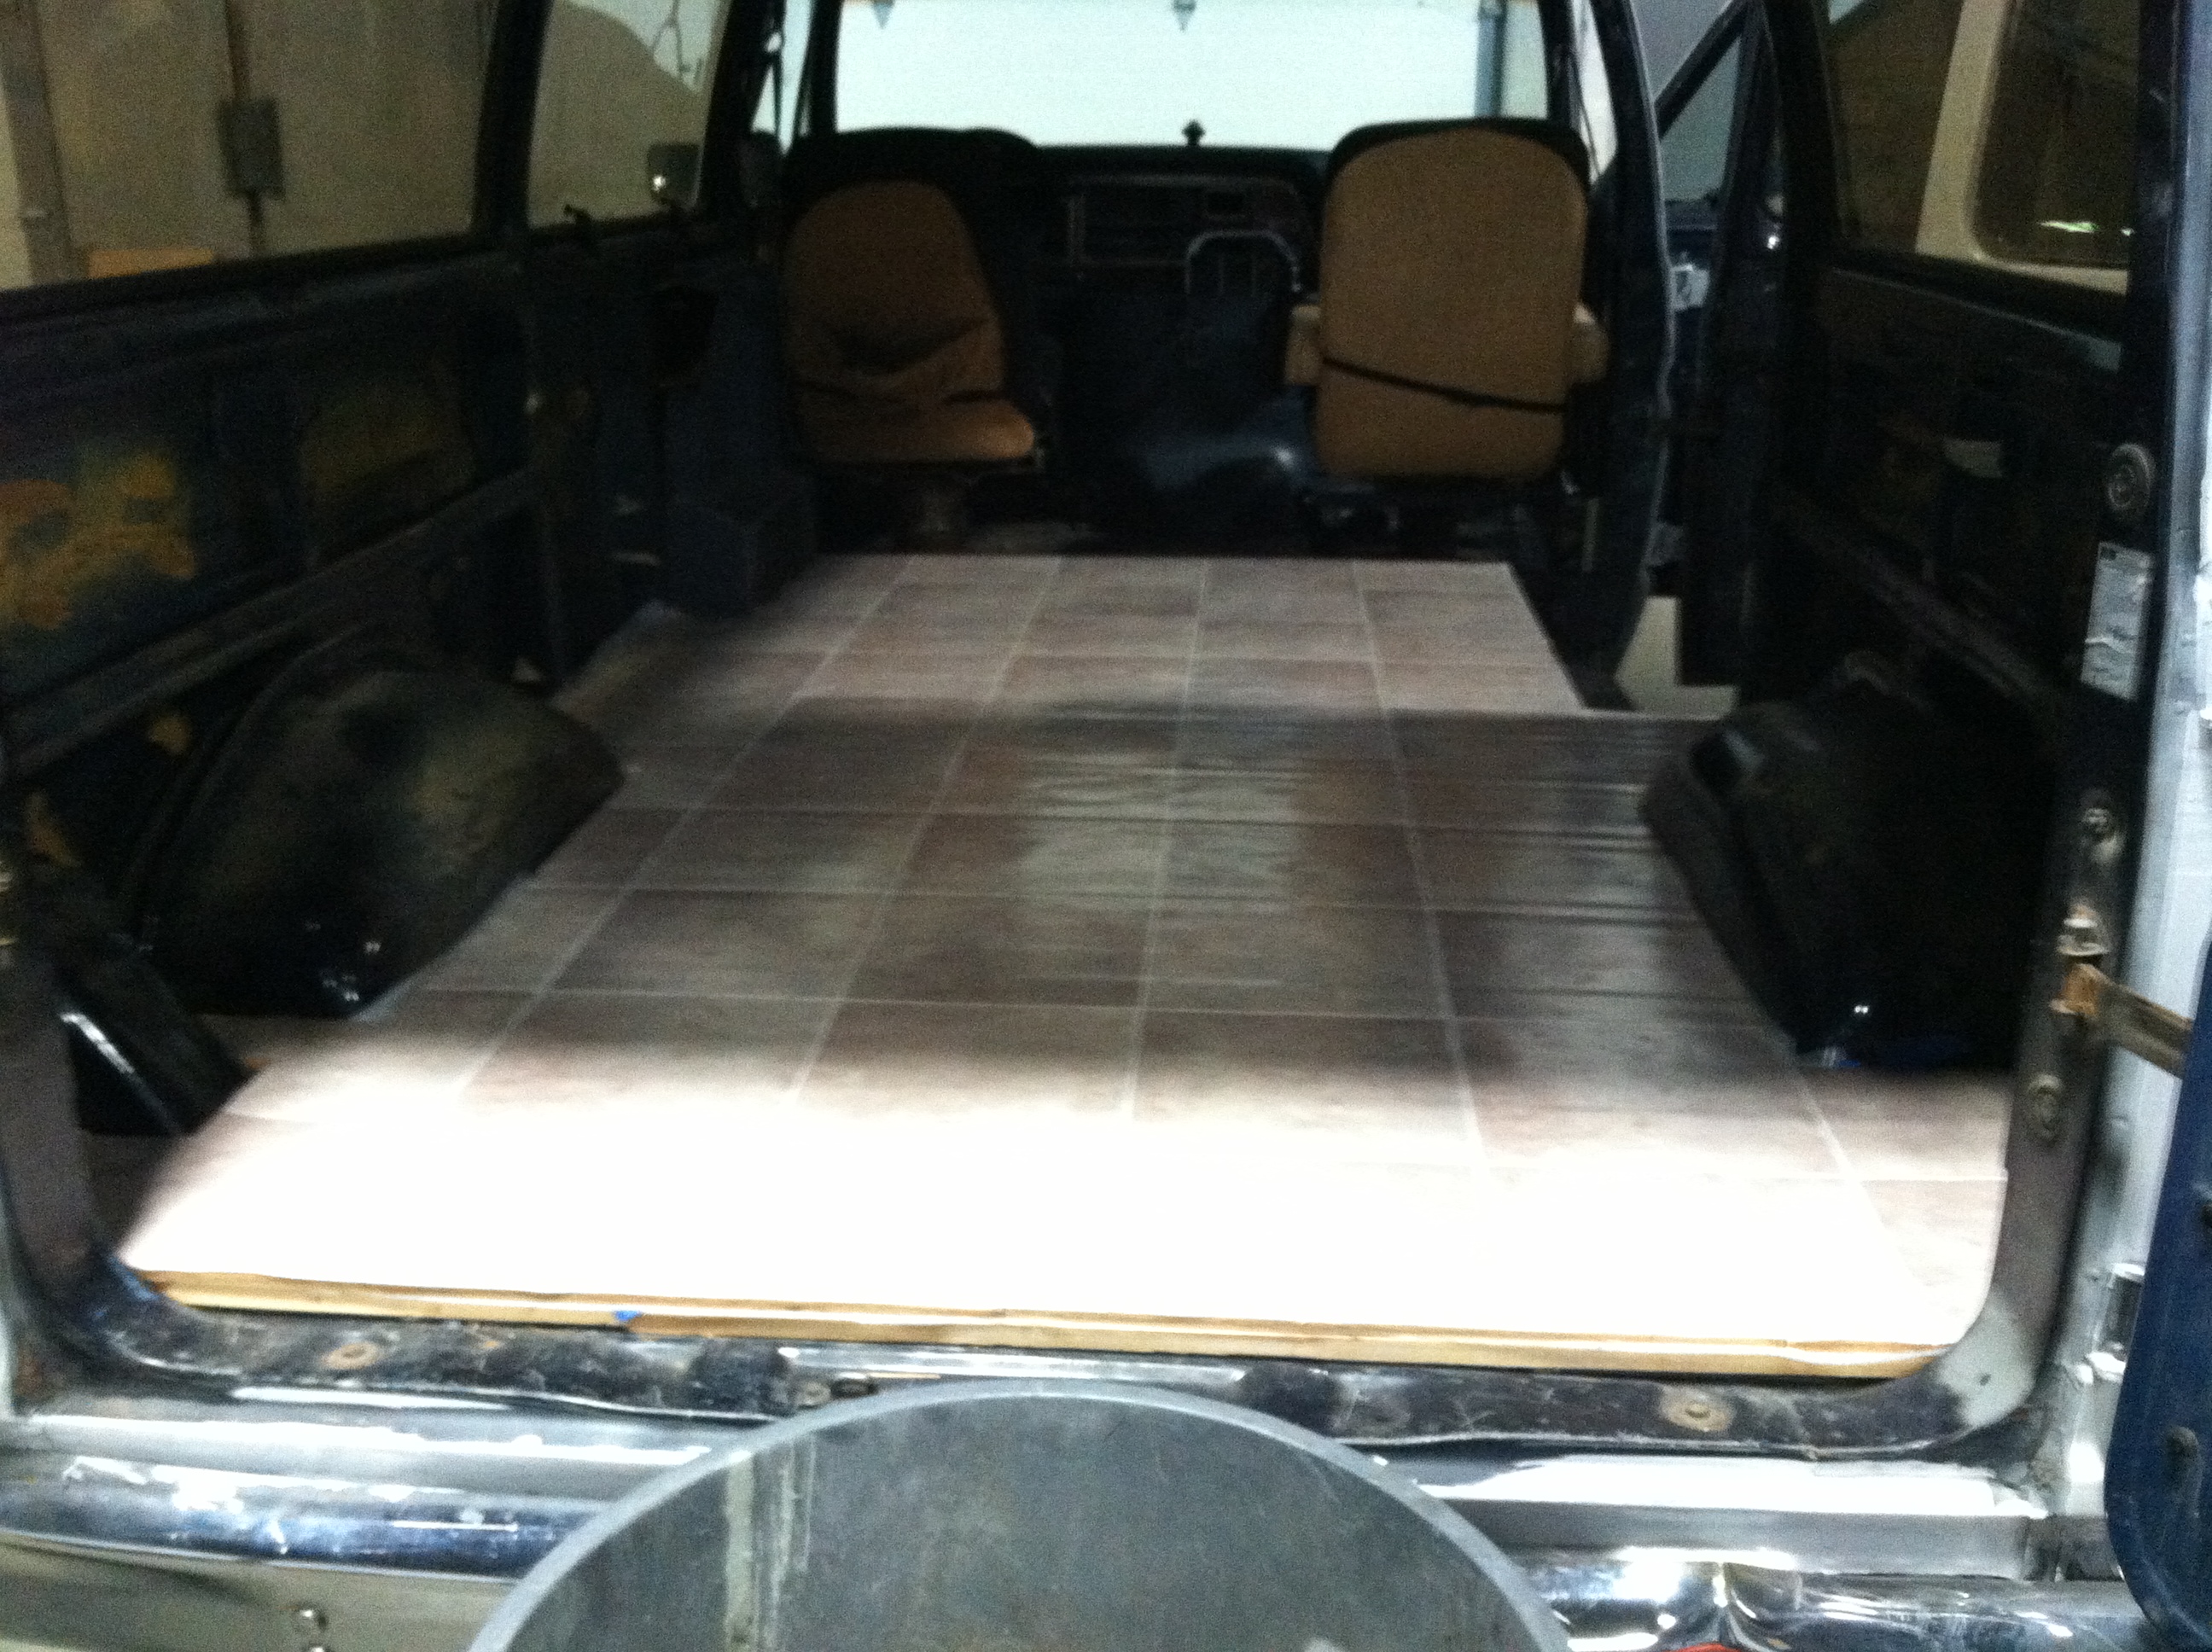
Thoughts…
And there it is. We chose to finish the floor completely because we could then use it to camp in before the van’s complete without worrying about spilling stuff on the floor or tracking wet feet in, etc. It’s water proof, insulated, and ready for us to camp in. We’re driving it 6.5 hours into Utah for a 9 day climbing trip beginning tomorrow morning! We’ll need to be careful not to damage the floor when working in it in the future. The noise factor has decreased by over 50% already and we haven’t even gotten to the walls or ceiling yet!
Here’s to having a giant heated space to eat turkey in with your pals in the desert. So much more when we return…
Floor Costs
| Vapor barrier | 1 | 25 | |
| Carpet pad | 1 | 15 | |
| 15/32″ Plywood sheets | 2 | 39.94 | |
| Shim/Thin strips | 19 | 6.65 | |
| 2X1 8′ Strips | 5 | 5.2 | |
| Liquid nails | 2 | 3.66 | |
| 1″ Screws | 1 | 6.99 | |
| Jigsaw Blades (5) | 1 | 6.97 | |
| vinyl | 1 | 47.97 | |
| trim | 2 | 15.5 | |
| stall mat | 1 | 41.08 | |
| 213.96 |