Or at least the bed platform. Unfortunately we’ve had to sleep on the floor several times which is a pain with all of our climbing and camping stuff, but the bed really couldn’t go in till now. I sort of had to make sure the other things fit and provided other essentials (propane, electric, kitchen, etc) before I even knew how much room would be left for the bed, what height would make sense in case we want to throw the futon we bought in there (which we surely will be trying soon), and a bunch of other small considerations.
Plus, I really had no good ideas on how to build it. I still didn’t have much going on when I hit the hardware store. But really, I’m getting very proficient at building things now and all it took was a nice thoughtful walk around the hardware store before a solid design was conceived.
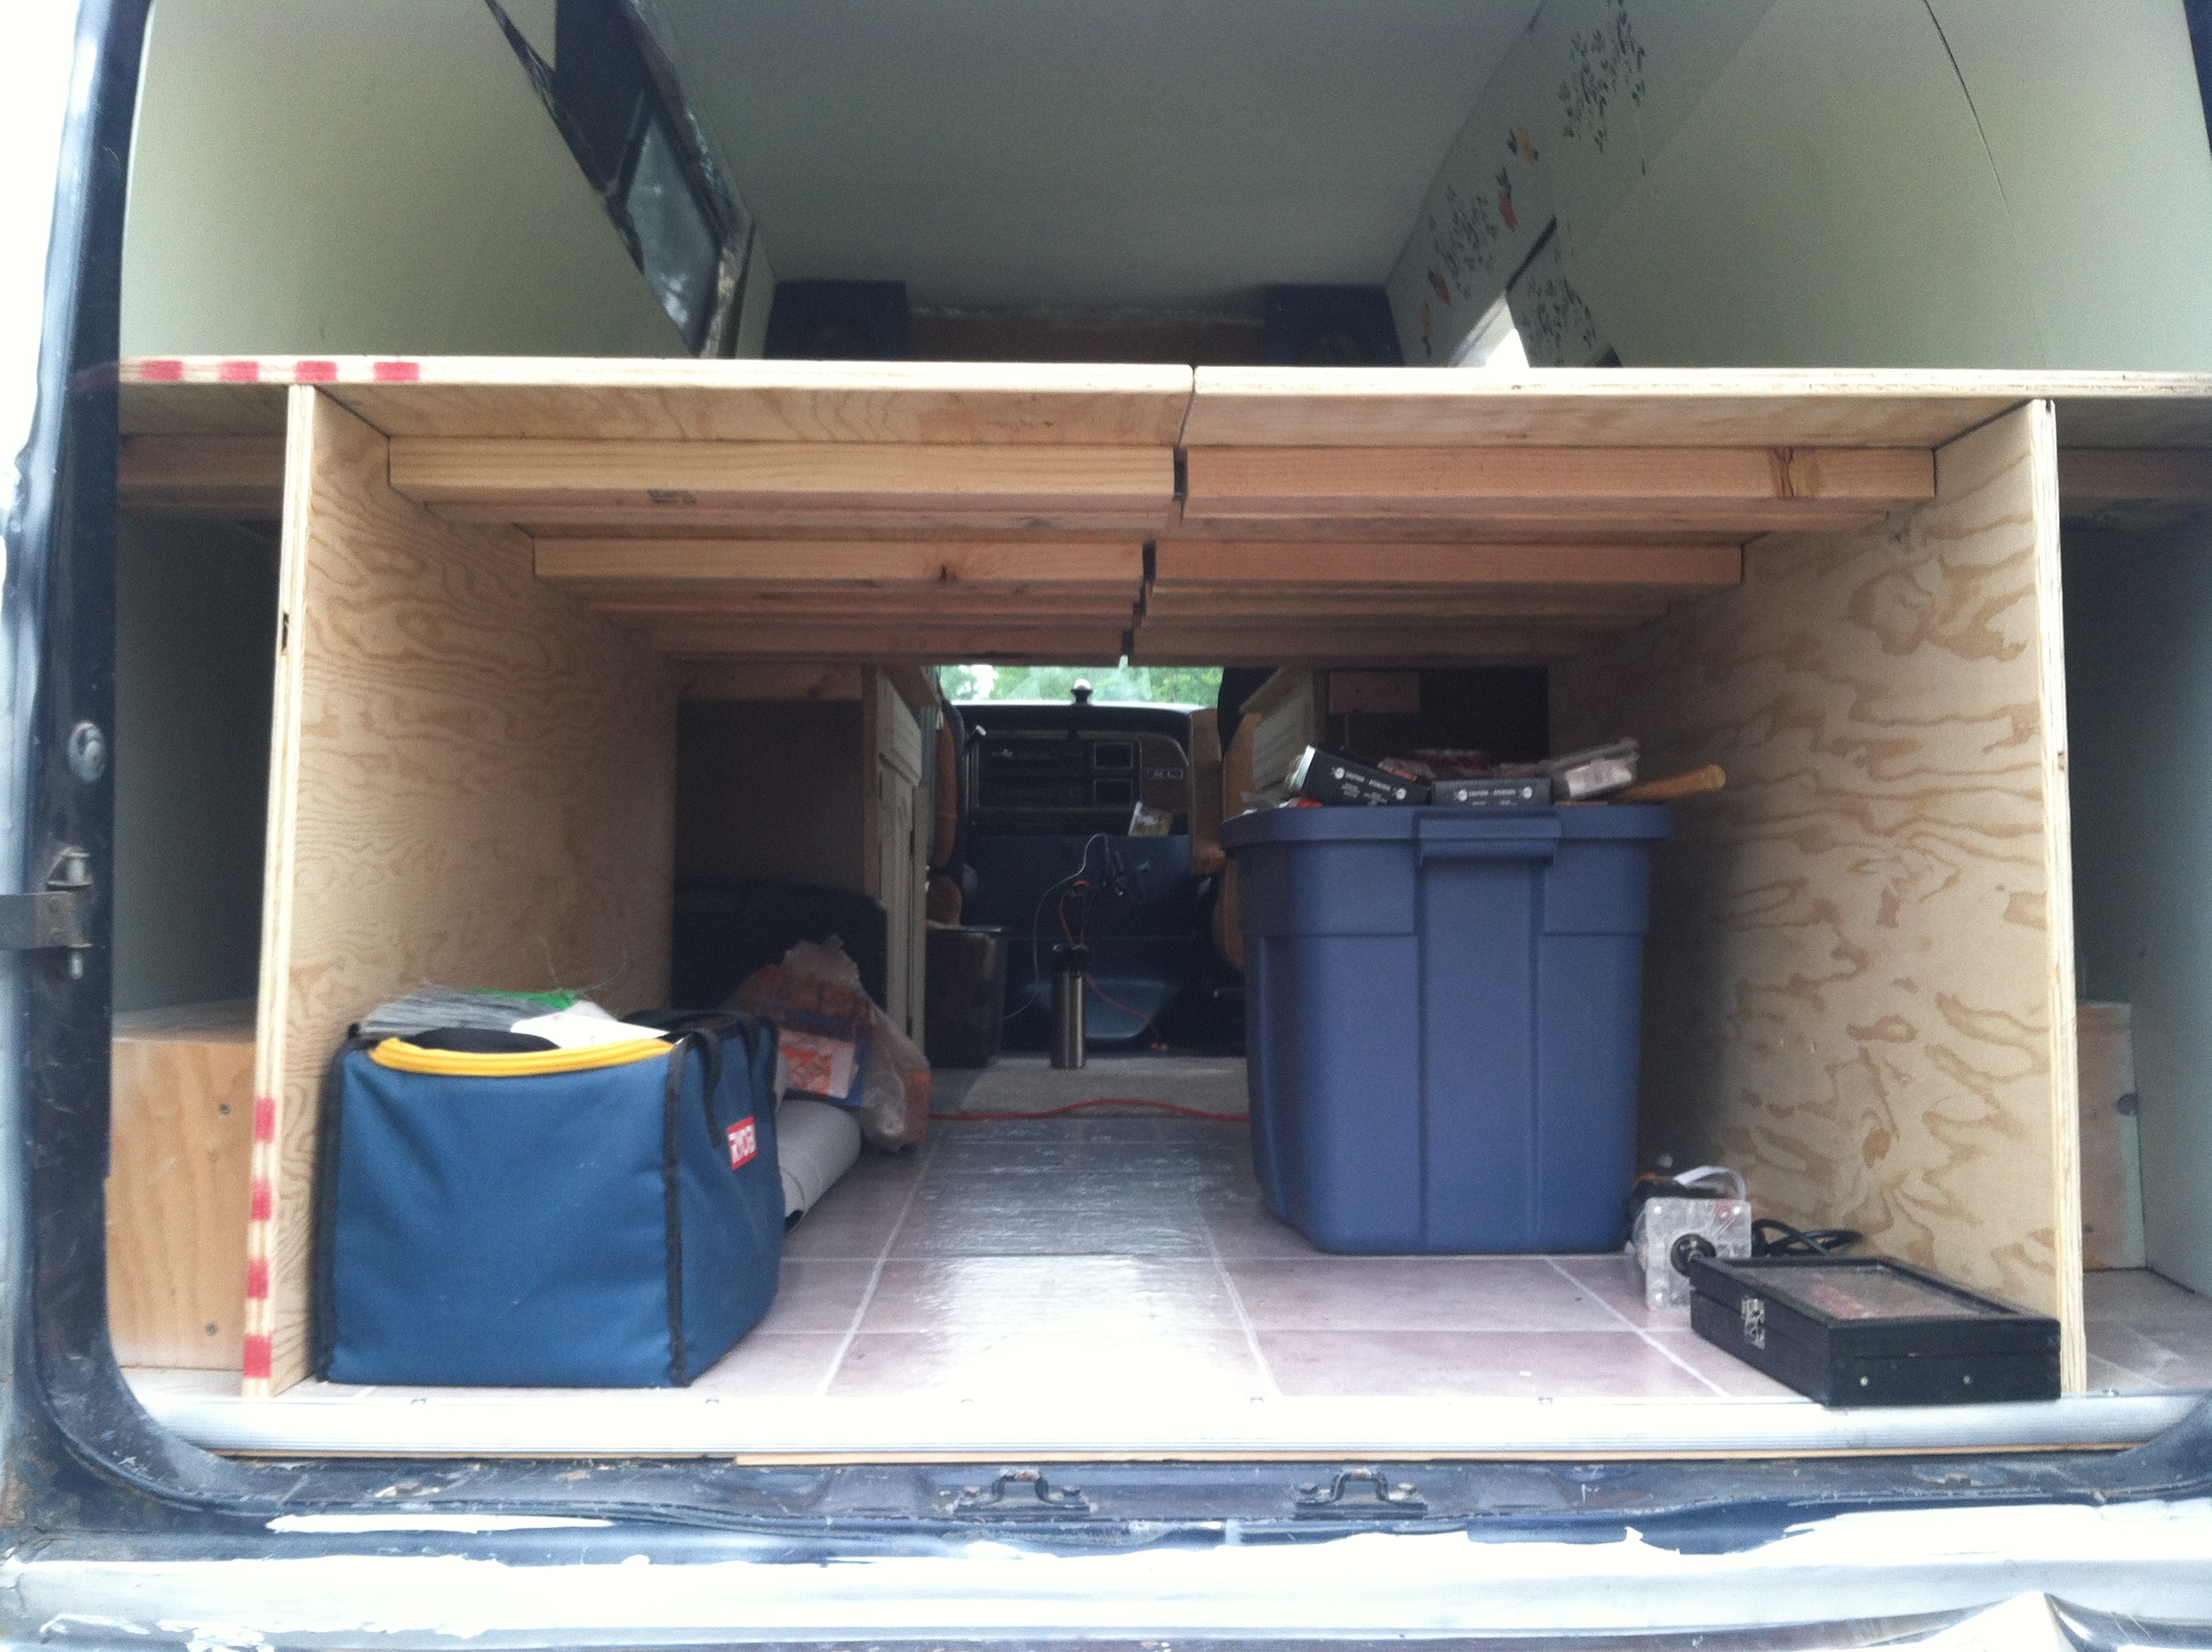
I wanted tons of storage under the bed. We have the luxury of the extended roof, time to make good on it. Aside from lots of storage it needs to be strong. Strong enough to put a heavy futon on it that we’ll fold up and down often, plus there will be the two of us up there. I also wanted to be able to access whatever is under it from the top. Initially I thought that meant trap doors with hinges or something similar but I eventually conceived of something infinitely better.
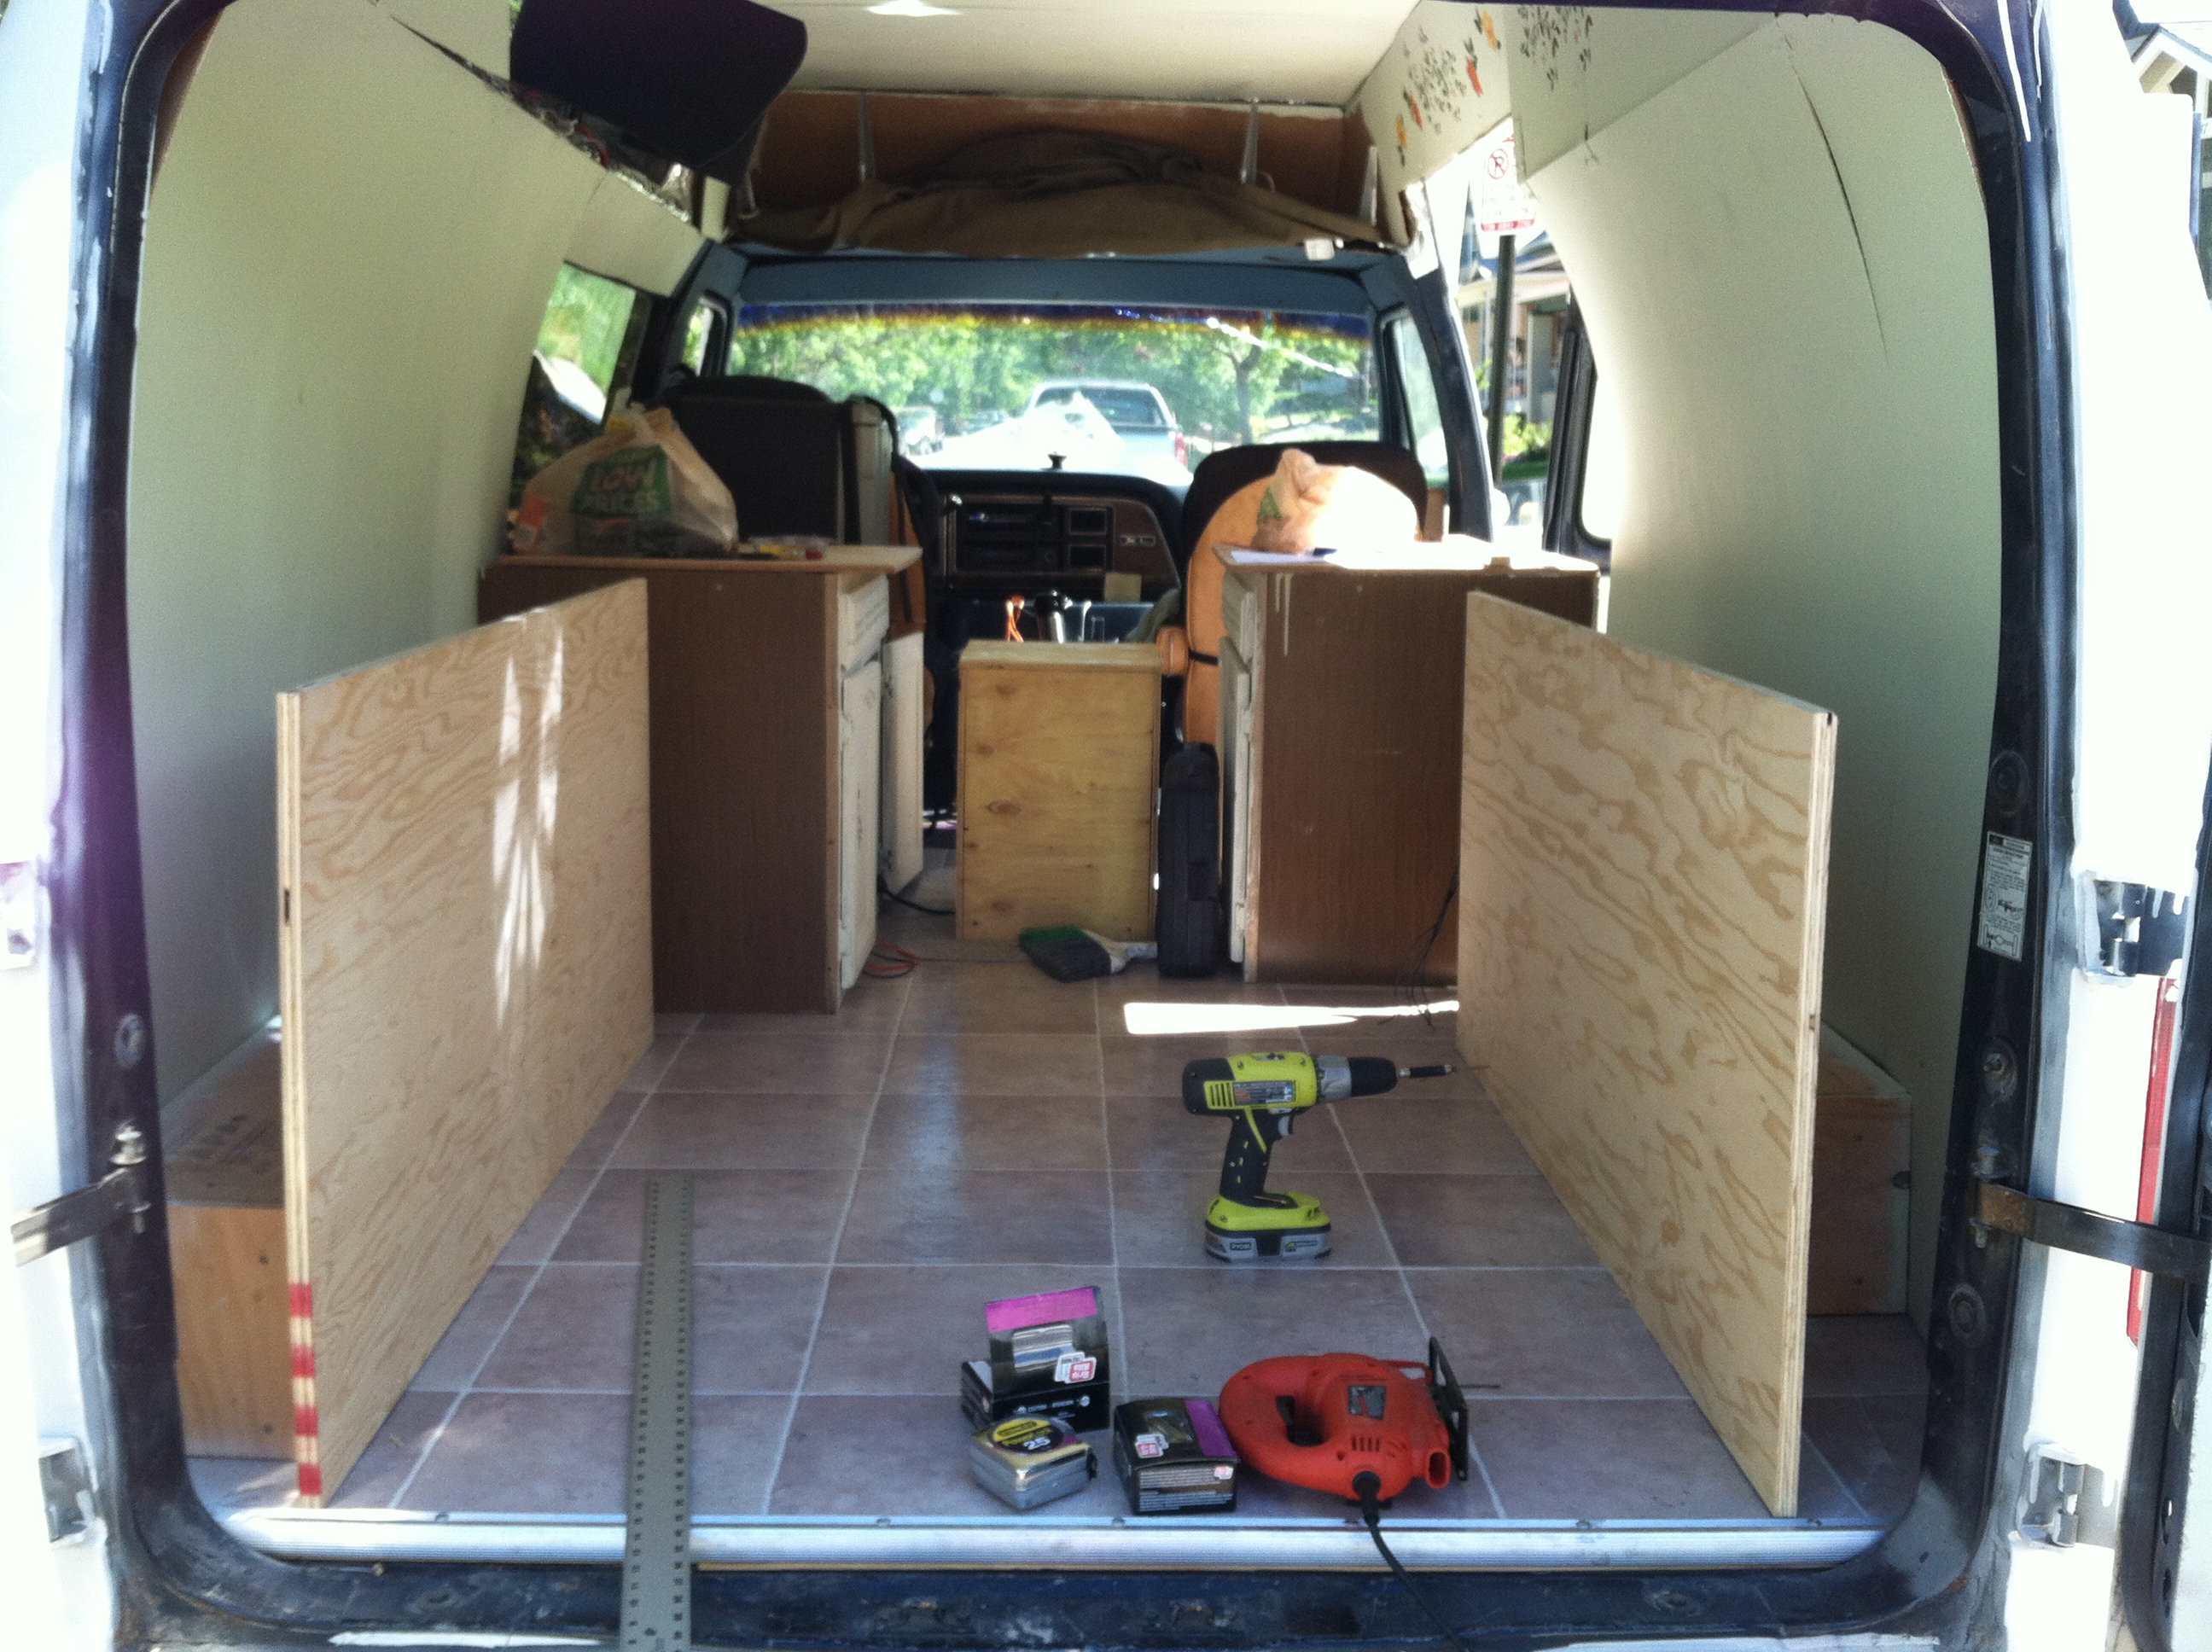
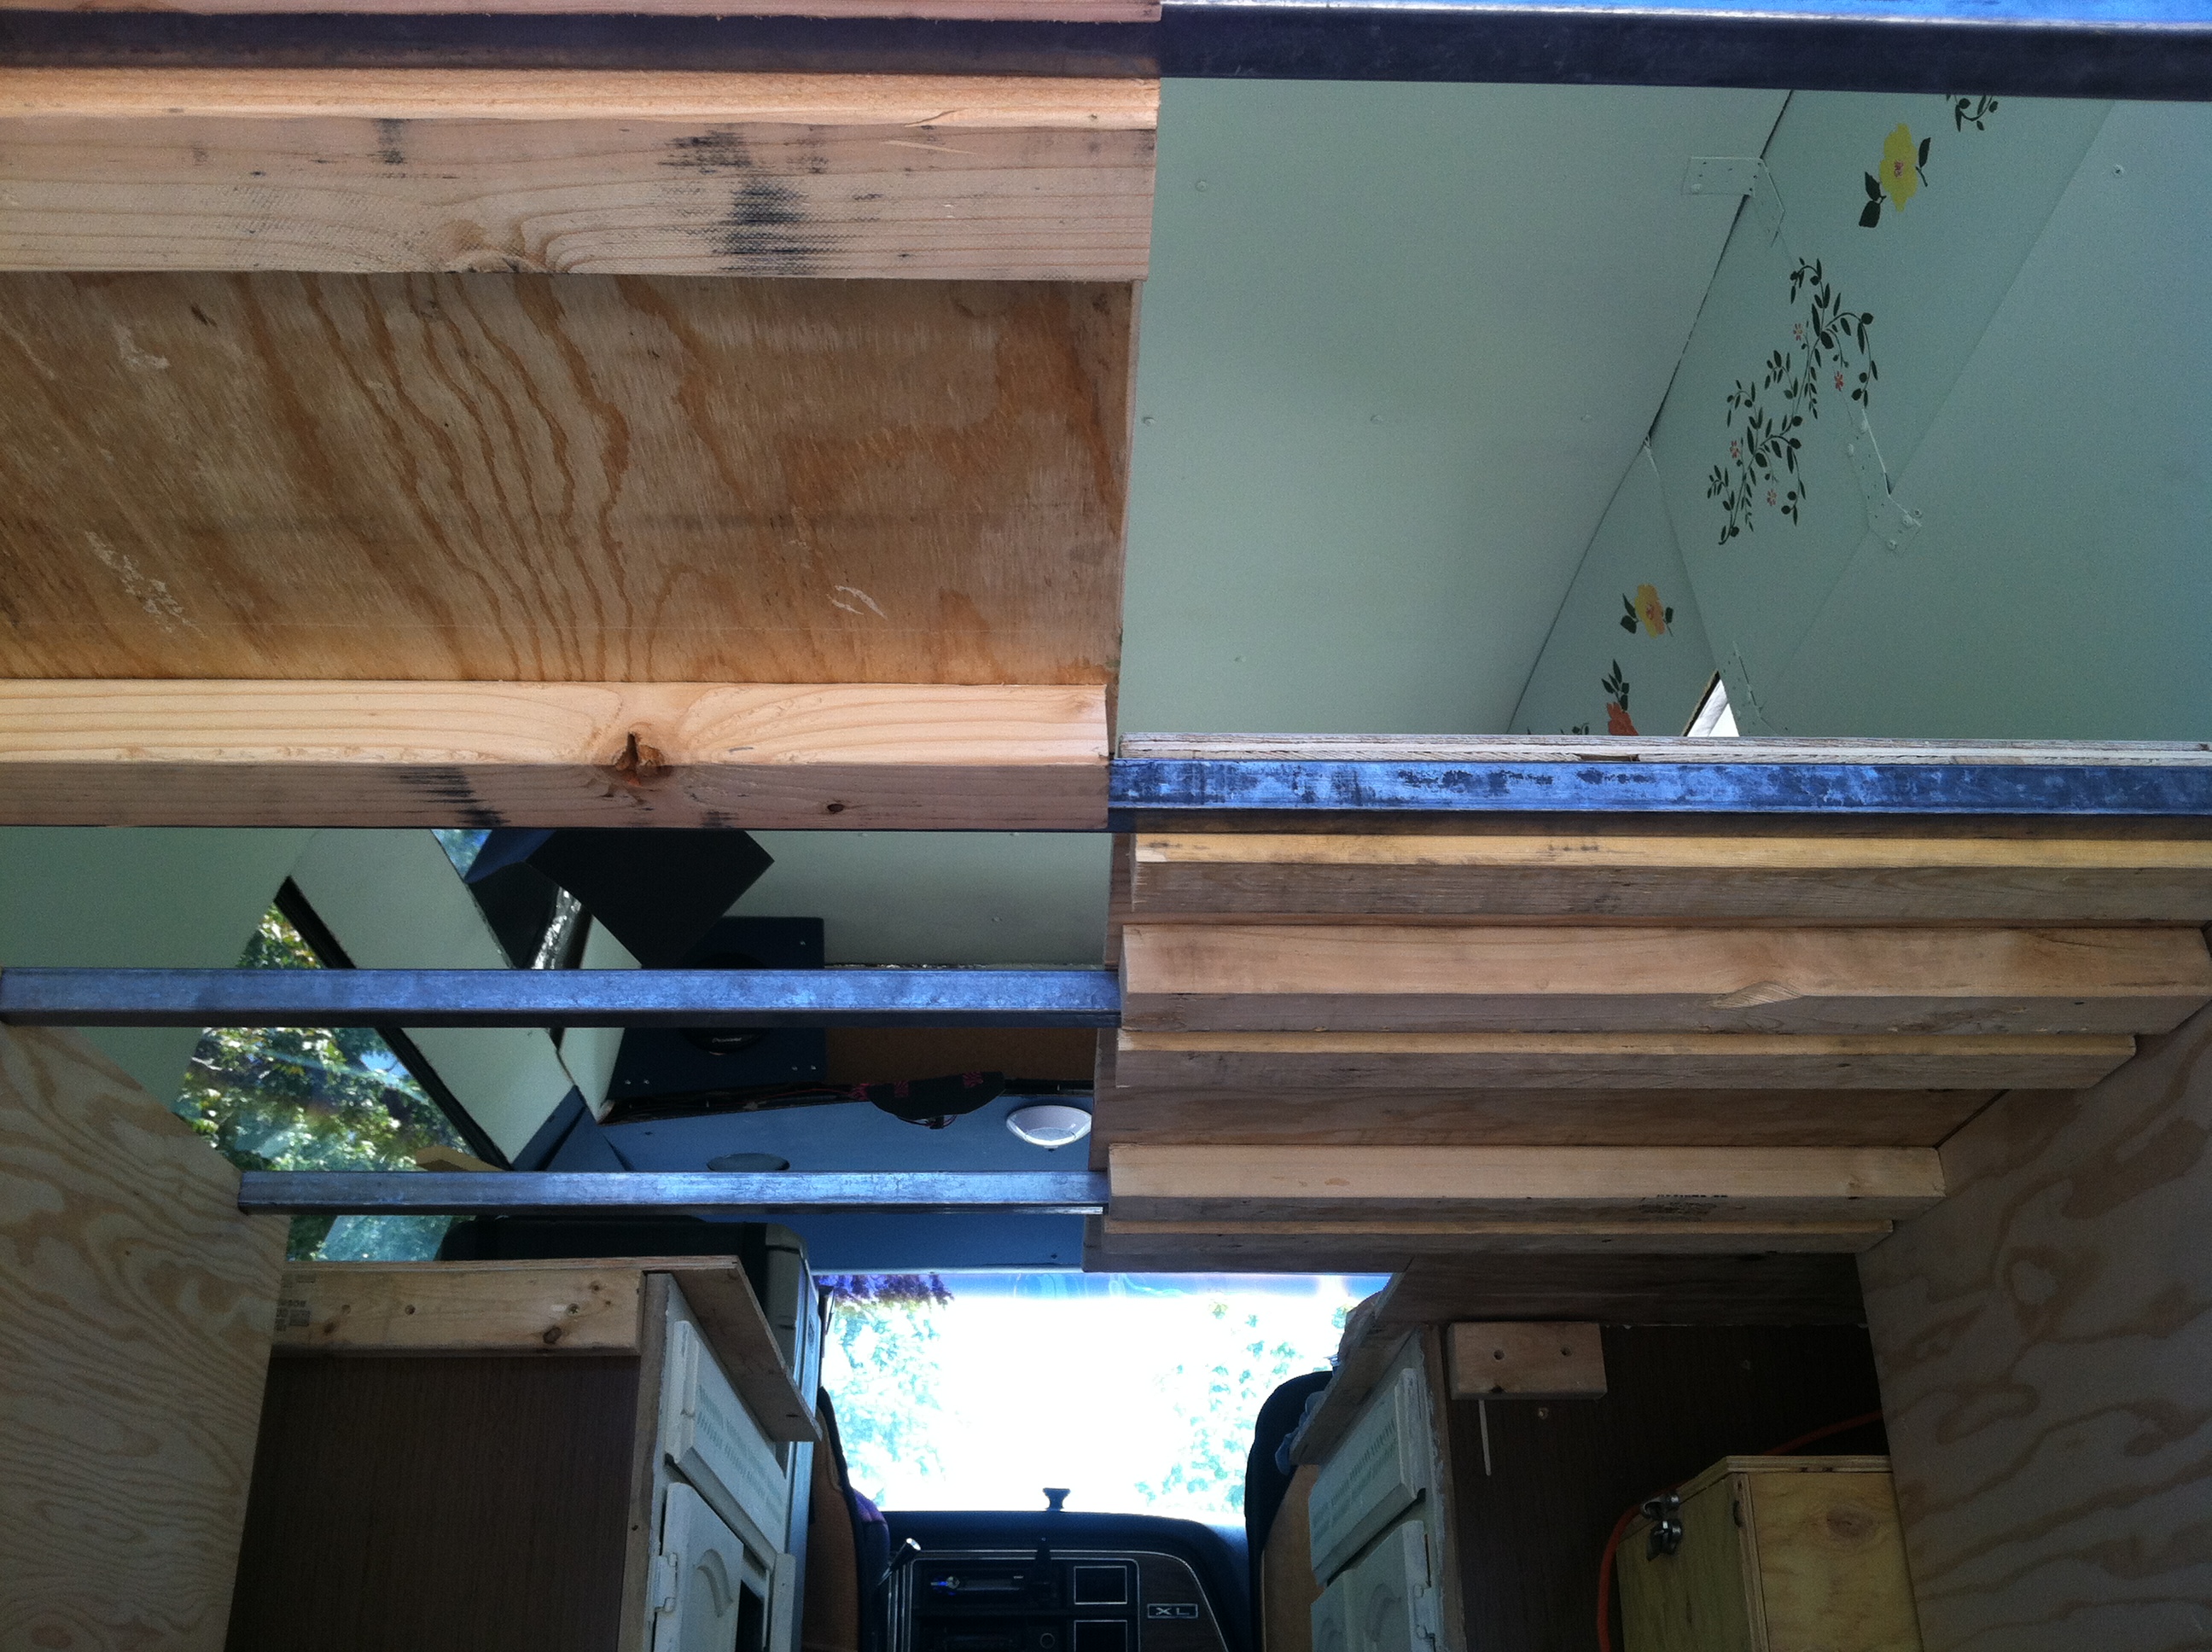
I began by screwing 3/4 sanded ply to the boxes covering the wheel wells. I cut them so that when the 3/4″ ply was laid on top it would be flush with the level of the existing cabinet surfaces. This by itself is not very sturdy. You could pull hard on the top of the ply and it would rip the wheel box right off the wheel well most likely.
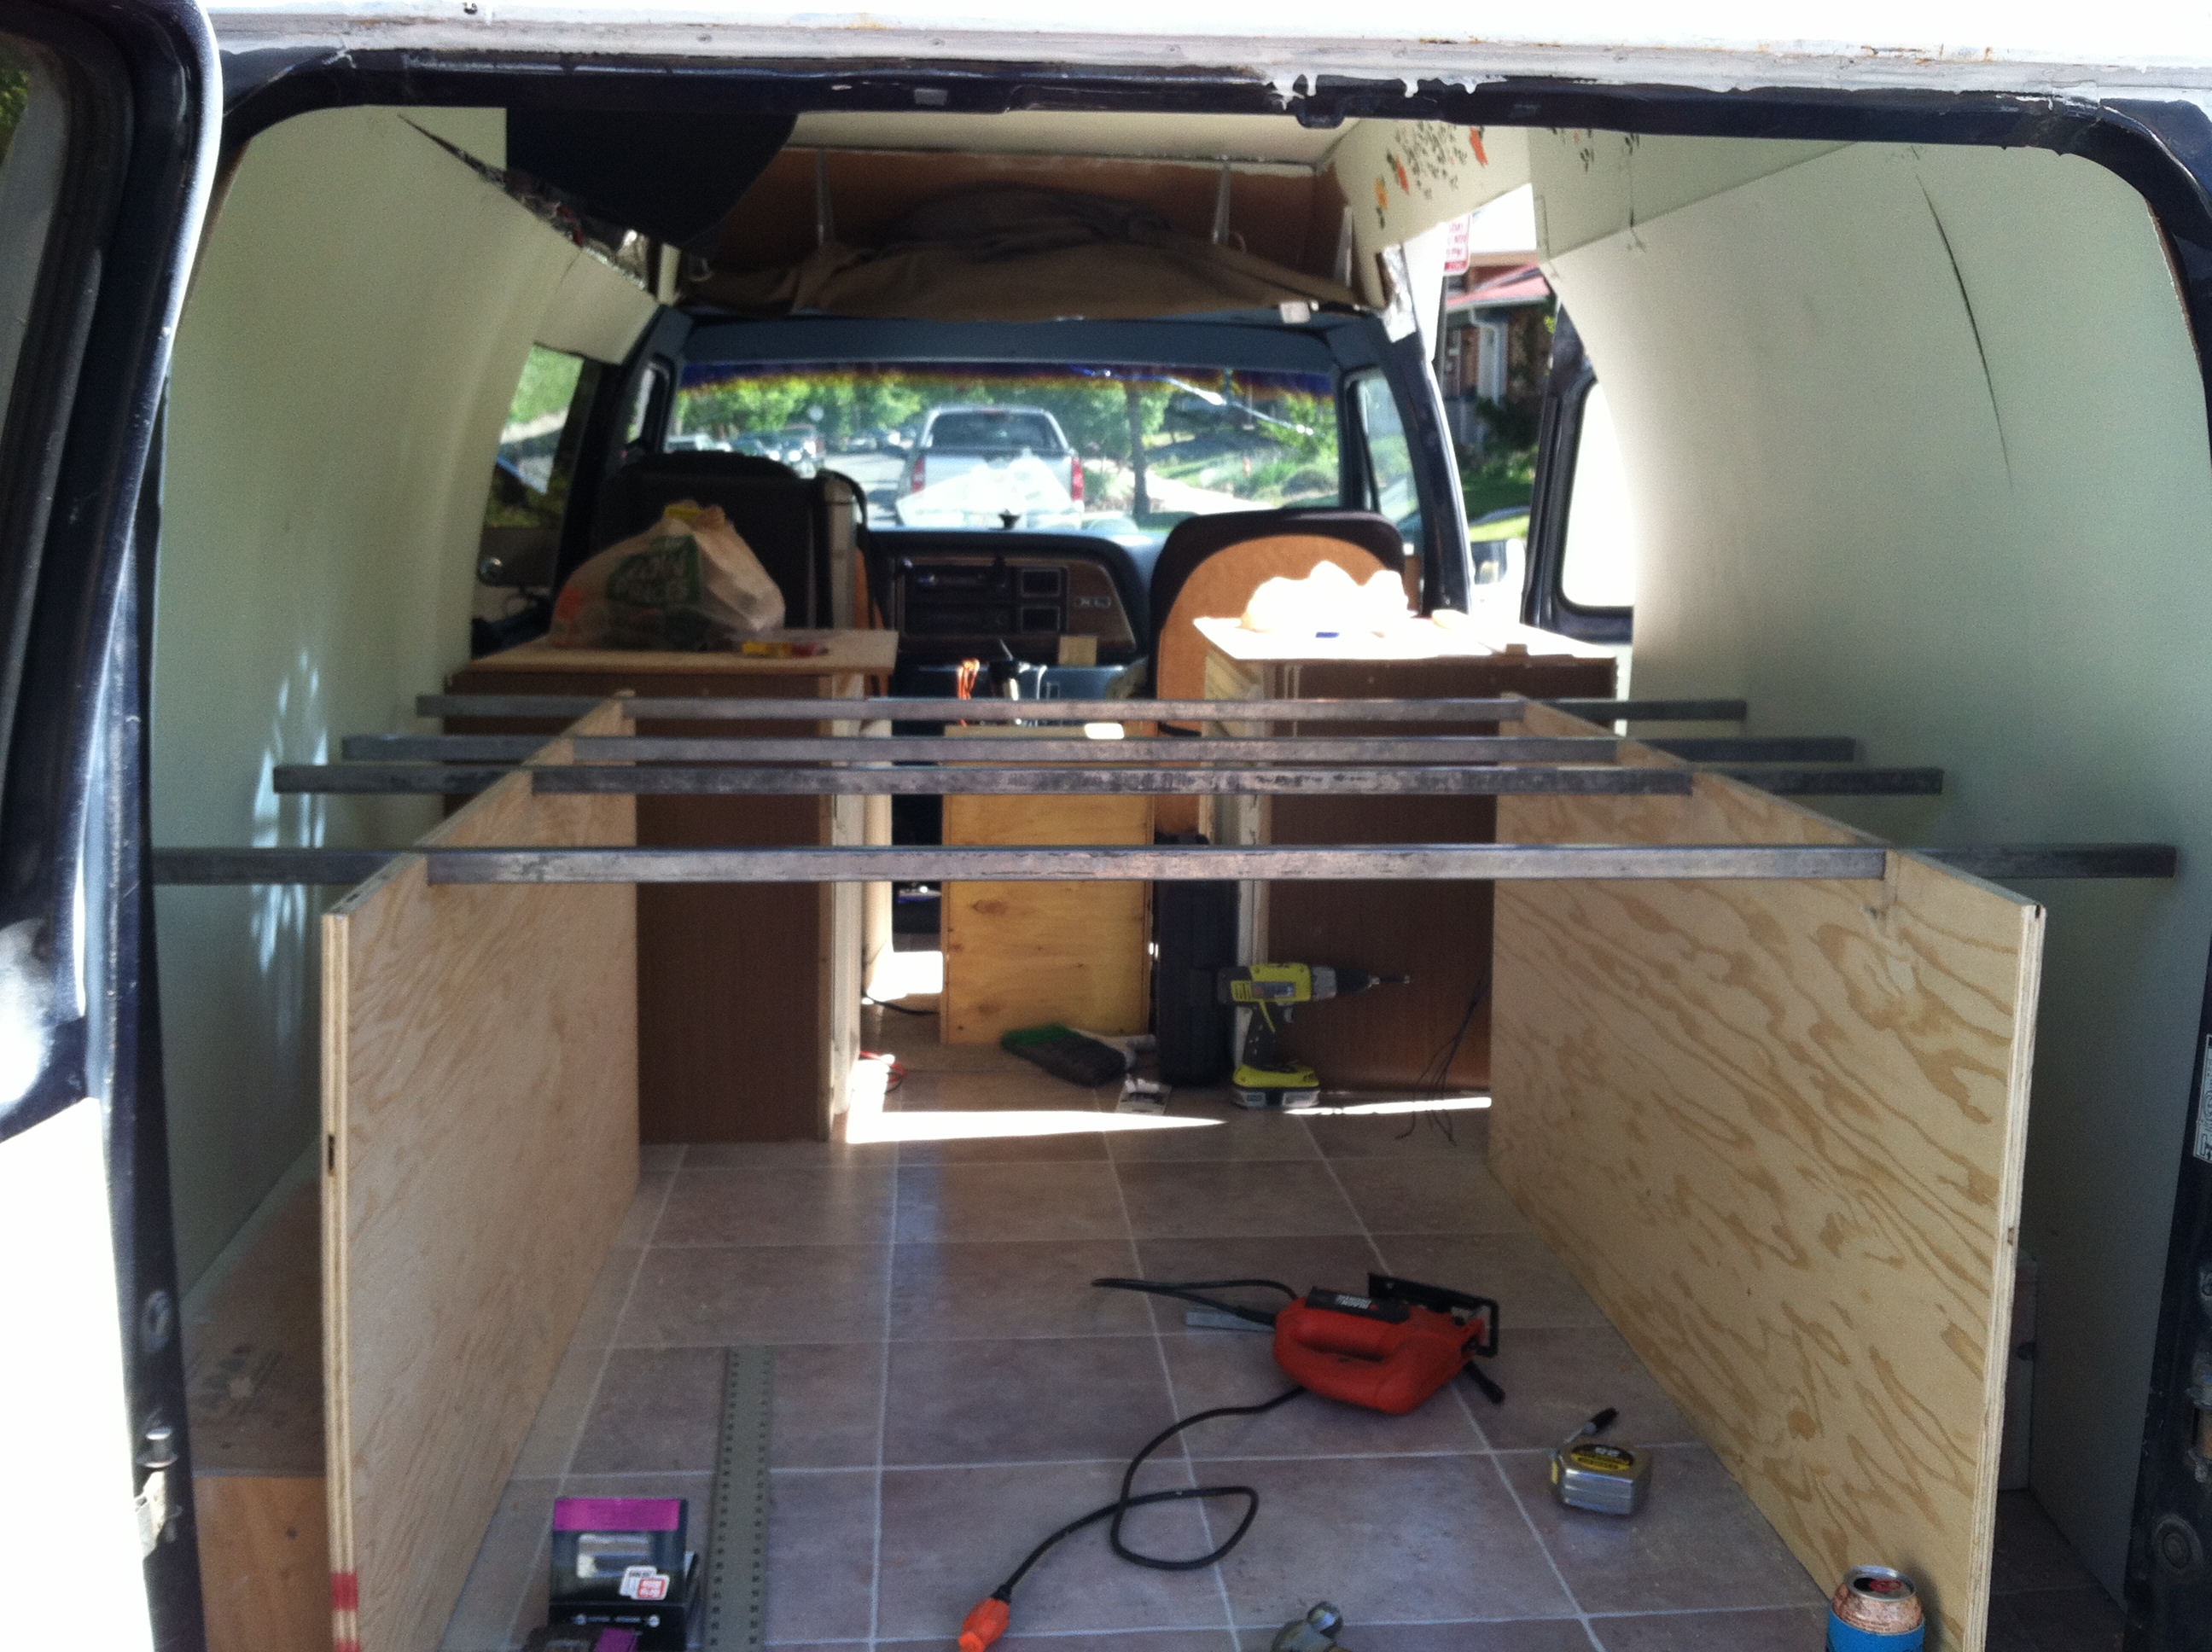
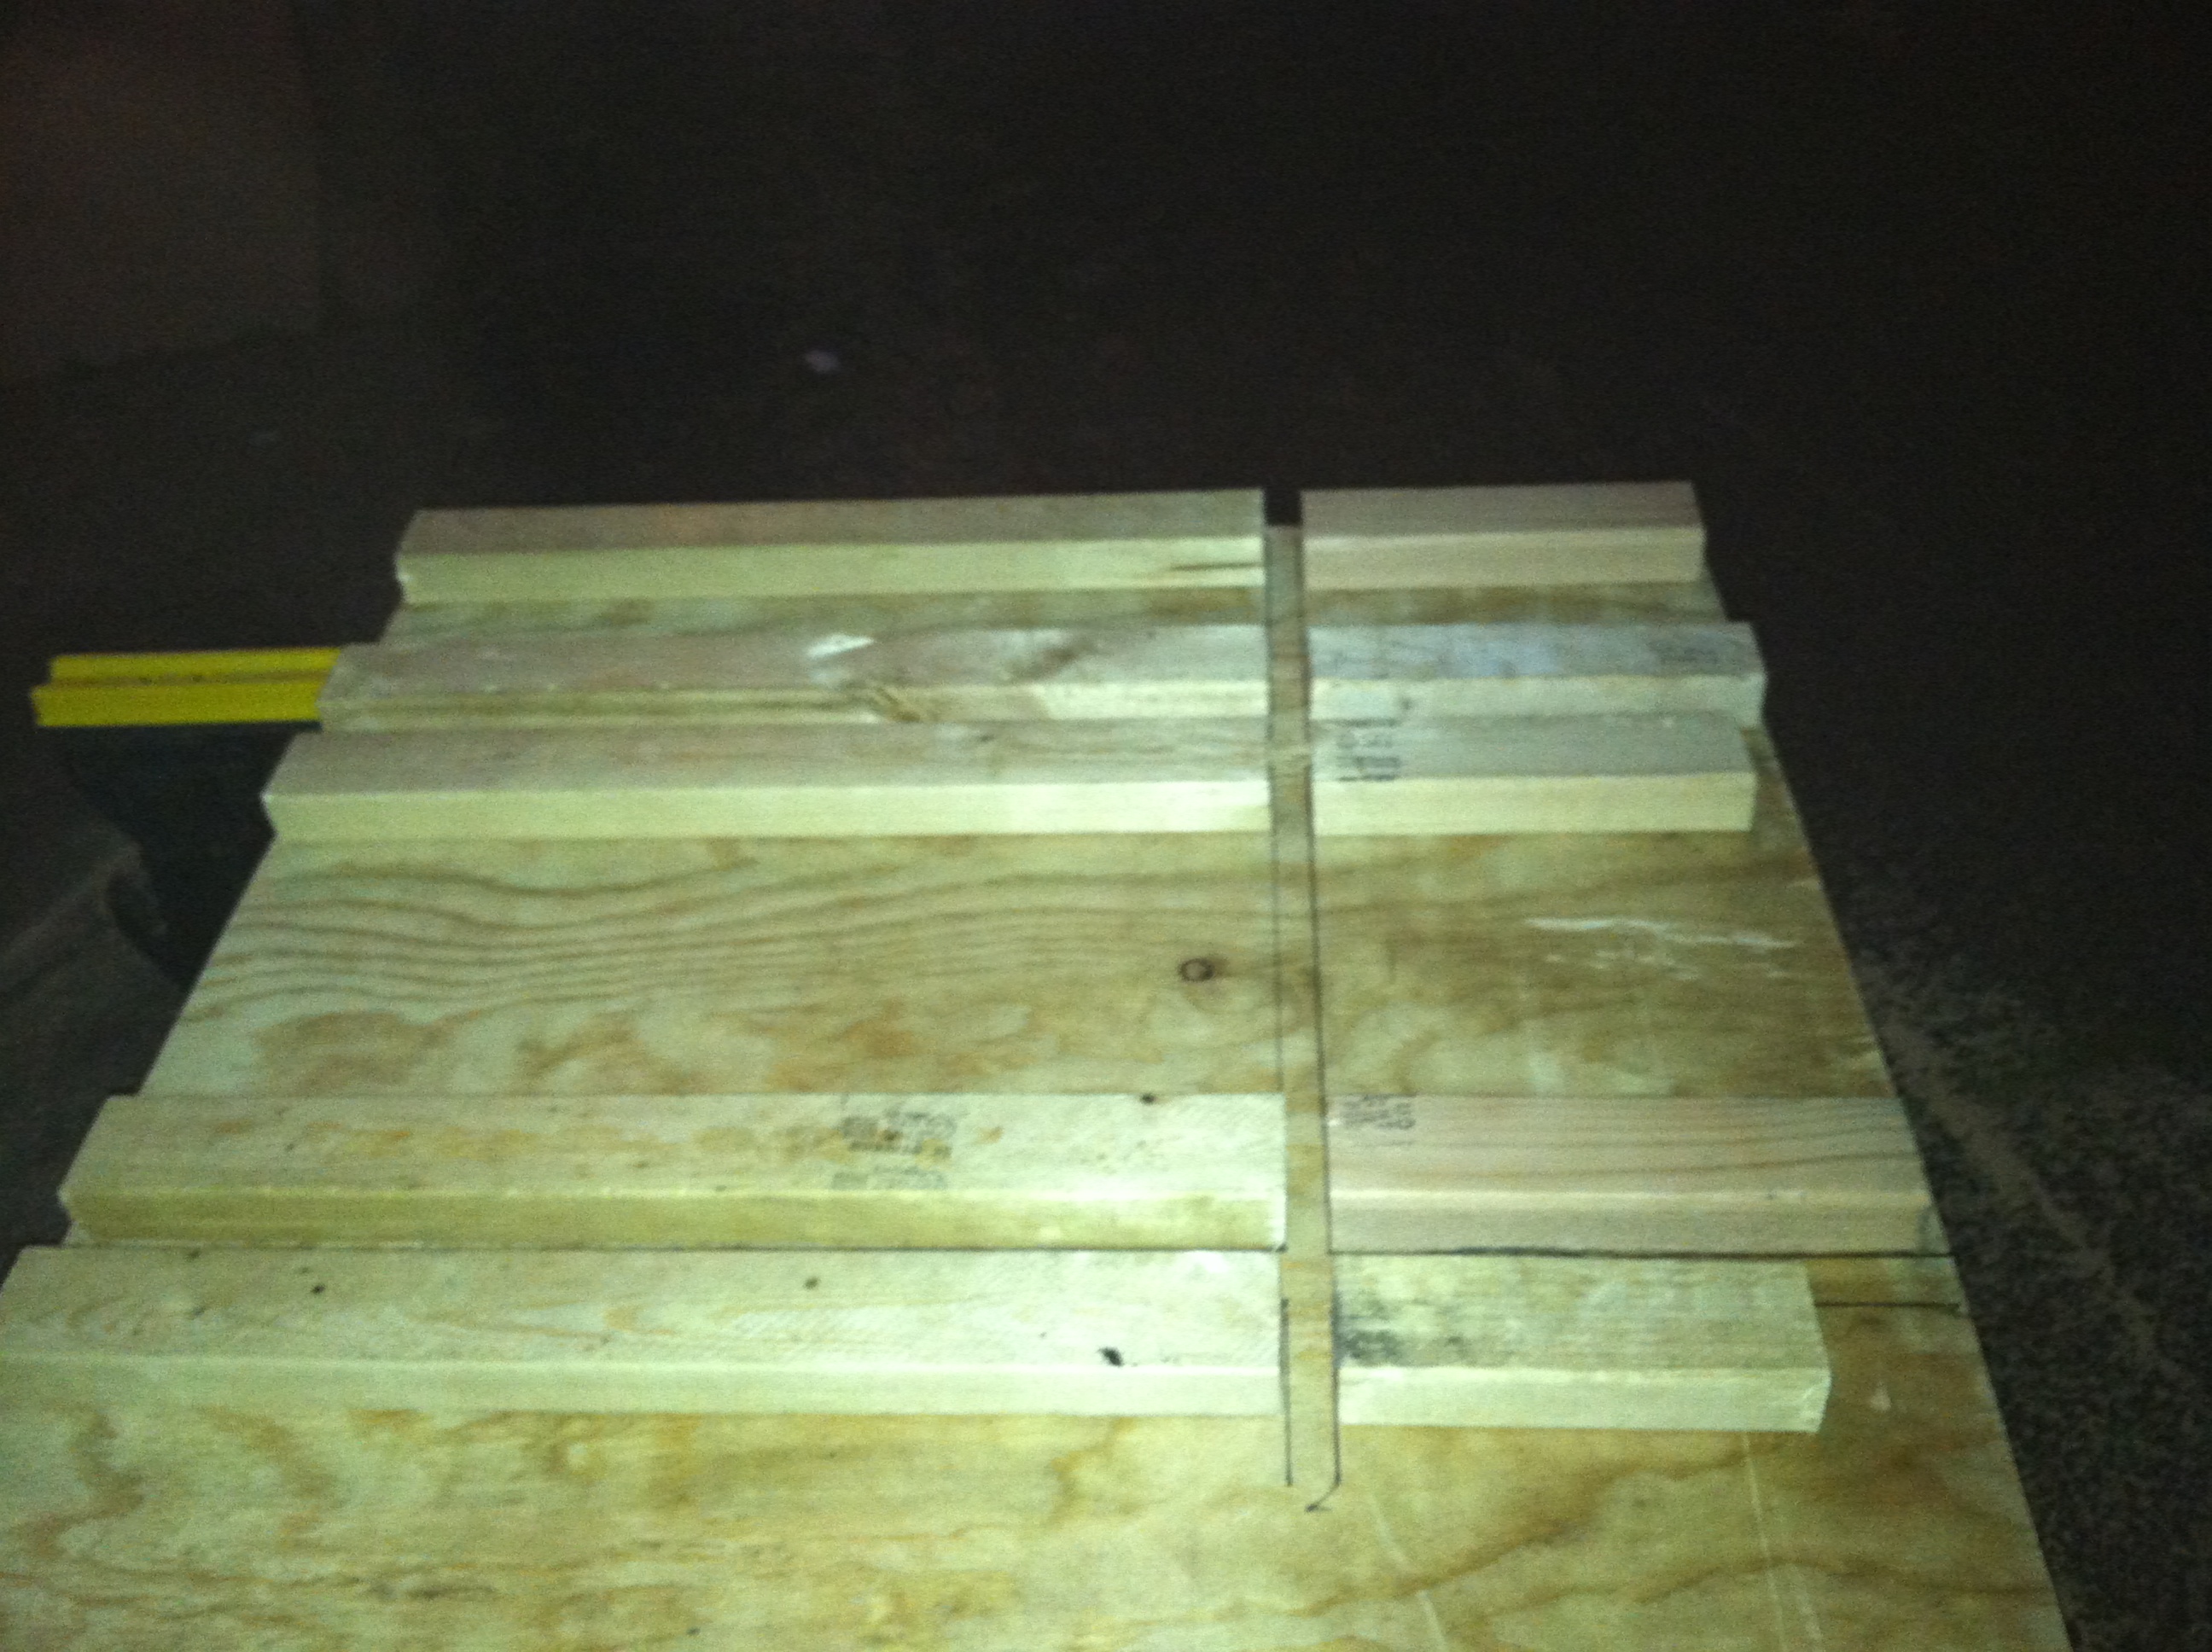
Then I cut square steel tube to size and laid it as support beams across the ply in notches I cut out so they would lay snug and flush.
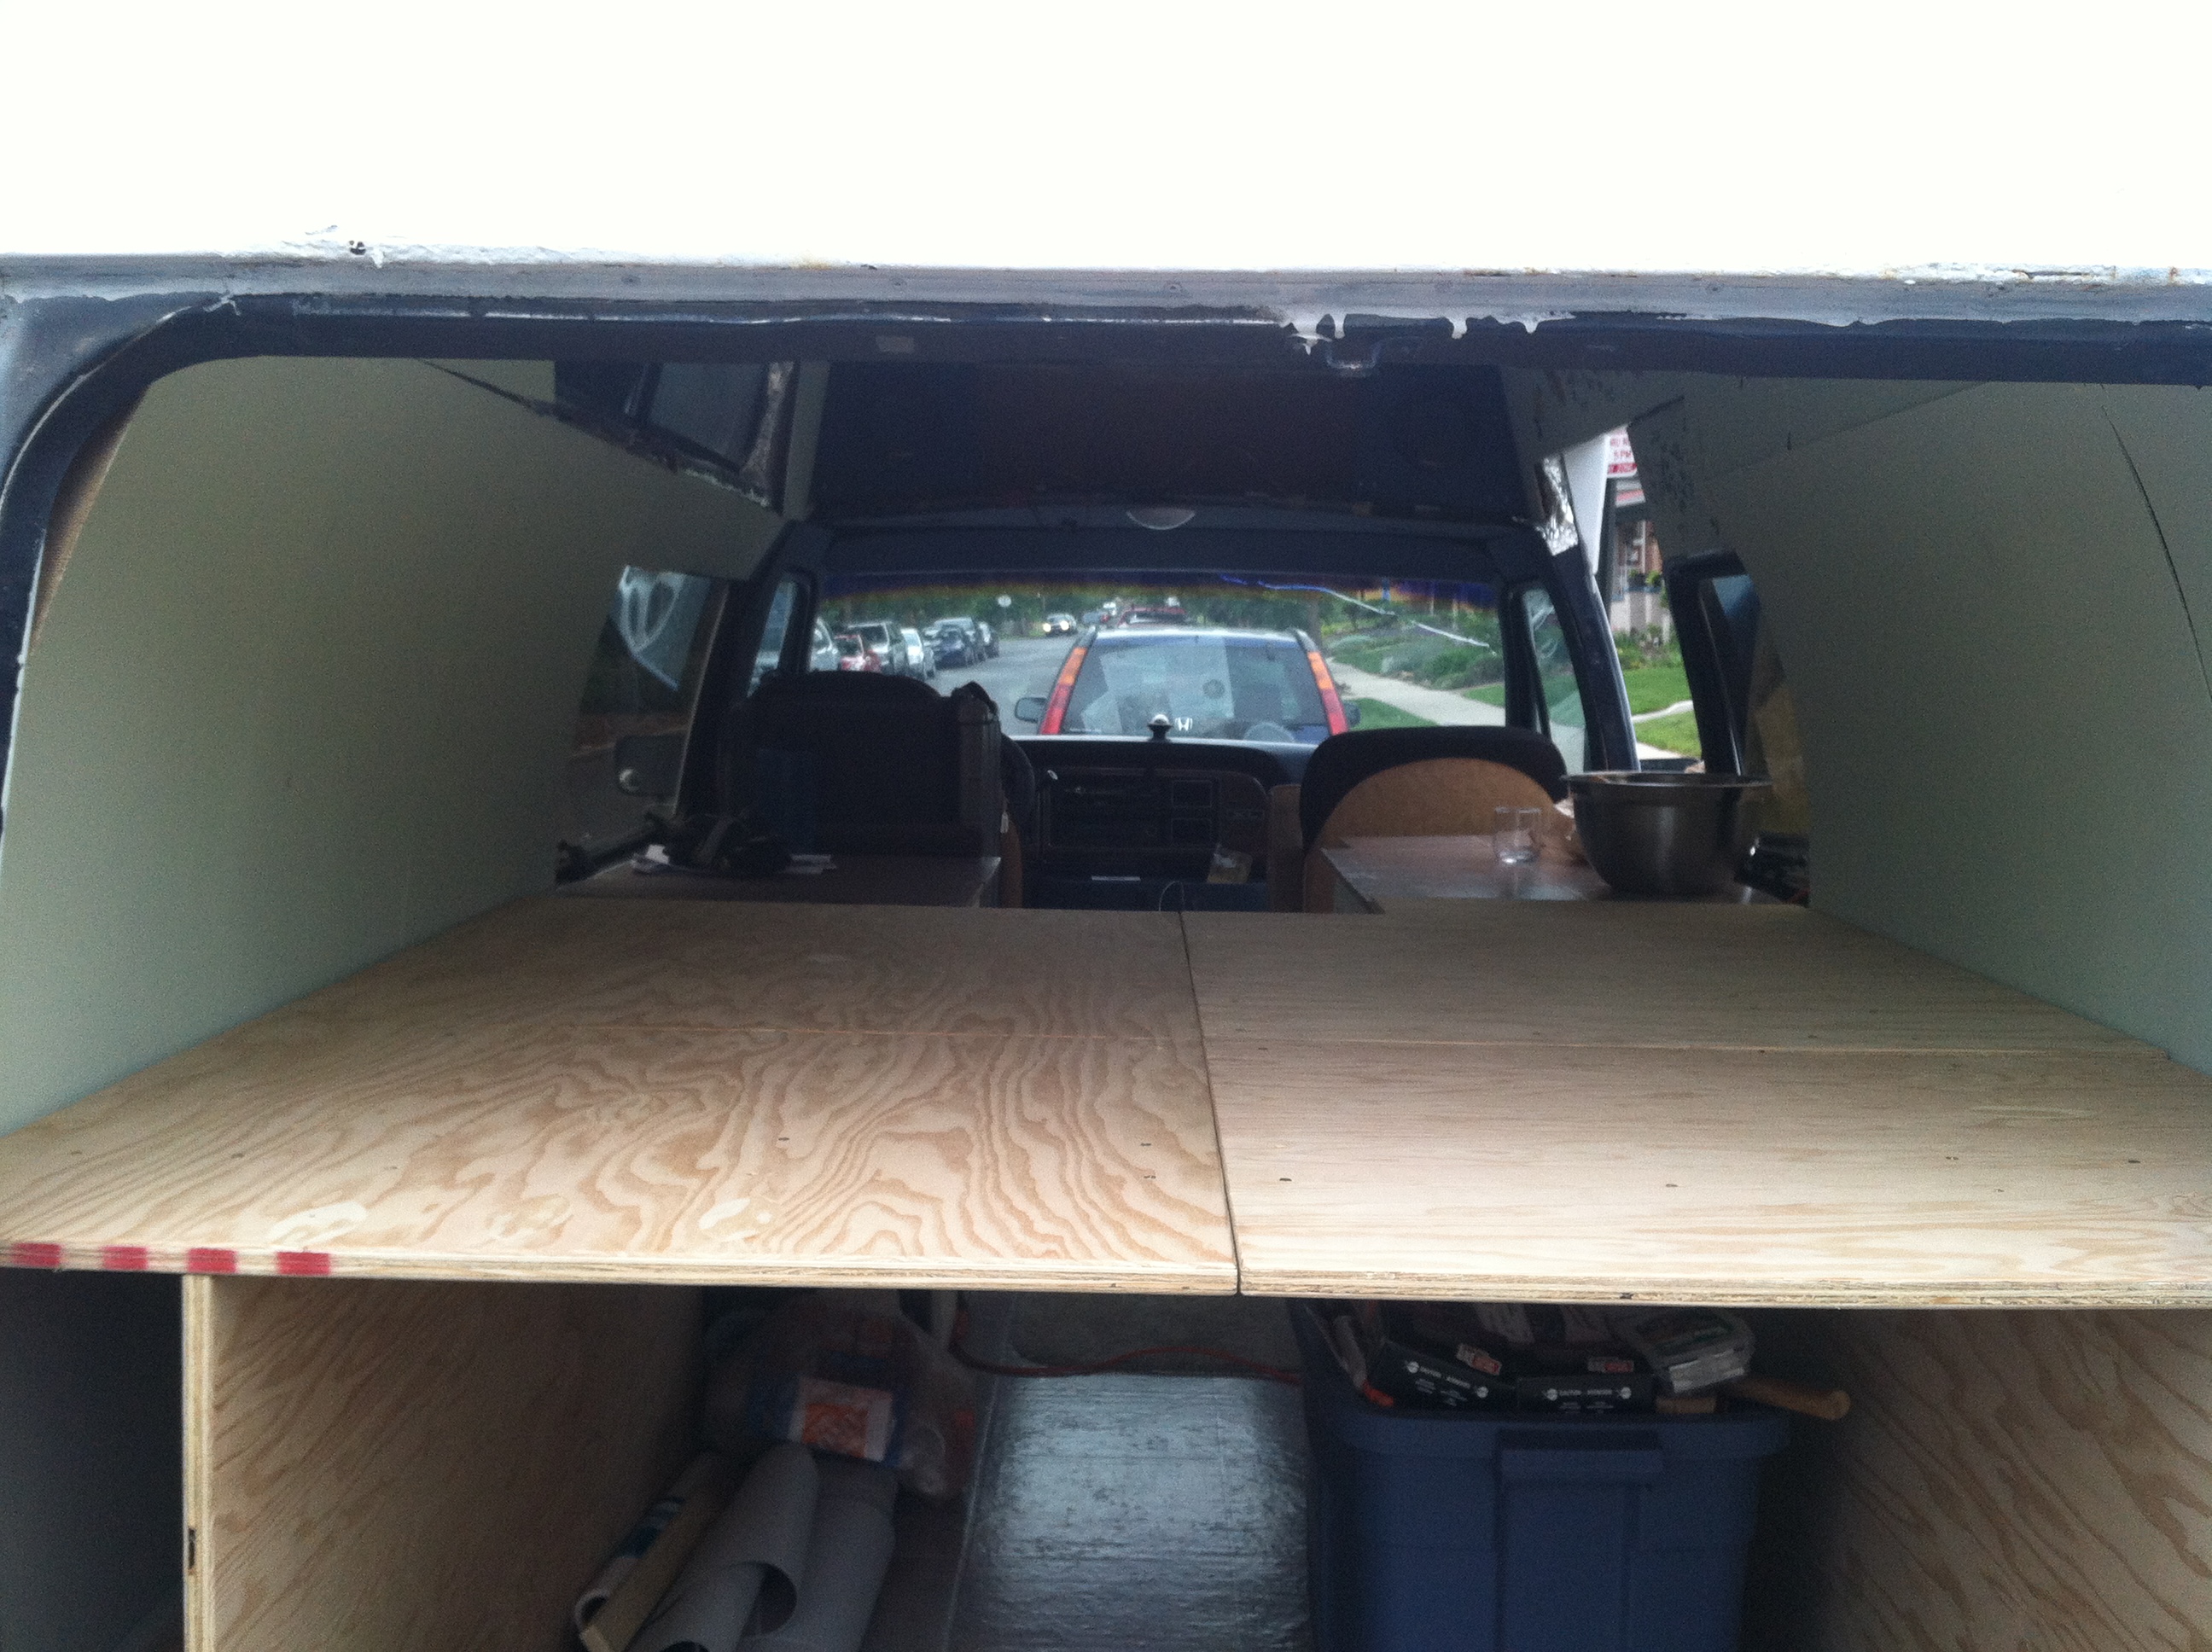
After a lot of thought and measuring I cut 4 pieces of ply to create the platform which will lay on top of the frame. It fit perfectly! I laid all four pieces out, crawled underneath, and traced the frame onto the underside of the ply.
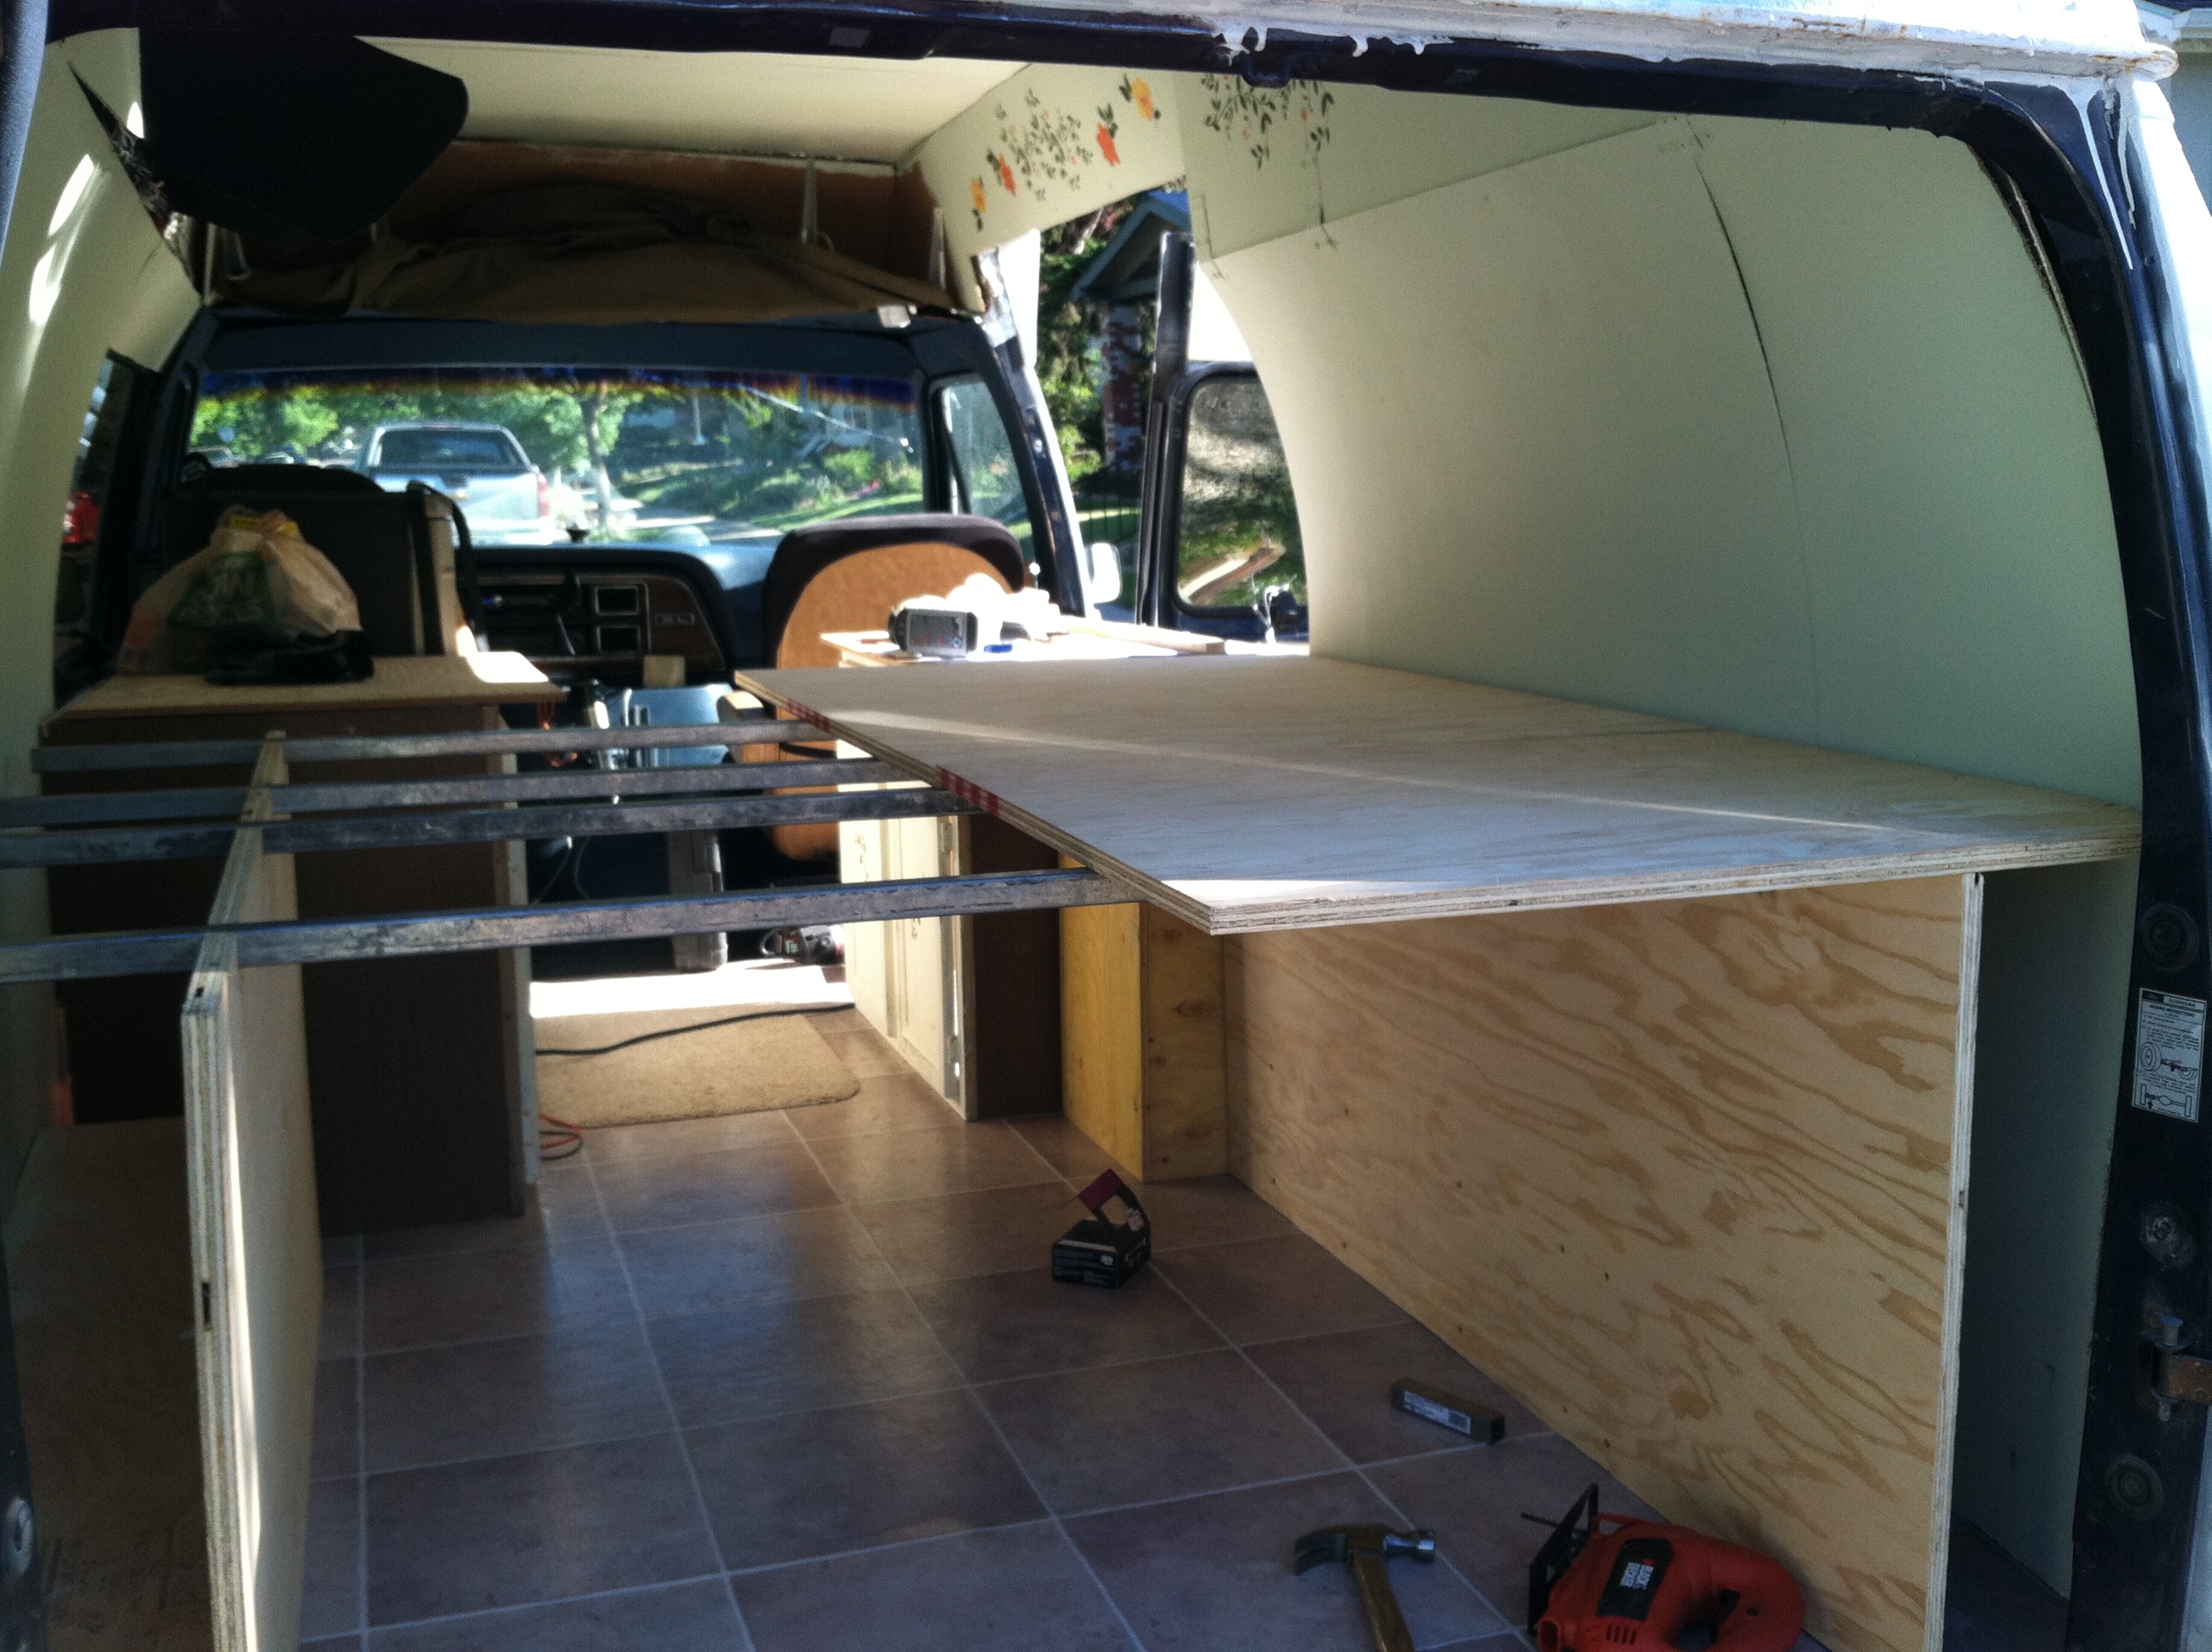
I then used 2X3s on the underside to create slots for the frame to fit in. This is what not only keeps the surface from moving but also ties the walls and tubes into one structure. When the platform is in place, none of it budges in the slightest and it is very strong. This has the added bonus of each section being completely removable. I measured so that the back sections are smaller than the front so they are easier to manage when you’re standing low on the ground in the back trying to remove one. I also designed it so that the futon can be shuttled to either side with enough room for the opposing side’s panels to be removed. This way we can access our storage from above without removing the bed or even opening the van up.
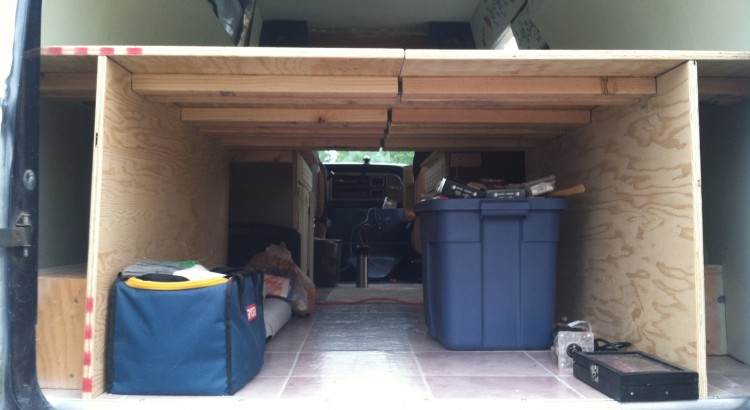
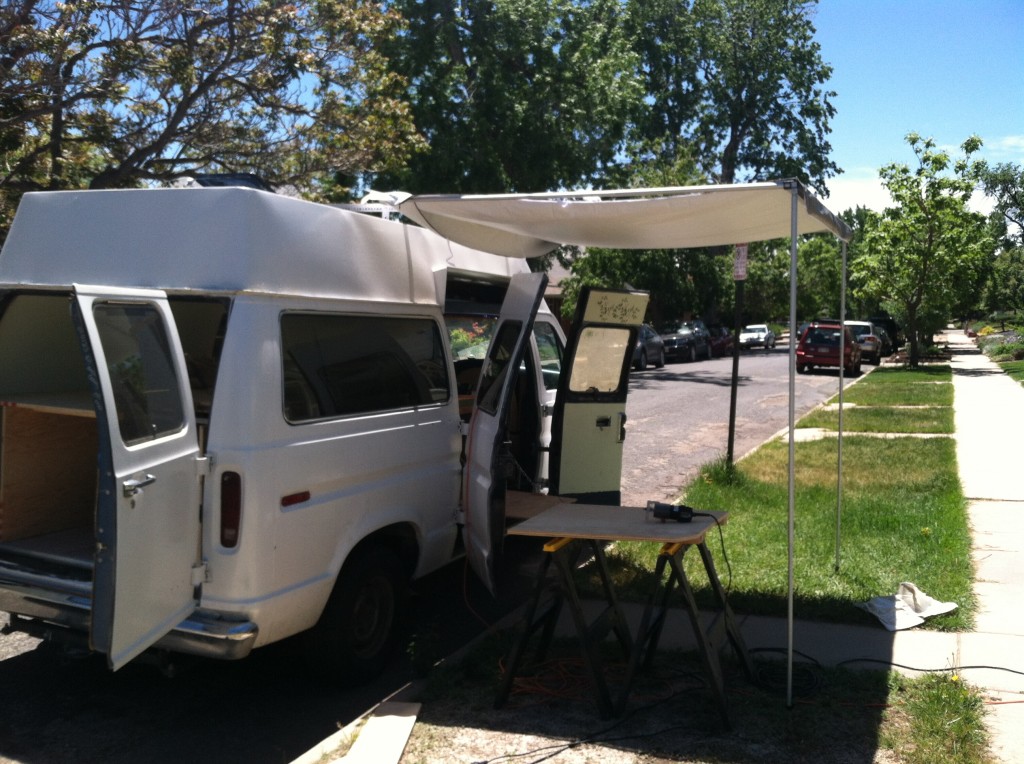
It turned out awesome and very strong. All four panels can be removed along with the cross beams to allow the vehicle to be used for other things like throwing some bikes in the back when we’re in town or helping a buddy move a couch, etc. I borrowed my buddy’s router (and idea) and manicured the edges so we won’t get splinters or chip away at the sides of the wood (thanks Chip!). It was hot during the final touches and I was glad to have an awning to work under.
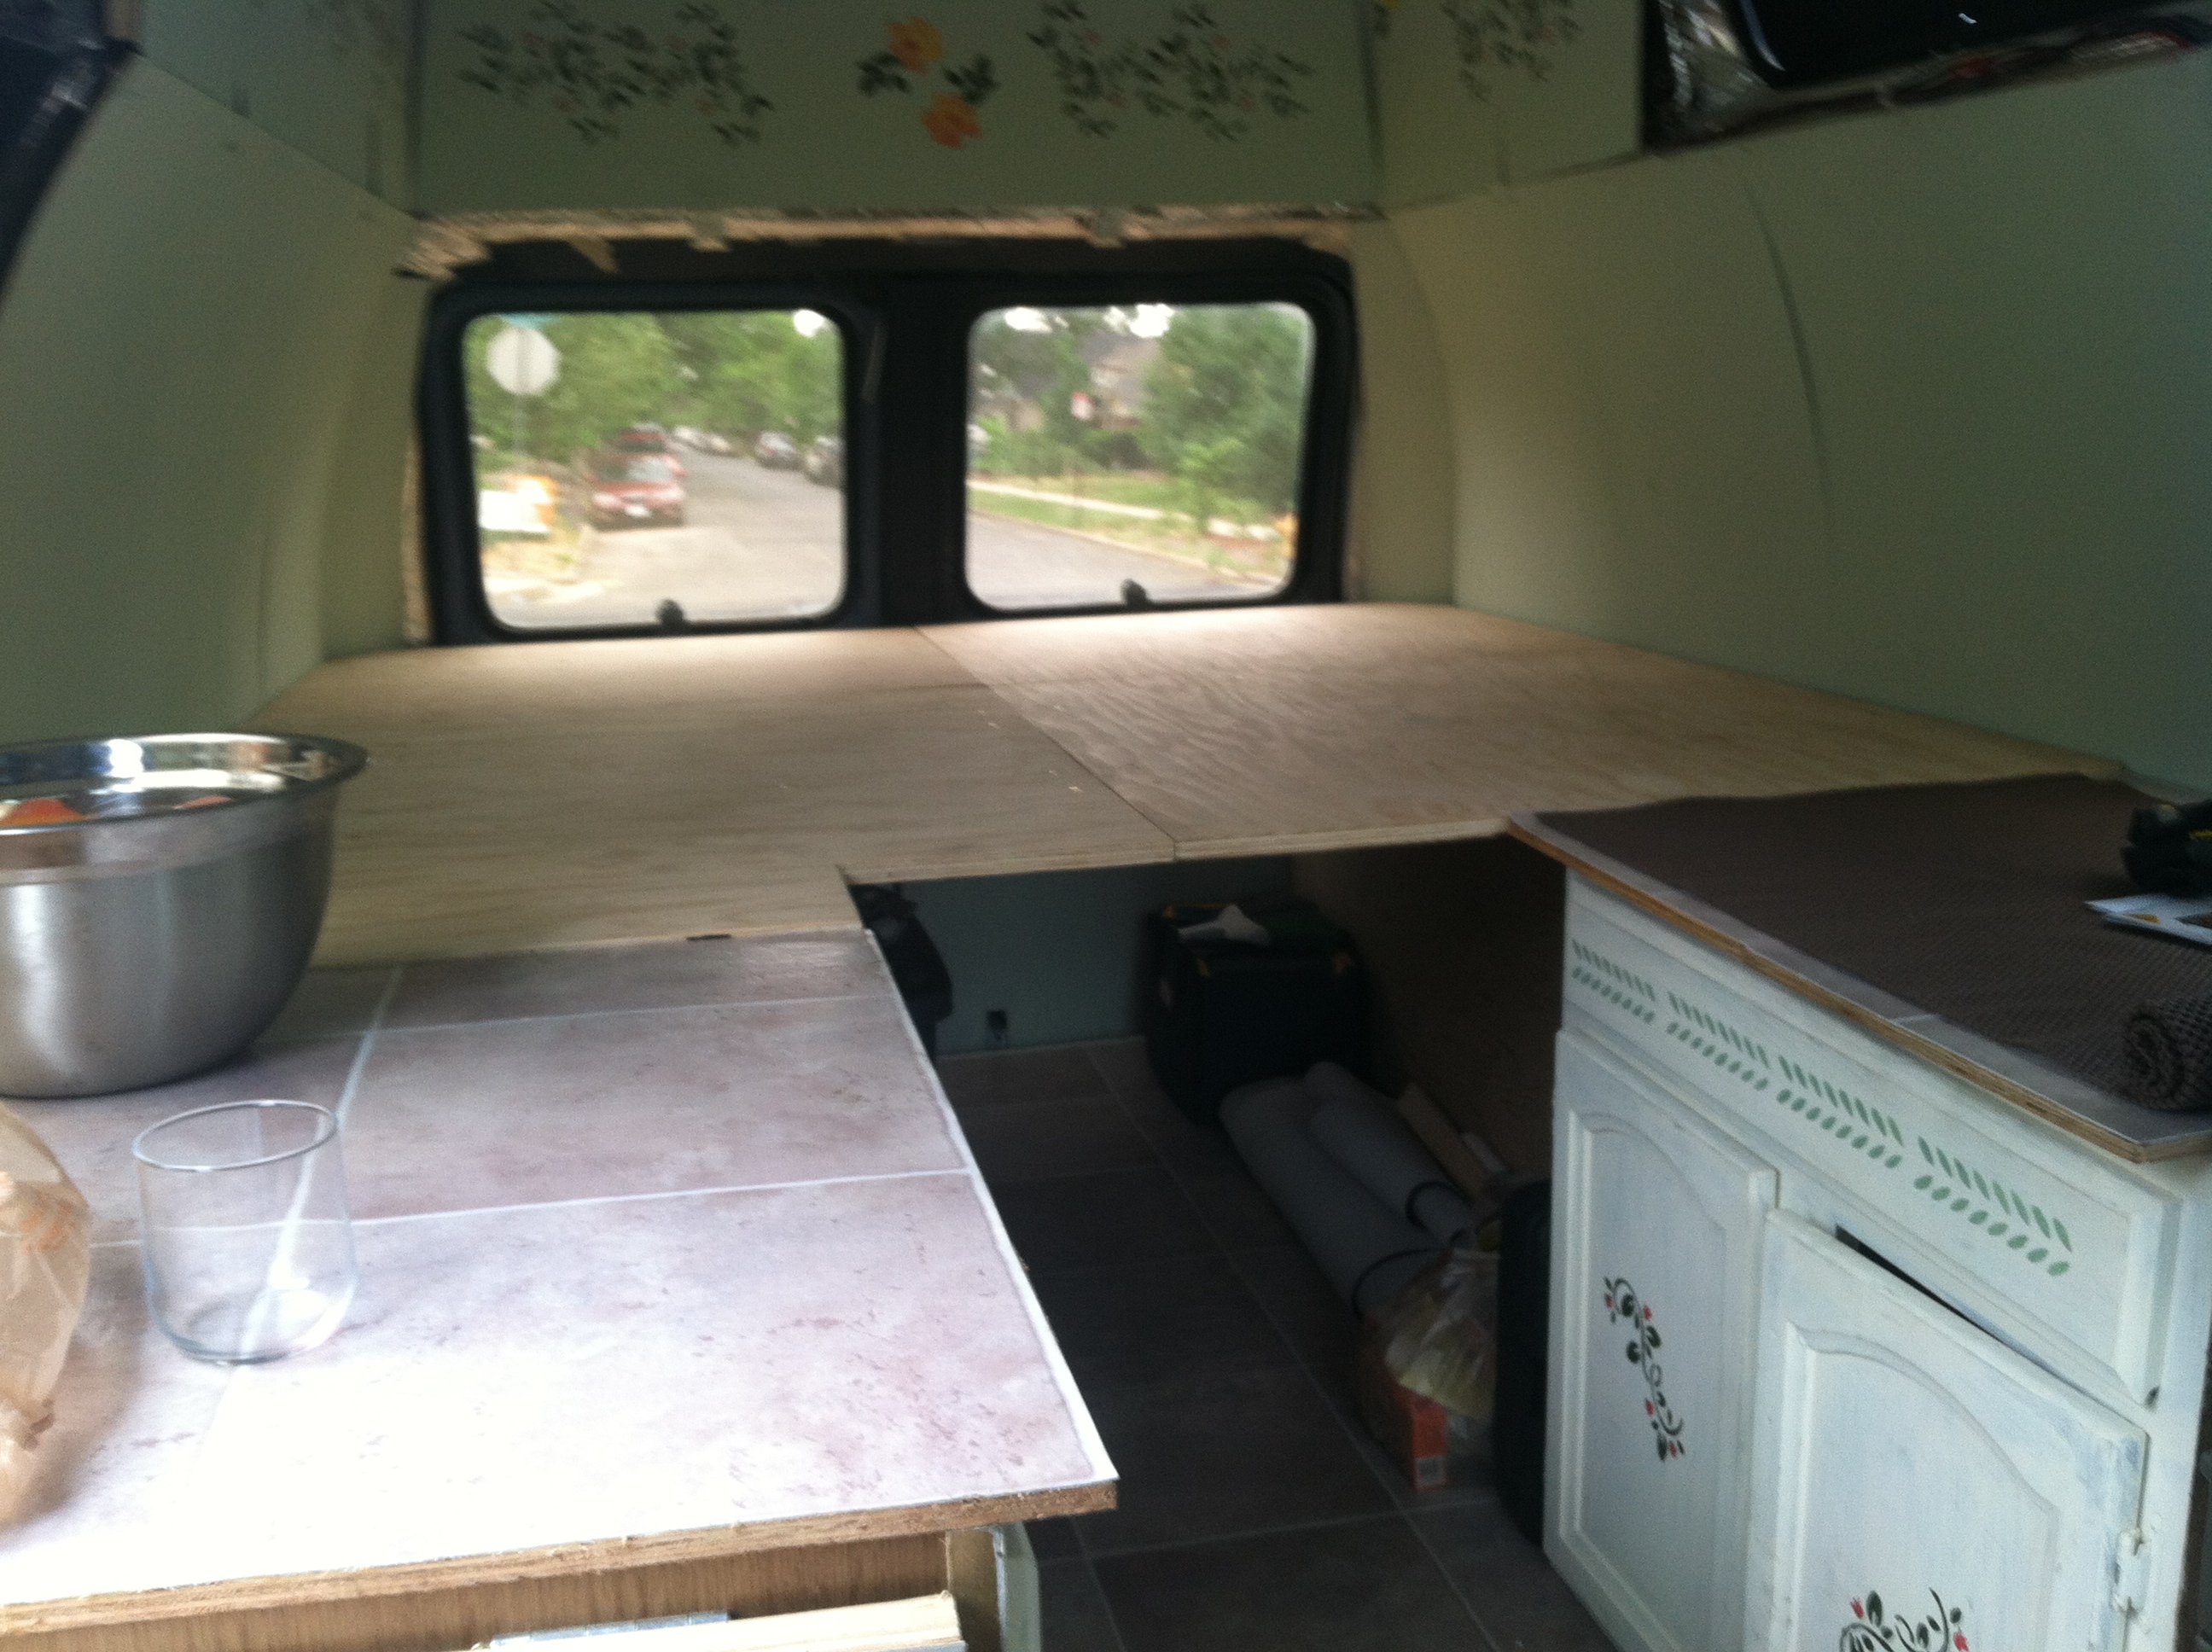
Nice finished, flush surface. Sturdy, large, and tons of space underneath for storage with access via any of the four panels!

And that is how you build a bed… for about $250 (with tax). The thick sanded ply is expensive as are the metal crossbeams.
| Bed | |||
| 3/4″ Sanded Ply | 3 | 43.97 | 131.91 |
| 6′ Square tube metal | 4 | 21.64 | 86.56 |
| 8′ 2X3s | 4 | 2.39 | 9.56 |
| 228.03 |