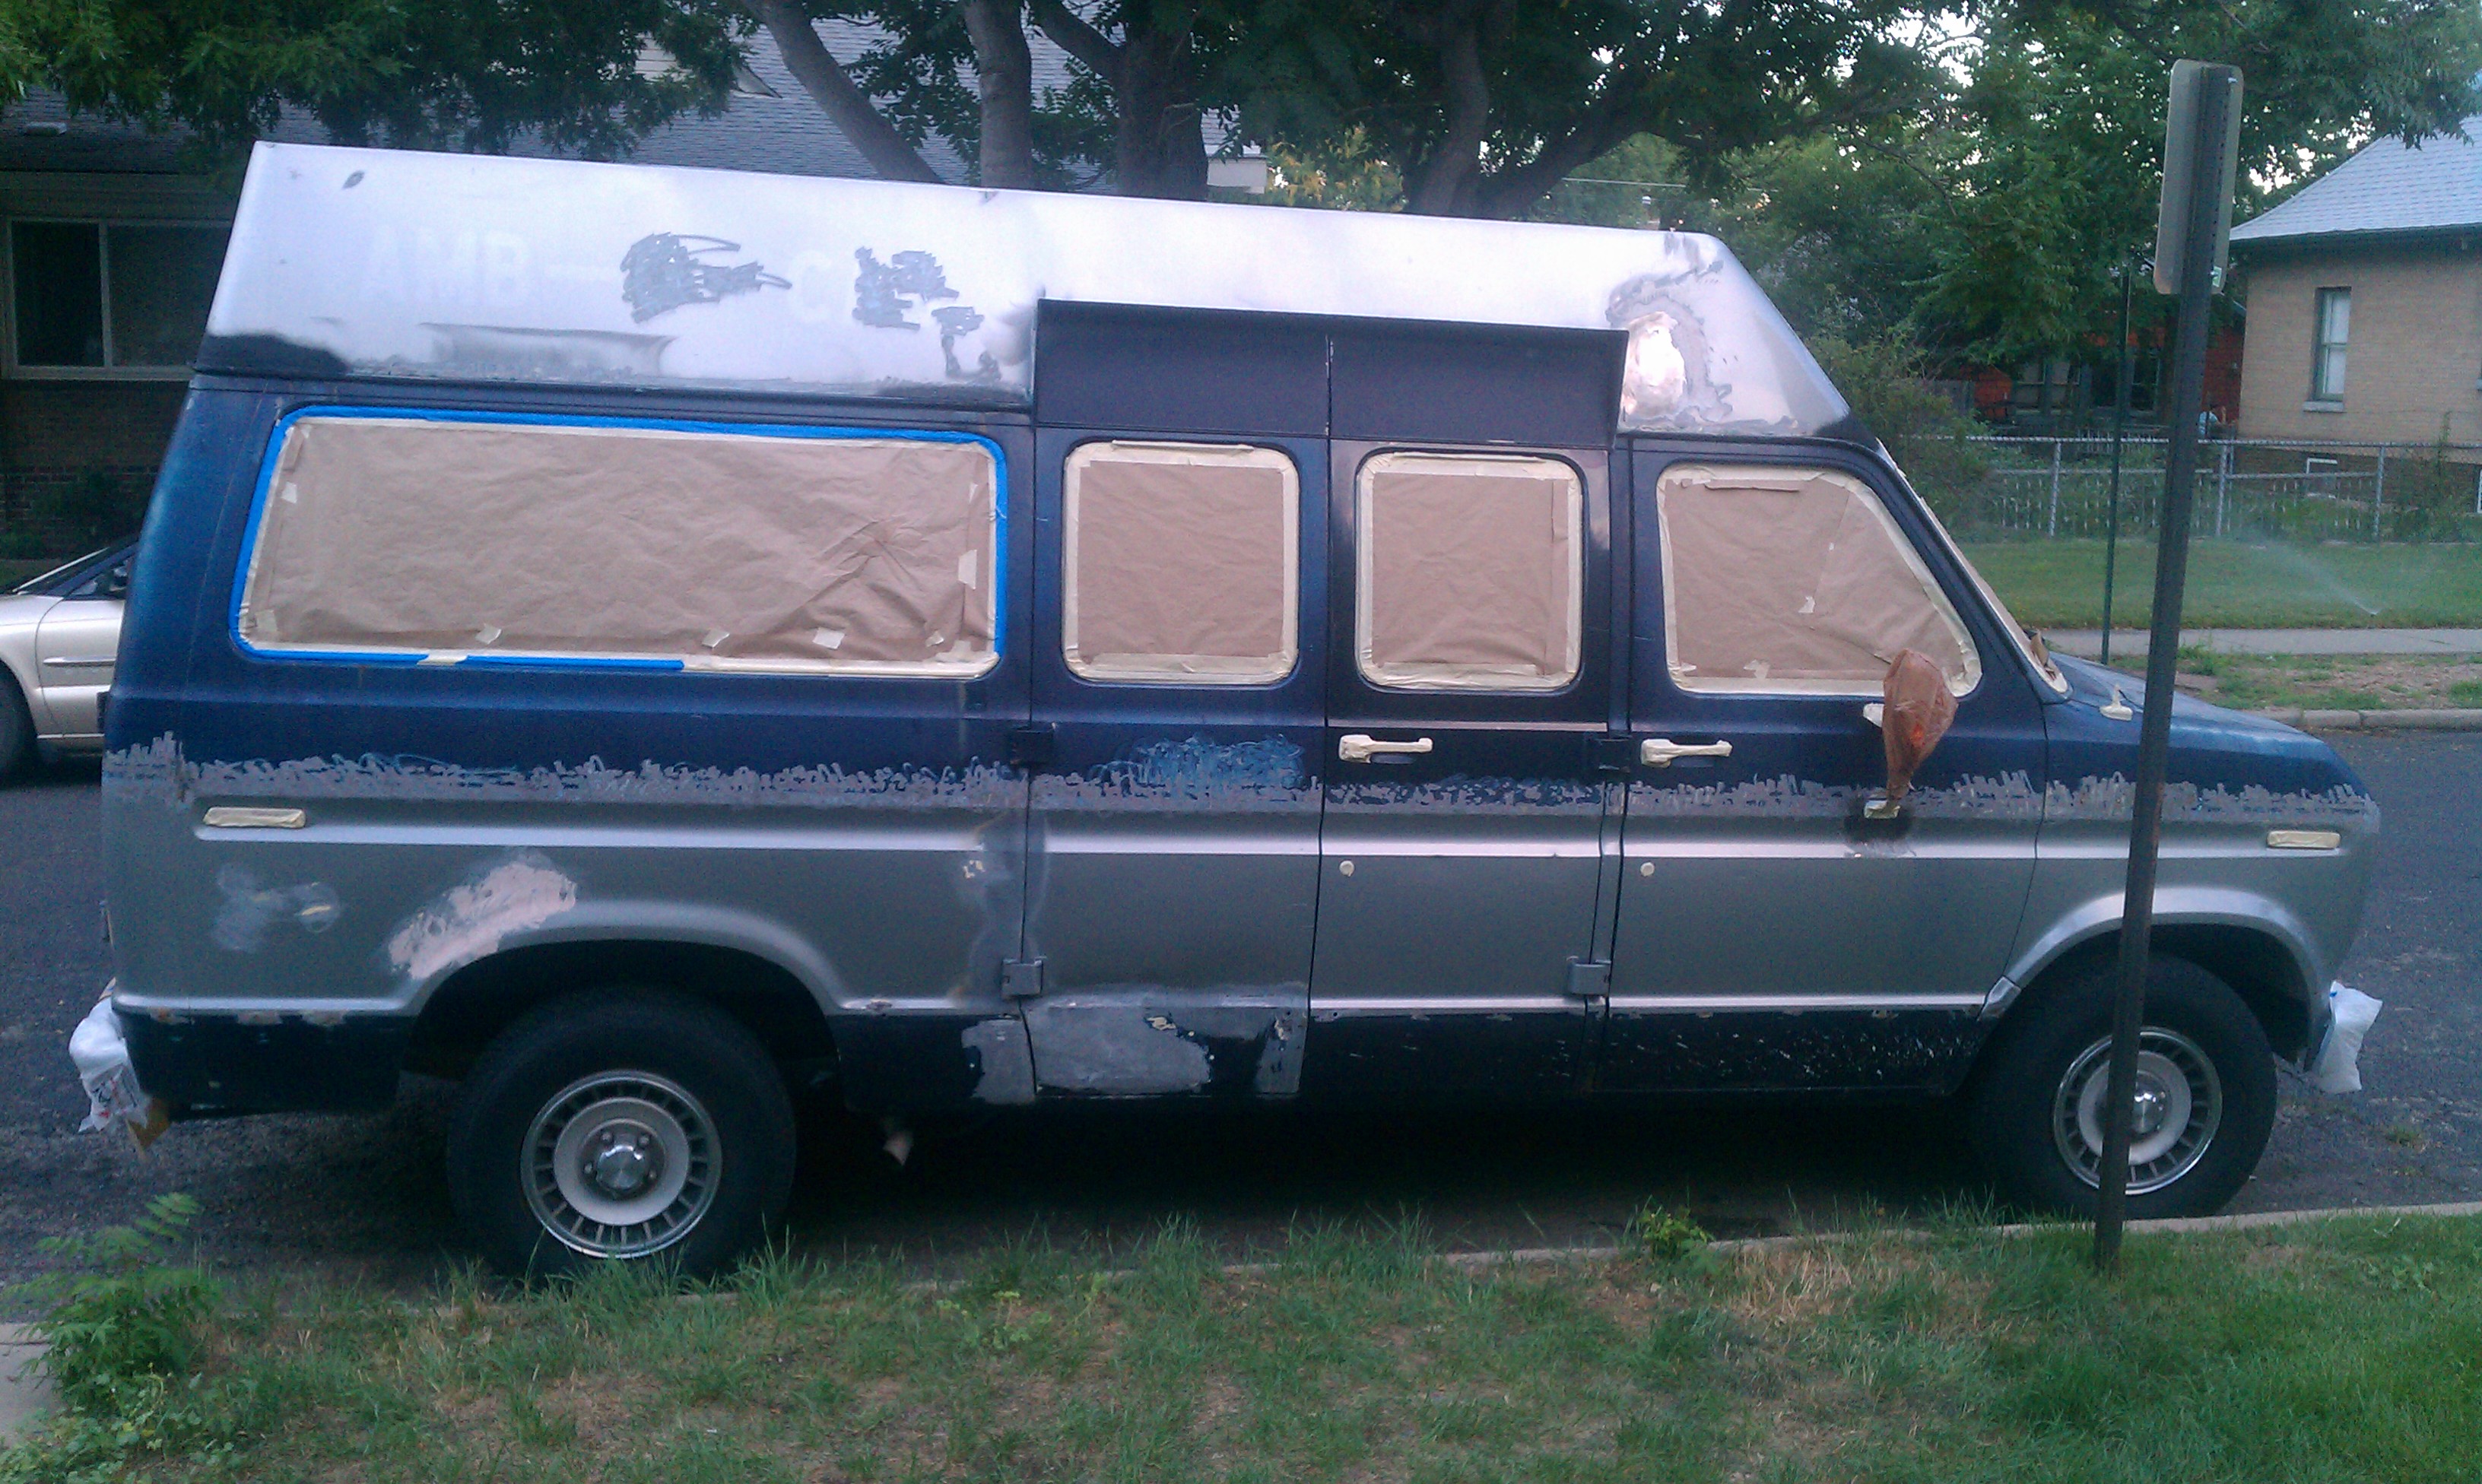
Oh hindsight, with your annoyingly perfect vision. When I began fixing the leaks I assumed that I would have to repaint/seal it somehow. Because of this assumption I tore the metal trim of the side, I ground off the pin stripes, and did a few other things that turned it from a van that looked old to a van that looked atrocious and old. I now know, having repaired the leaks and fixed the rails, that I could have gotten away with not repainting. But this is all a moot point now. Being able to camp and not draw attention is important in this vehicle, so it needs to look somewhat normal, and at this point that means painting.
The 50 dollar paint job…
Wow, mixed thoughts on this one. A quick google search will reveal page after page, forum after forum, of people who have successfully employed the $50 dollar Rustoleum paint job. Not sure whether I could count myself among them or not. Let me just start off by saying that the most significant obstacle I ran into in this endeavor was myself. I simply do not have the patience for painting a vehicle and consequently, the outcome likely could have been a lot better. That said, I don’t think it’s all that bad either. In fact, for our purposes and considering what it looked like before hand, I’m not sure it turned out all that bad.
So details. First, the “$50” part is very misleading if you own a van with a high top on it. Maybe $50 could get you all the way around a motorcycle, or maybe a Geo Metro, but certainly not a giant van. When all was said and done we spent nearly $200 – and that’s not including bondo and fiber glass which was part of the body repair that had to be done before painting could occur. The paint alone was a little over $50. Here’s the list of supplies I used:
| Masking Tape | 1 | 2.97 | 2.97 |
| Brown Masking Paper | 1 | 3.97 | 3.97 |
| Rustoleum Grey Auto Primer | 14 | 3.98 | 55.72 |
| 2″ Foam brush | 2 | 0.77 | 1.54 |
| 1″ Foam brush | 2 | 0.67 | 1.34 |
| 6″ Roller handle | 2 | 4.97 | 9.94 |
| Additional 6″ High Density Foam Rollers (2 packk) | 3 | 4.97 | 14.91 |
| Acetone (1 gallon) | 2 | 16.96 | 33.92 |
| Rustoleum Gloss White (1 quart) | 6 | 9.48 | 56.88 |
| Paint pan | 2 | 3.94 | 7.88 |
| Paint bucket | 1 | 2.36 | 2.36 |
| Total | 191.43 |
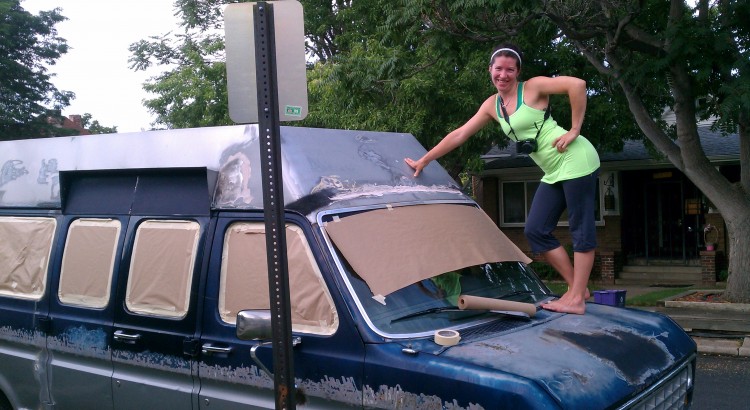
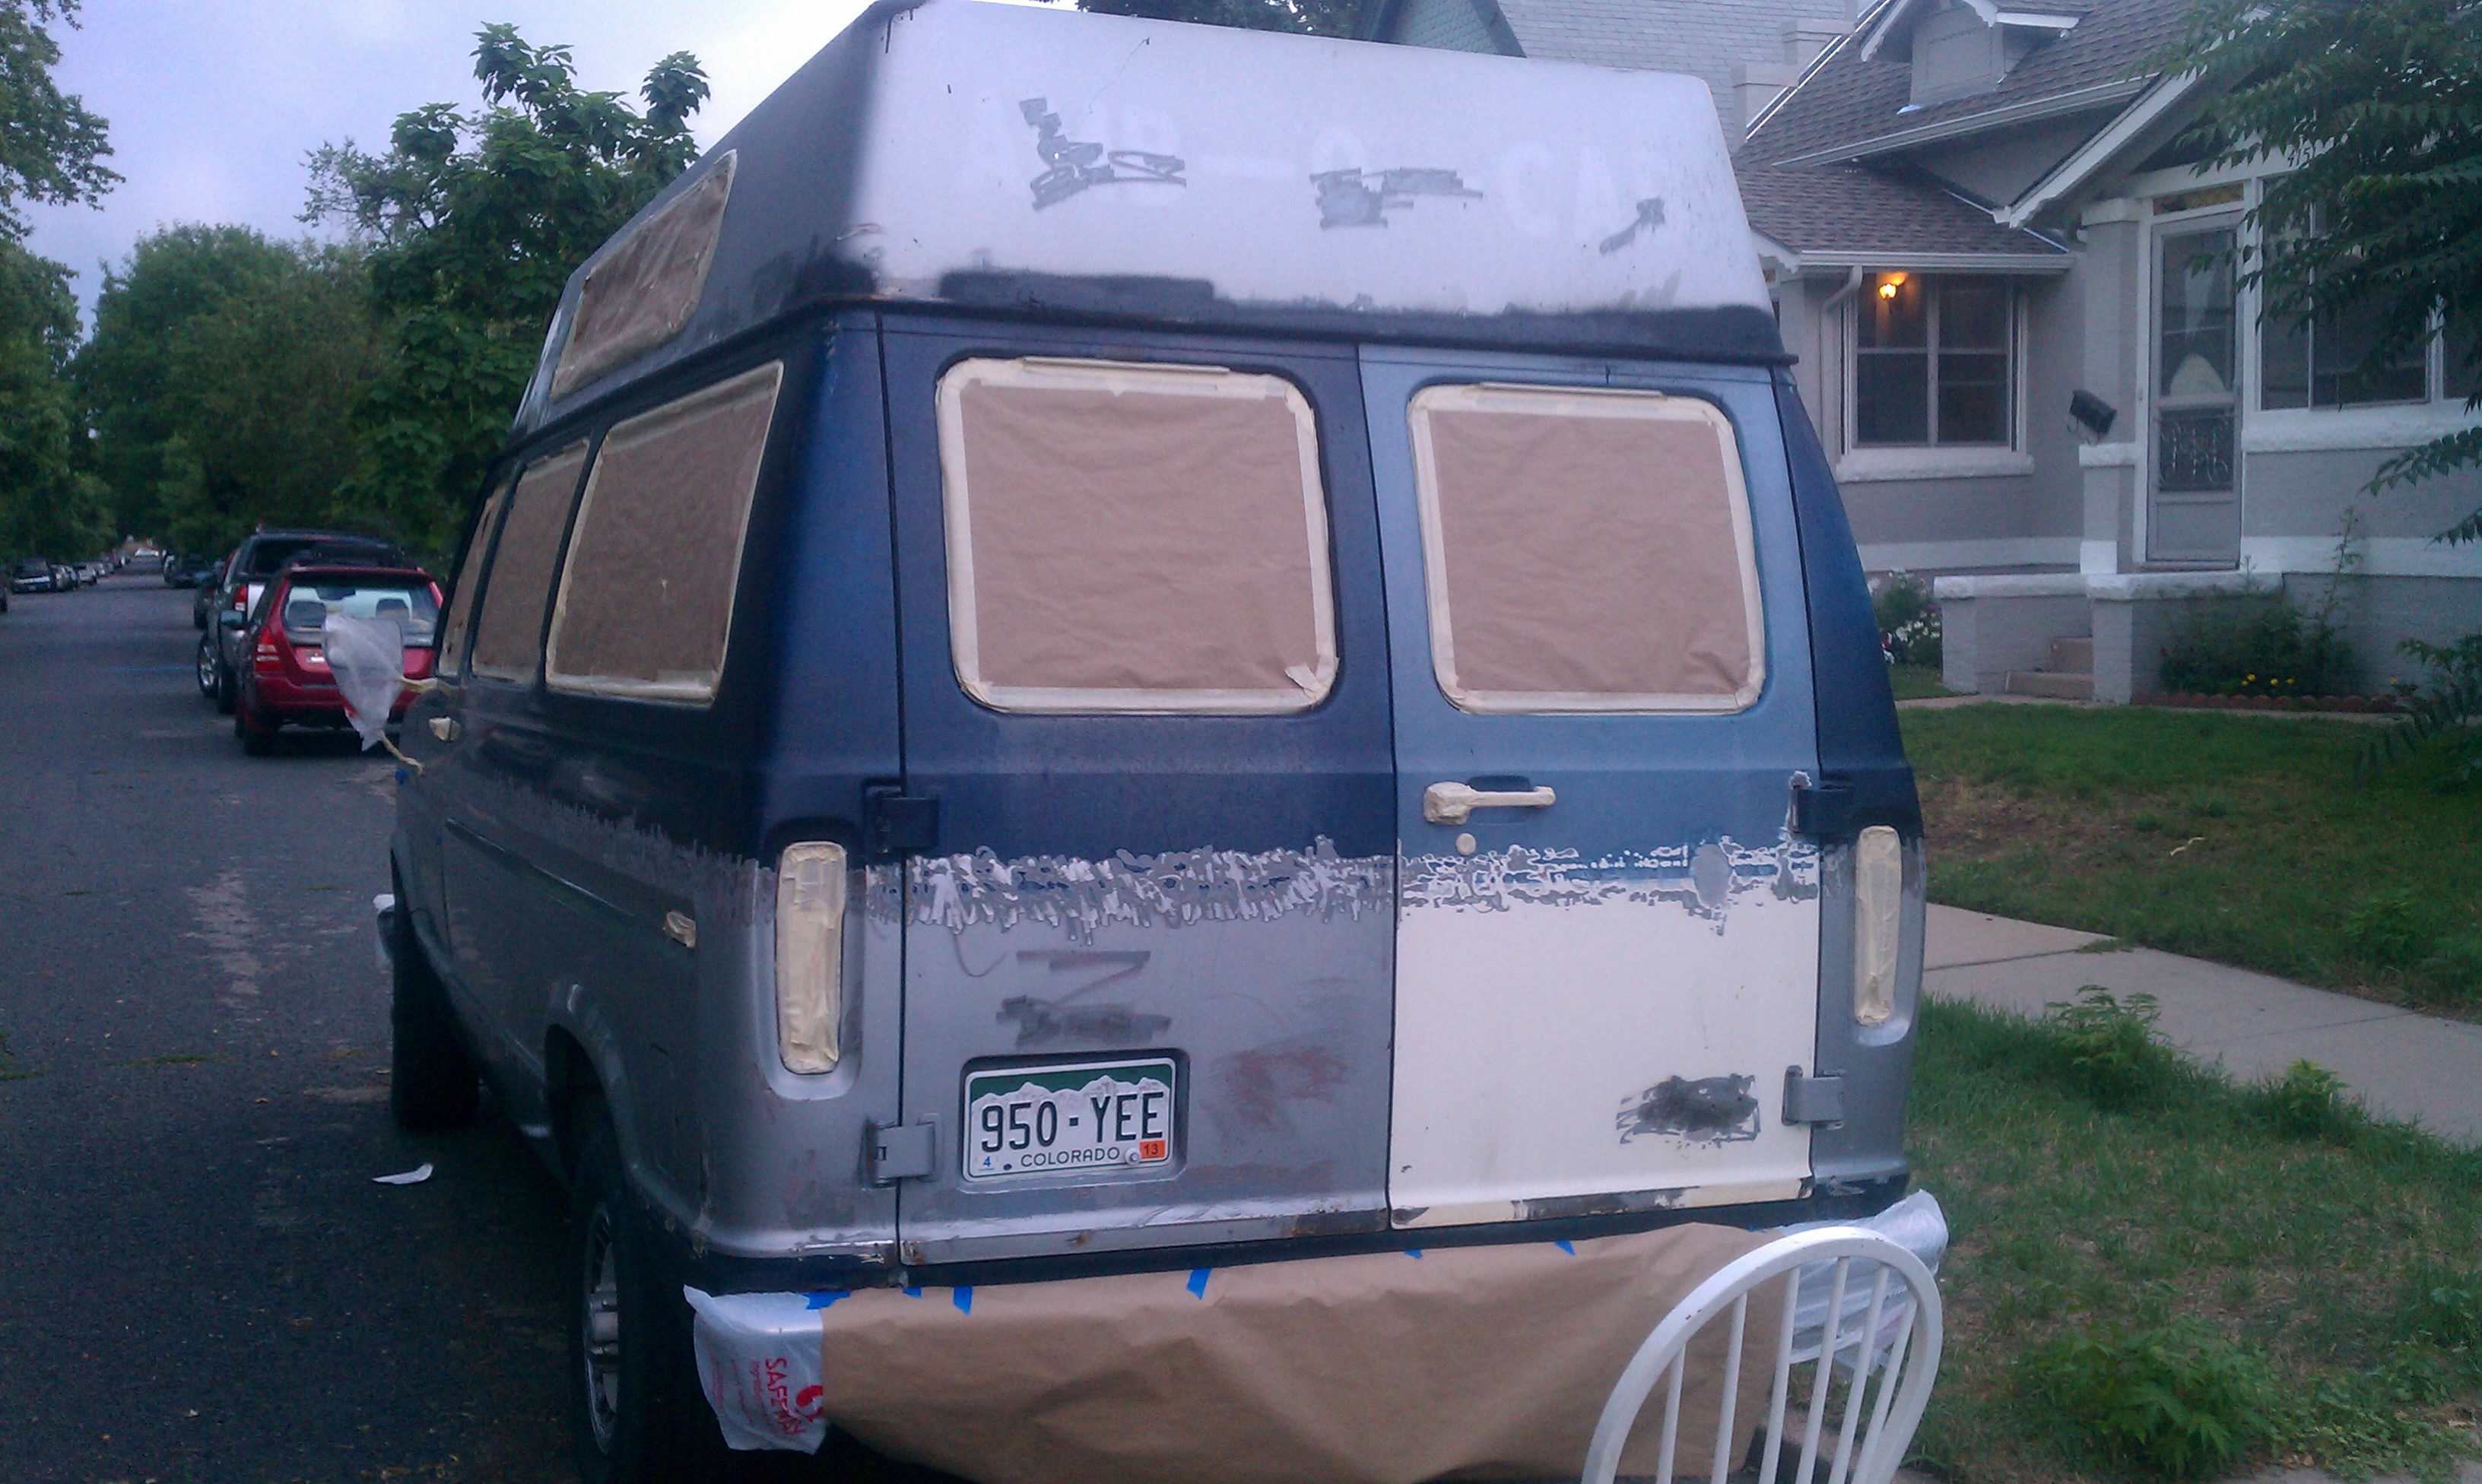
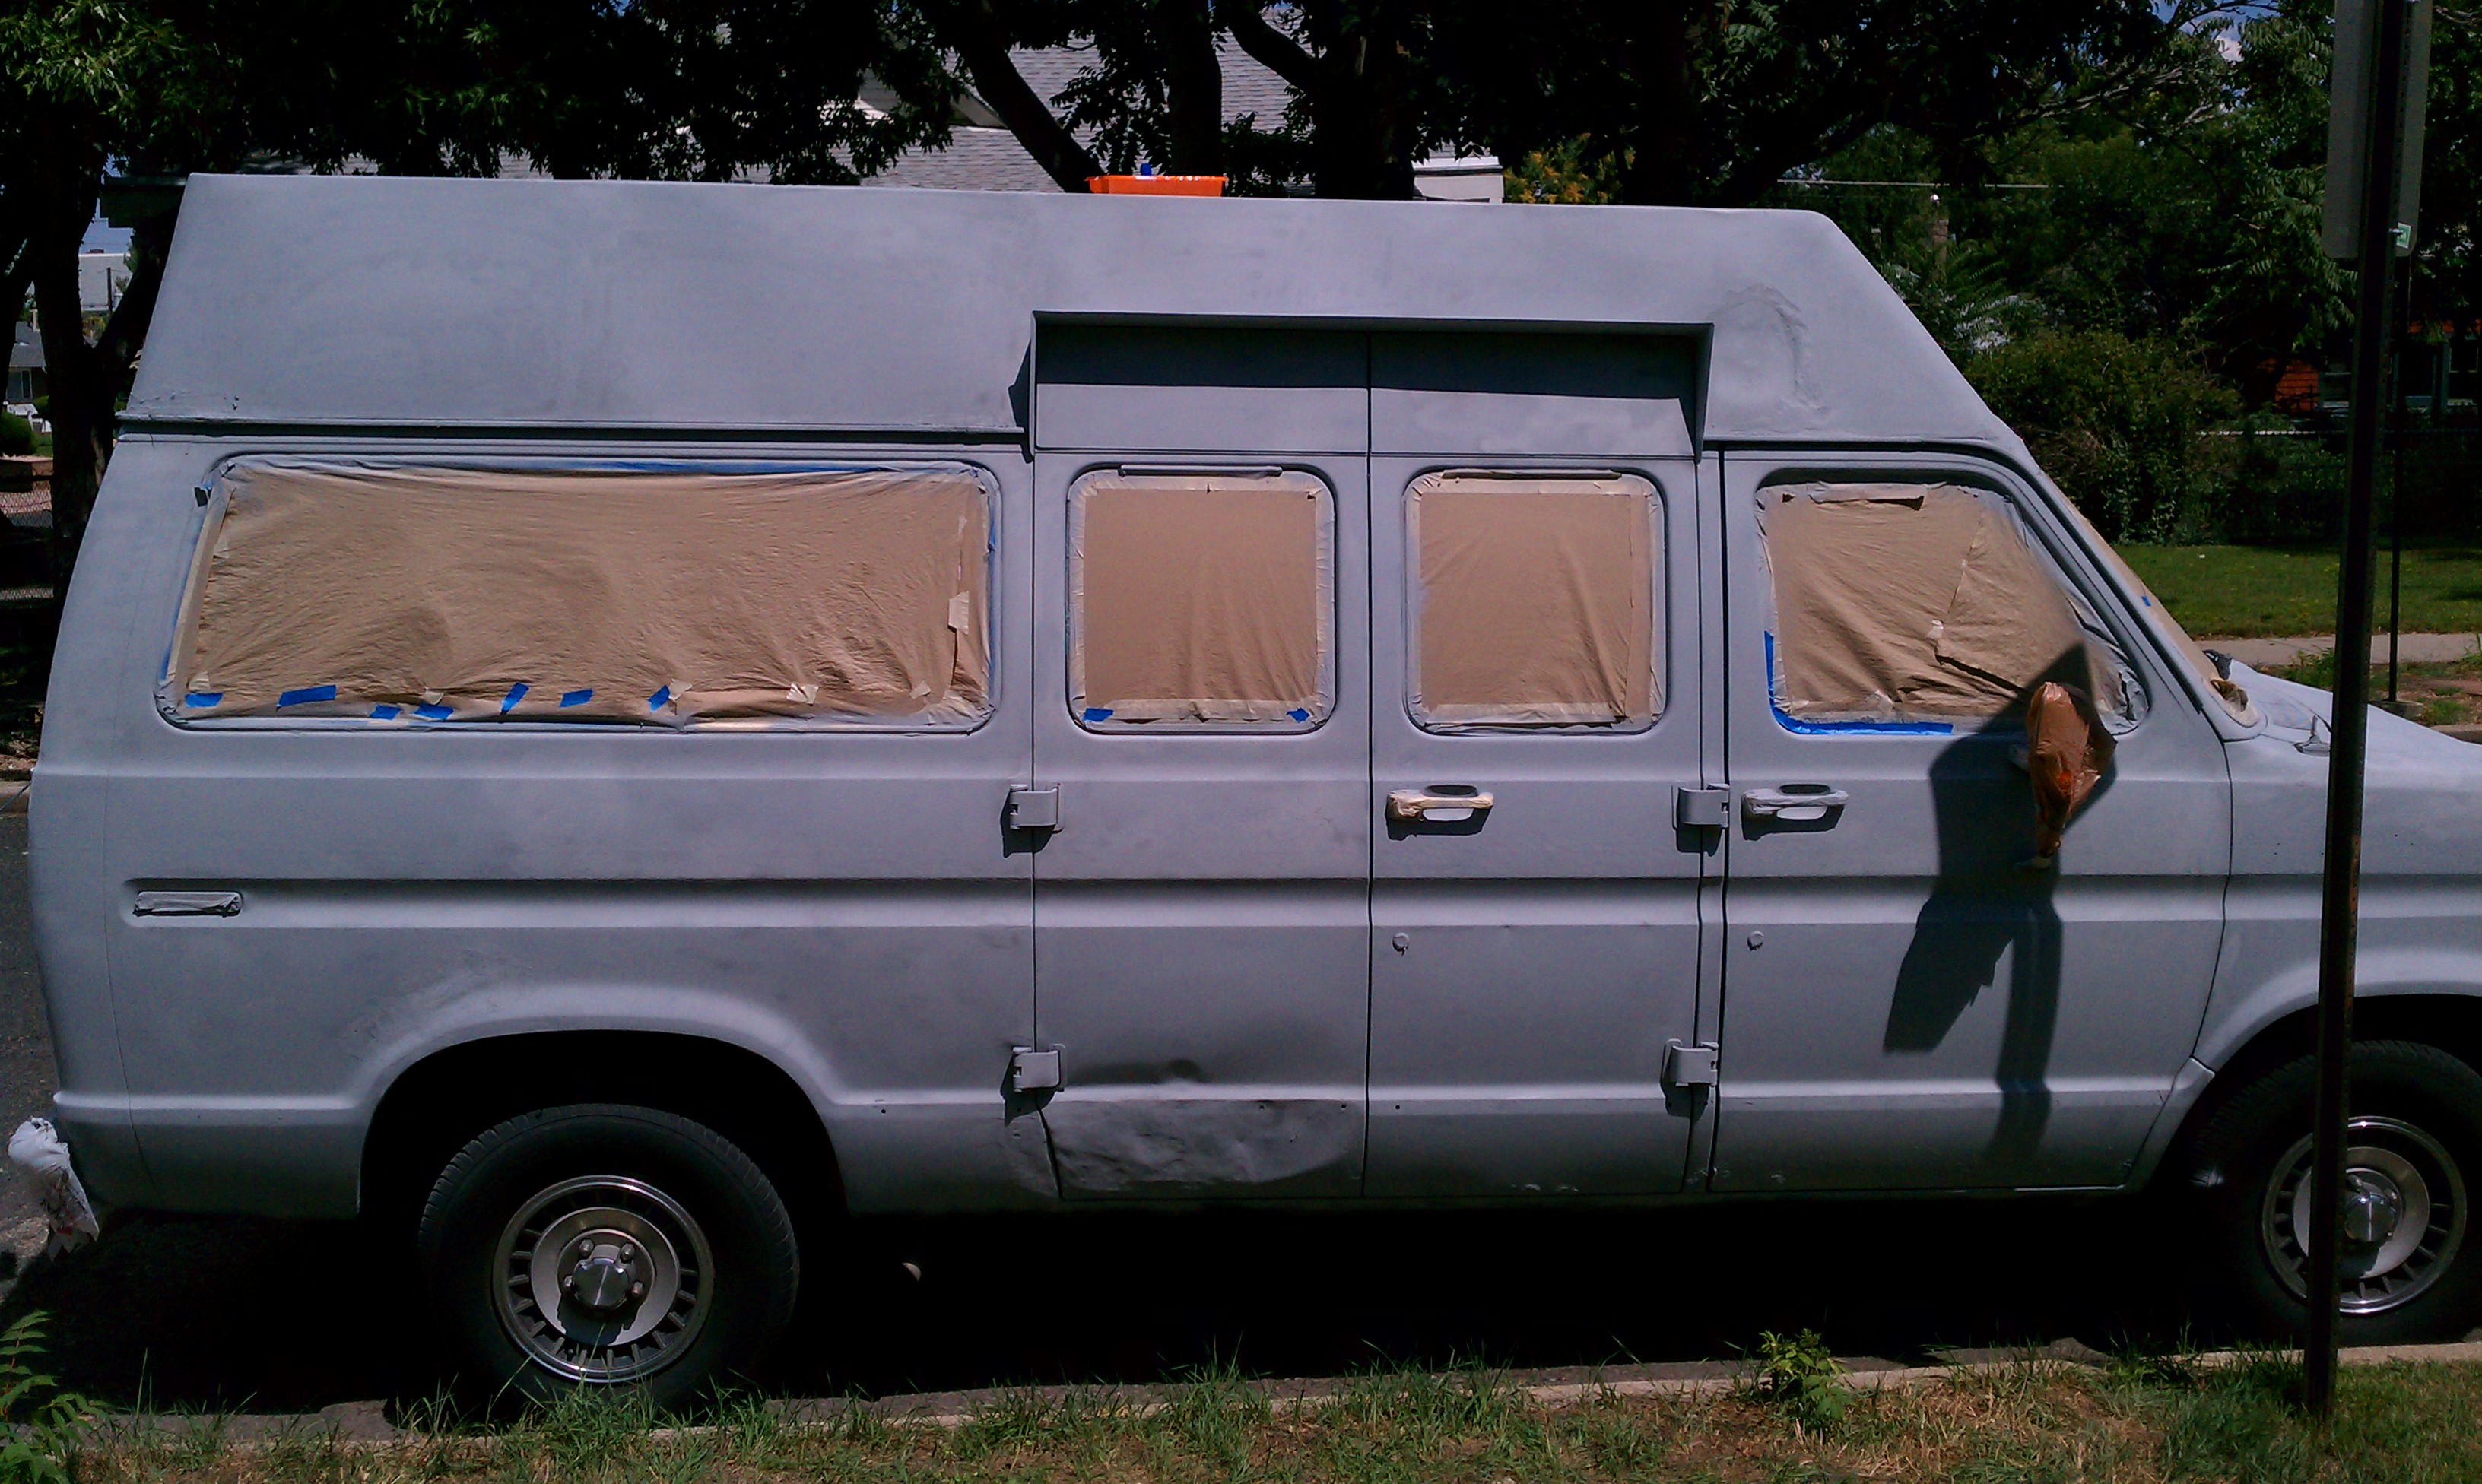
I cut many a corner on this job, and it still took forever. Days. After assessing the general condition of the body, I realized that there was no point in trying to smooth out the flaws, sanding it down, etc. There was simply to much surface area to cover in any reasonable amount of time. Plus, this thing isn’t supposed to look like it just came off the lot, nor does it need to last a lifetime. I used fiberglass to repair the remaining parts of the drip rails, then bondoed over the parts that were cracked or that were covering old welds on the topper where I didn’t want to risk leaks eventually forming. After that I used masking tape and brown paper to cover all the windows, doors handles, bumpers, lights, grill, etc. That alone took a very long time. It was also one of the things I was very meticulous with and I still ended up with paint in weird places at the end, so take care if you’re on a similar path.
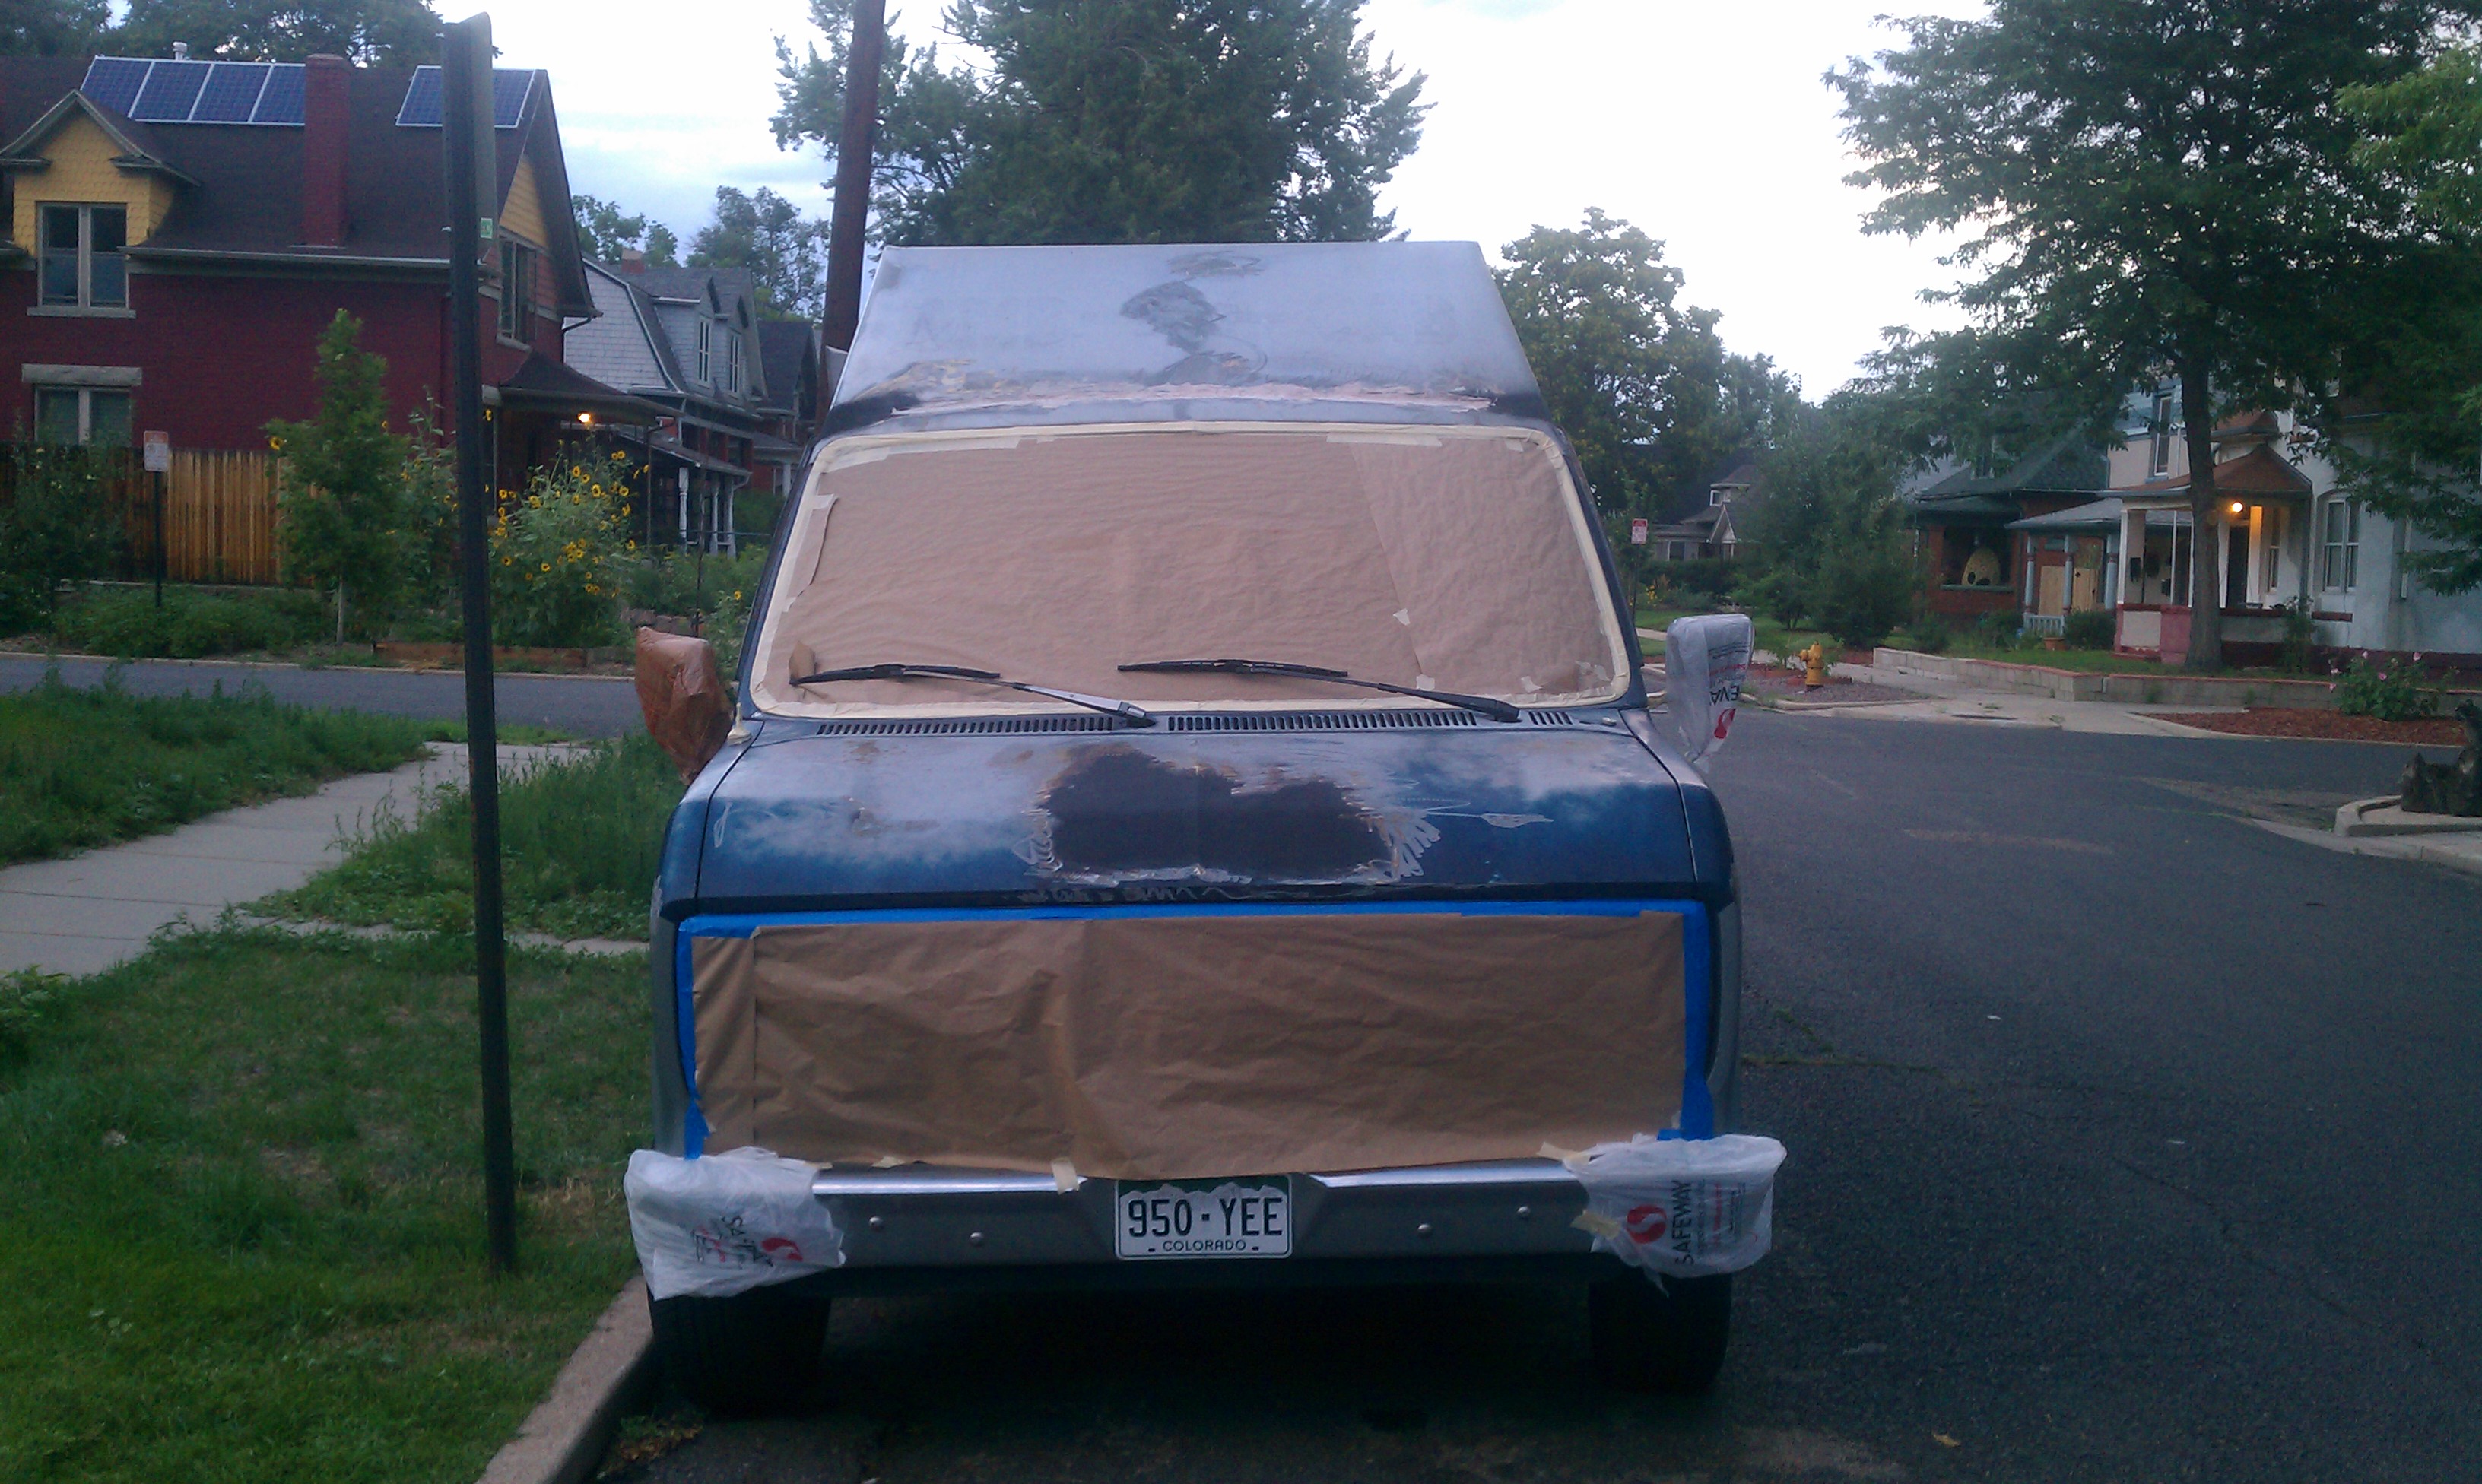
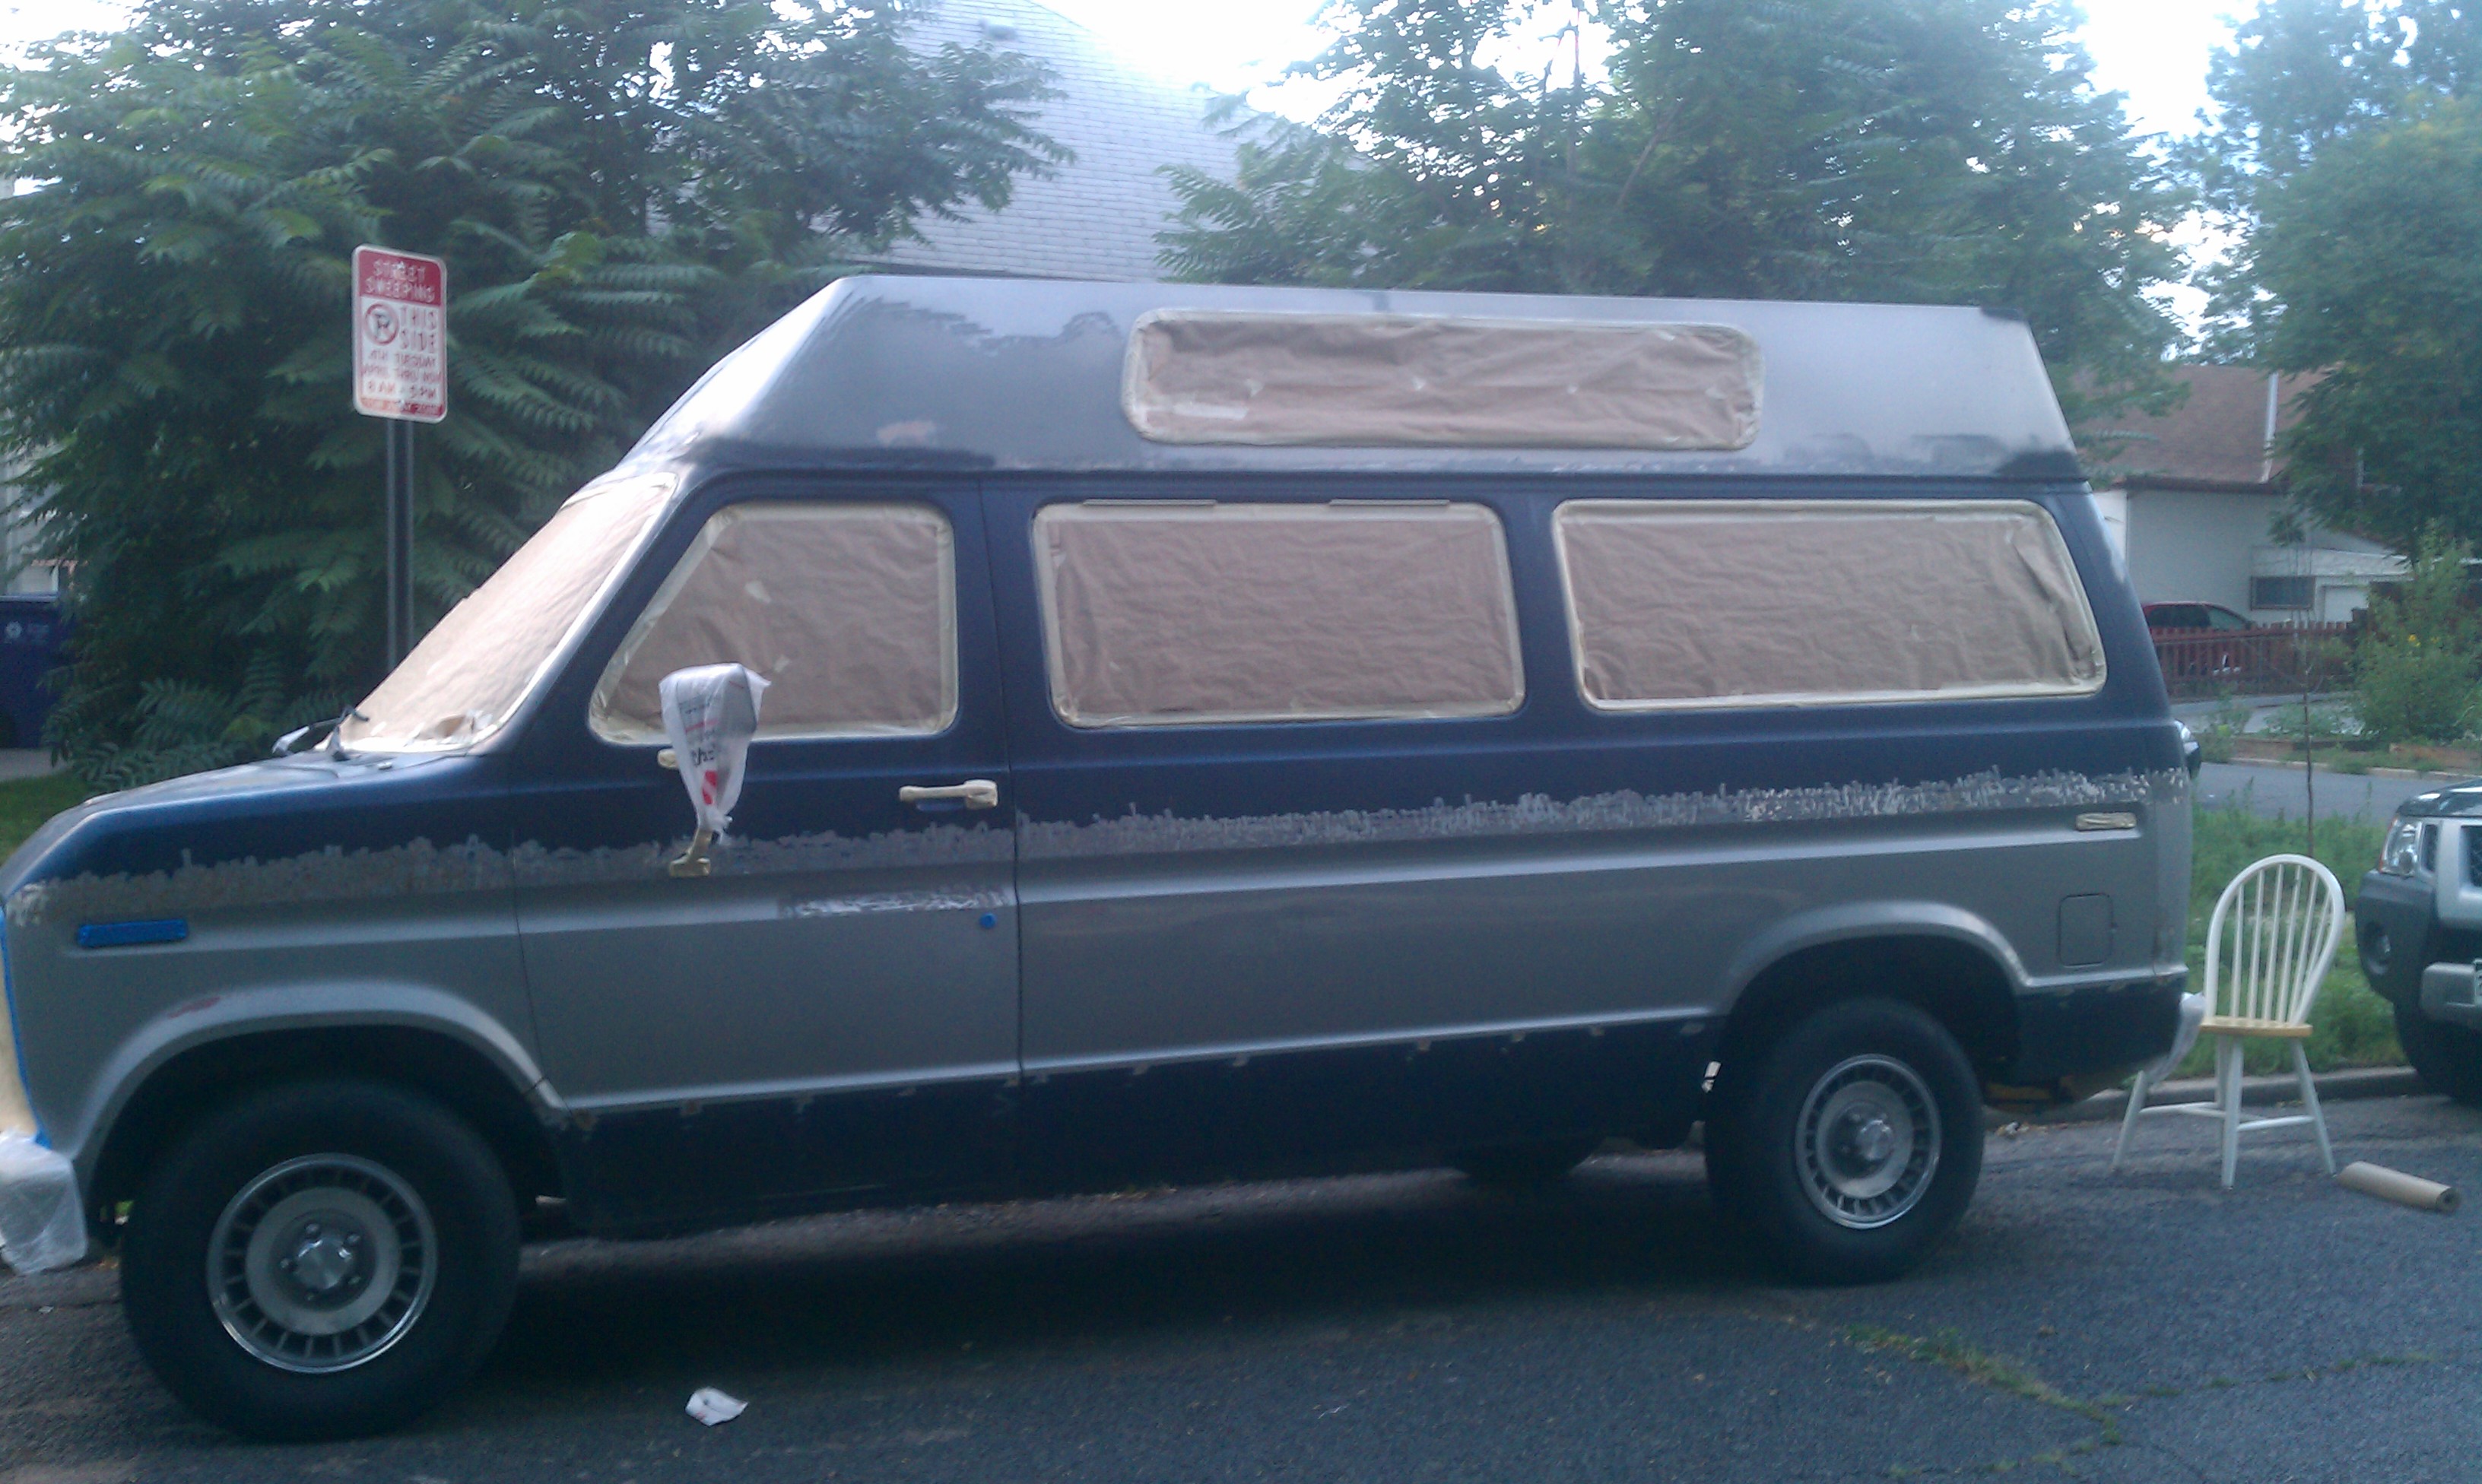
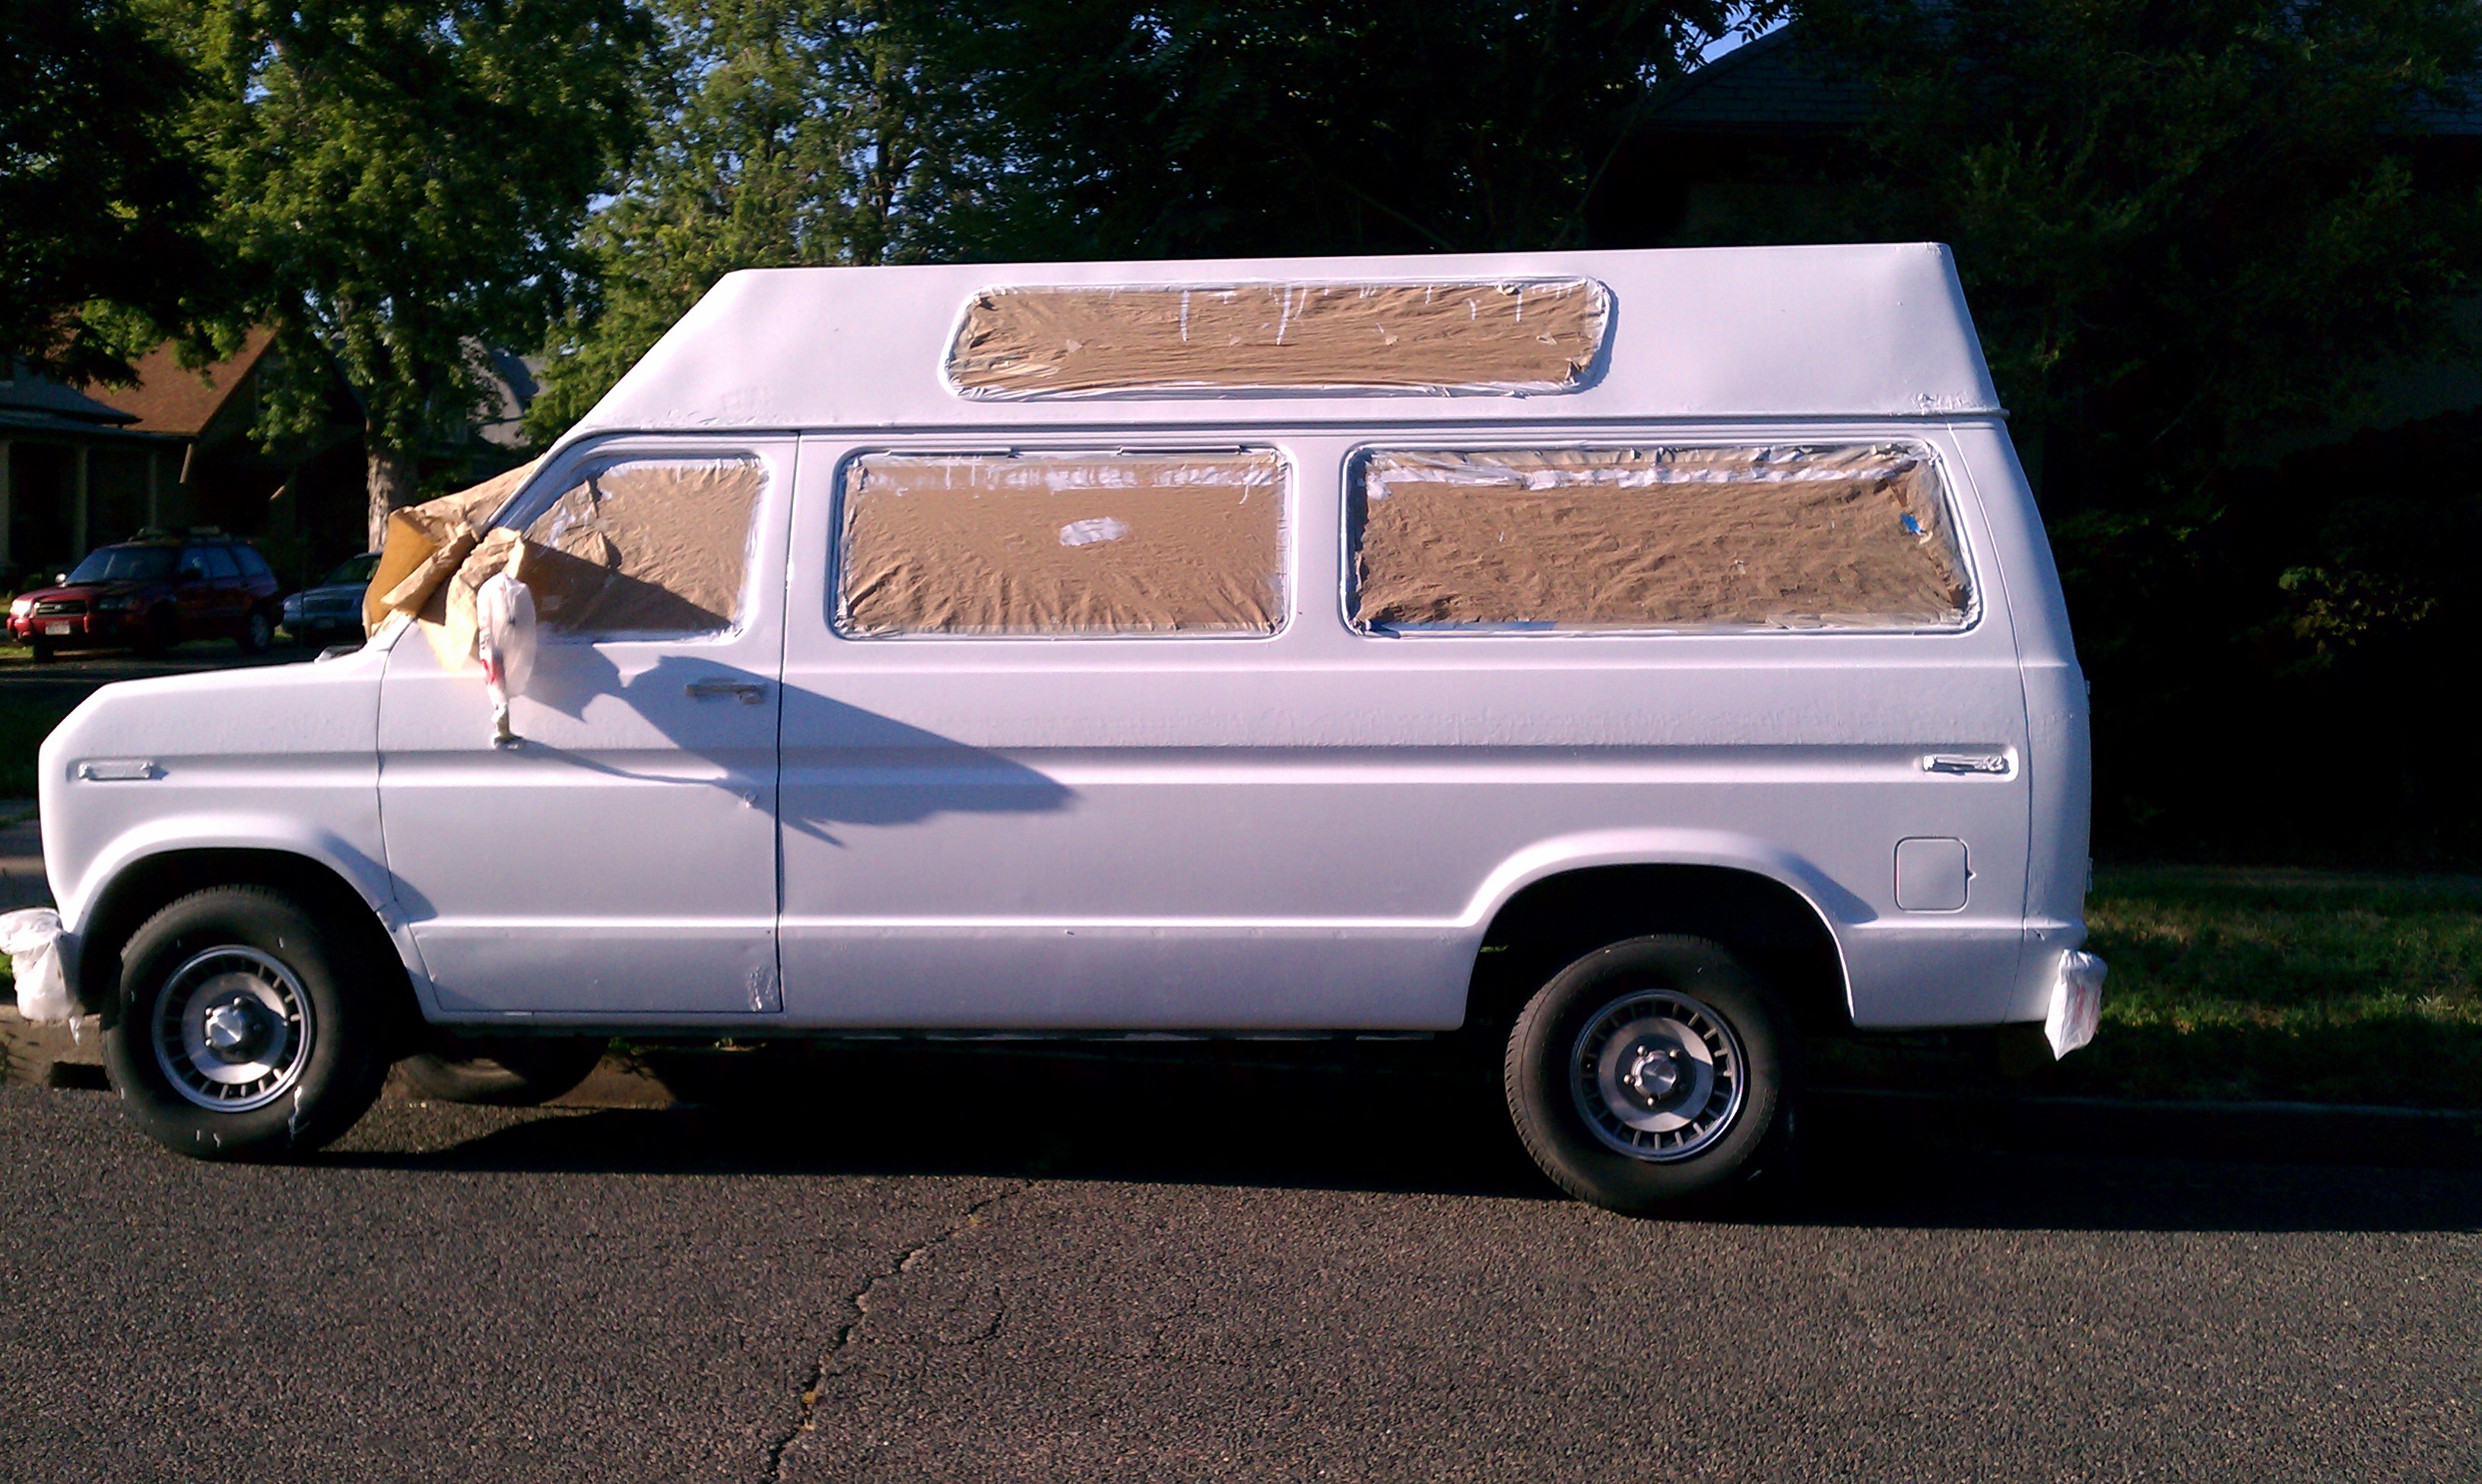
Next I scuffed it up with Brillo pads and got to work priming it. Niccole joined in the fun for this stage and using rattle cans we basically bombed this thing from top to bottom. It took a lot more cans that the typical internet recipes called for. We used 14 cans, which was about triple what was called for online. For this reason, when you go to the store to buy your supplies, just buy tons more of everything than you need and plan on returning the leftovers – or plan on making several trips to the store when you could be painting. The priming stage also led to a change in color. I didn’t think originally that I could get away with painting a dark colored van white without it being a huge pain and requiring many more coats than I cared to apply. But, the primer was light enough in color and covered it so well that I realized white was indeed an option. Being that a white van will be significantly cooler than a dark van, and that we’re traveling through a very warm section of the world, well… white it will be.
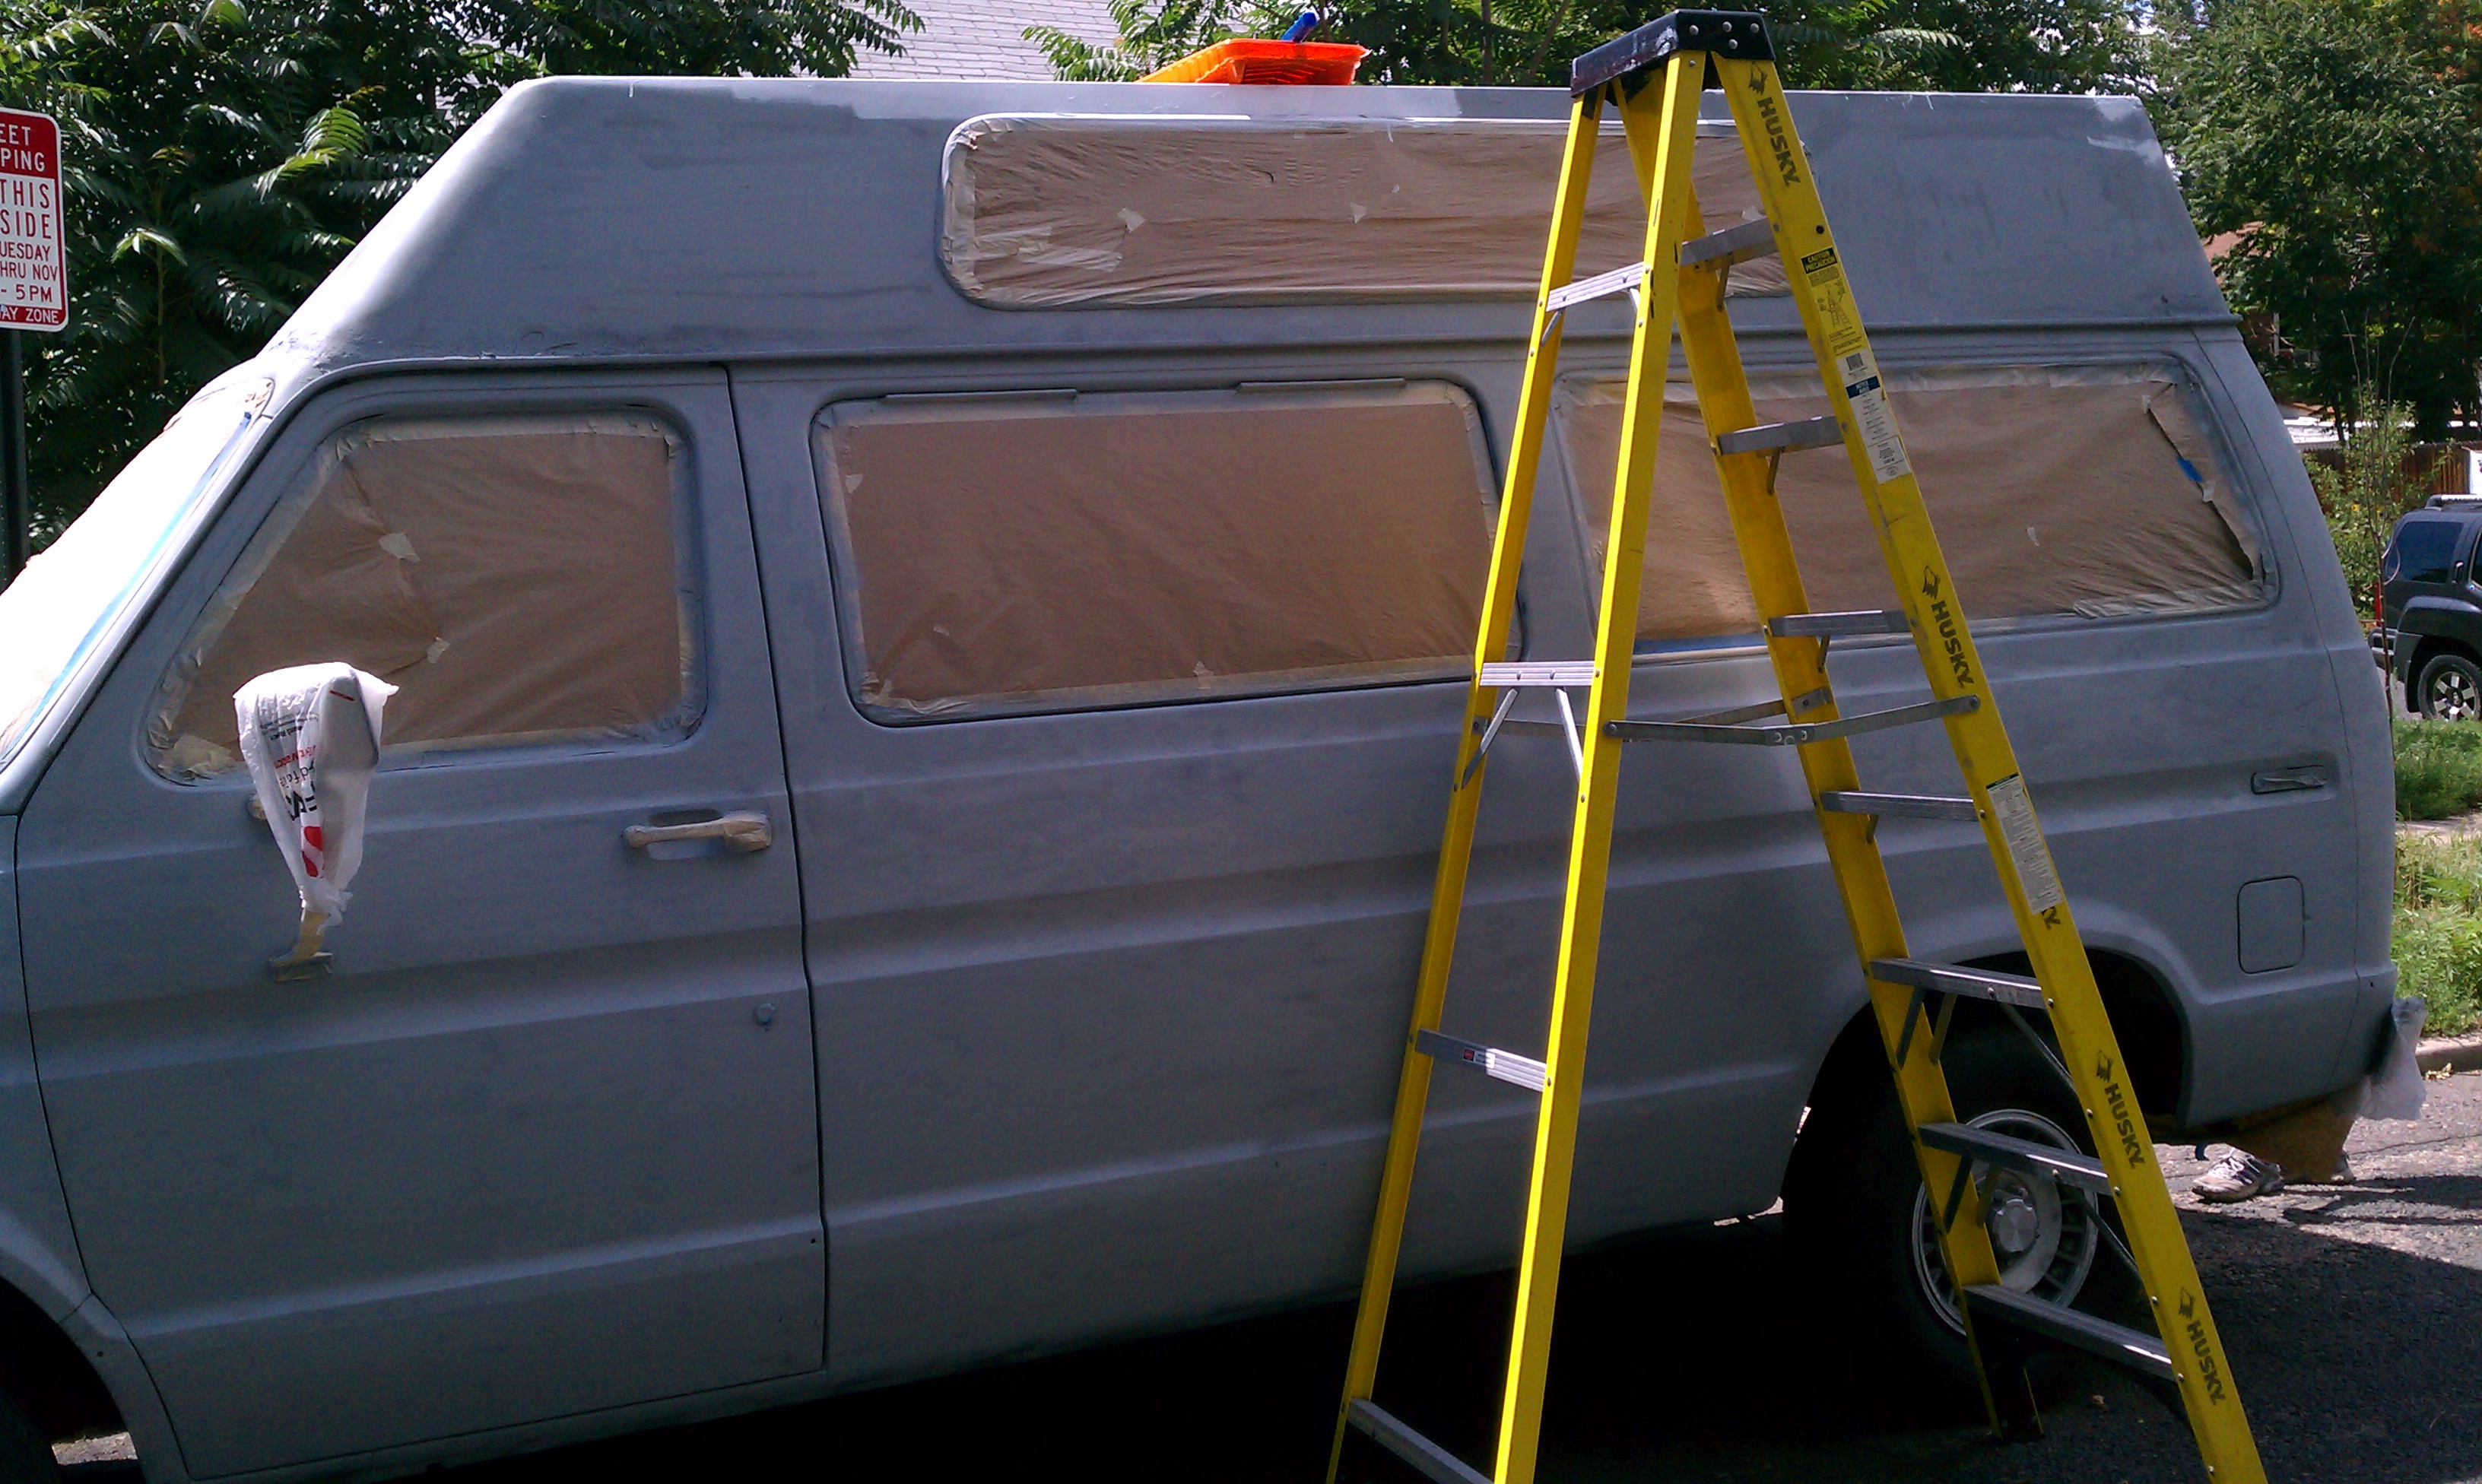
When it came time to paint I had the better part of an entire hot, sunny day with the van parked outside in front of the house. The Rustoleum glossy enamel paint was diluted 50/50 with Acetone. We used bigger rollers than was recommended (6″ rather than 4″) and that was a great decision. If I ever had to do this again, which I doubt you could even pay me to do, I would use a compressor and spray gun without a doubt. Basically, to save time and because it was parked outside (which is a key factor given Colorado’s propensity for afternoon thunderstorms), I would apply a coat and before it dried completely and was still tacky I would apply another. Going about it in this way allowed me to get three coats on everything, one panel or section at a time. The sun dried this stuff fast.

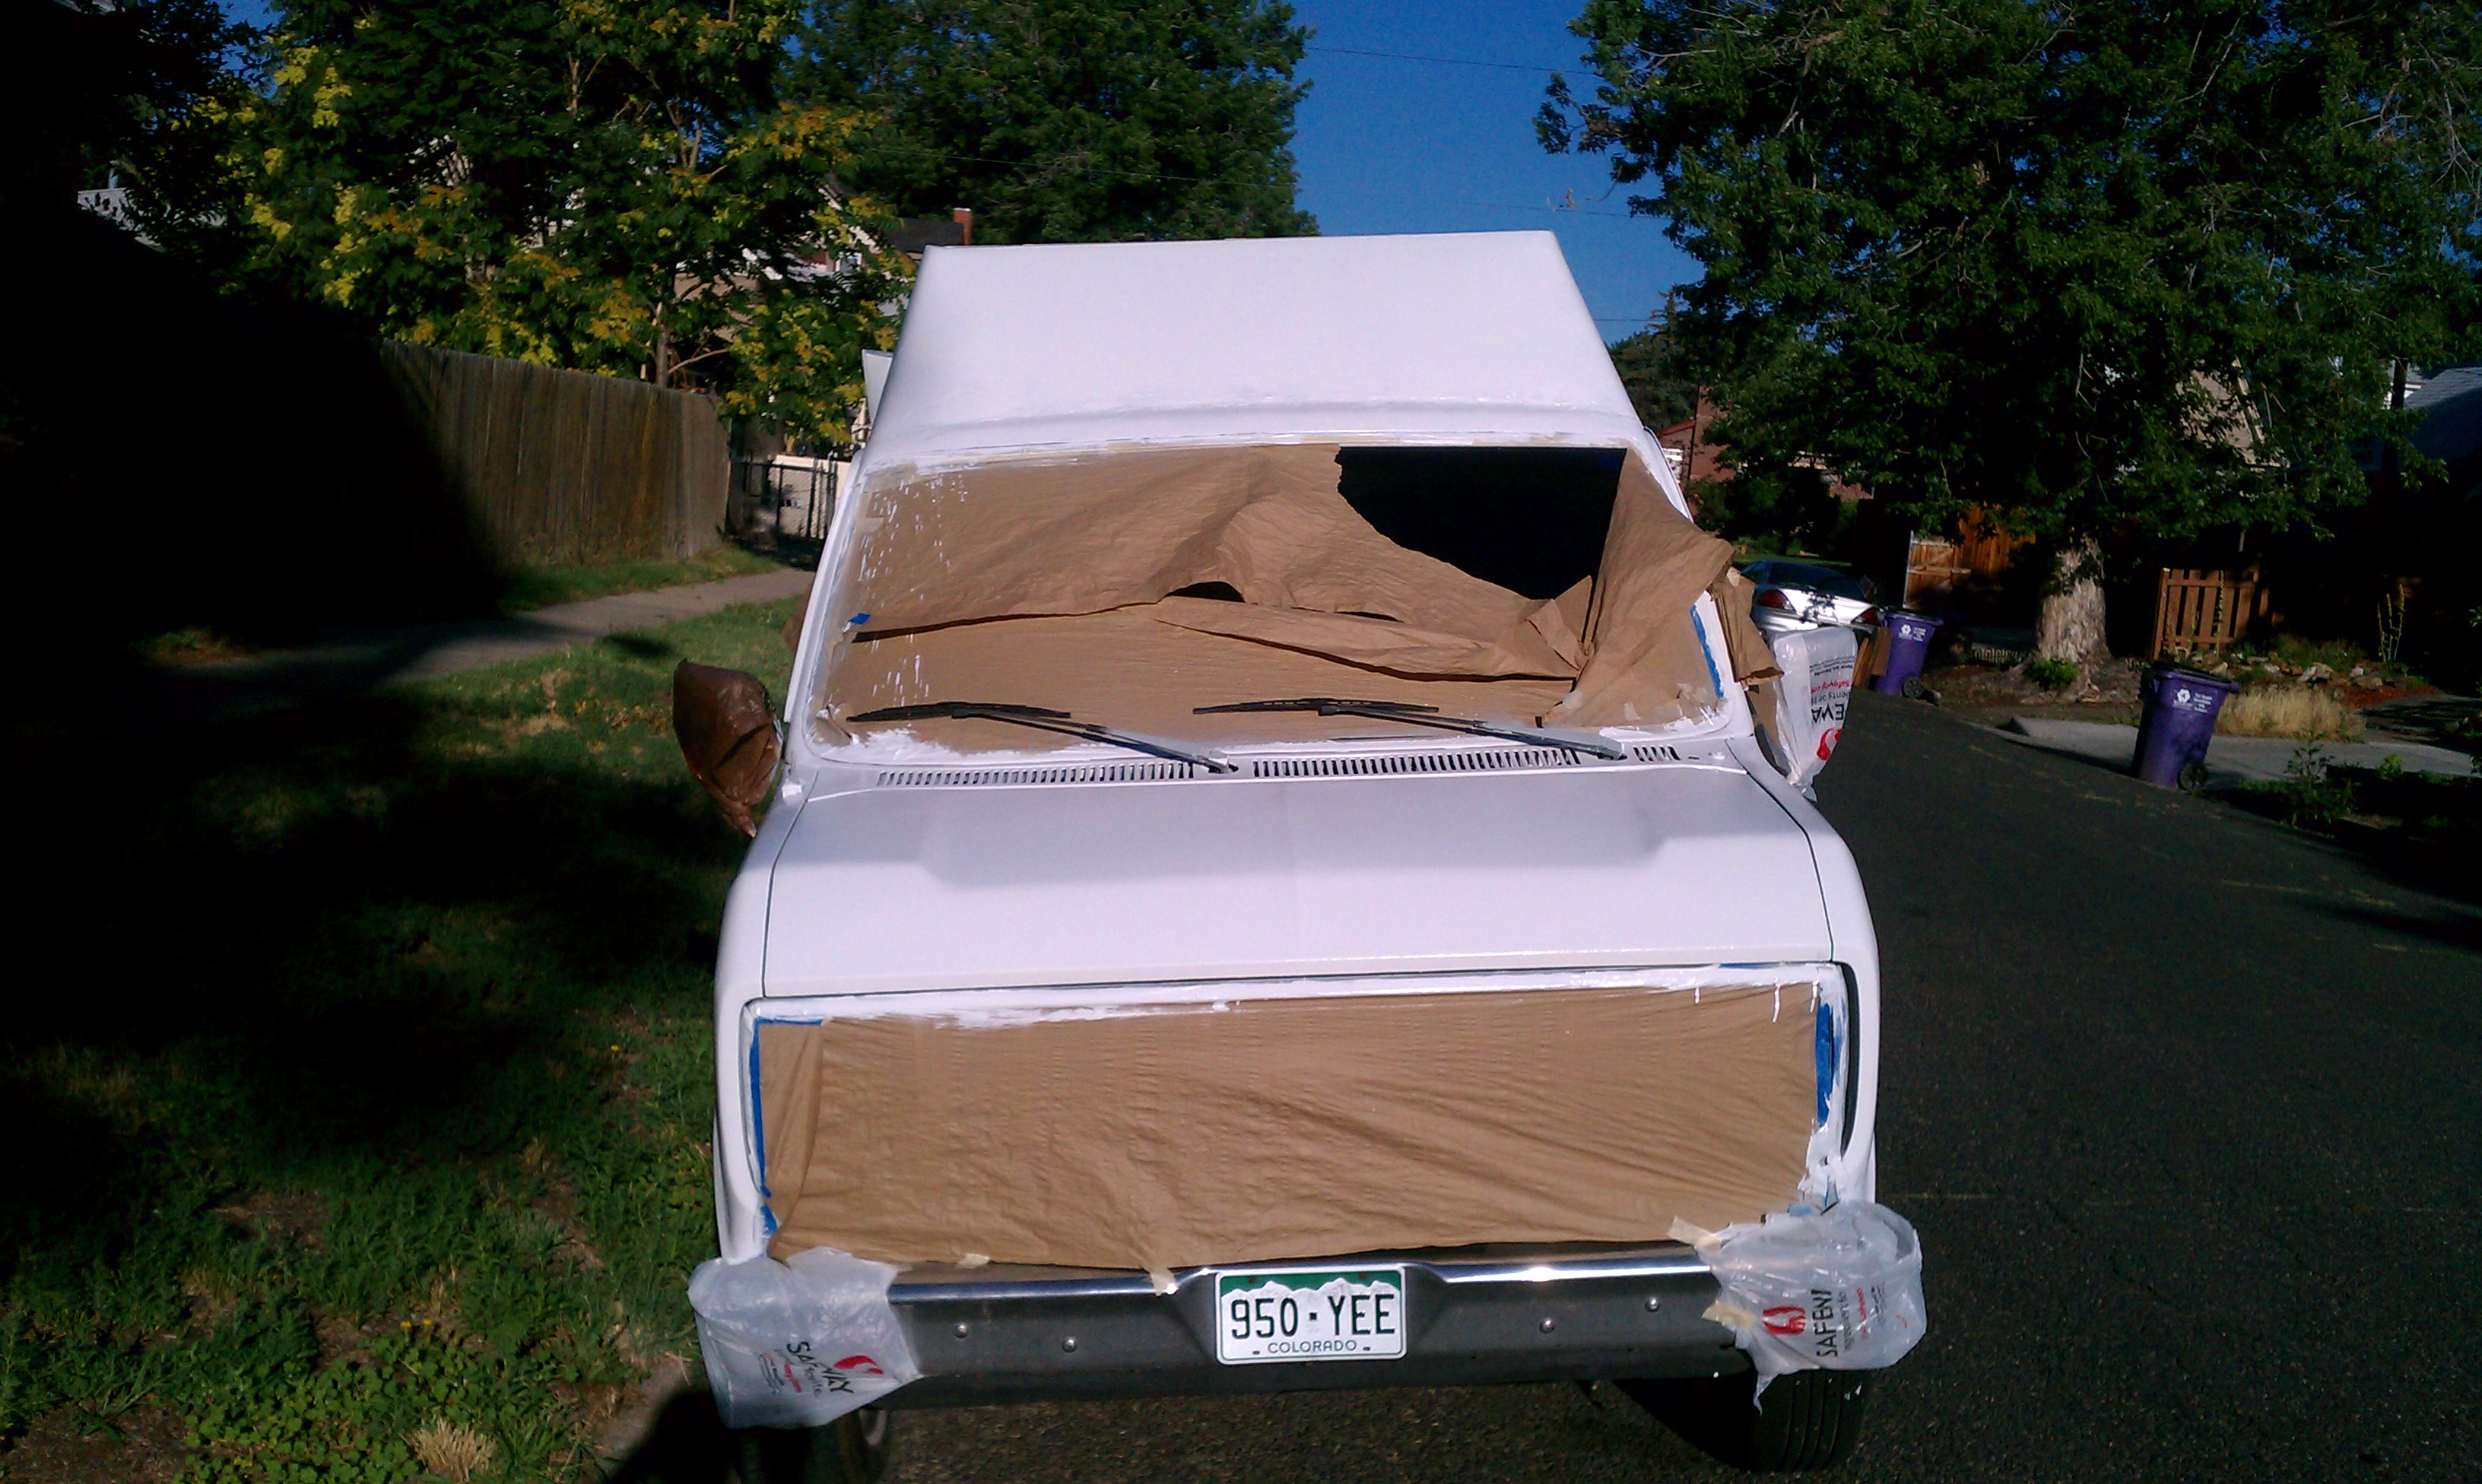
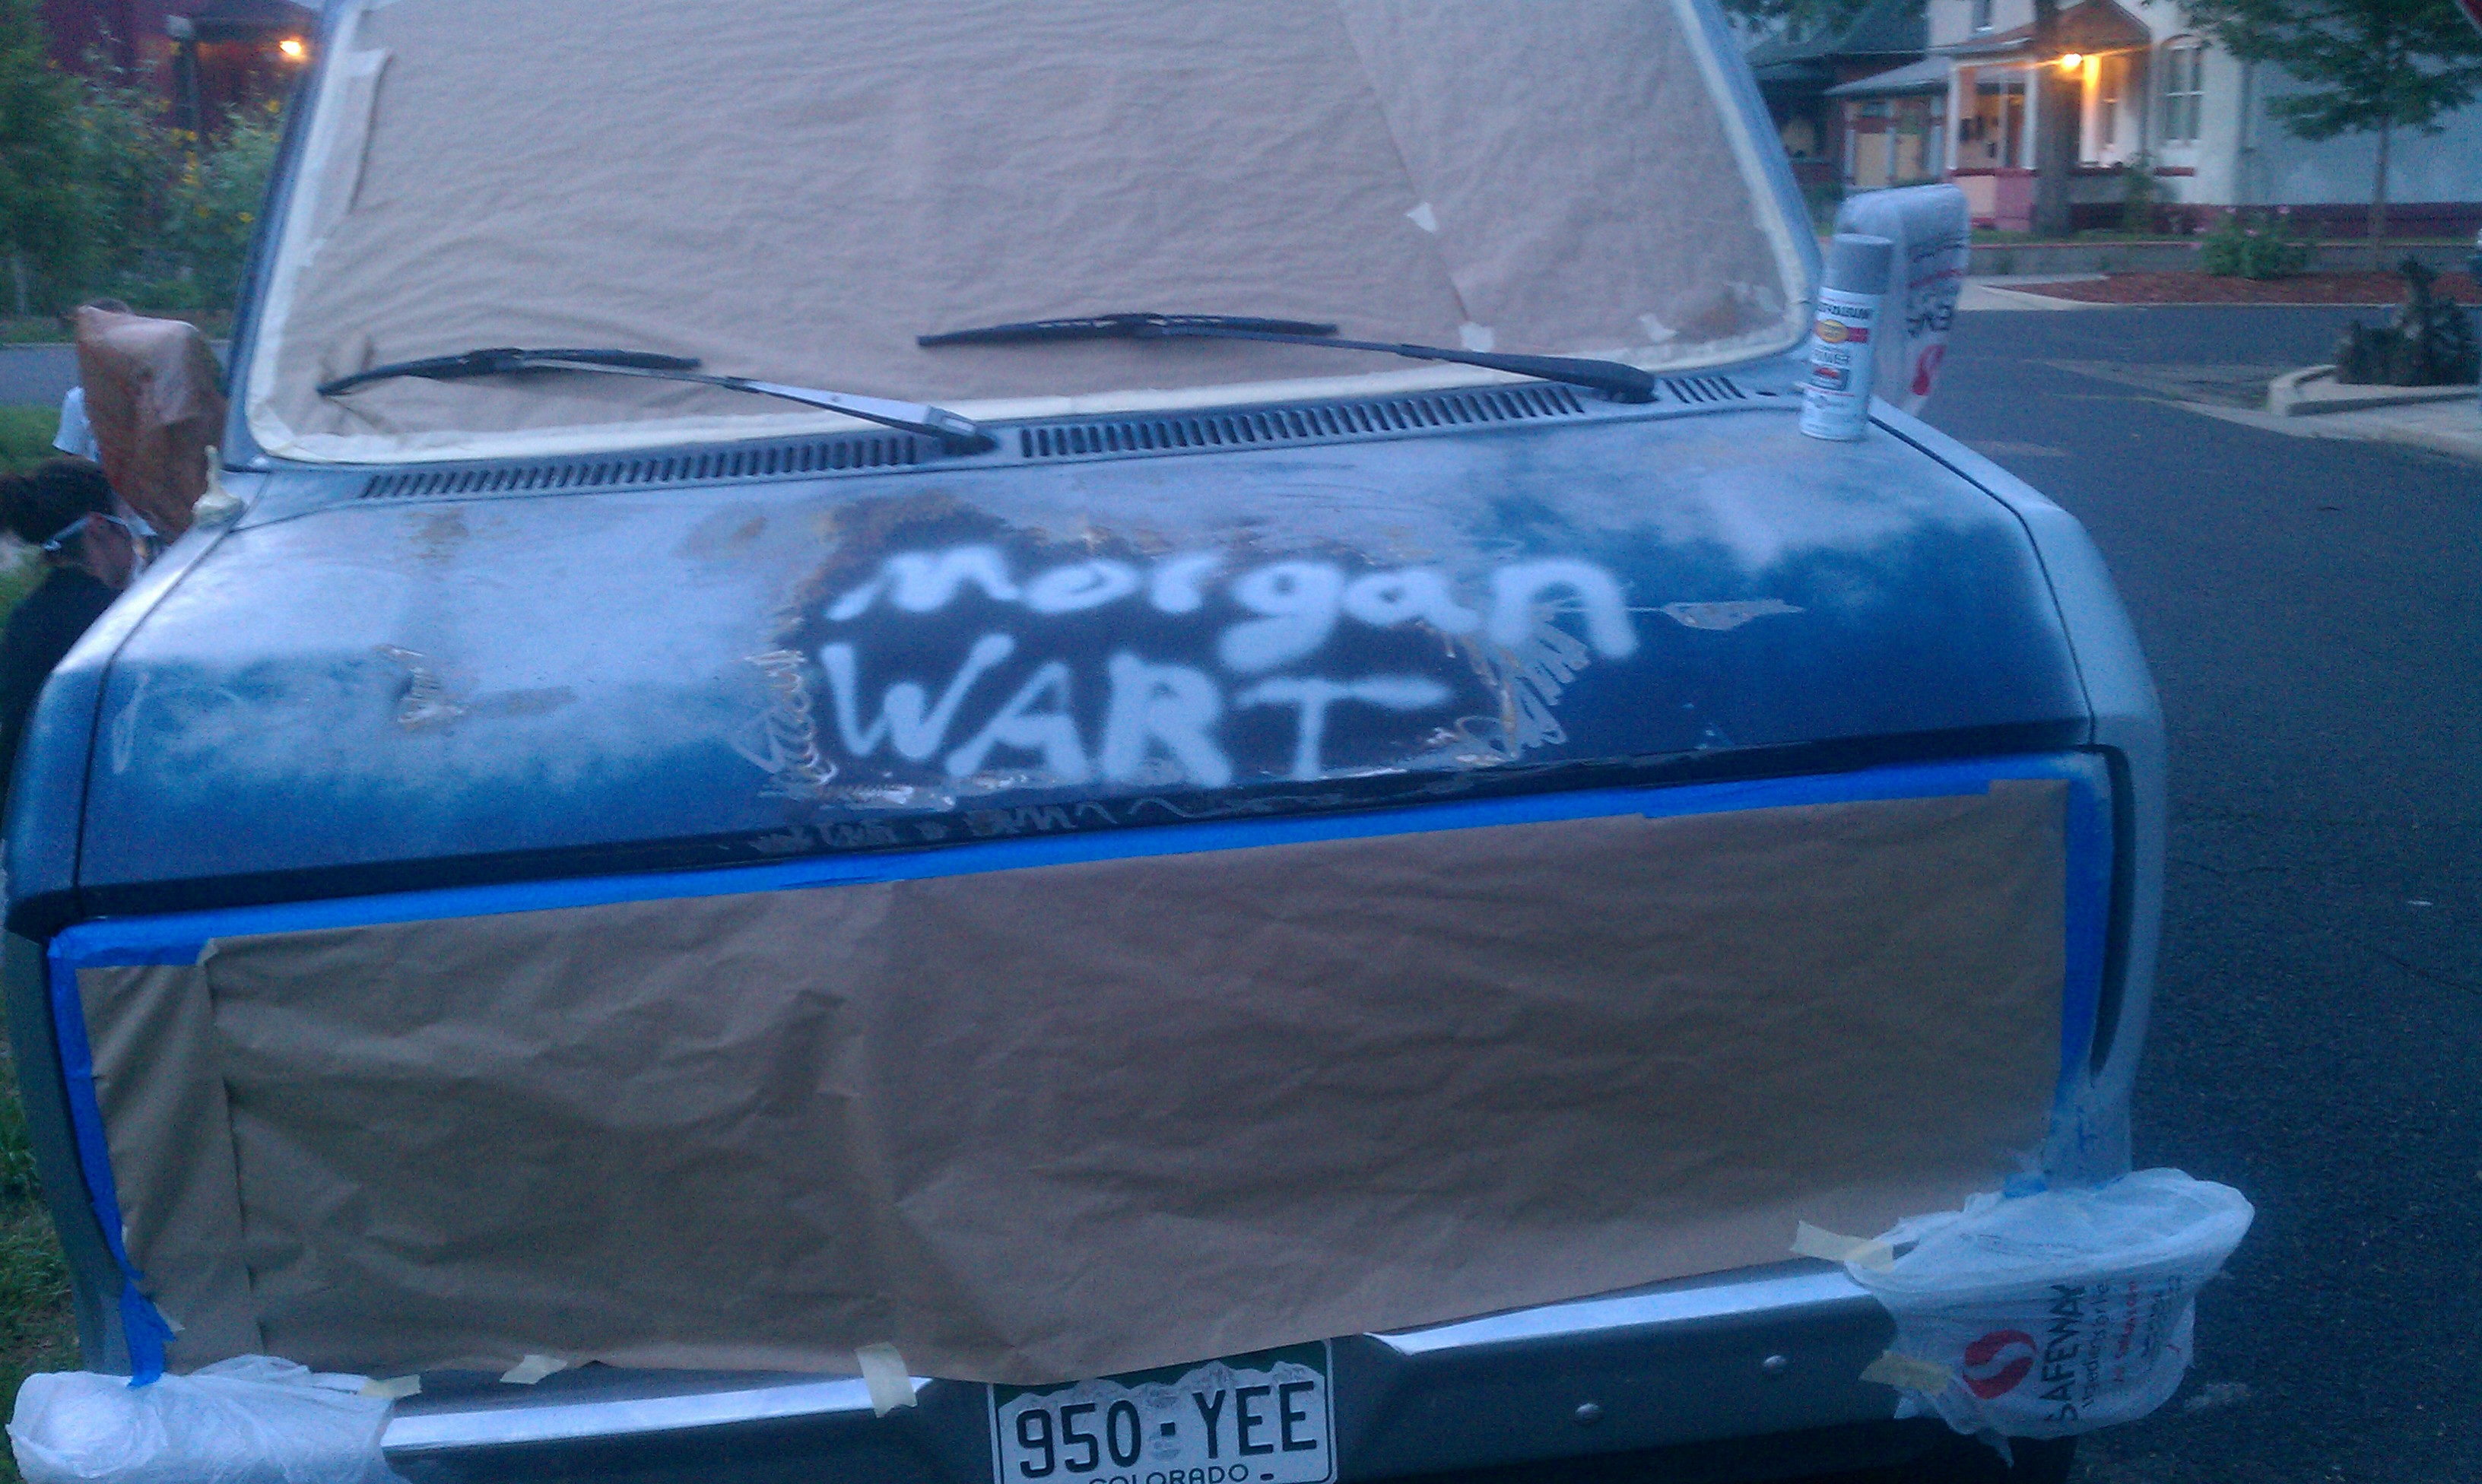
I had just finished the hood, which should have been one of the nicer looking parts due to its flat nature allowing the self-leveling aspect of the paint to help evenly distribute it, when the rain came. I was so close to finishing – I had two doors to go. The rain was brief and didn’t effect much of the van with the exception of the hood which was still wet. It left little droplet marks all over it. I just painted right over them when it stopped raining and dried off a bit.
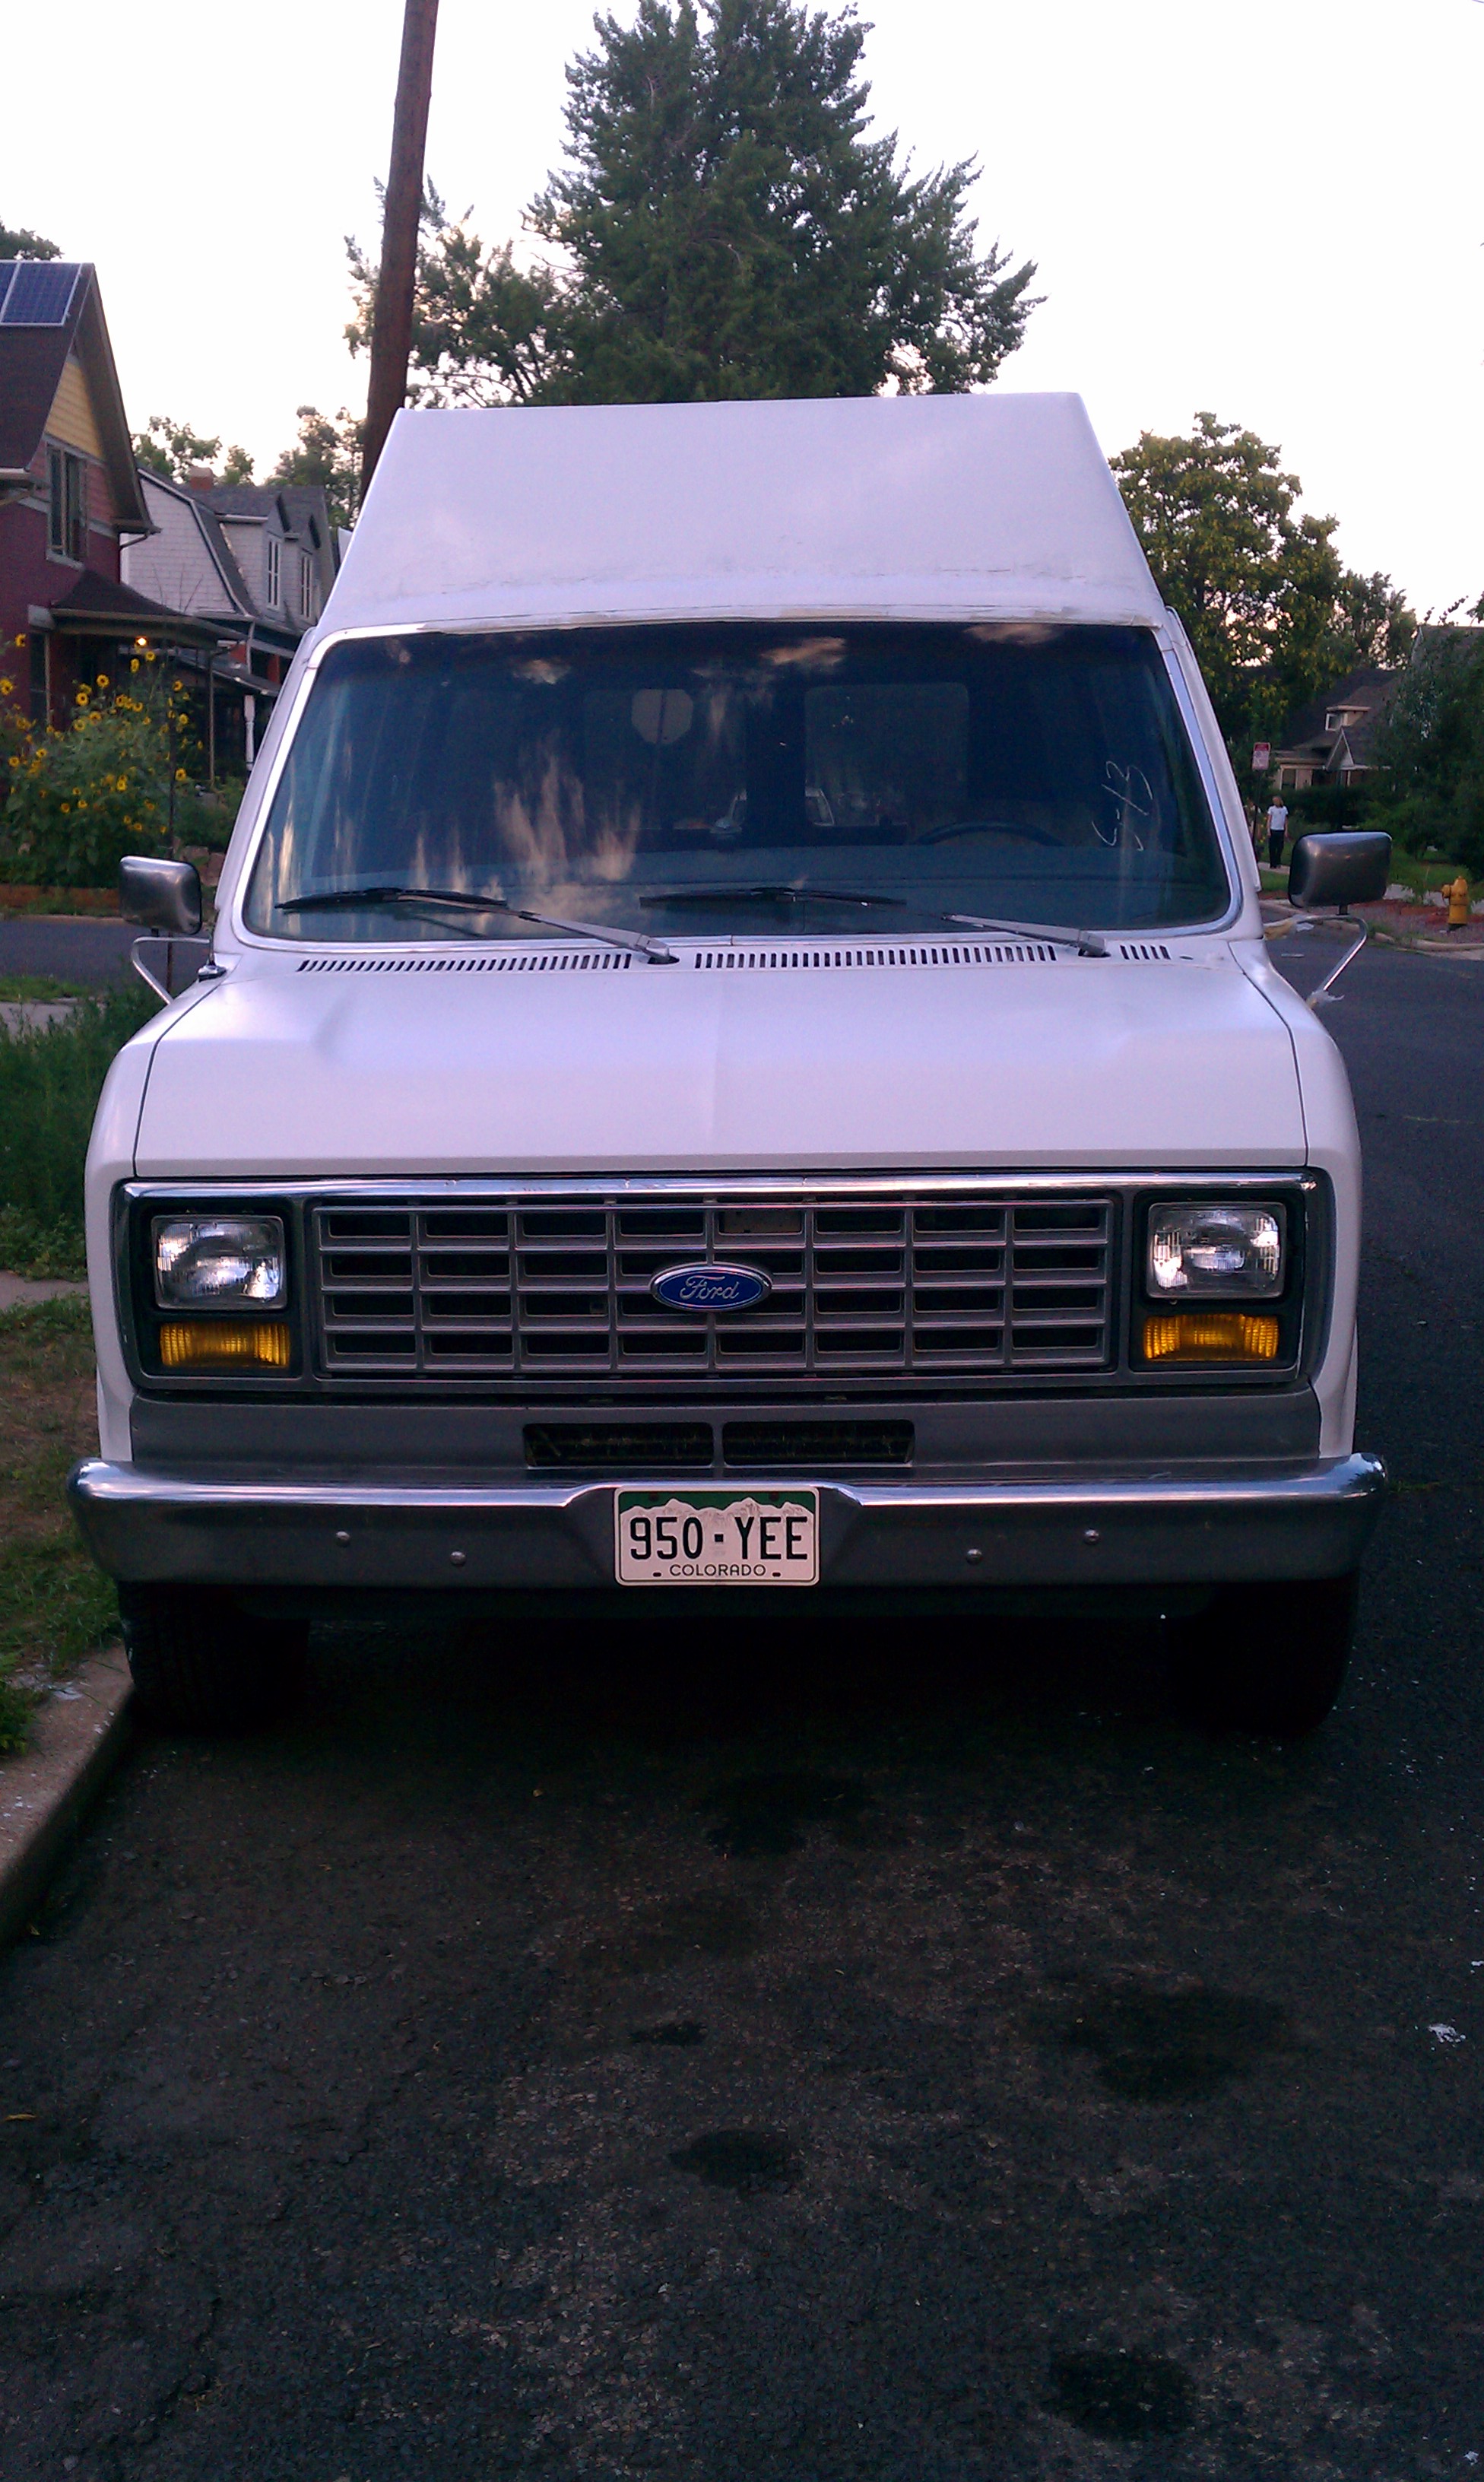
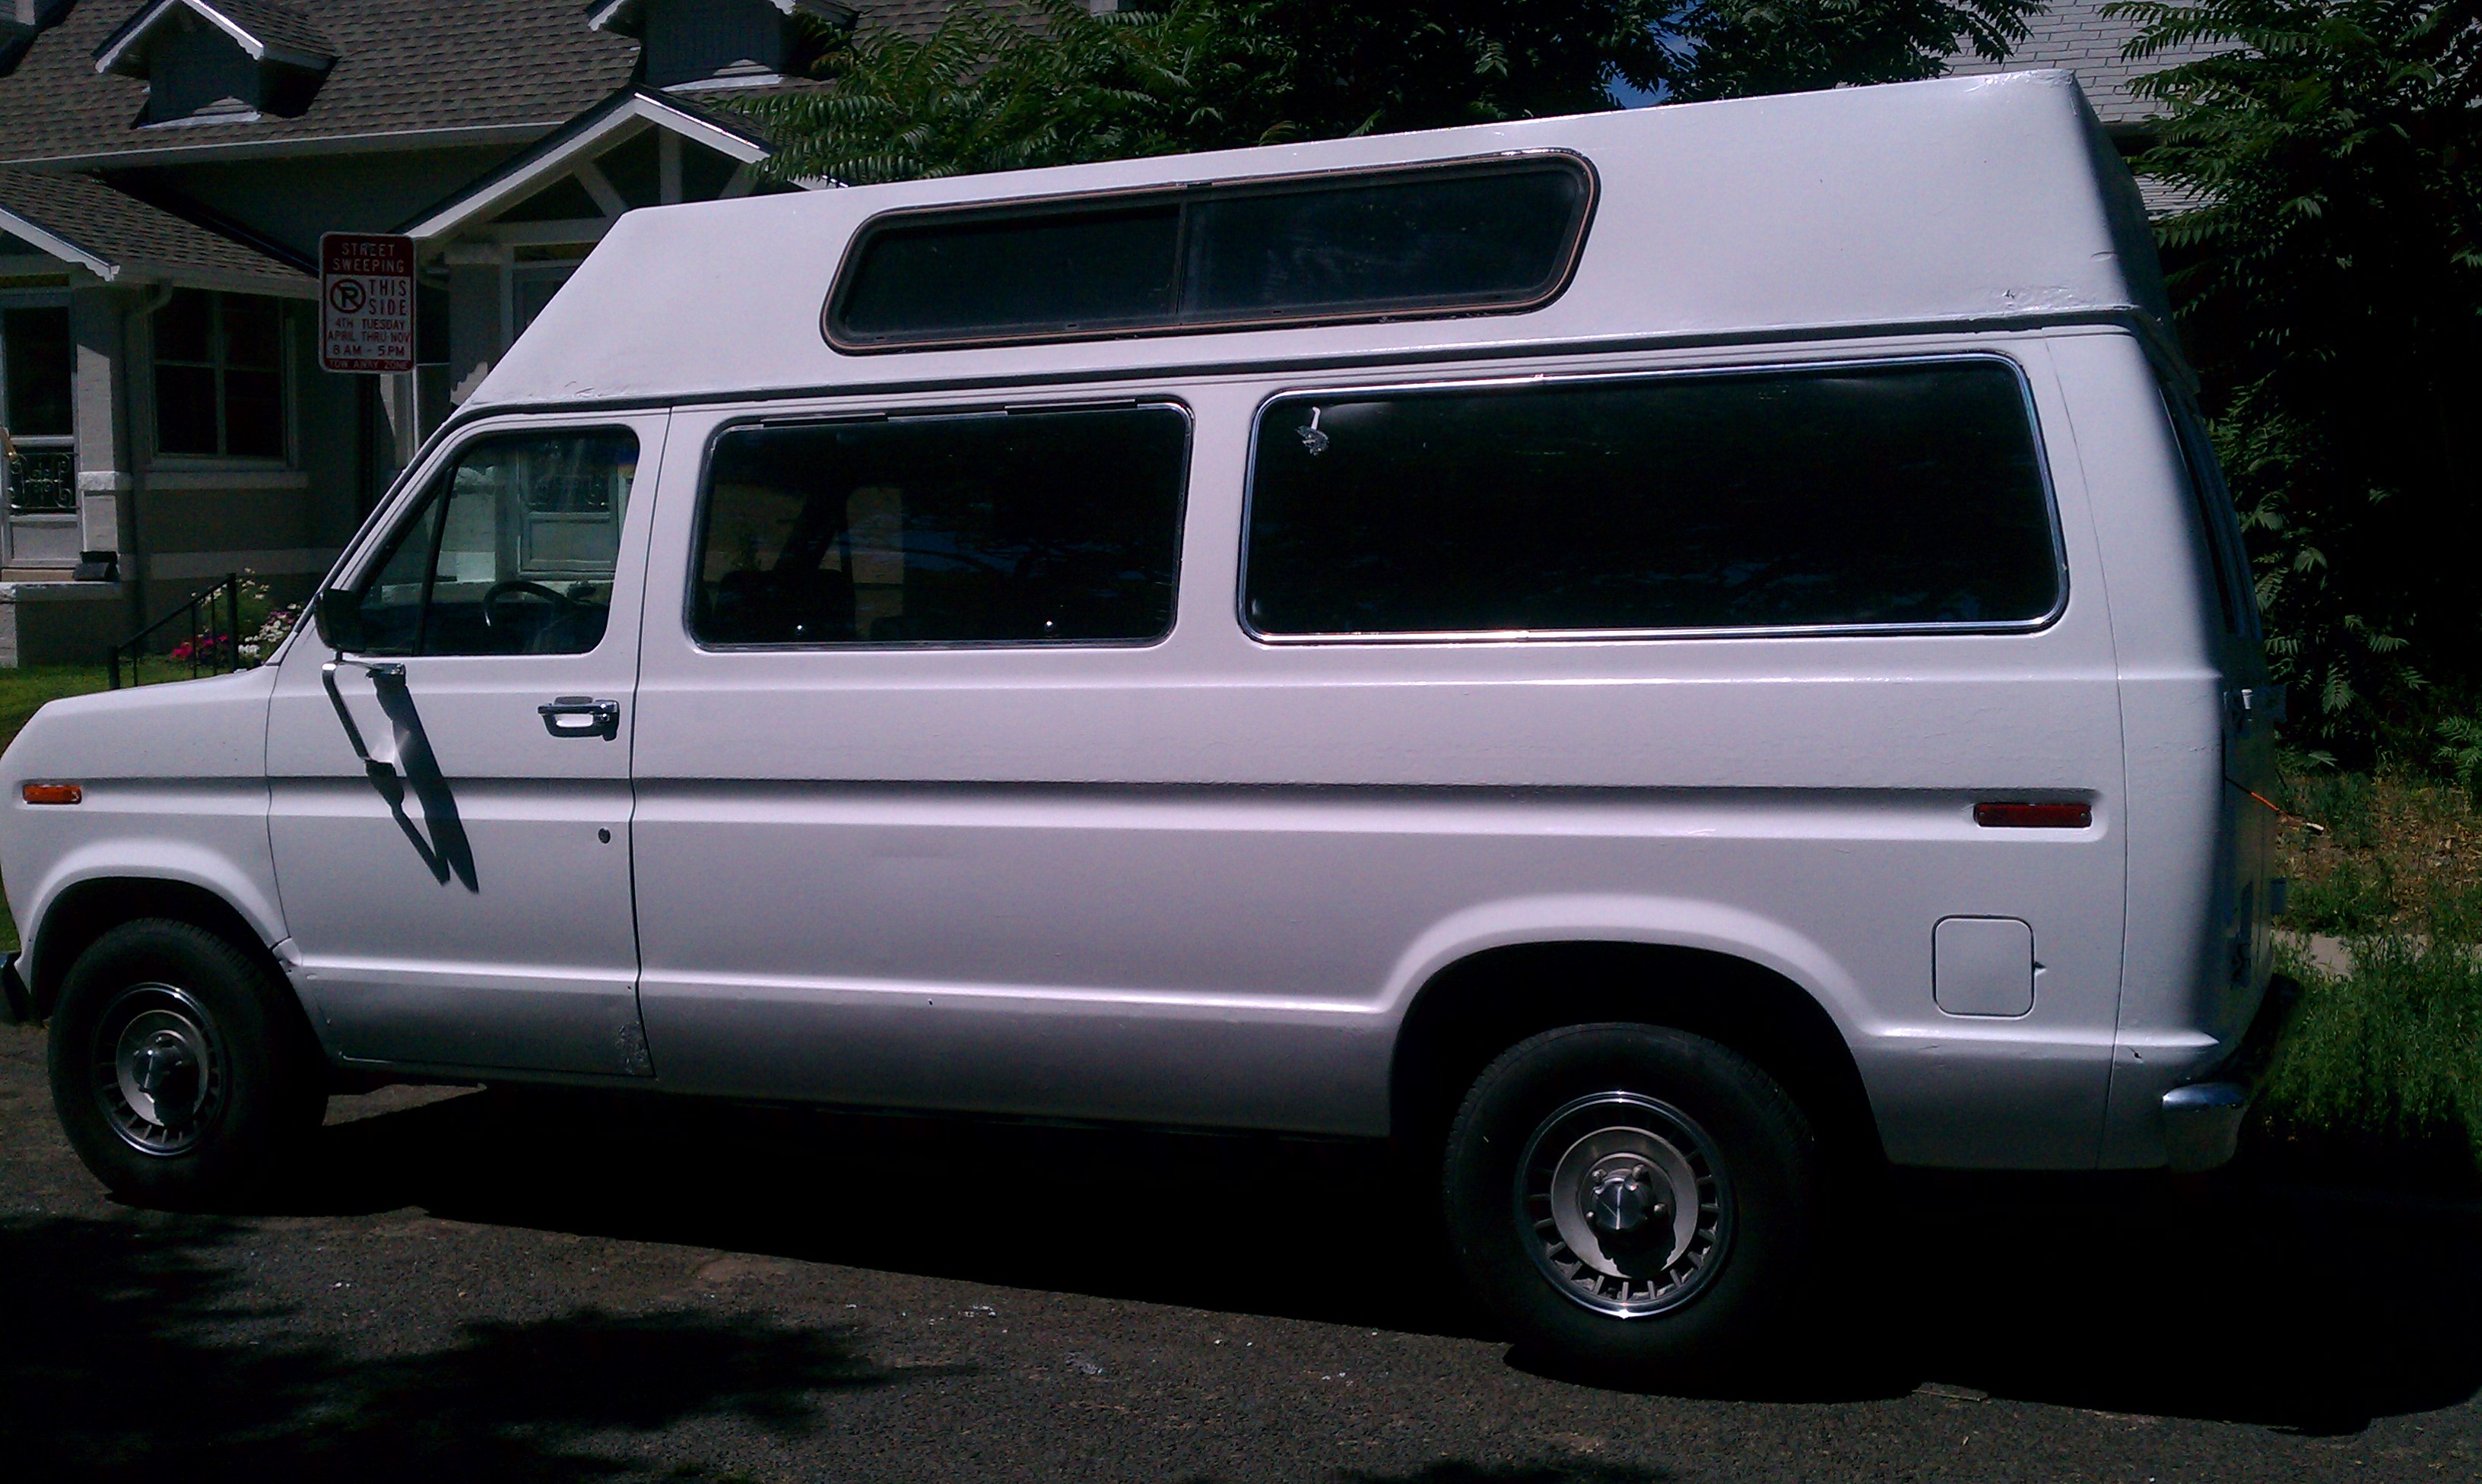
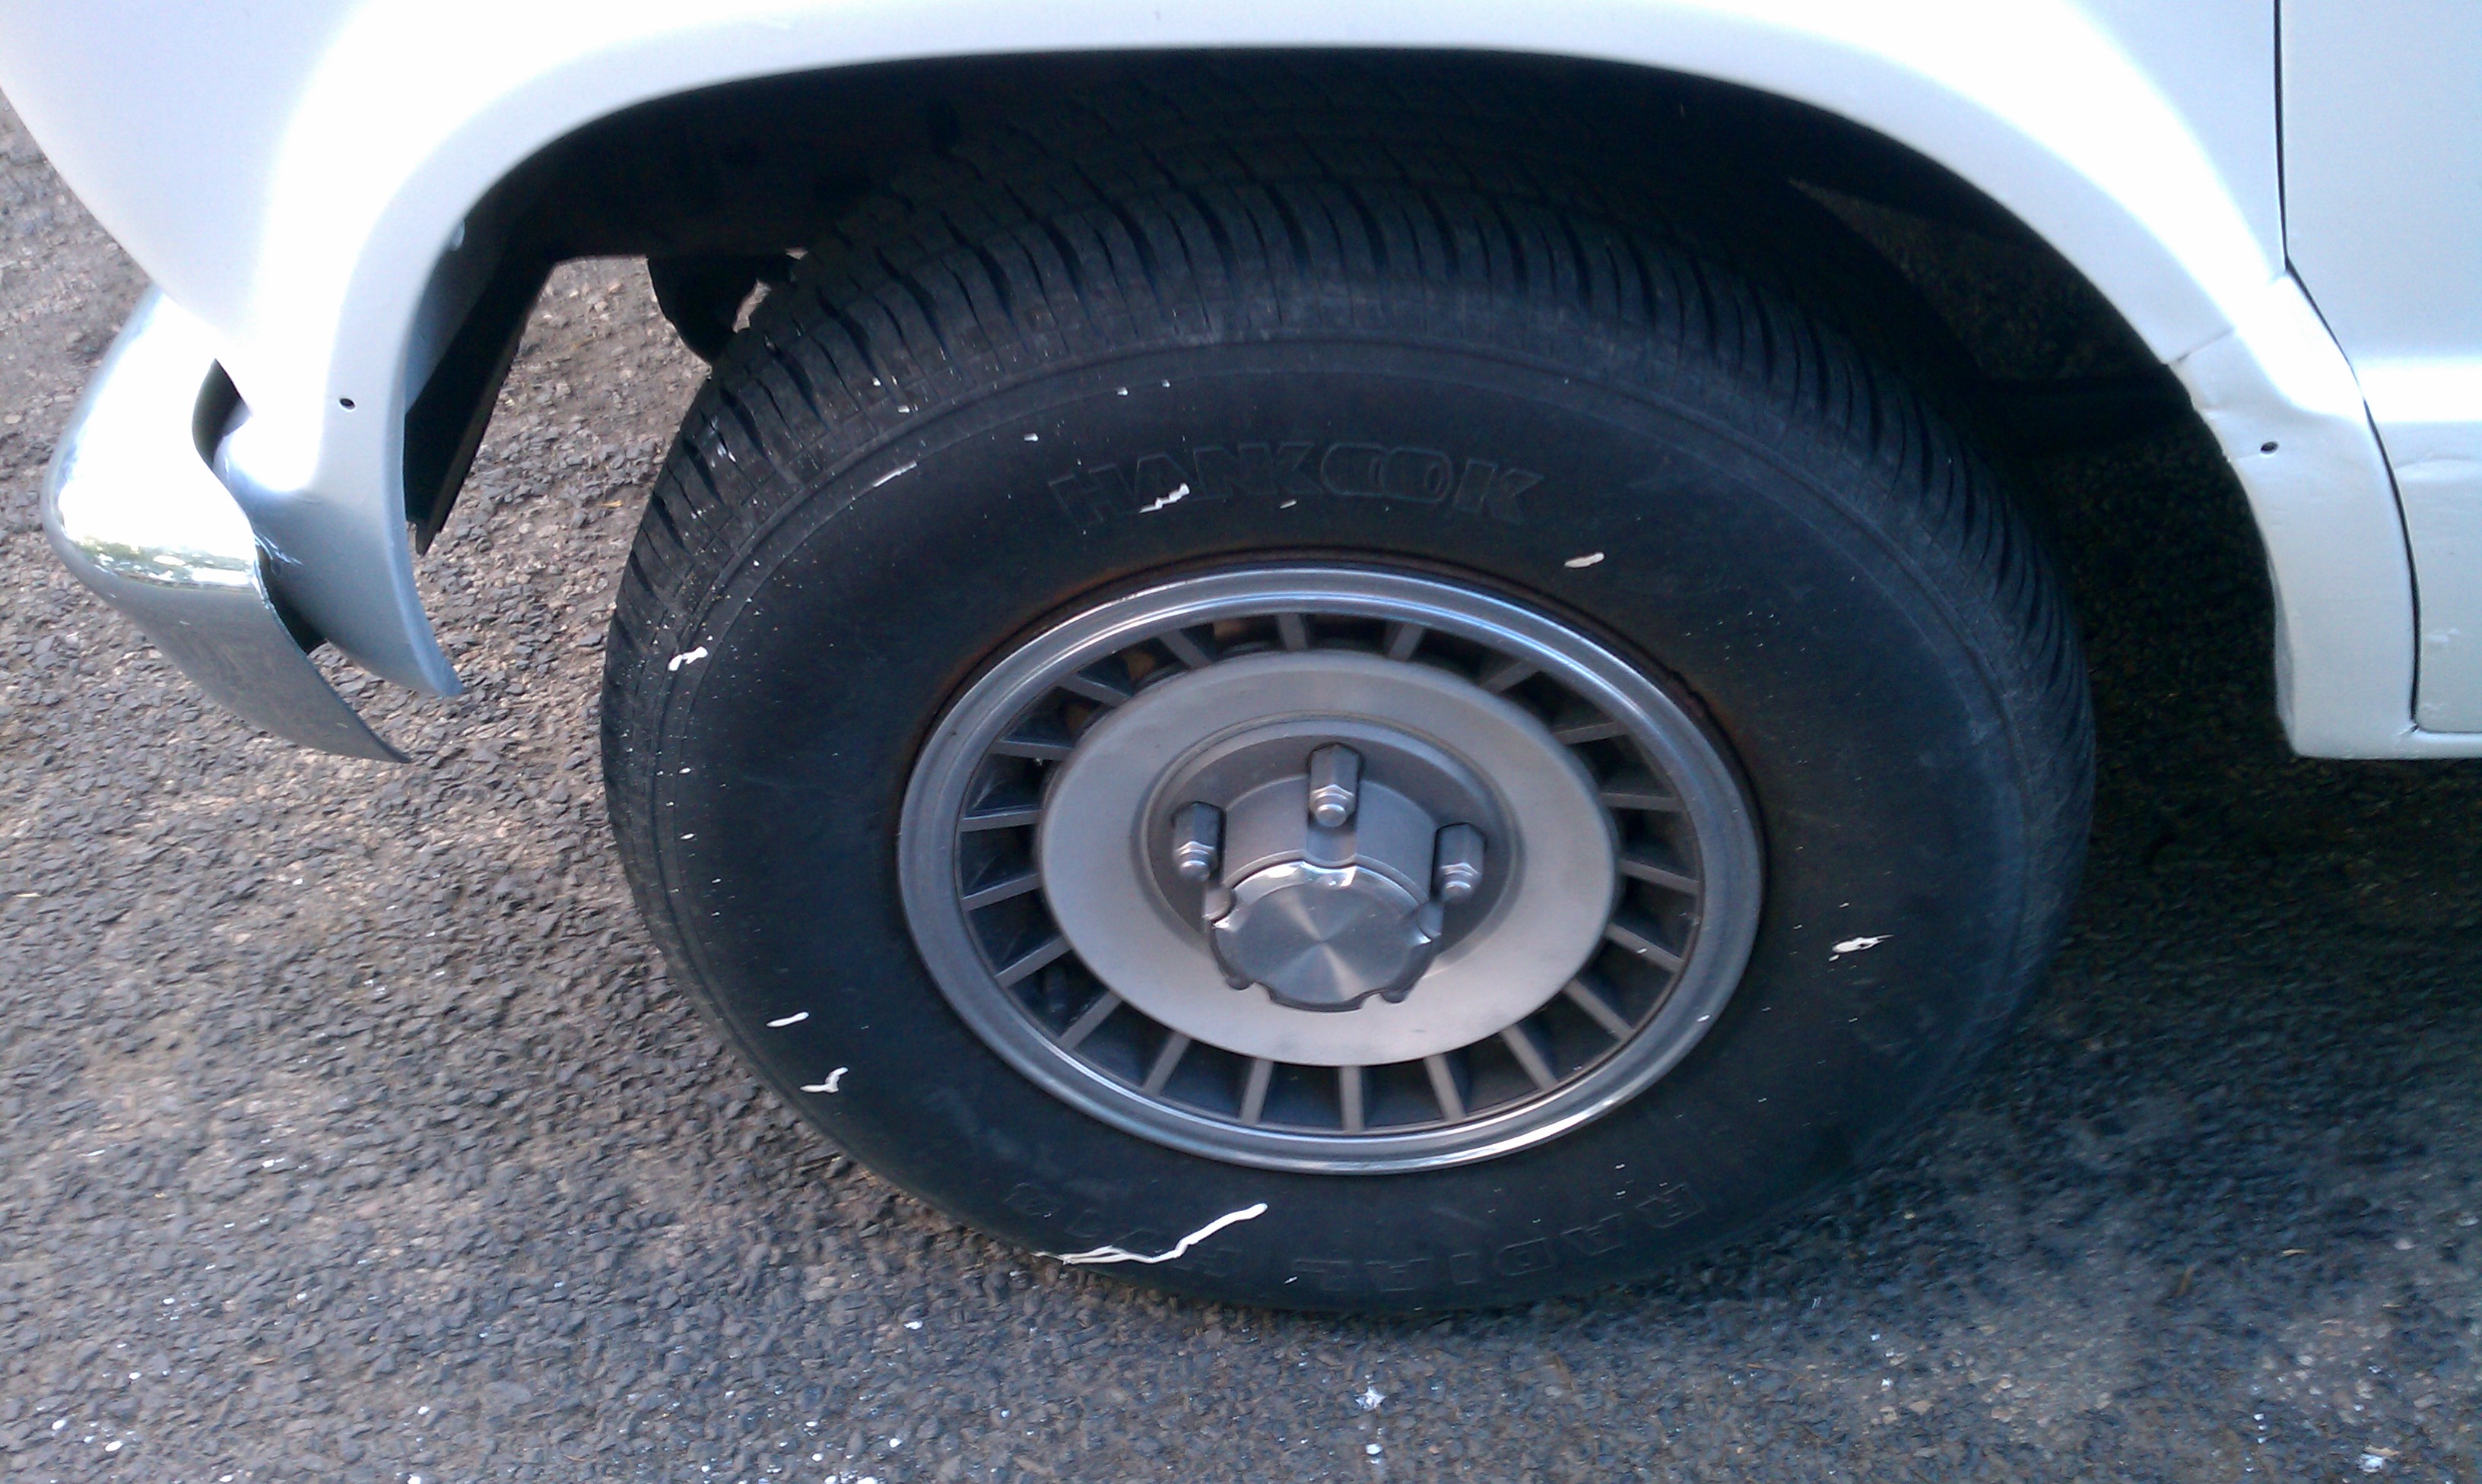
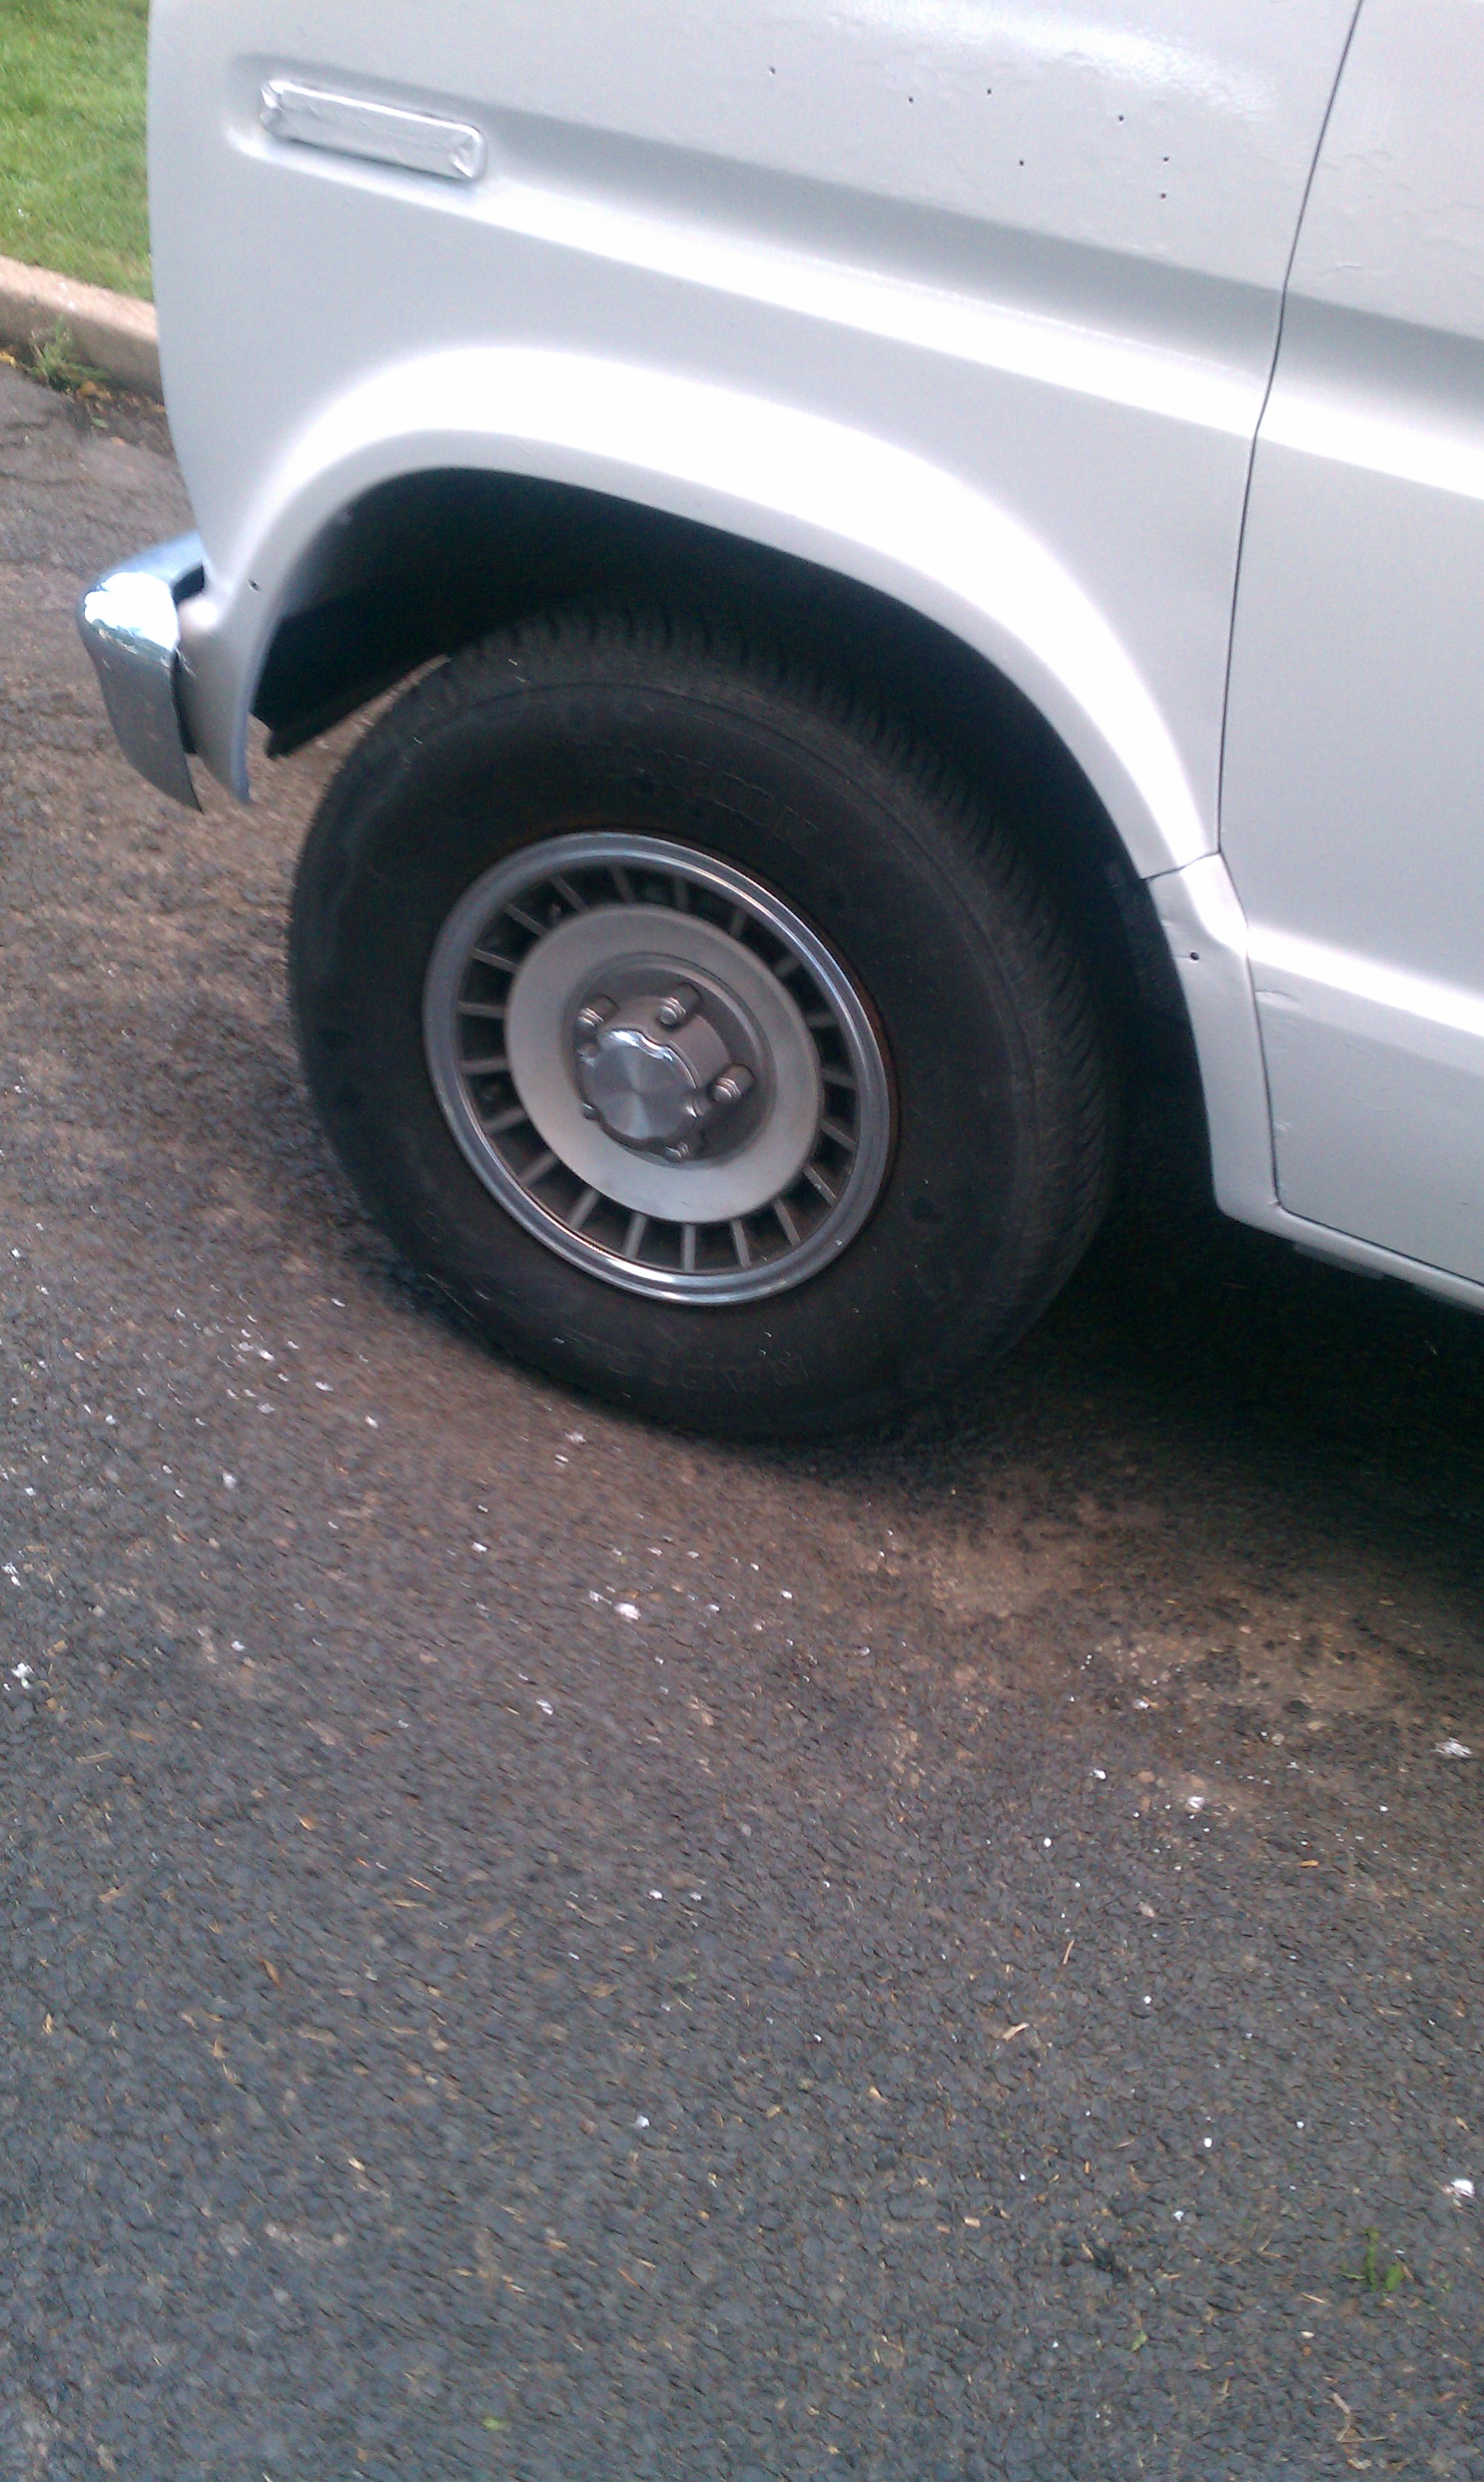
The next day I did a few touch ups here and there, and began removing the masking tape. It had been so hot the previous day that I believe the masking tape’s adhesive melted onto many parts of the window rubber, trim, metal, etc. It took a long time just to get it off. The tires, which I intentionally left uncovered, had paint drips on them. I figured that would be the case and had planned on spray painting the drip marks black because I was so sick of masking everything – which worked fine. In the end, the result is that we now have a lackluster, standard looking, giant white van! Also, all the areas of repair and rust are now sealed and I’m guessing this paint job will greatly outlast not only our use of the van, but likely its next several owners as well.
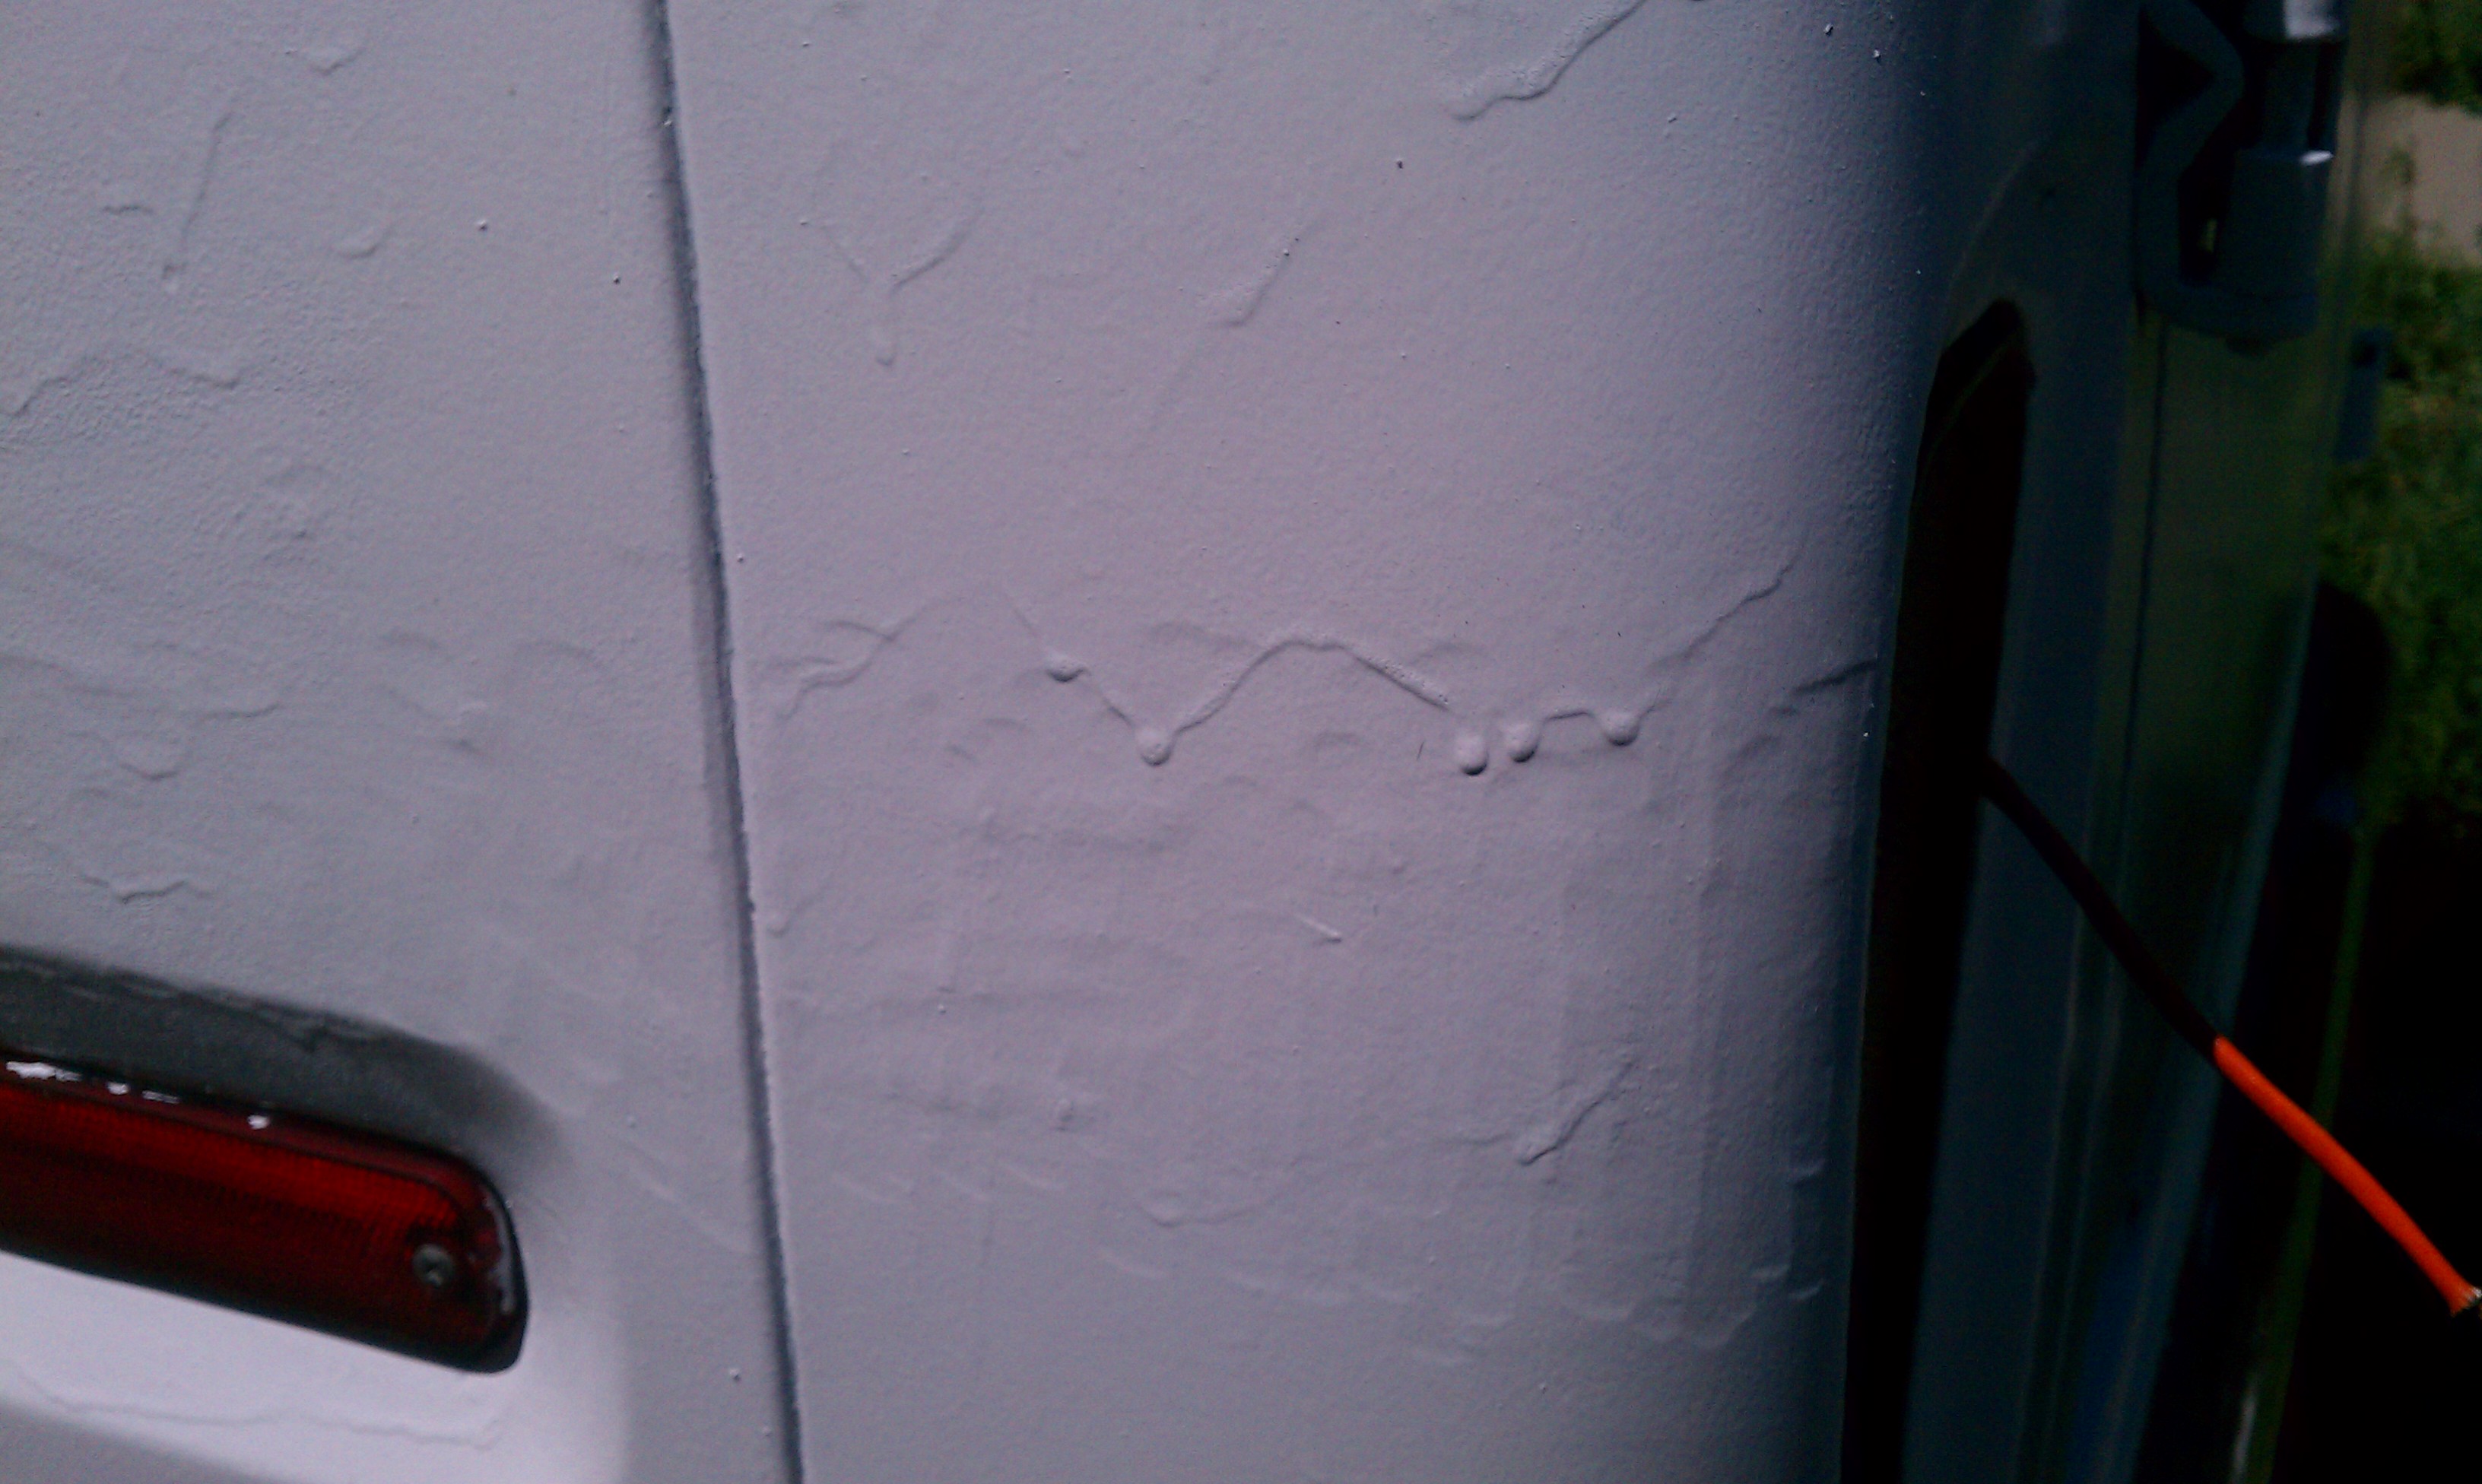
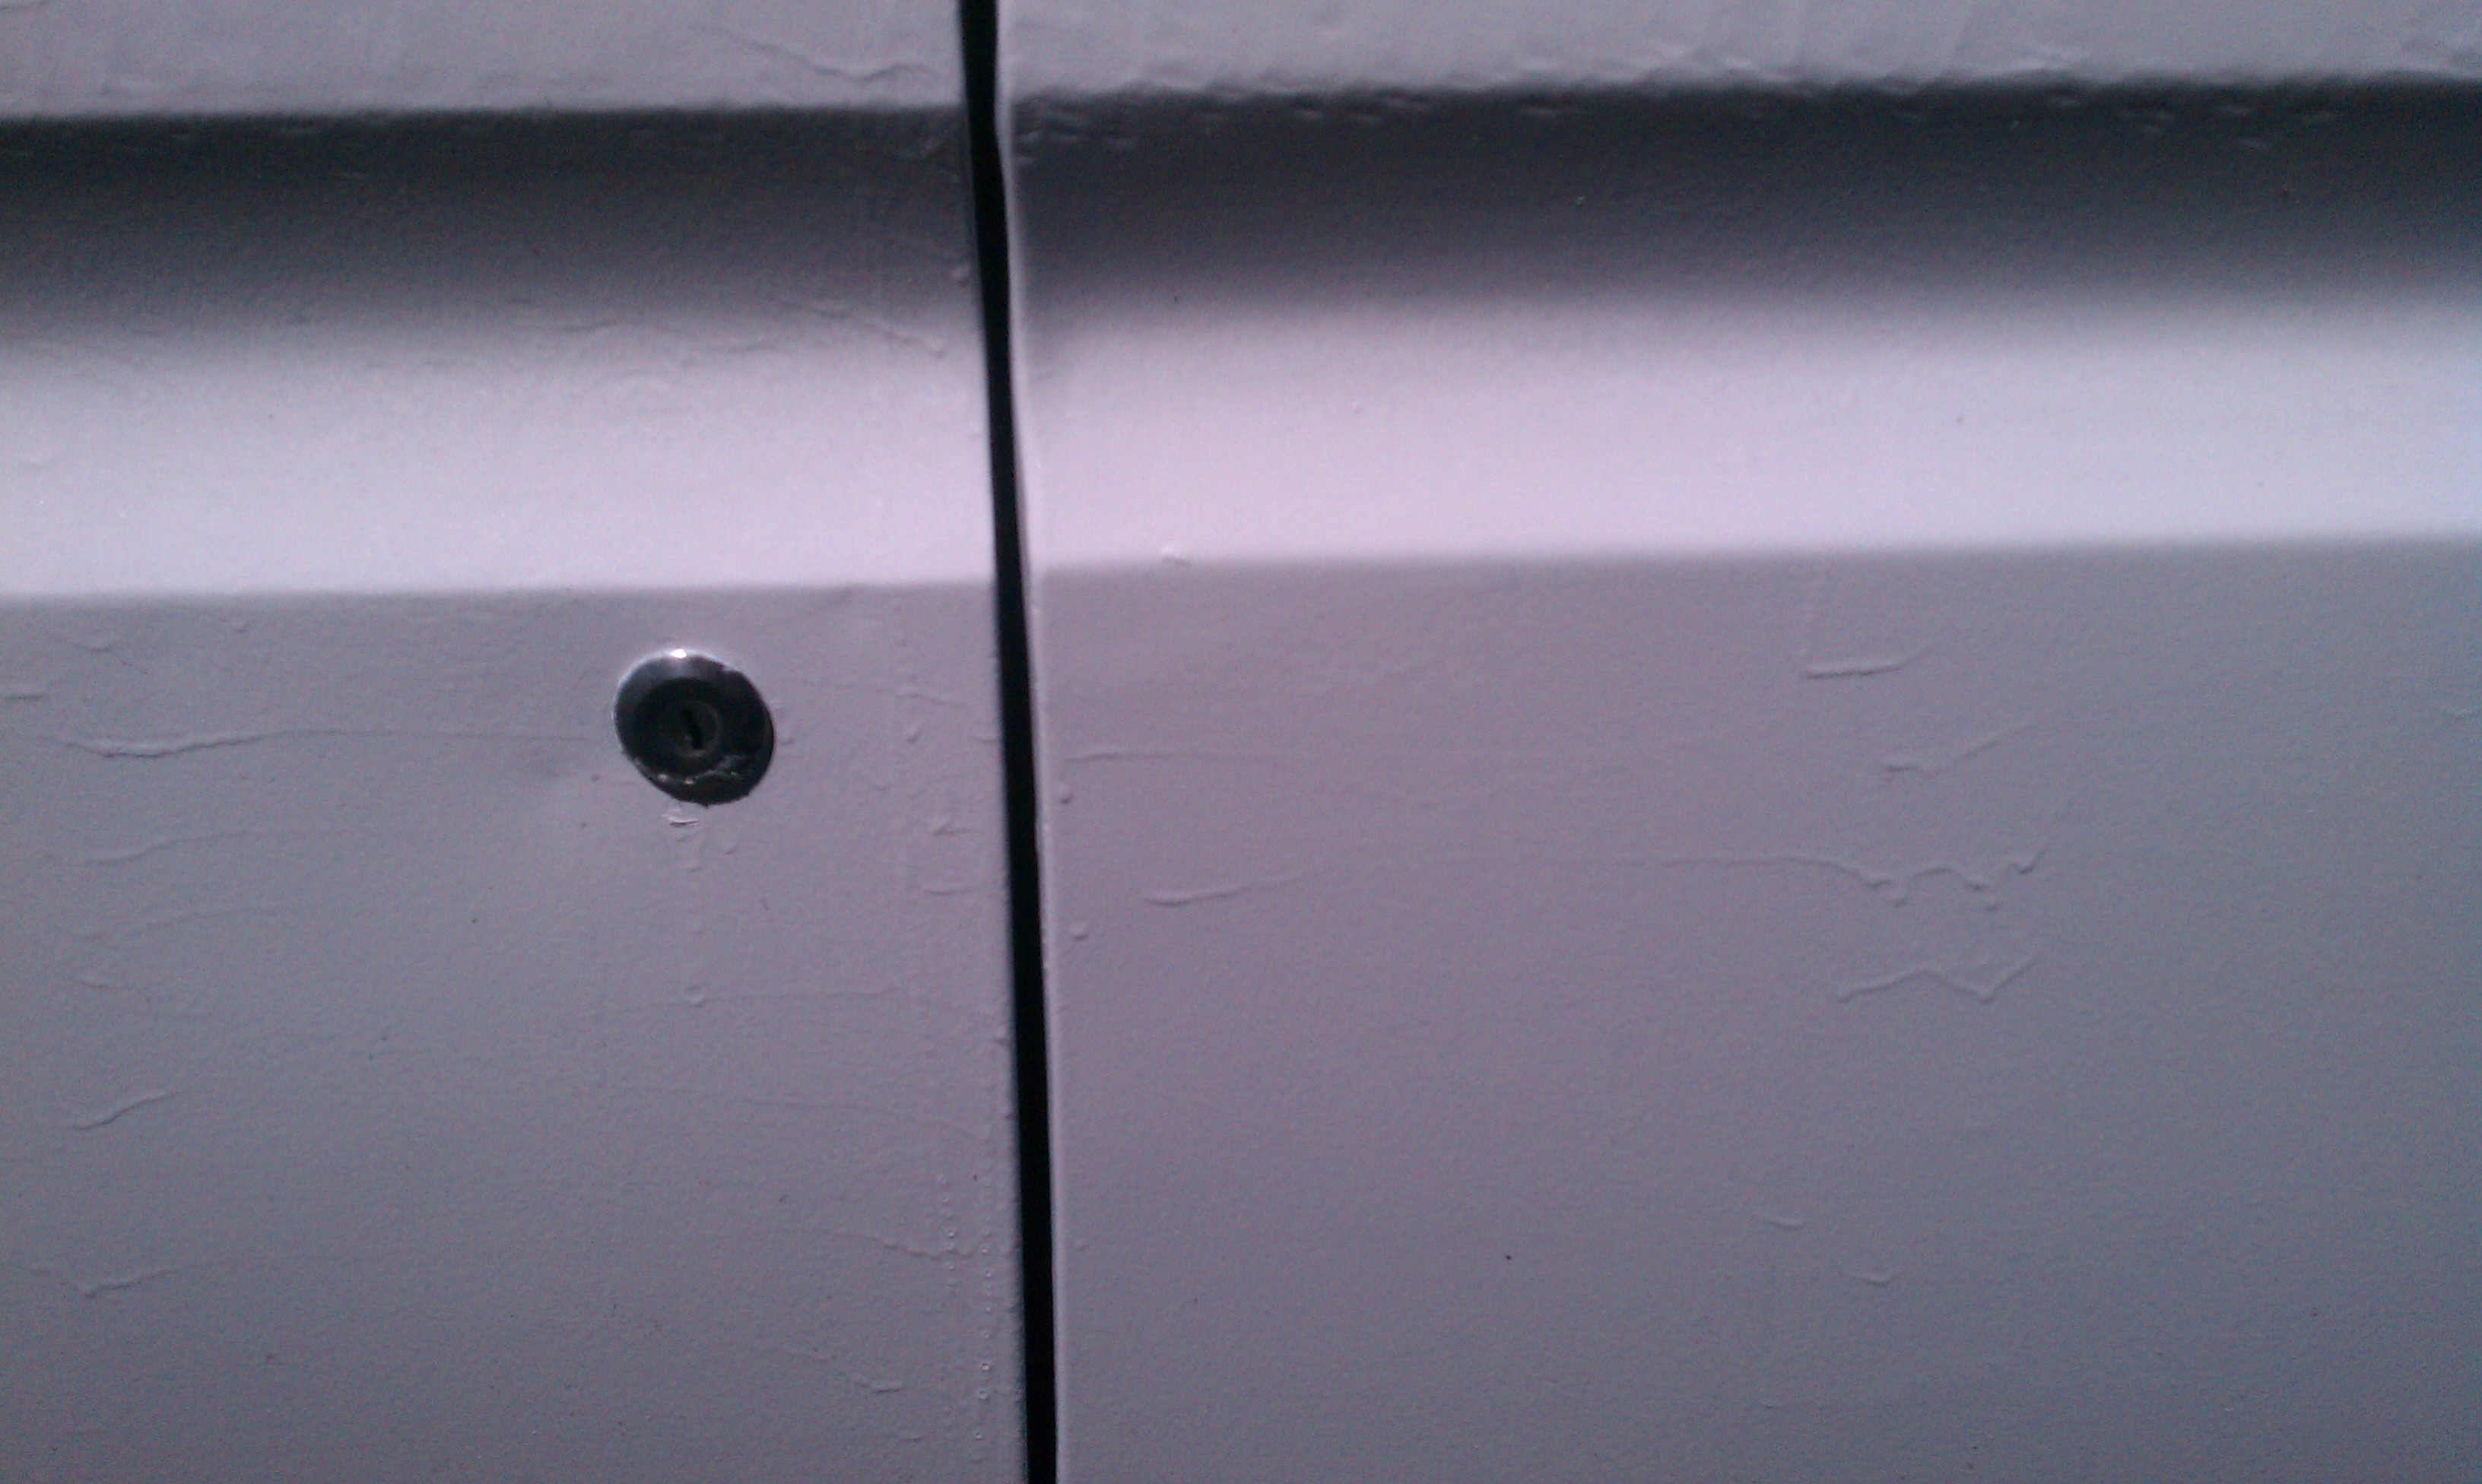
I gather that if looking for professional results that a) days of body prep would have been necessary, b) sanding between coats would be critical and probably sanding the primer too, c) many more coats would be needed, and d) you would need to do a finishing wet sand and polish. This is where my lack of patience effected the outcome. I opted for zero sanding. I’m not at all sorry, I would have gone nuts and it would have been miserable… and taken weeks which was not an option without an indoor space to work in. So, the result was some runs and it’s not as shiny and polished looking. Also, every mark from a grinder, every divot, every imperfection that wasn’t sanded off the frame initially is clearly visible through the paint.
Meh, don’t really care. It certainly couldn’t look much worse than it did before right? You tell me.