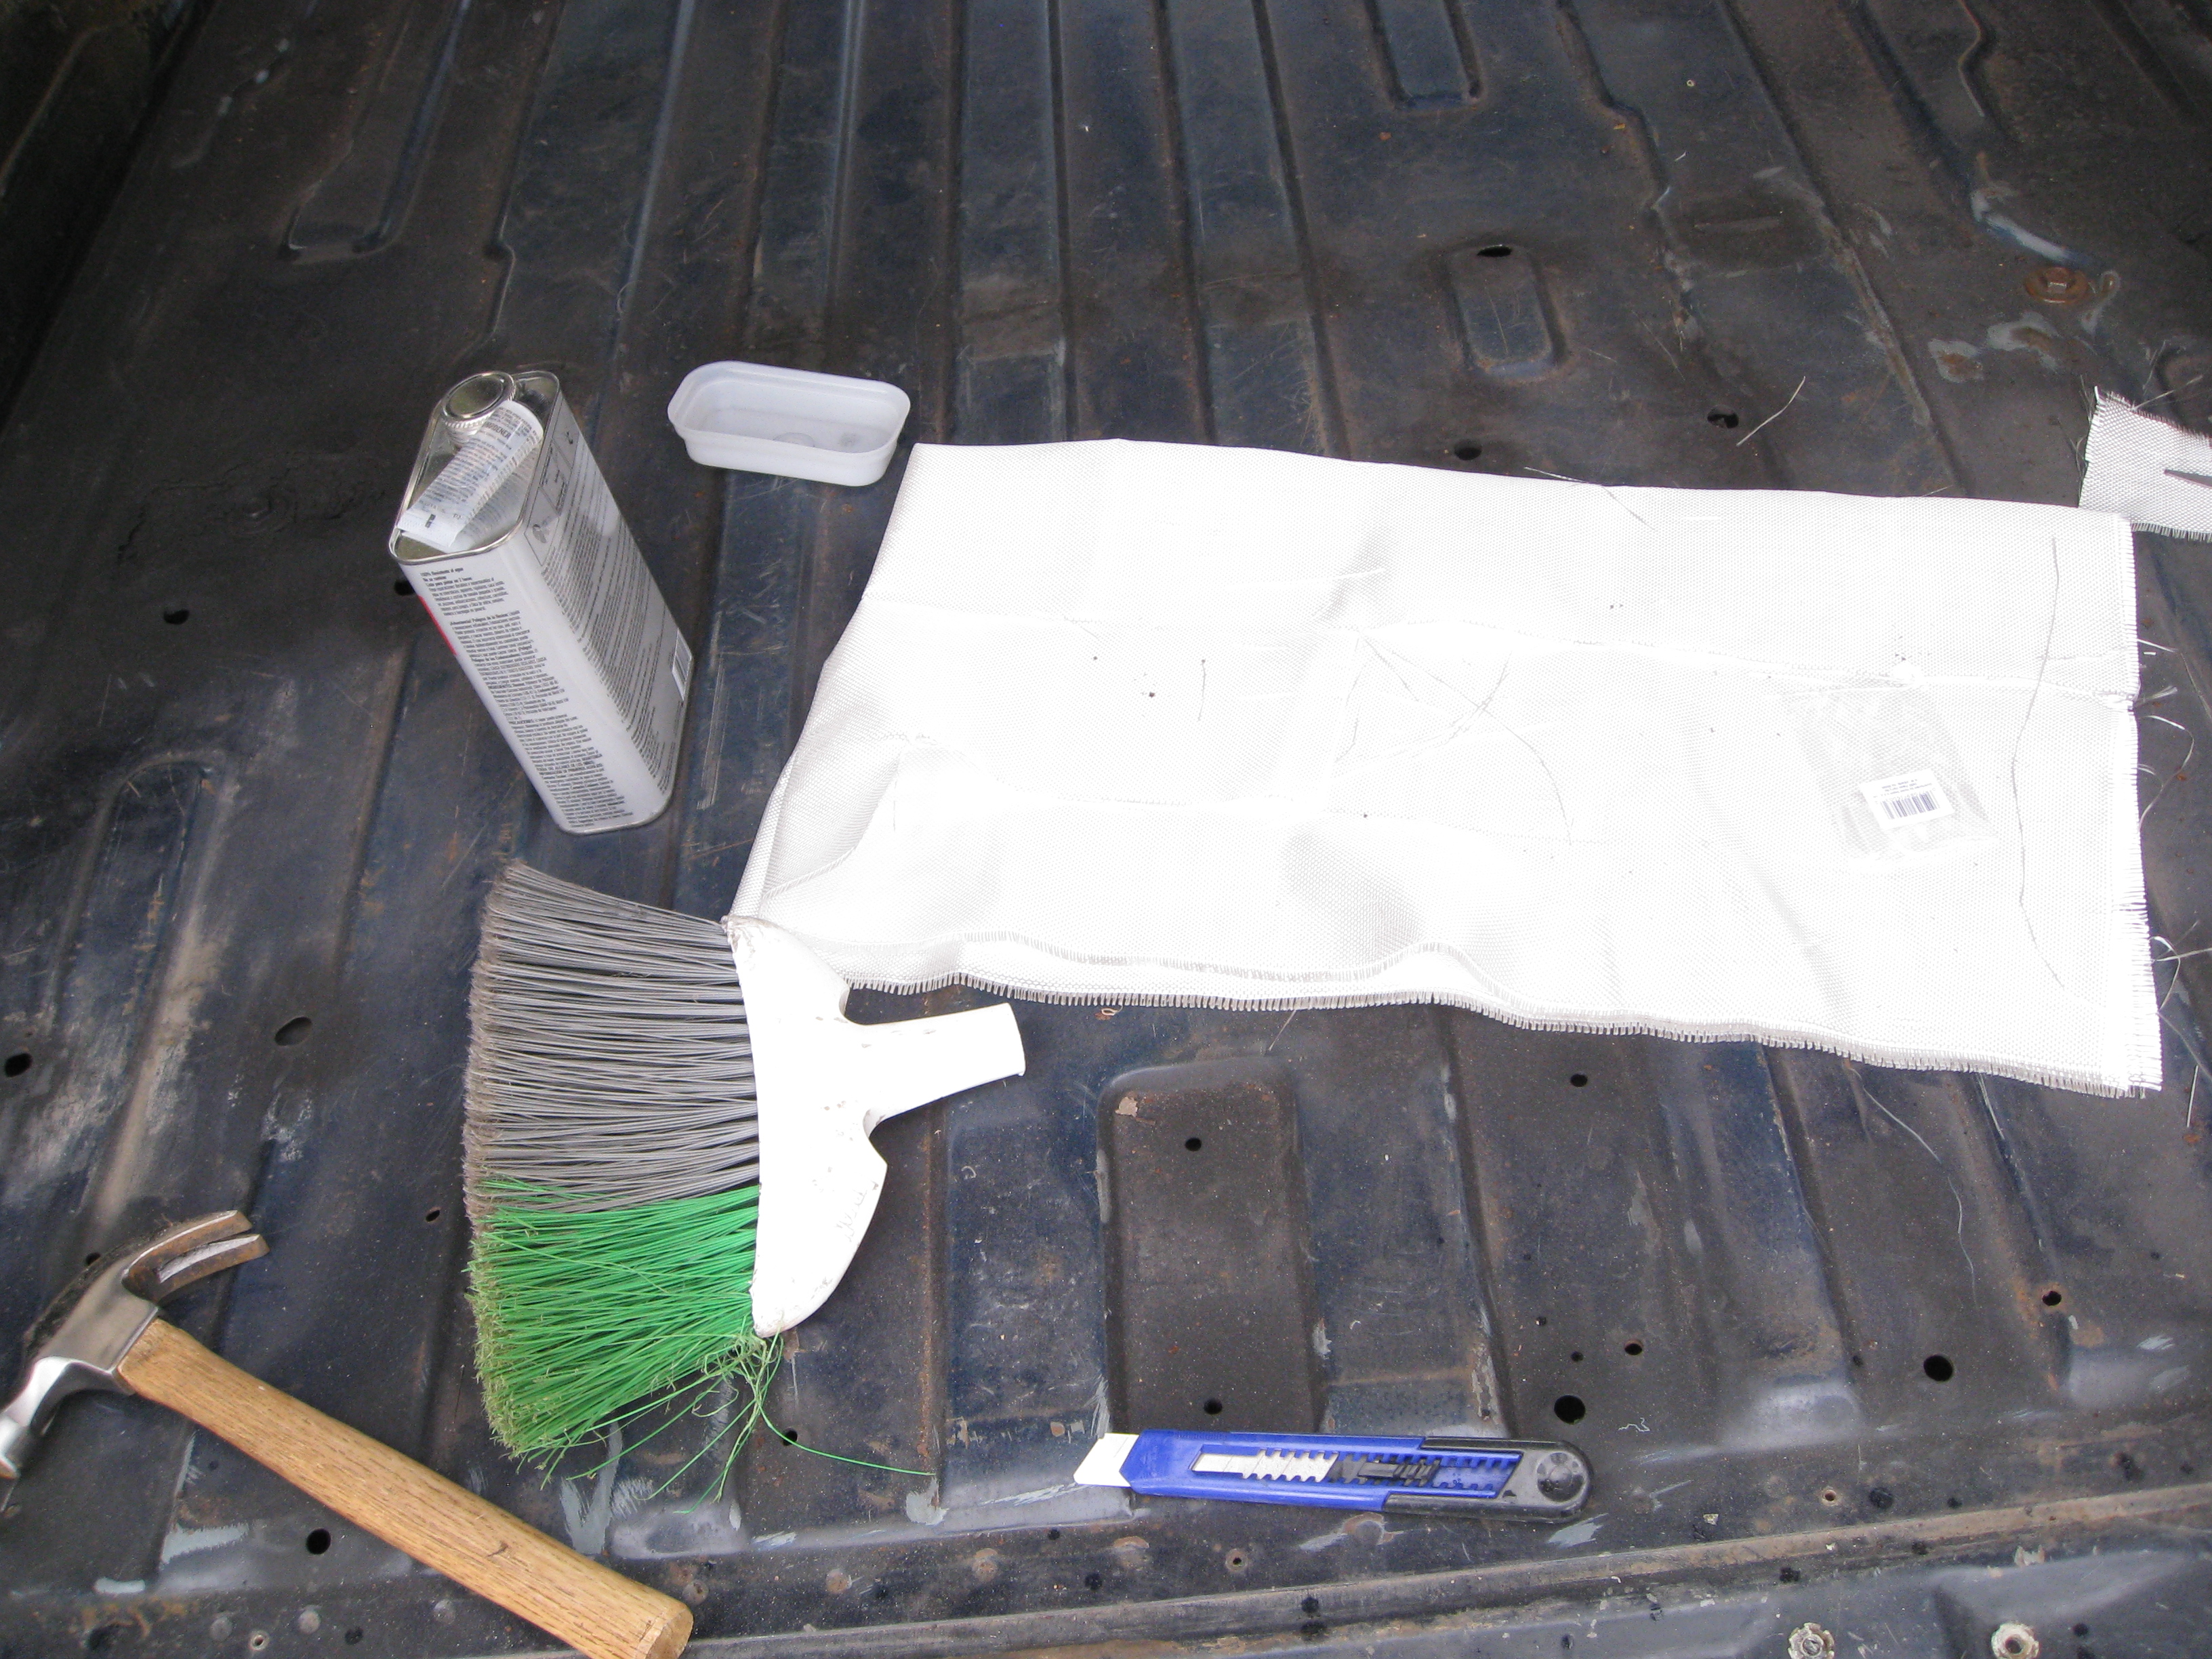
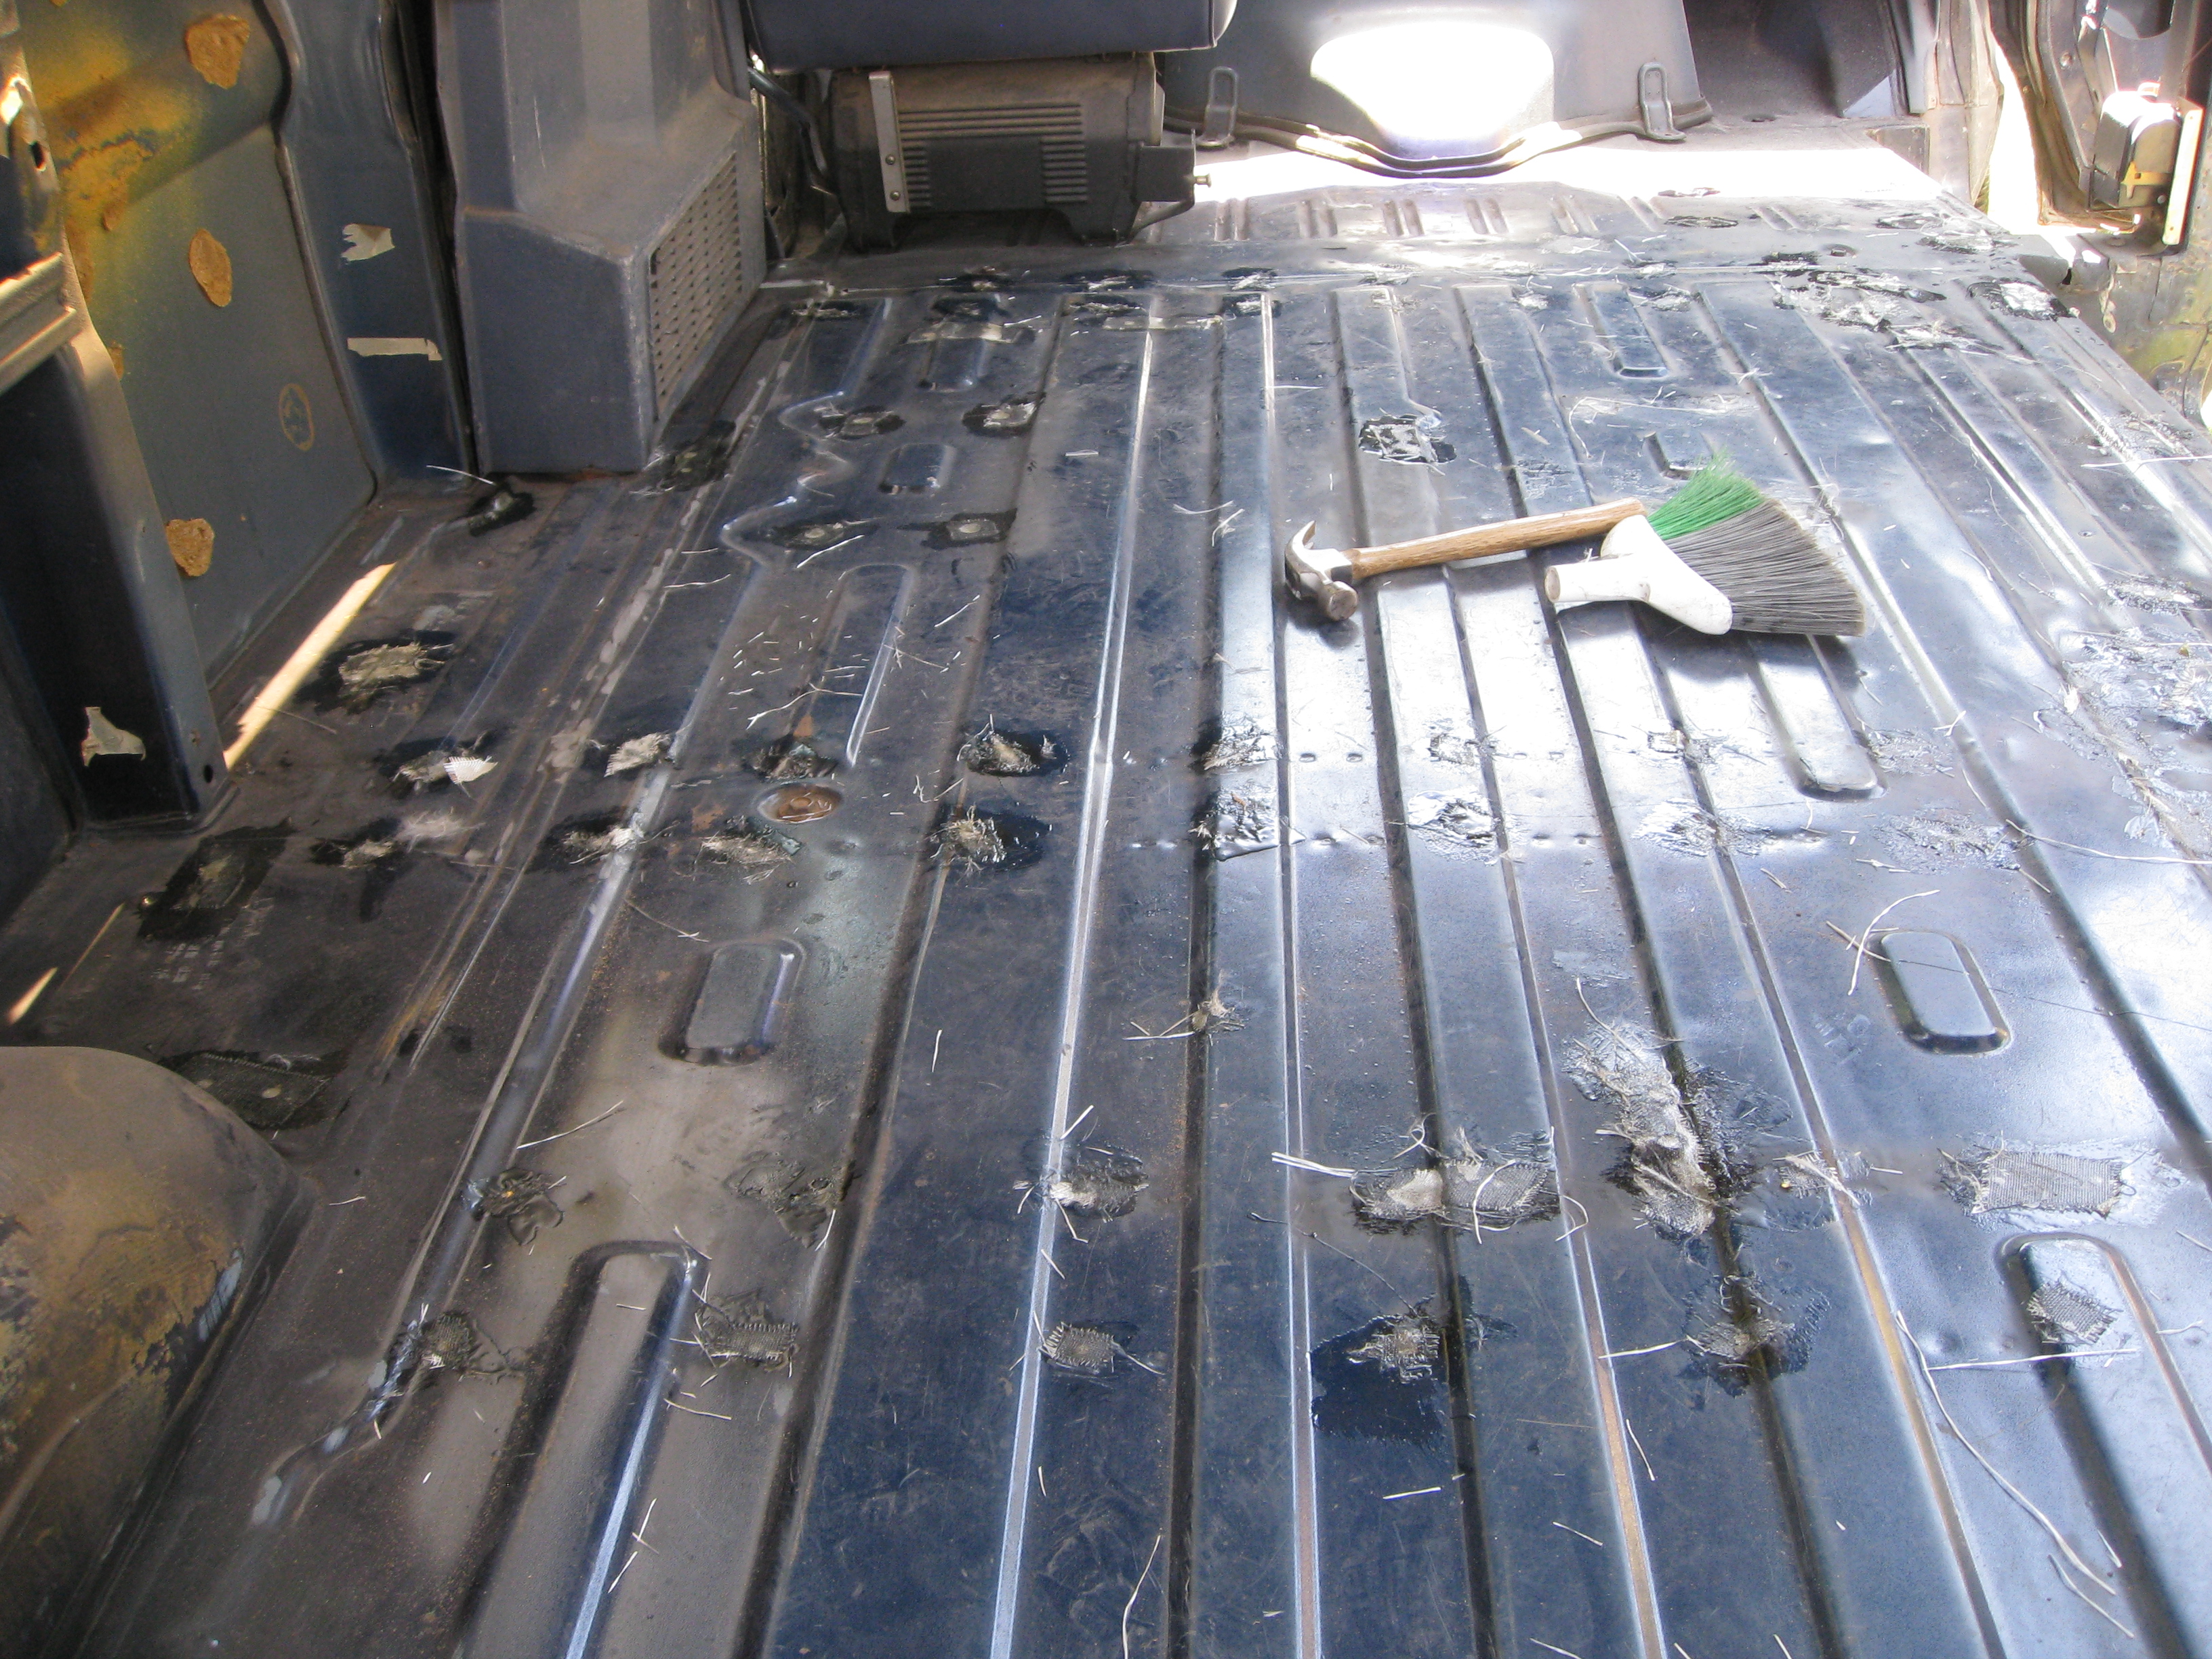
First the inside. I used a wire brush attachment on the grinder to knock all of the surface rust of the roof frame and floor. I then used Rustoleum Rust Reformer and sprayed all the effected areas with it. I had a friend with a welder put a plate over the rusted hole by the brake pedal. Next the wife and I patched every single rust hole, bolt hole, etc in the floor with a fiberglass/resin kit. Once it set I used a liquid rubber spray also from Rustoleum to coat and leak proof all the fiberglass patches.
Next the outside. The people that originally outfitted the topper encased it in bondo for some reason. I ground all of it off so I could see what needed repairing underneath. Because I’m going to paint it I took this opportunity to also remove the metal trim, ford logos, etc and I ground the decals and pinstripes off as well.
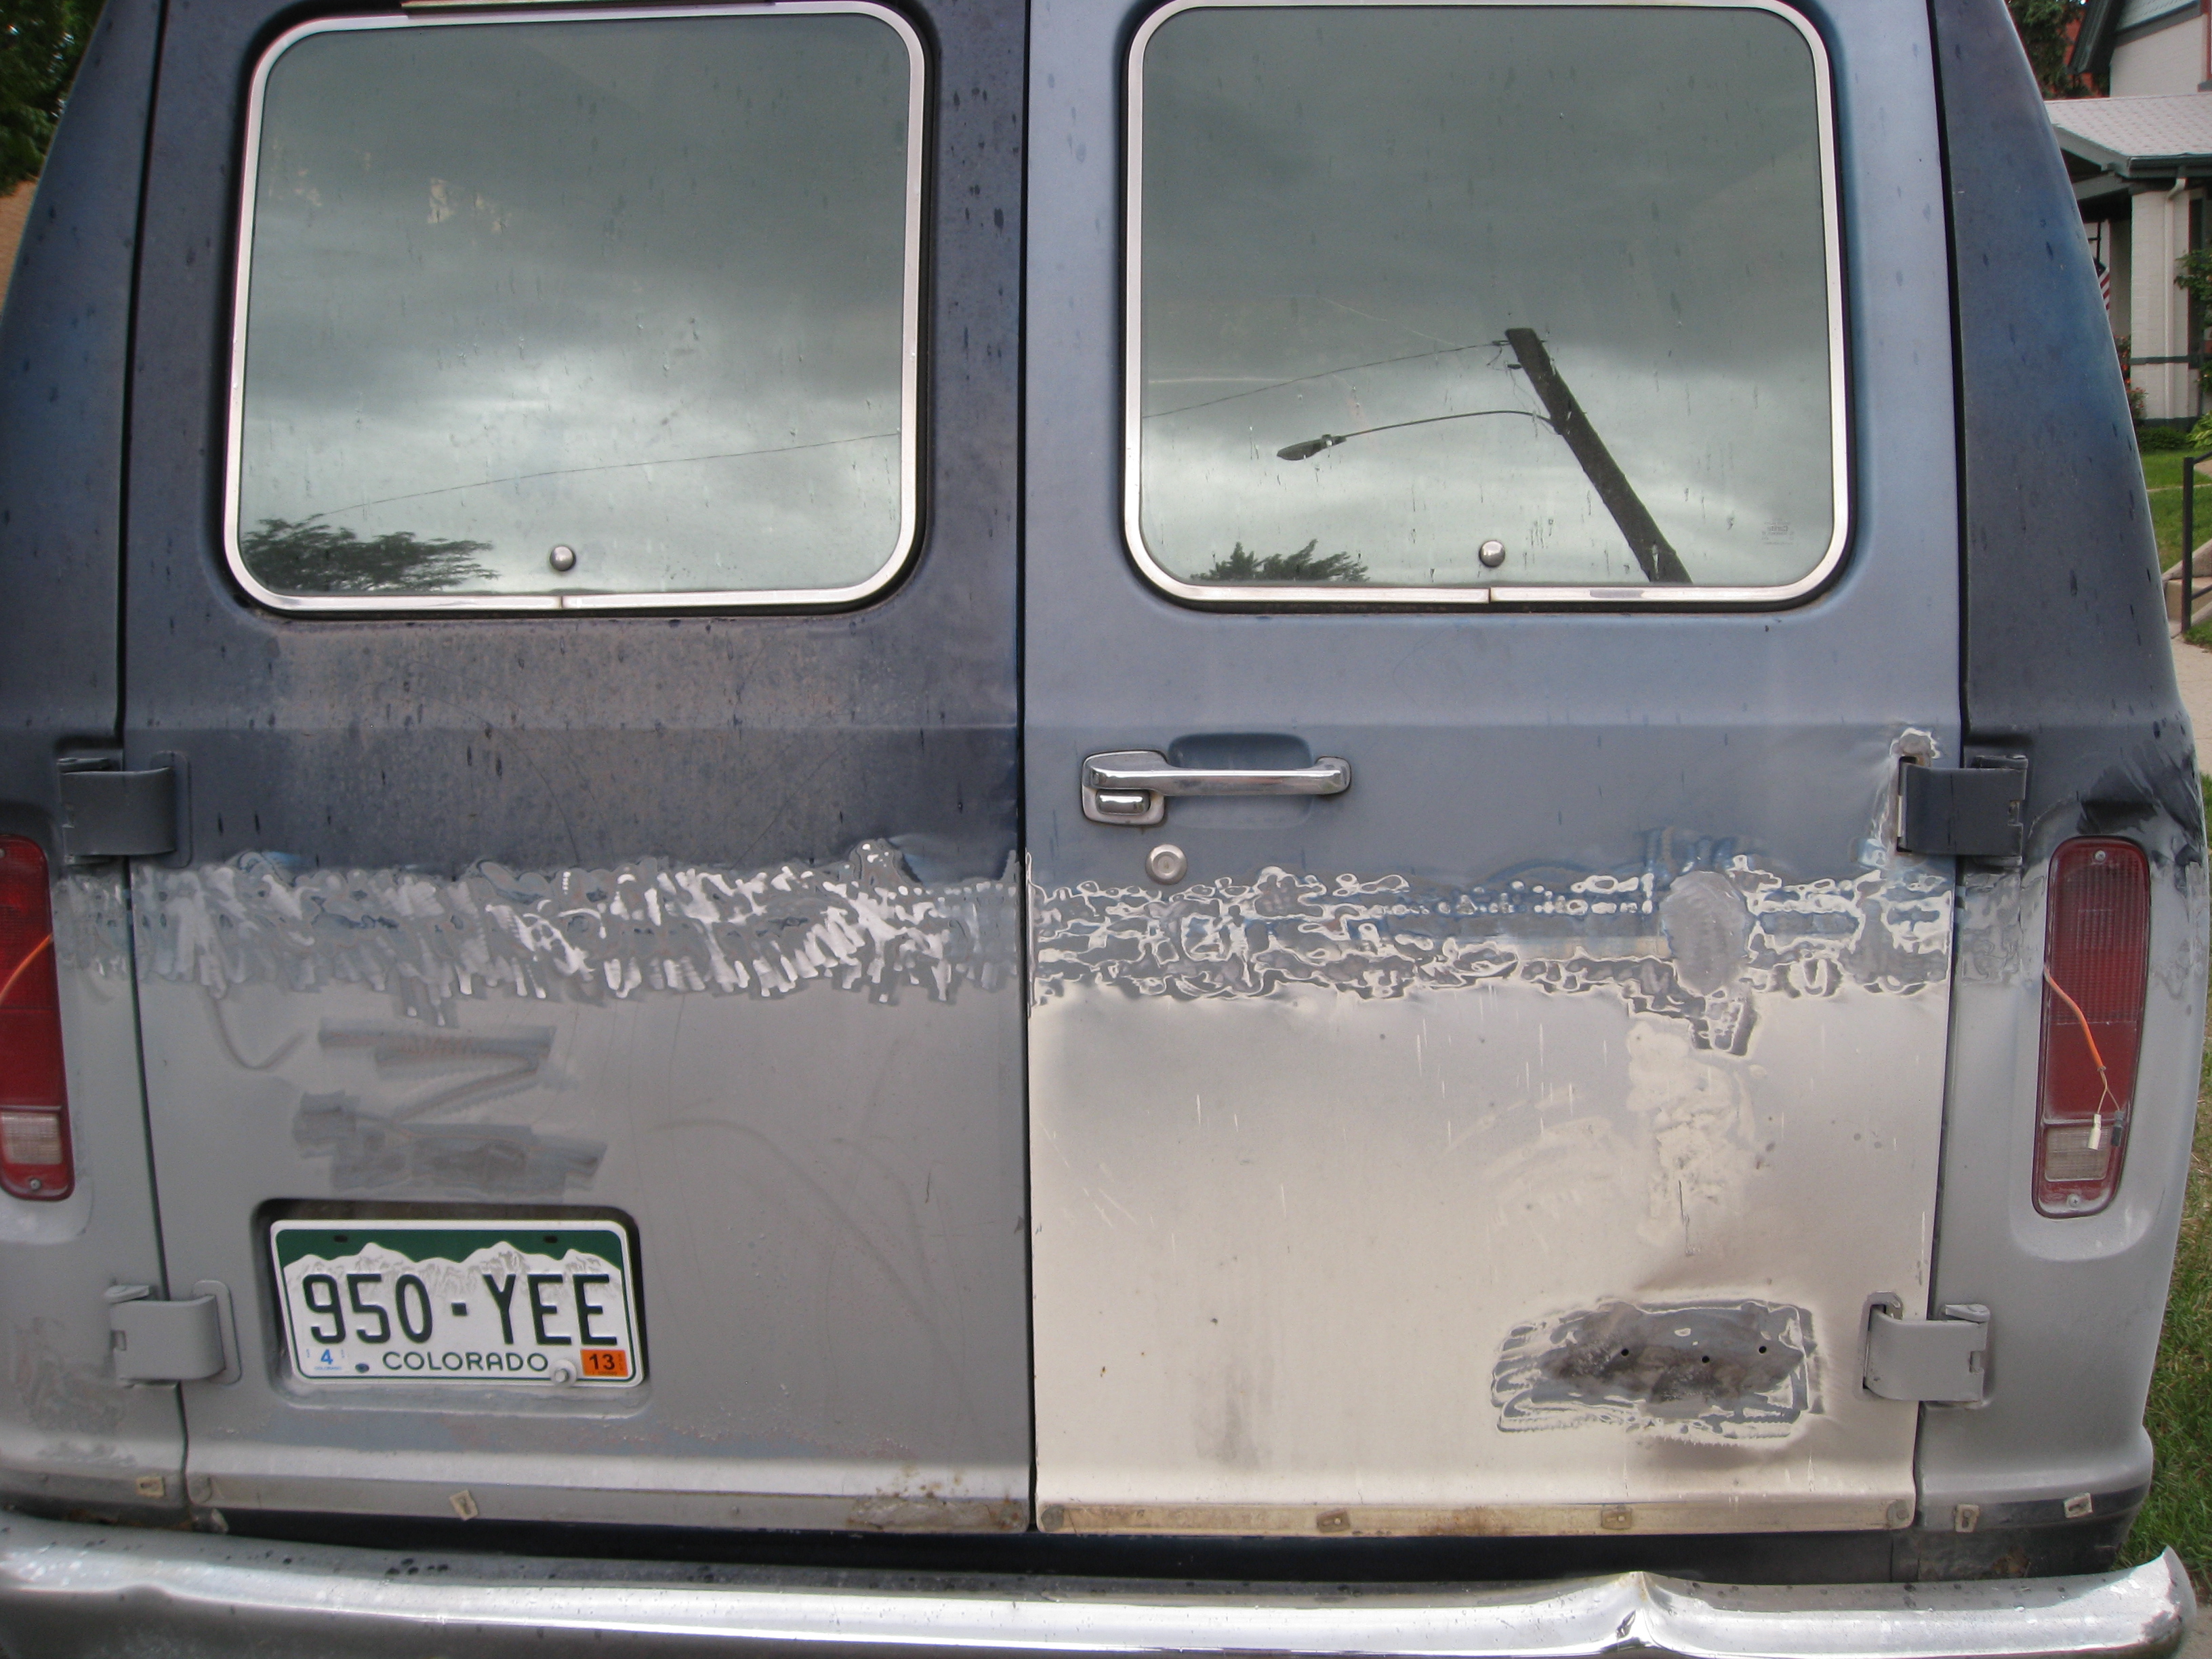
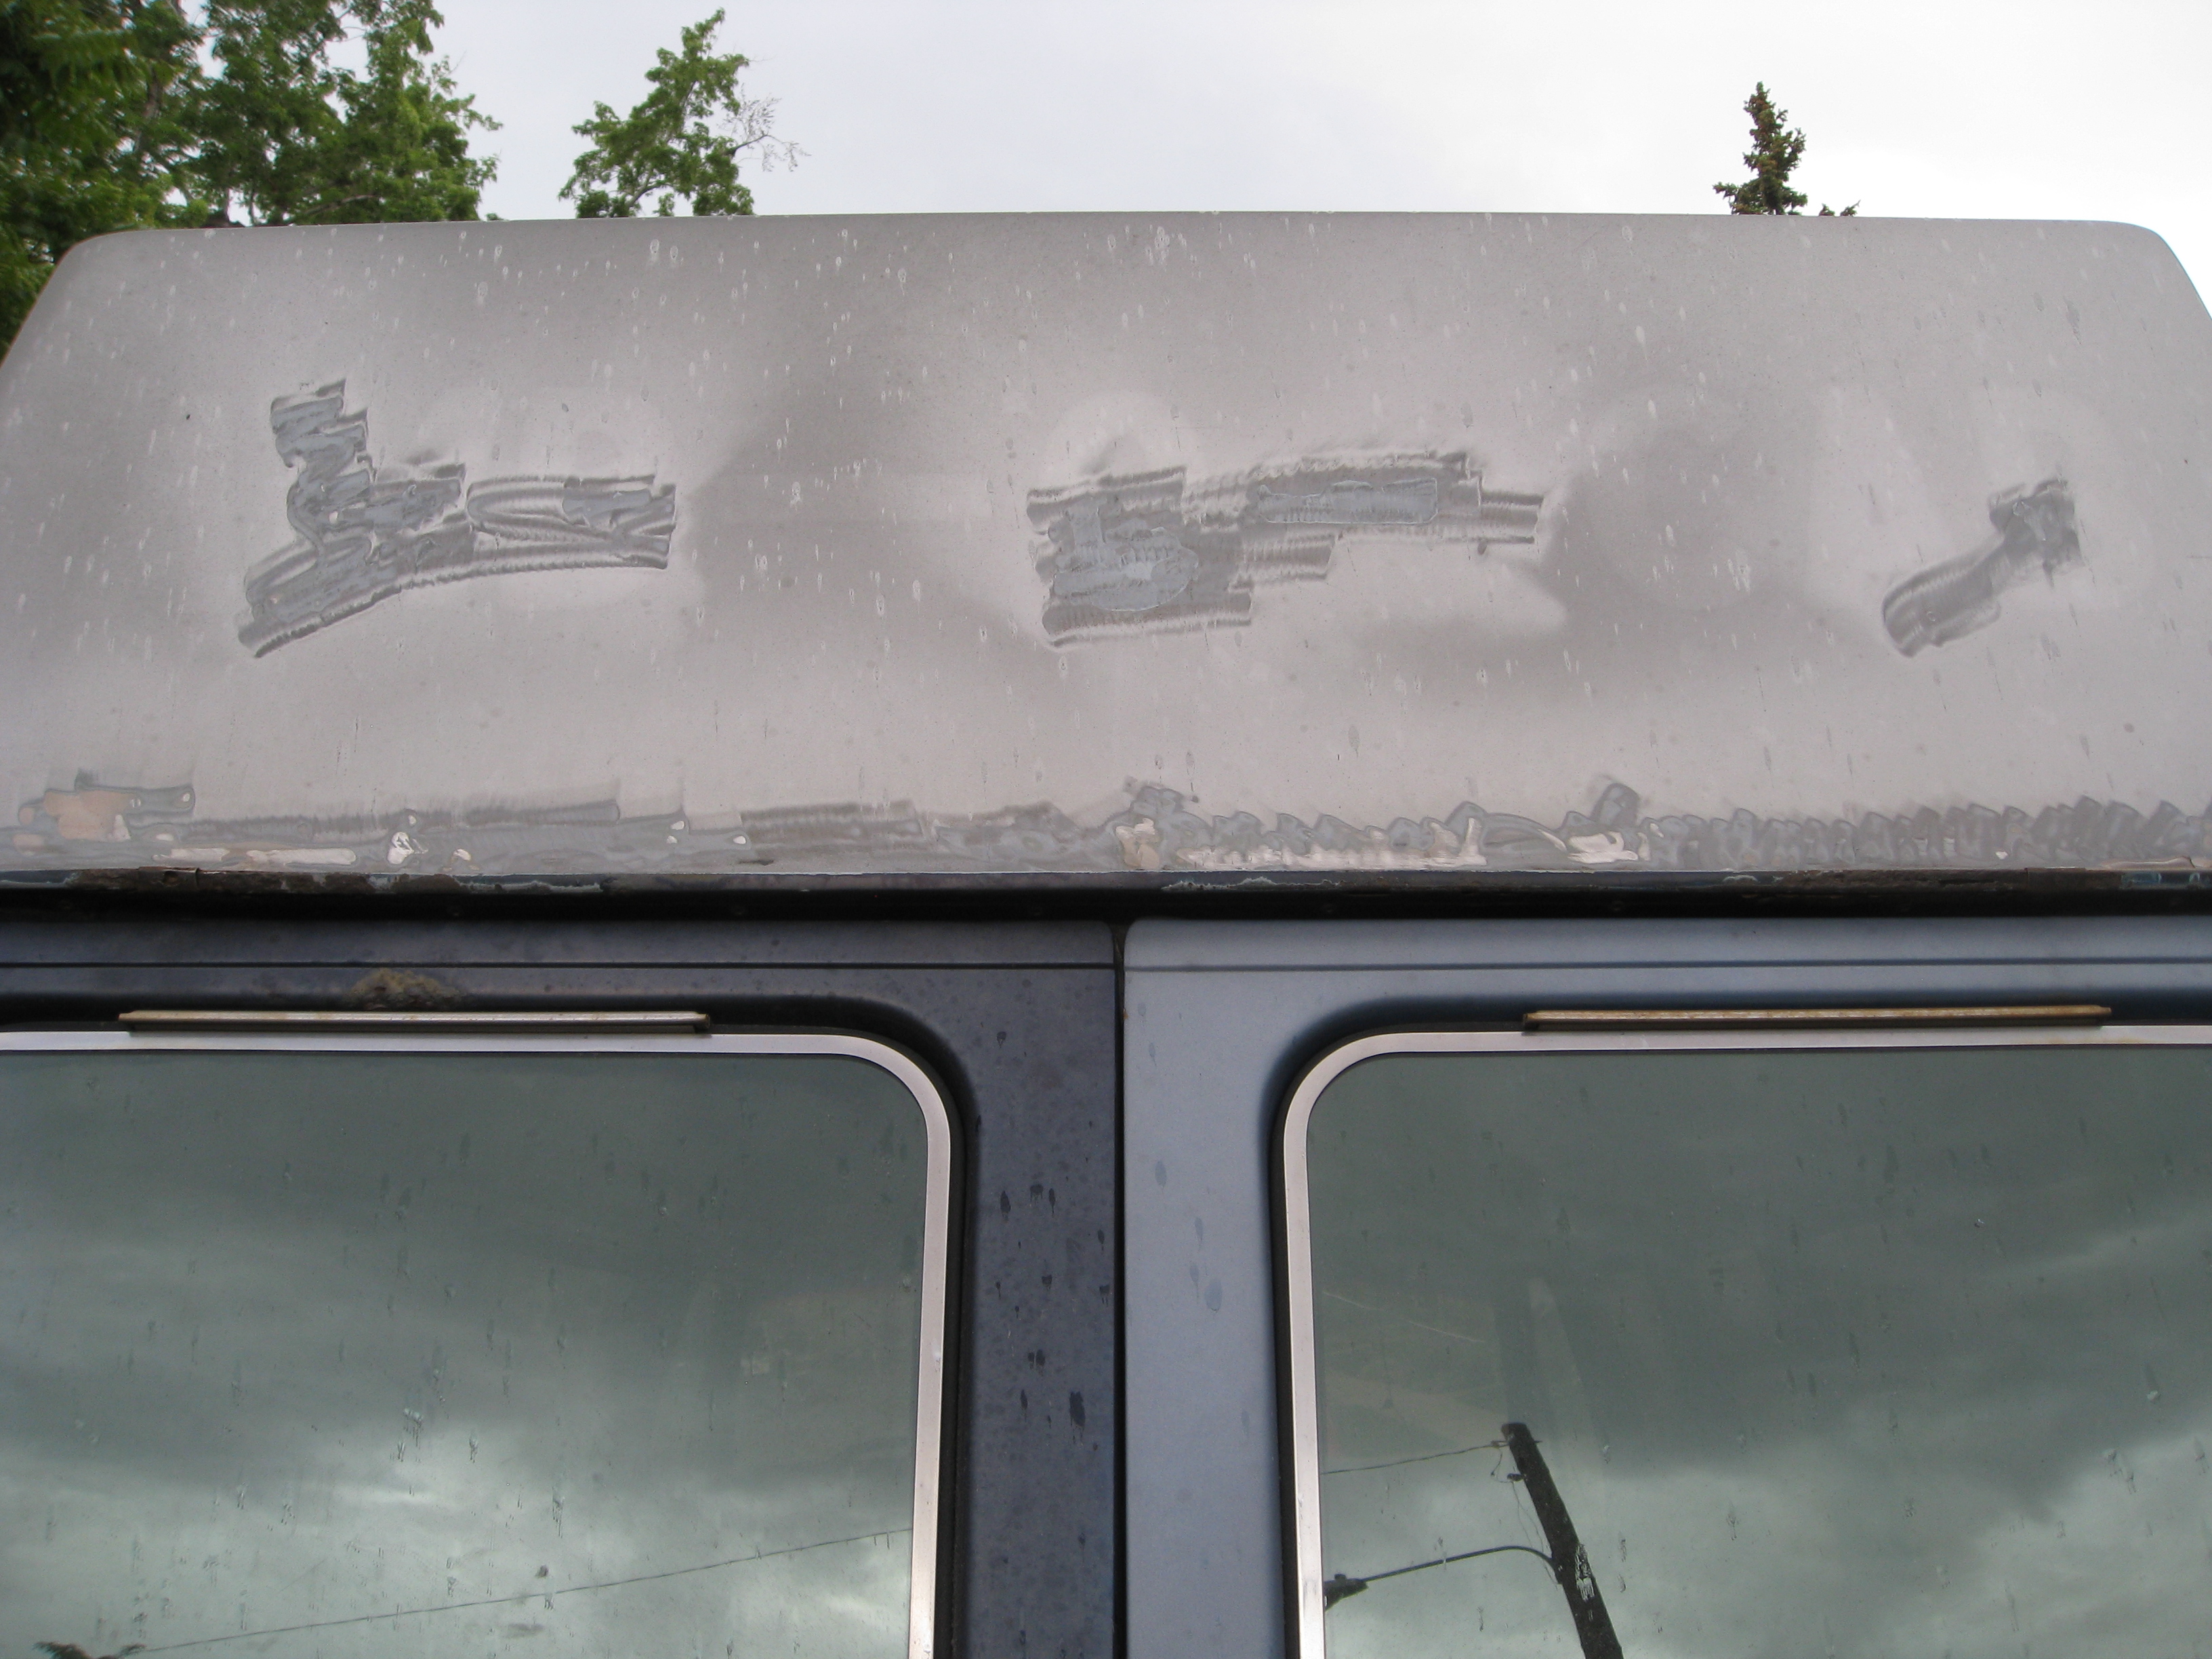
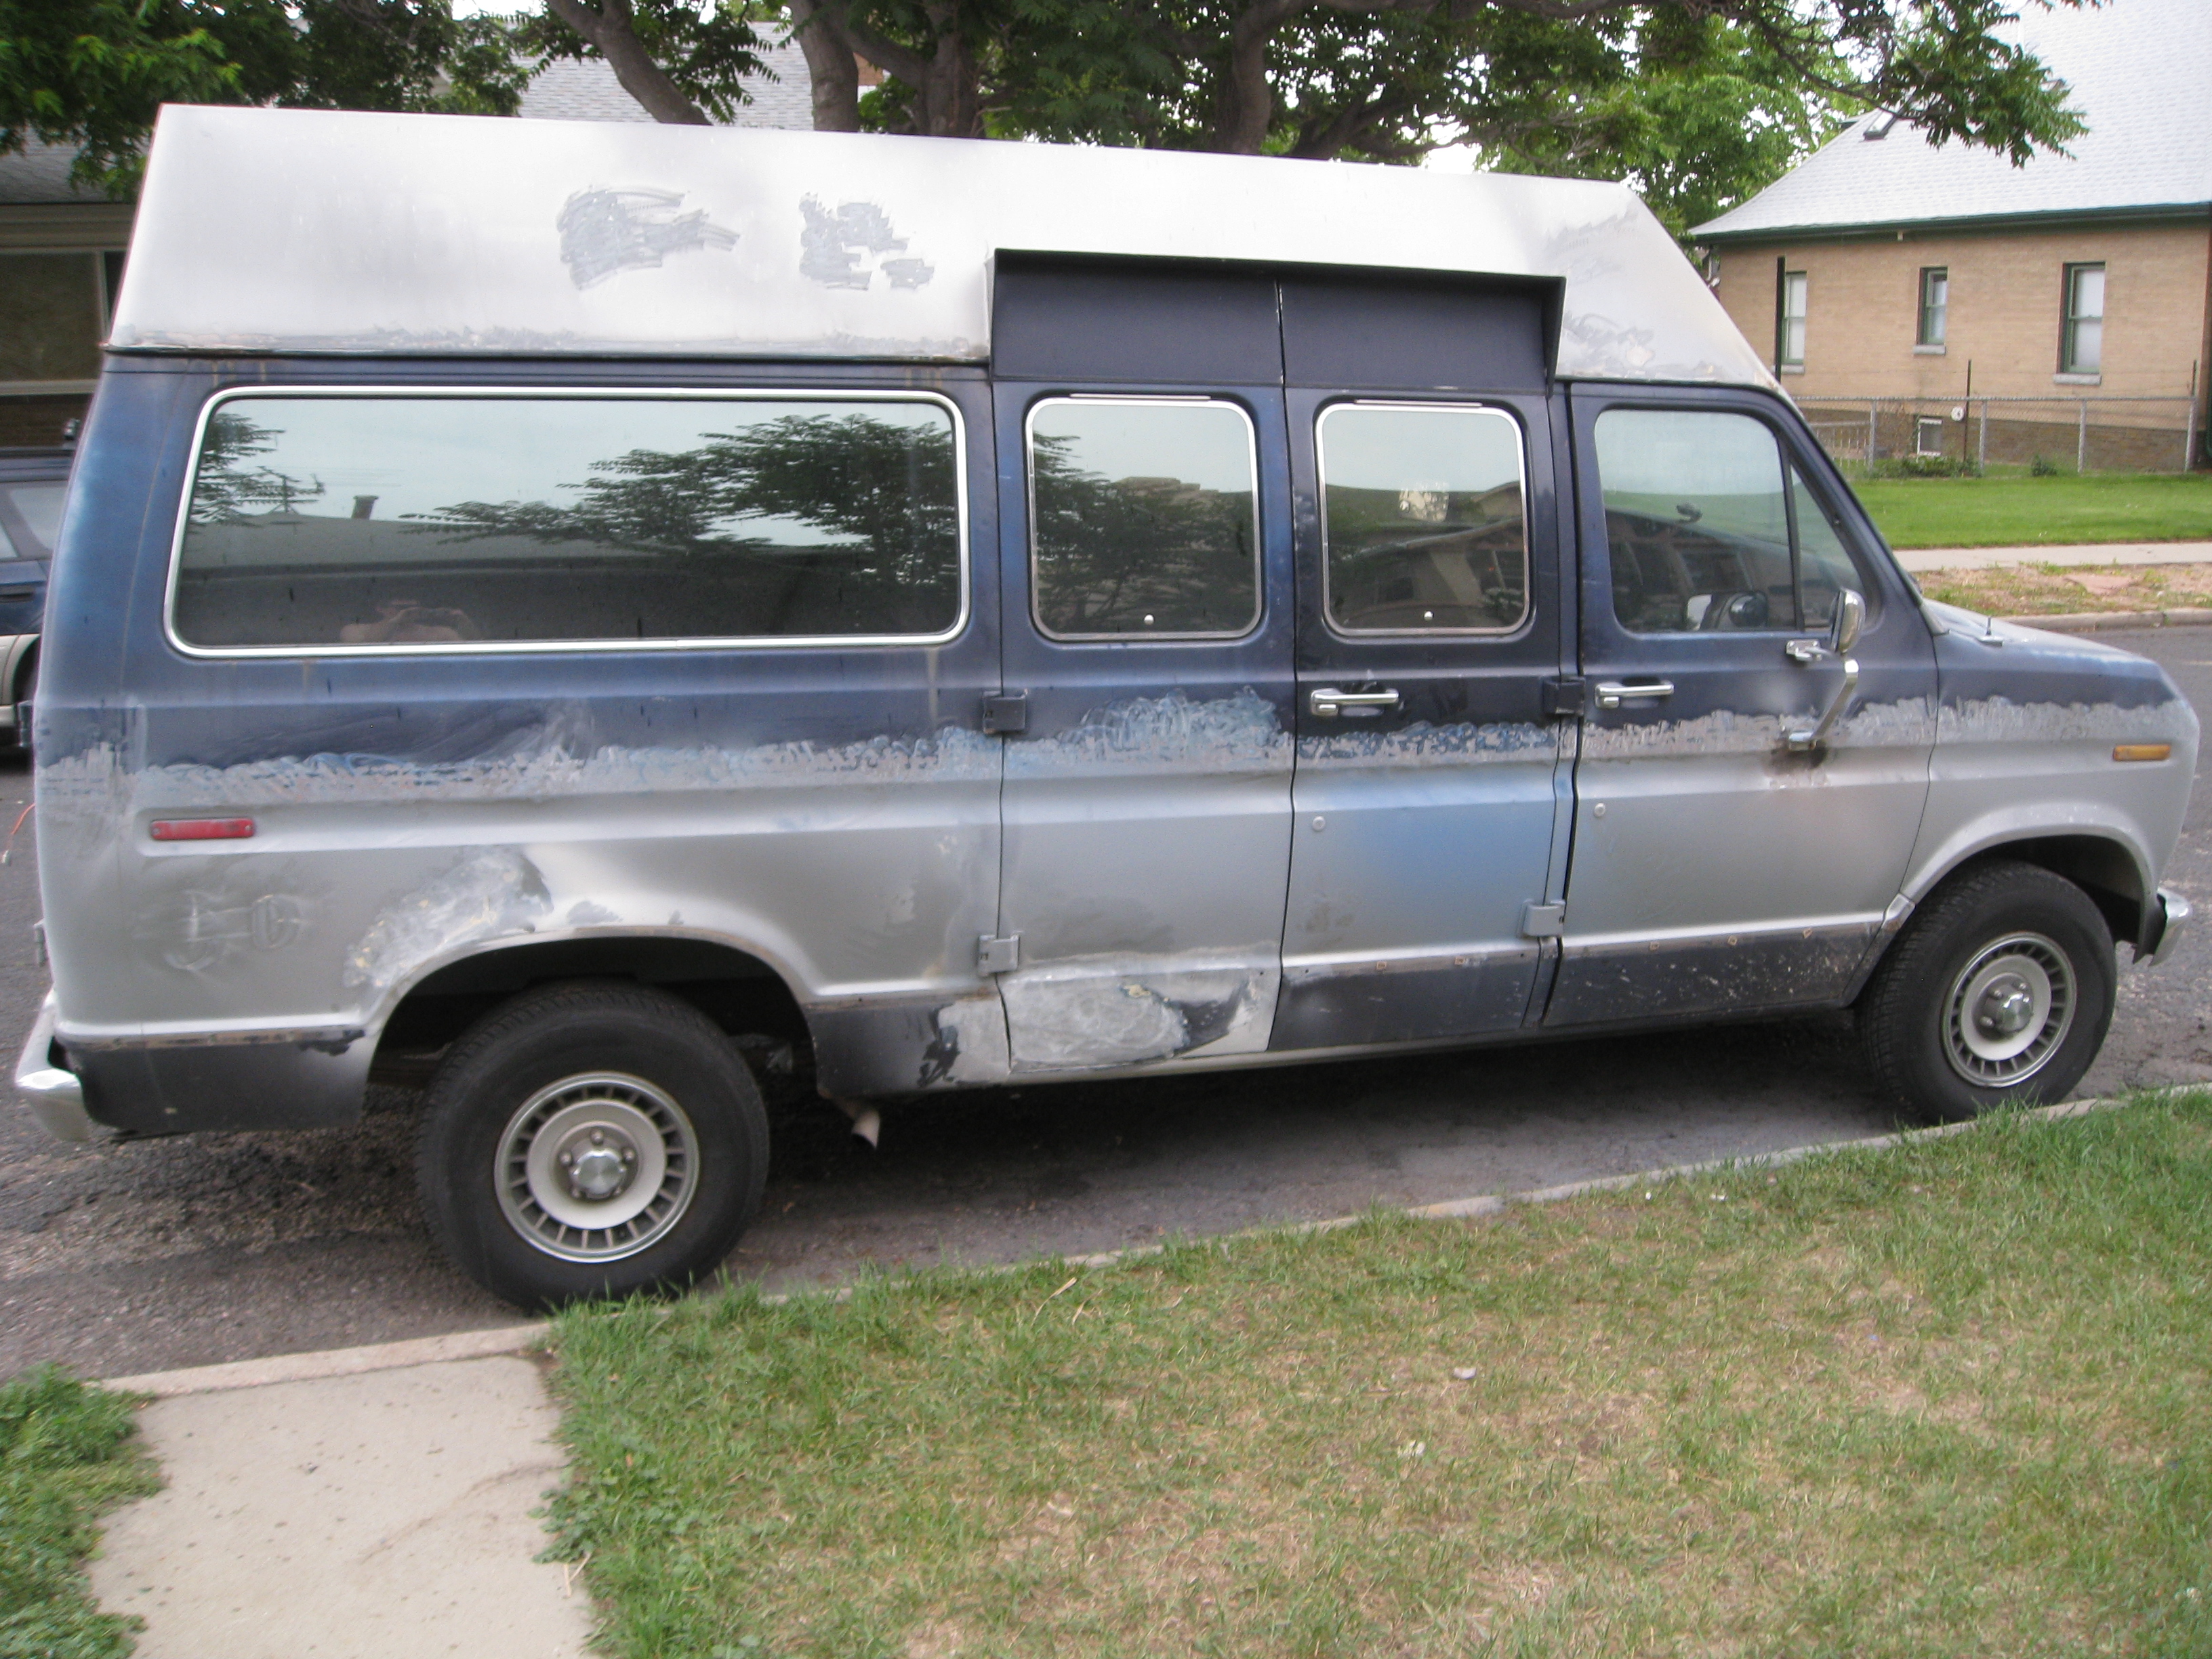
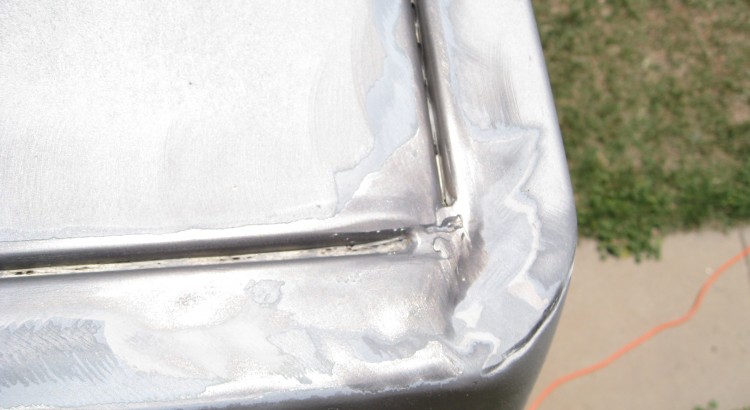
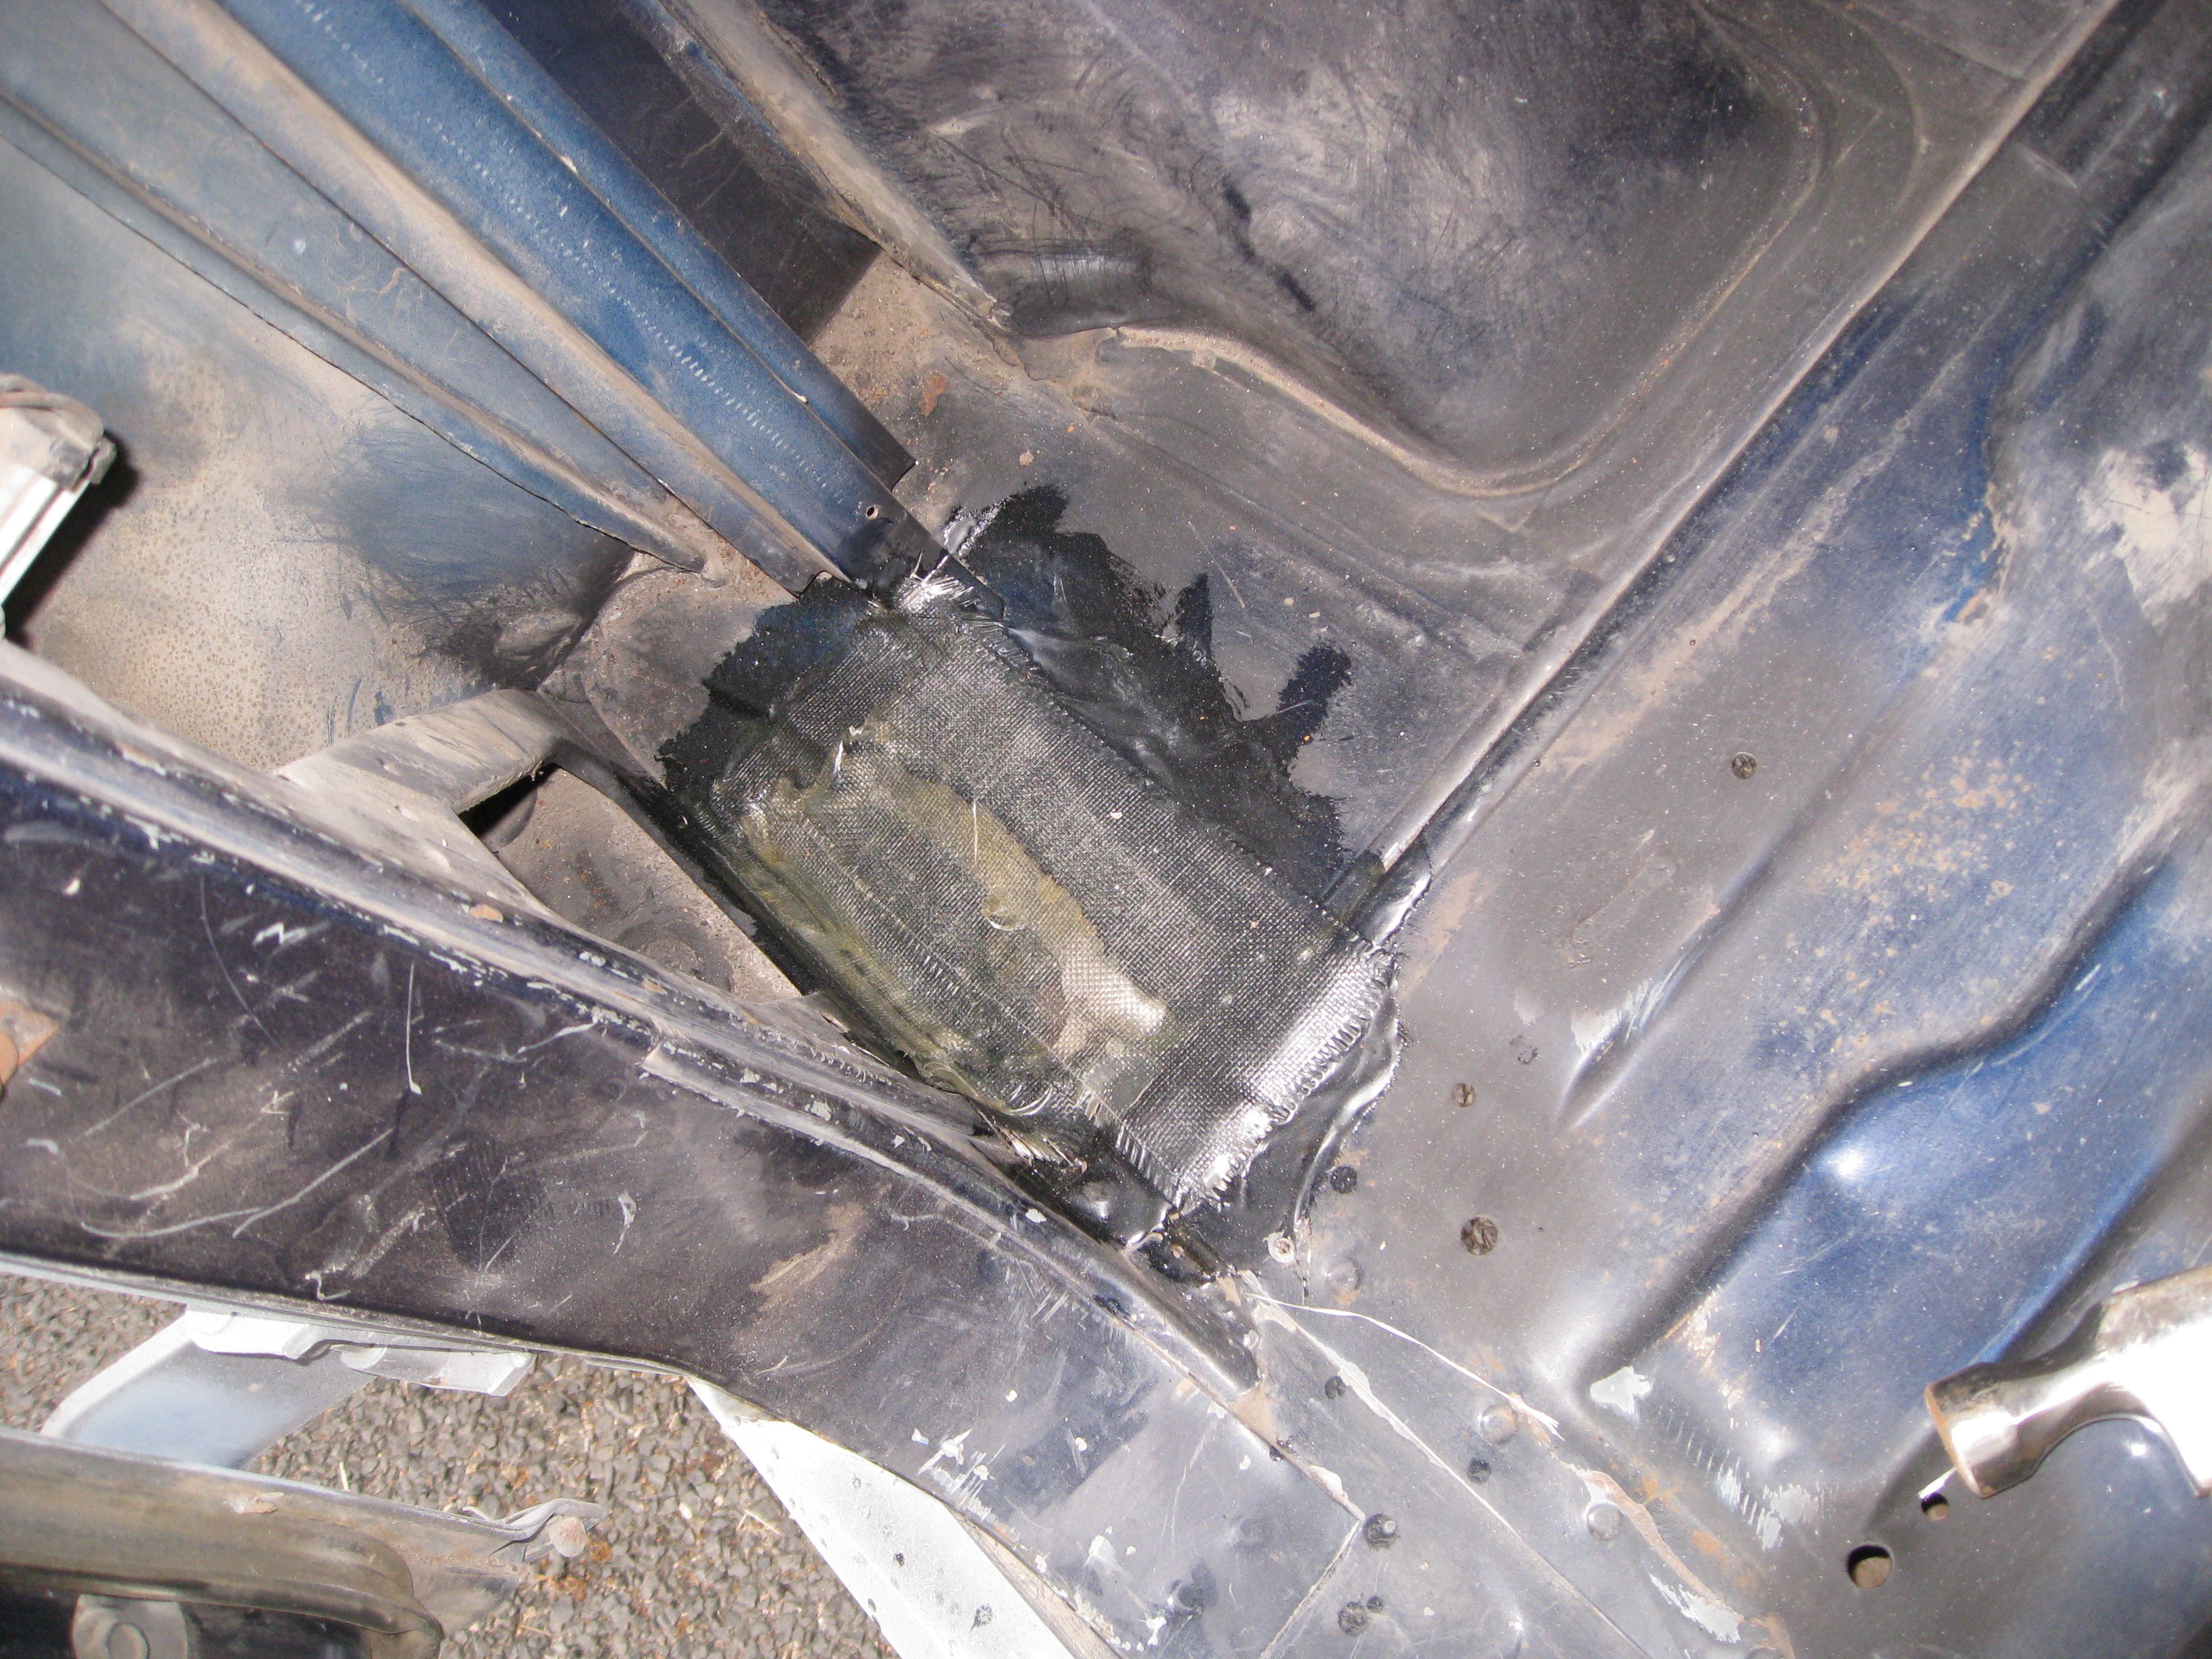
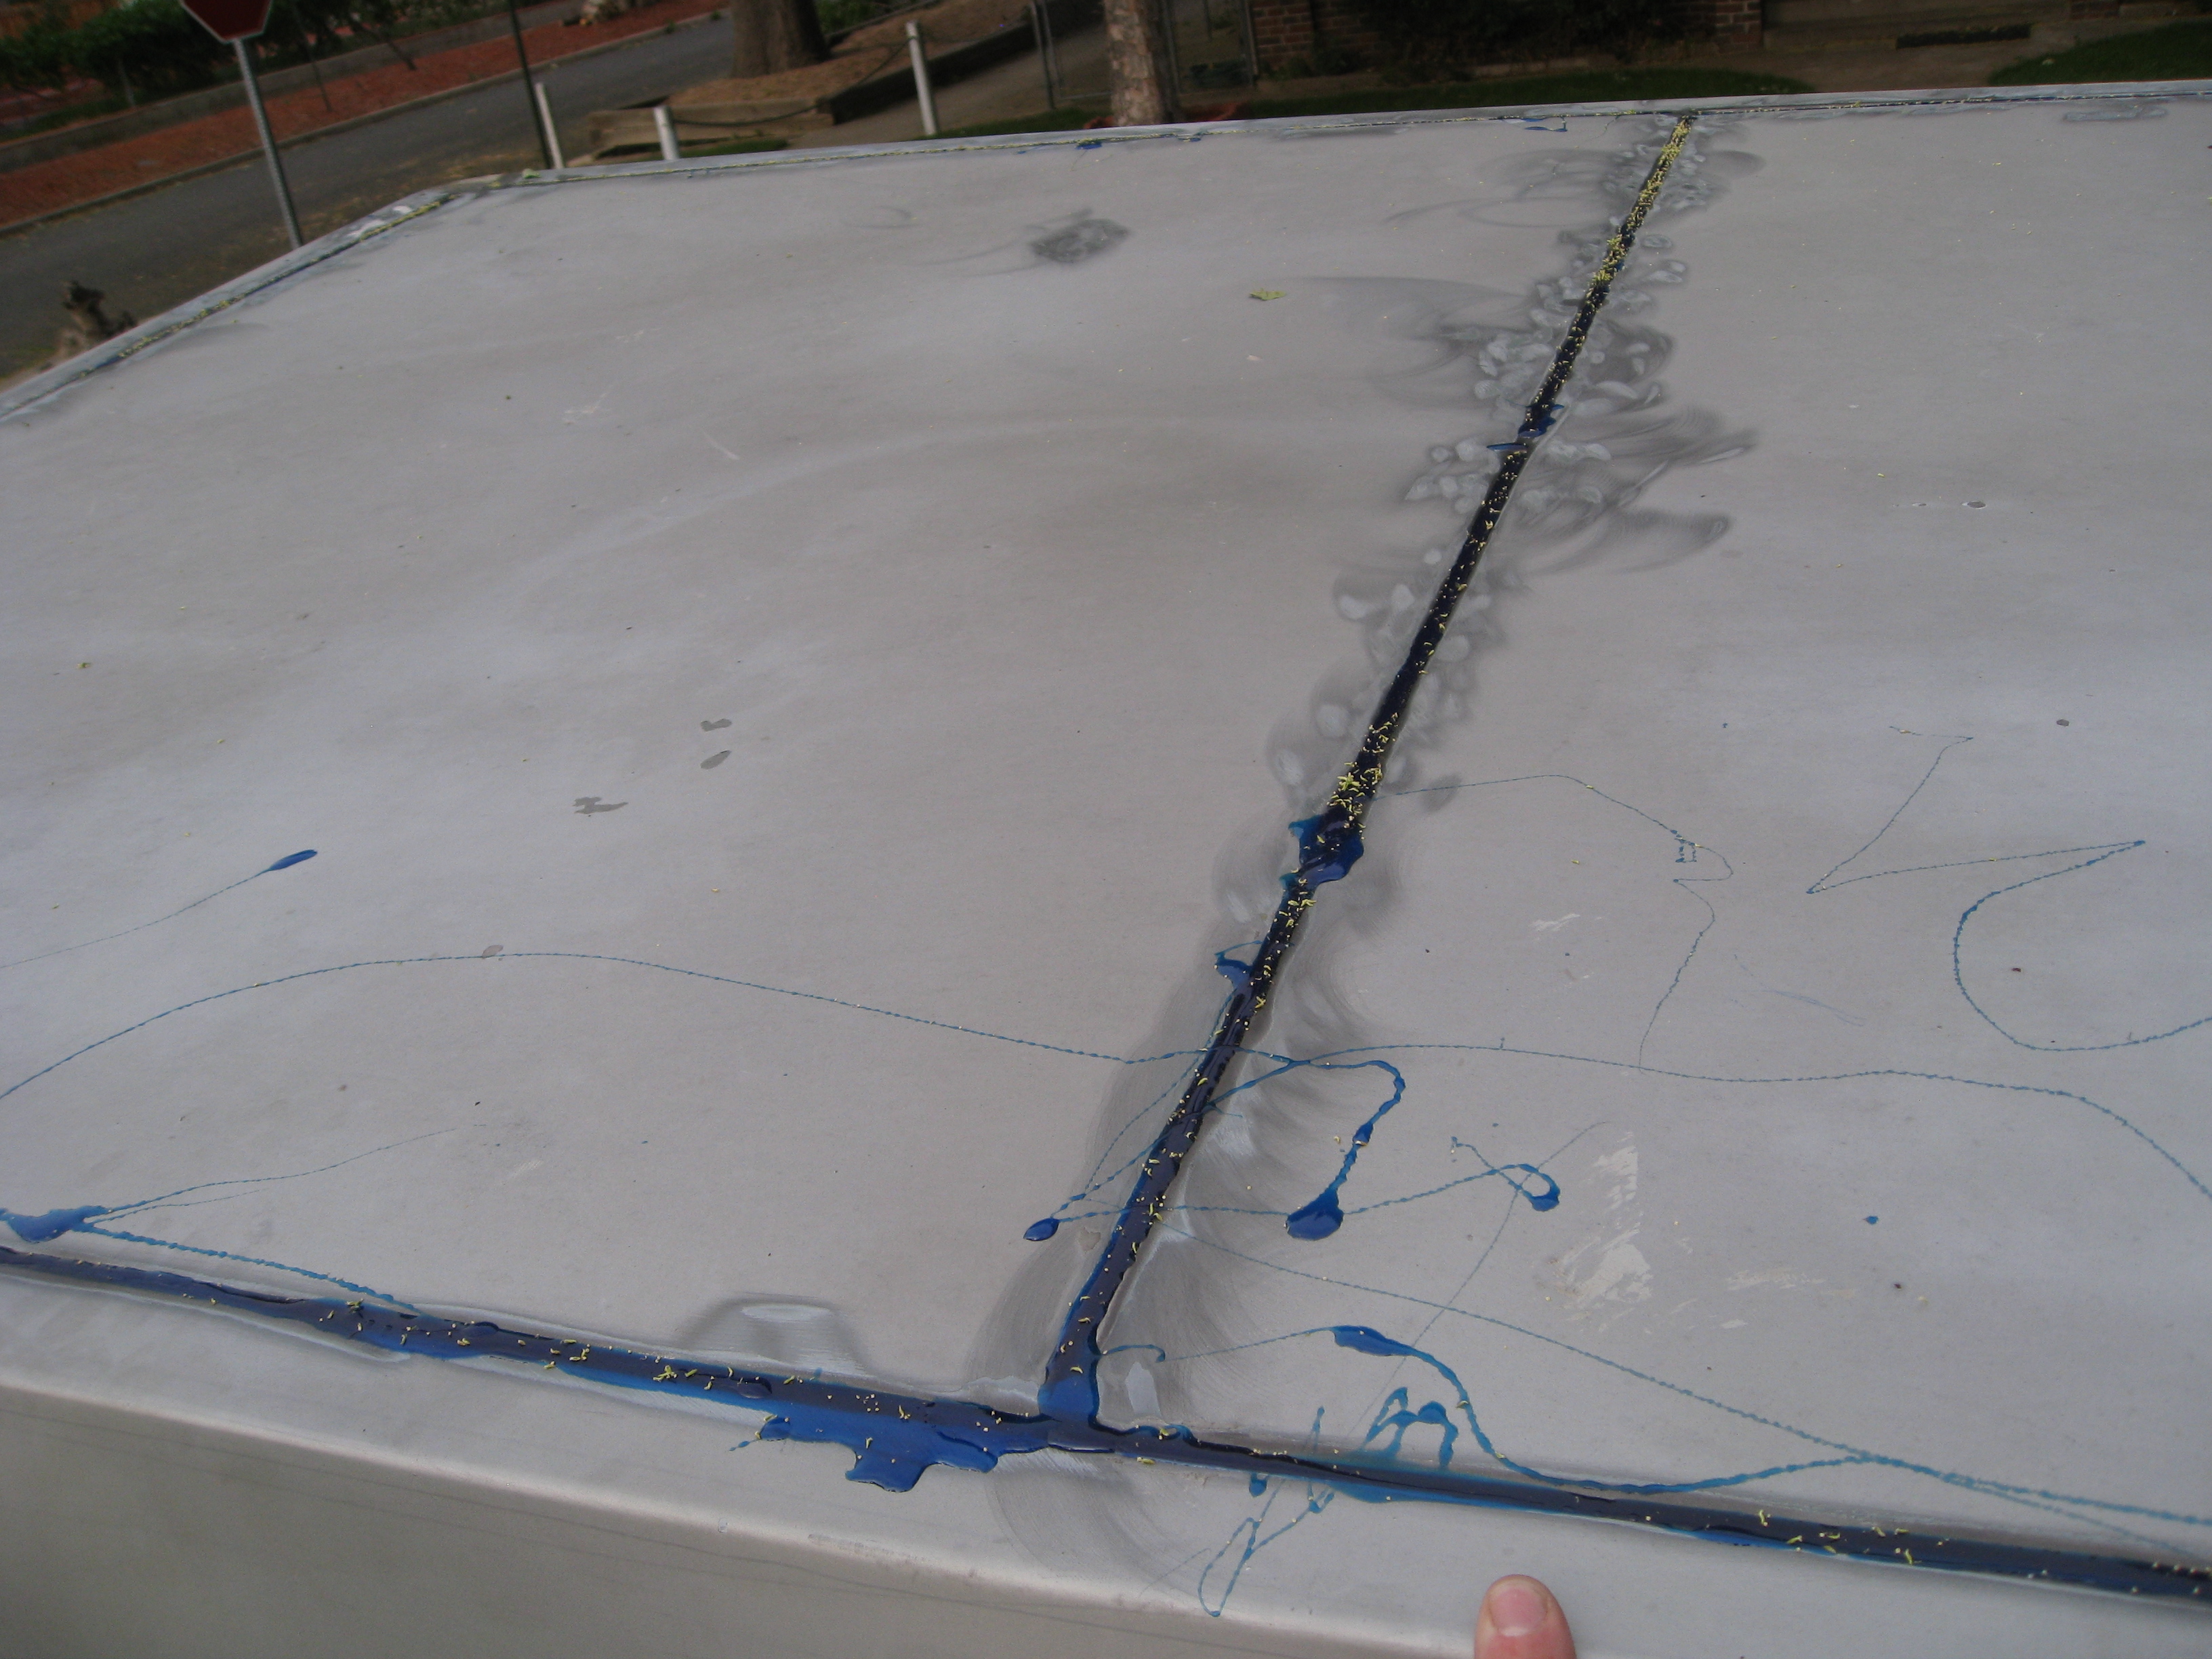
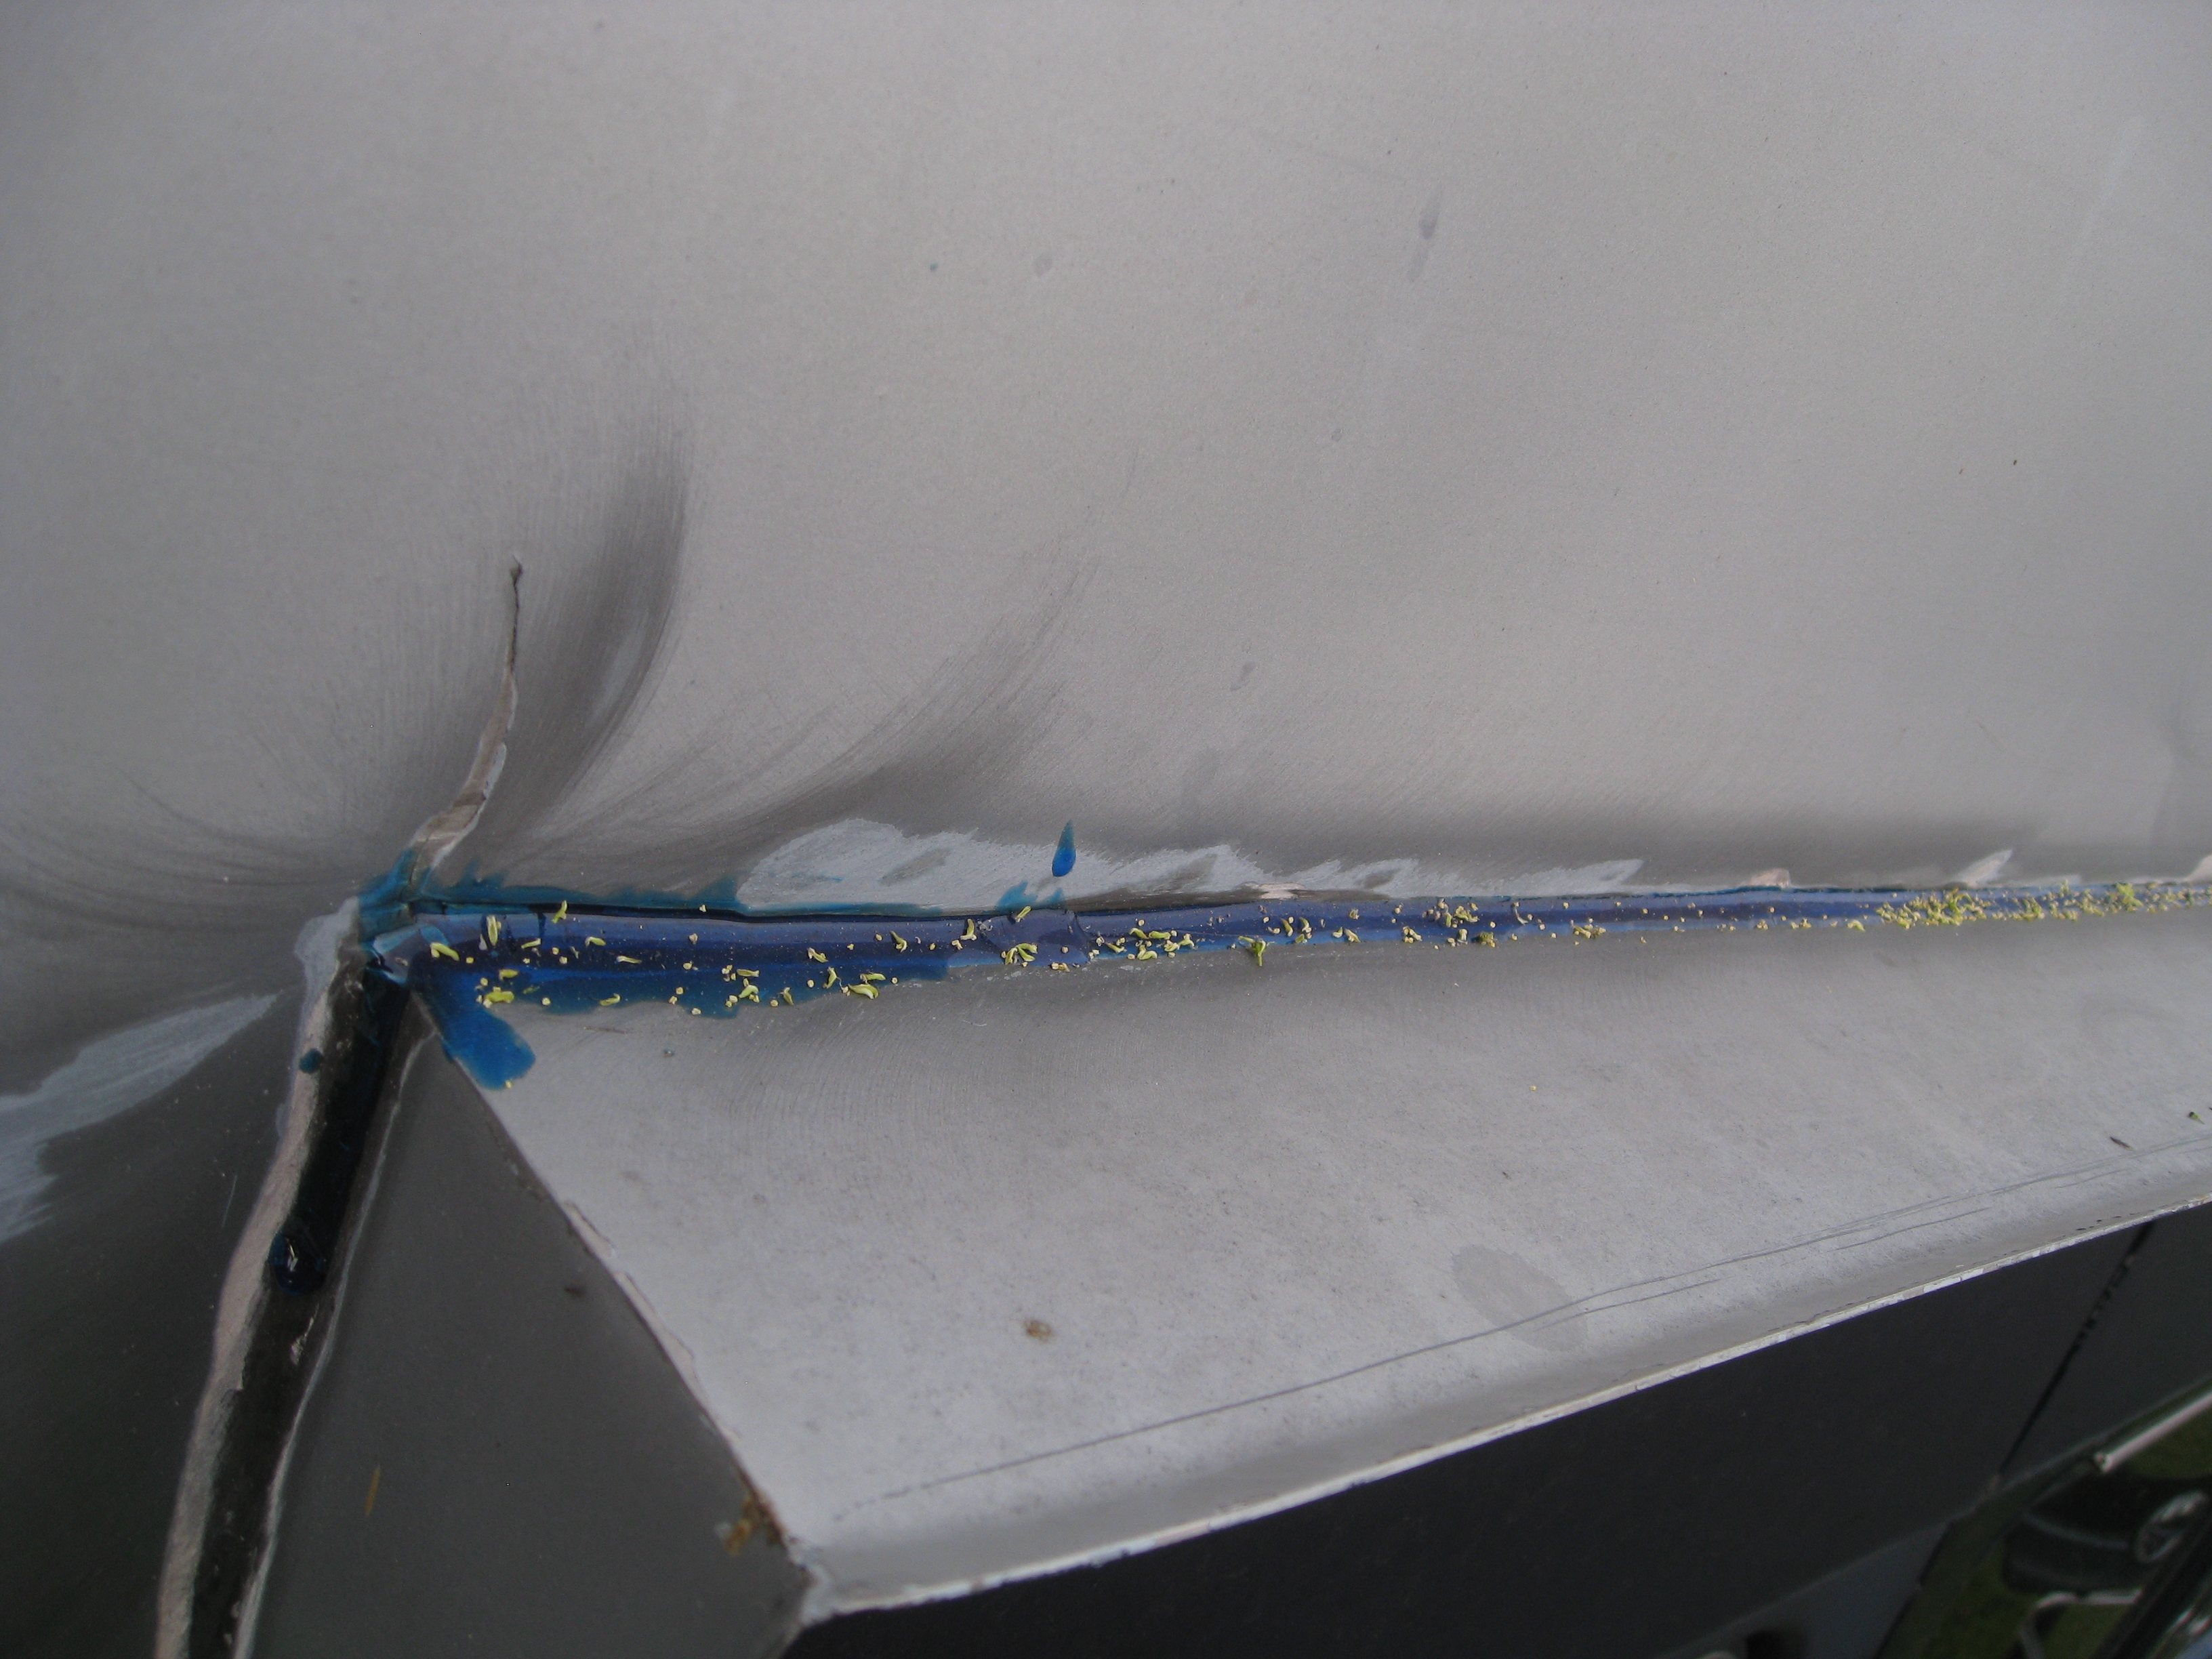
I then took the grinder to the drip rails which were filled with some kind of old adhesive. I suspected these rails were the source of the leaks. The same for the top – lots of seams with old cracked adhesive or silicone in them. More fiberglass to repair spots with holes and to repair the drip rails so they could be sealed correctly.
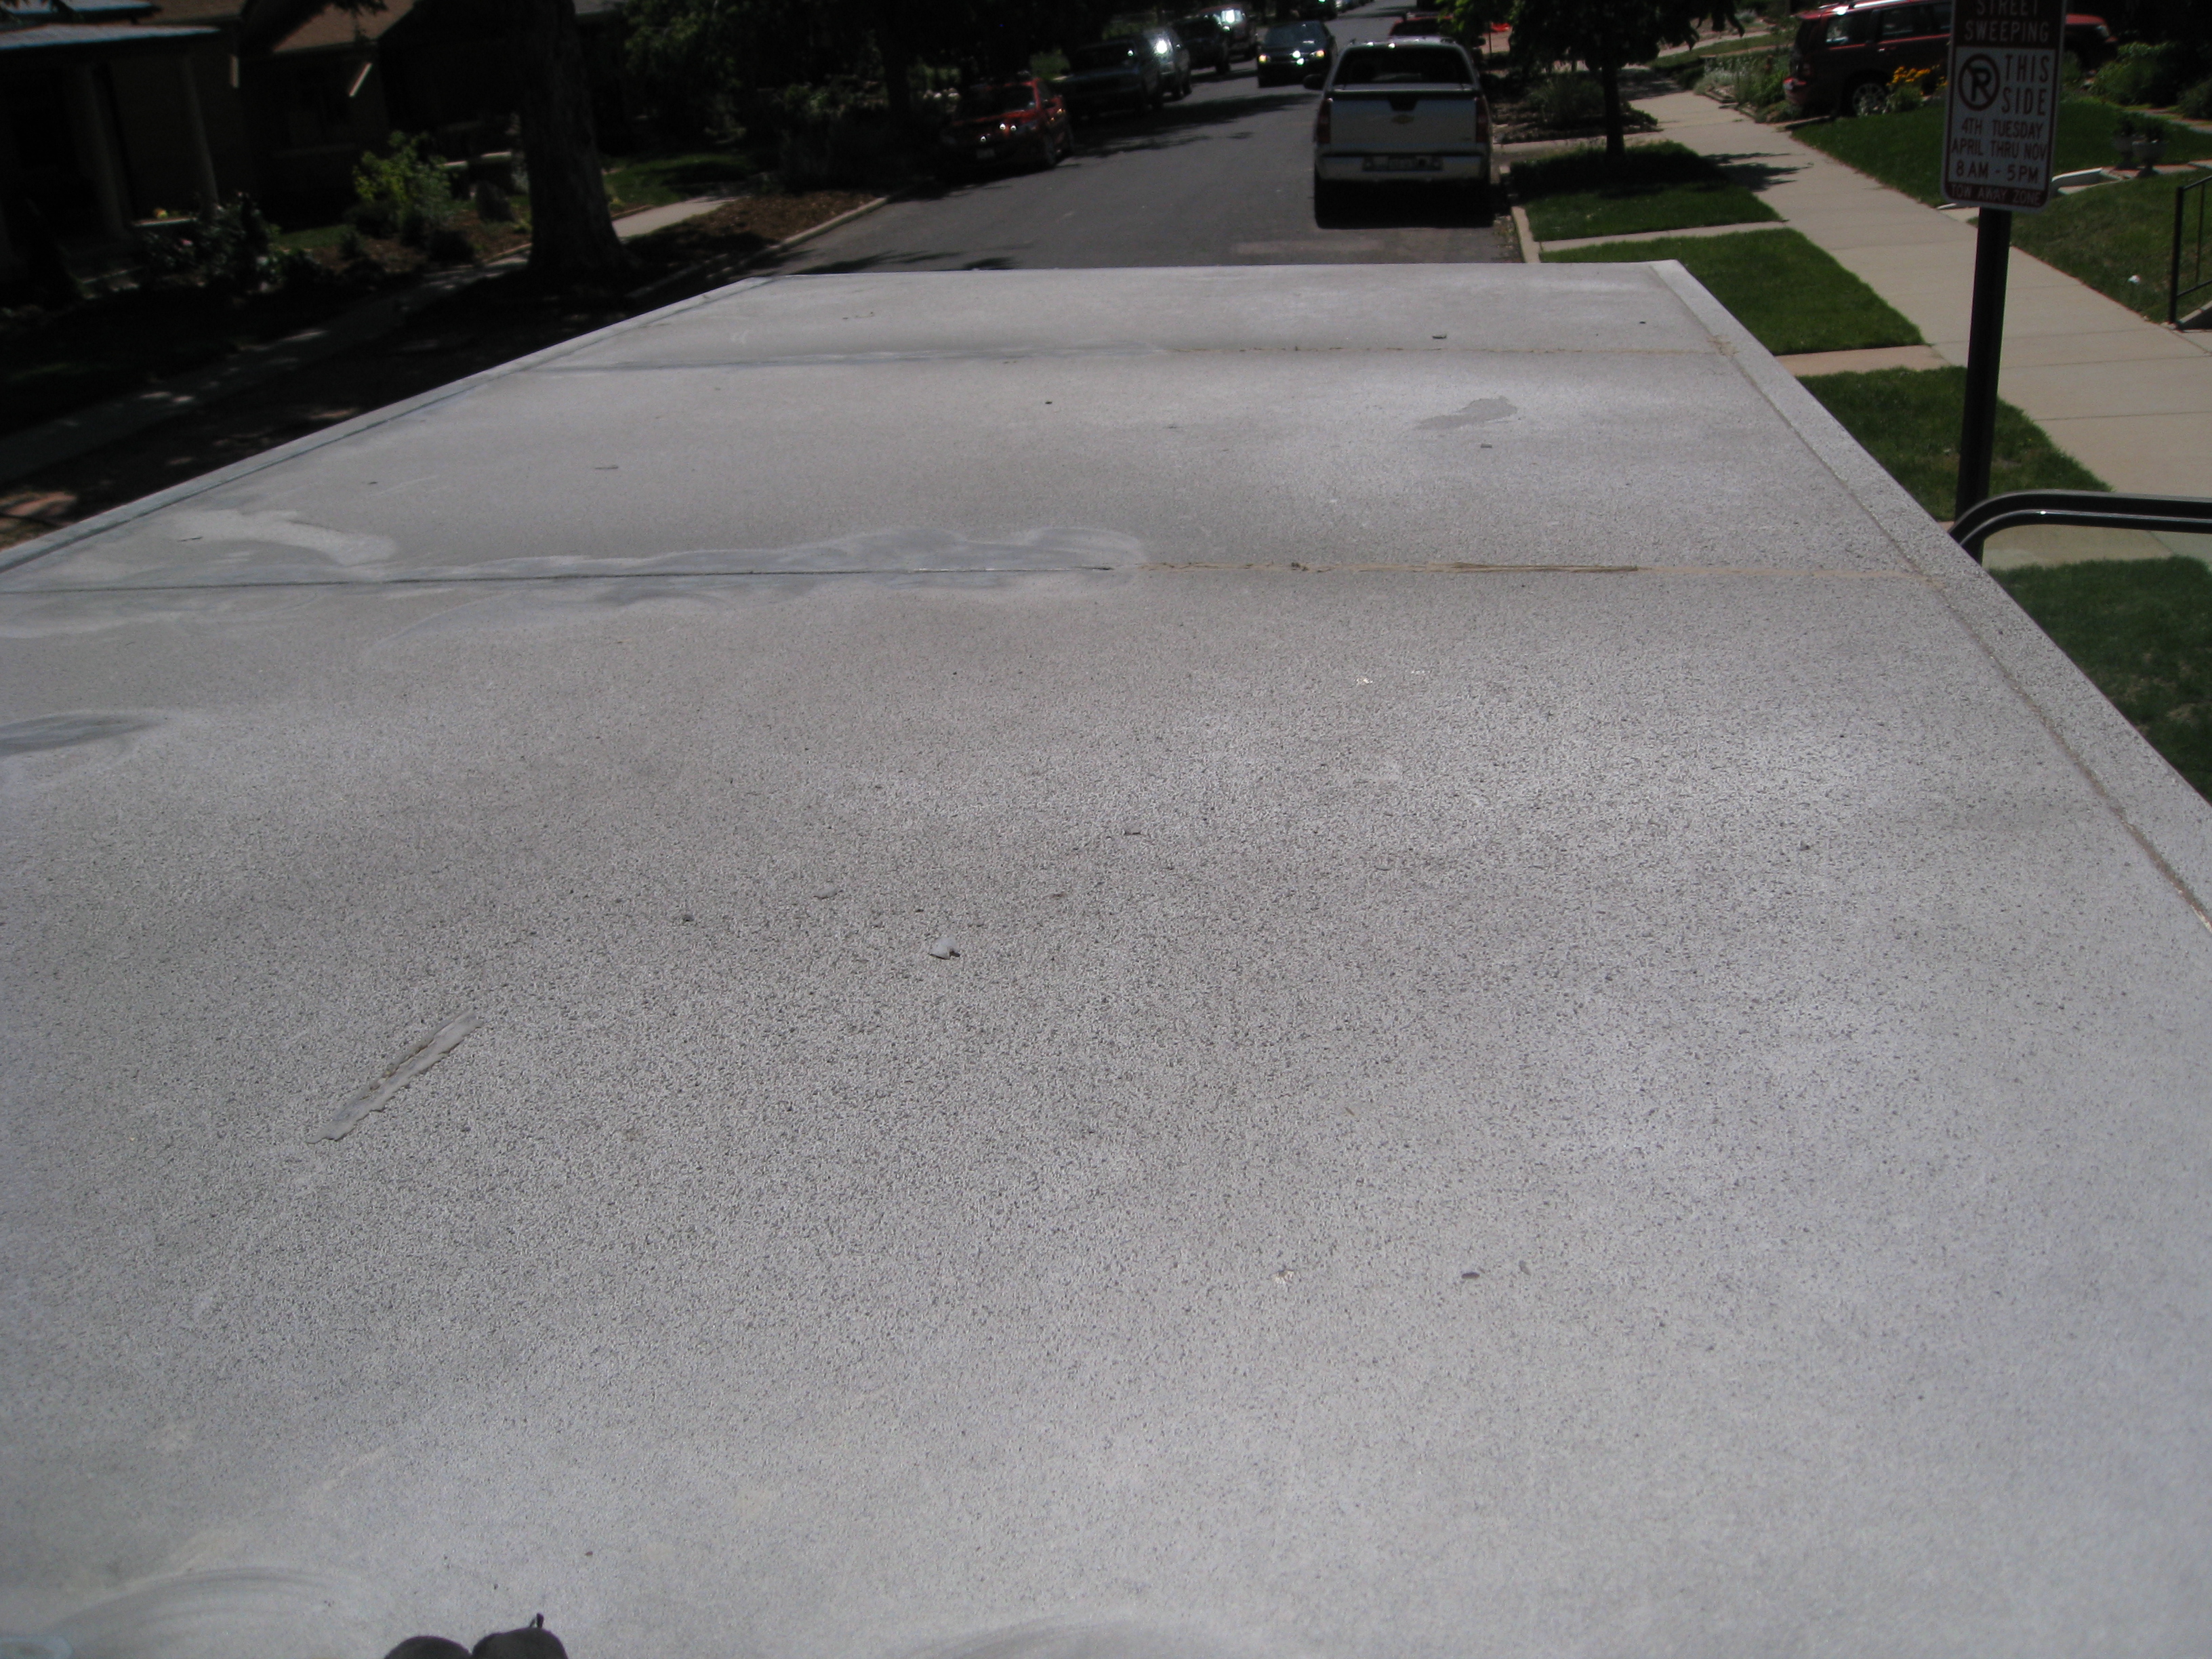
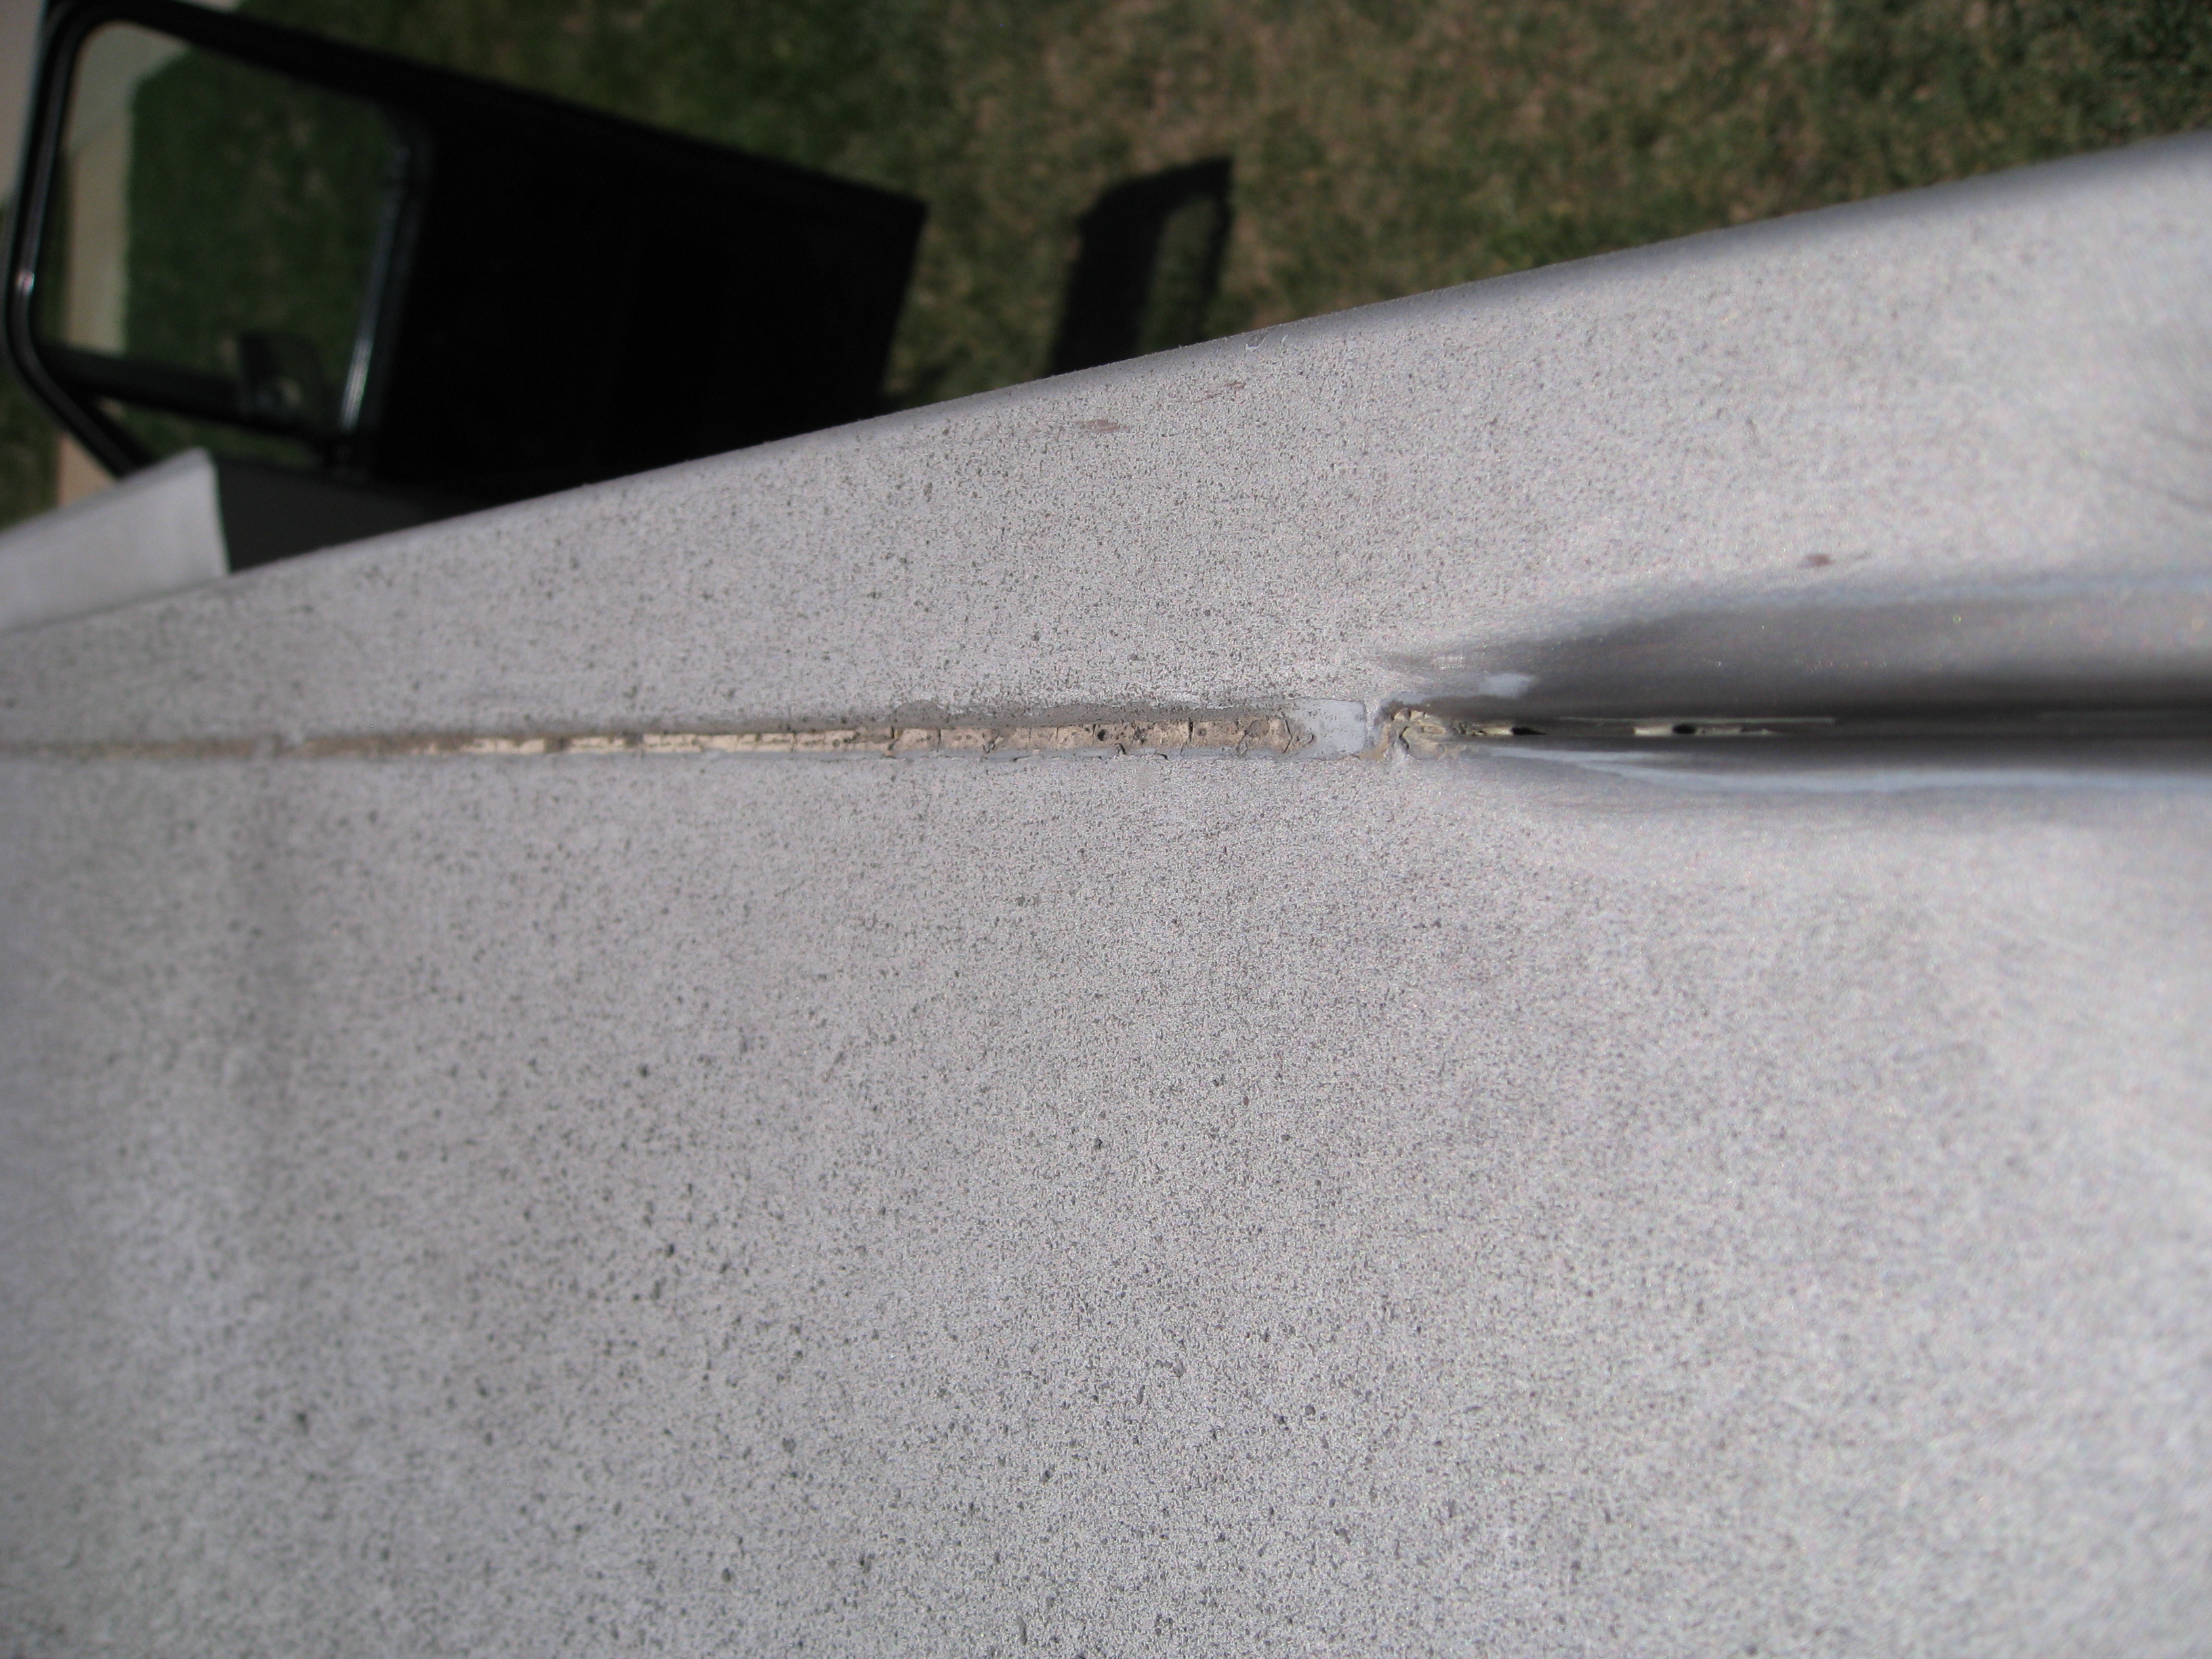
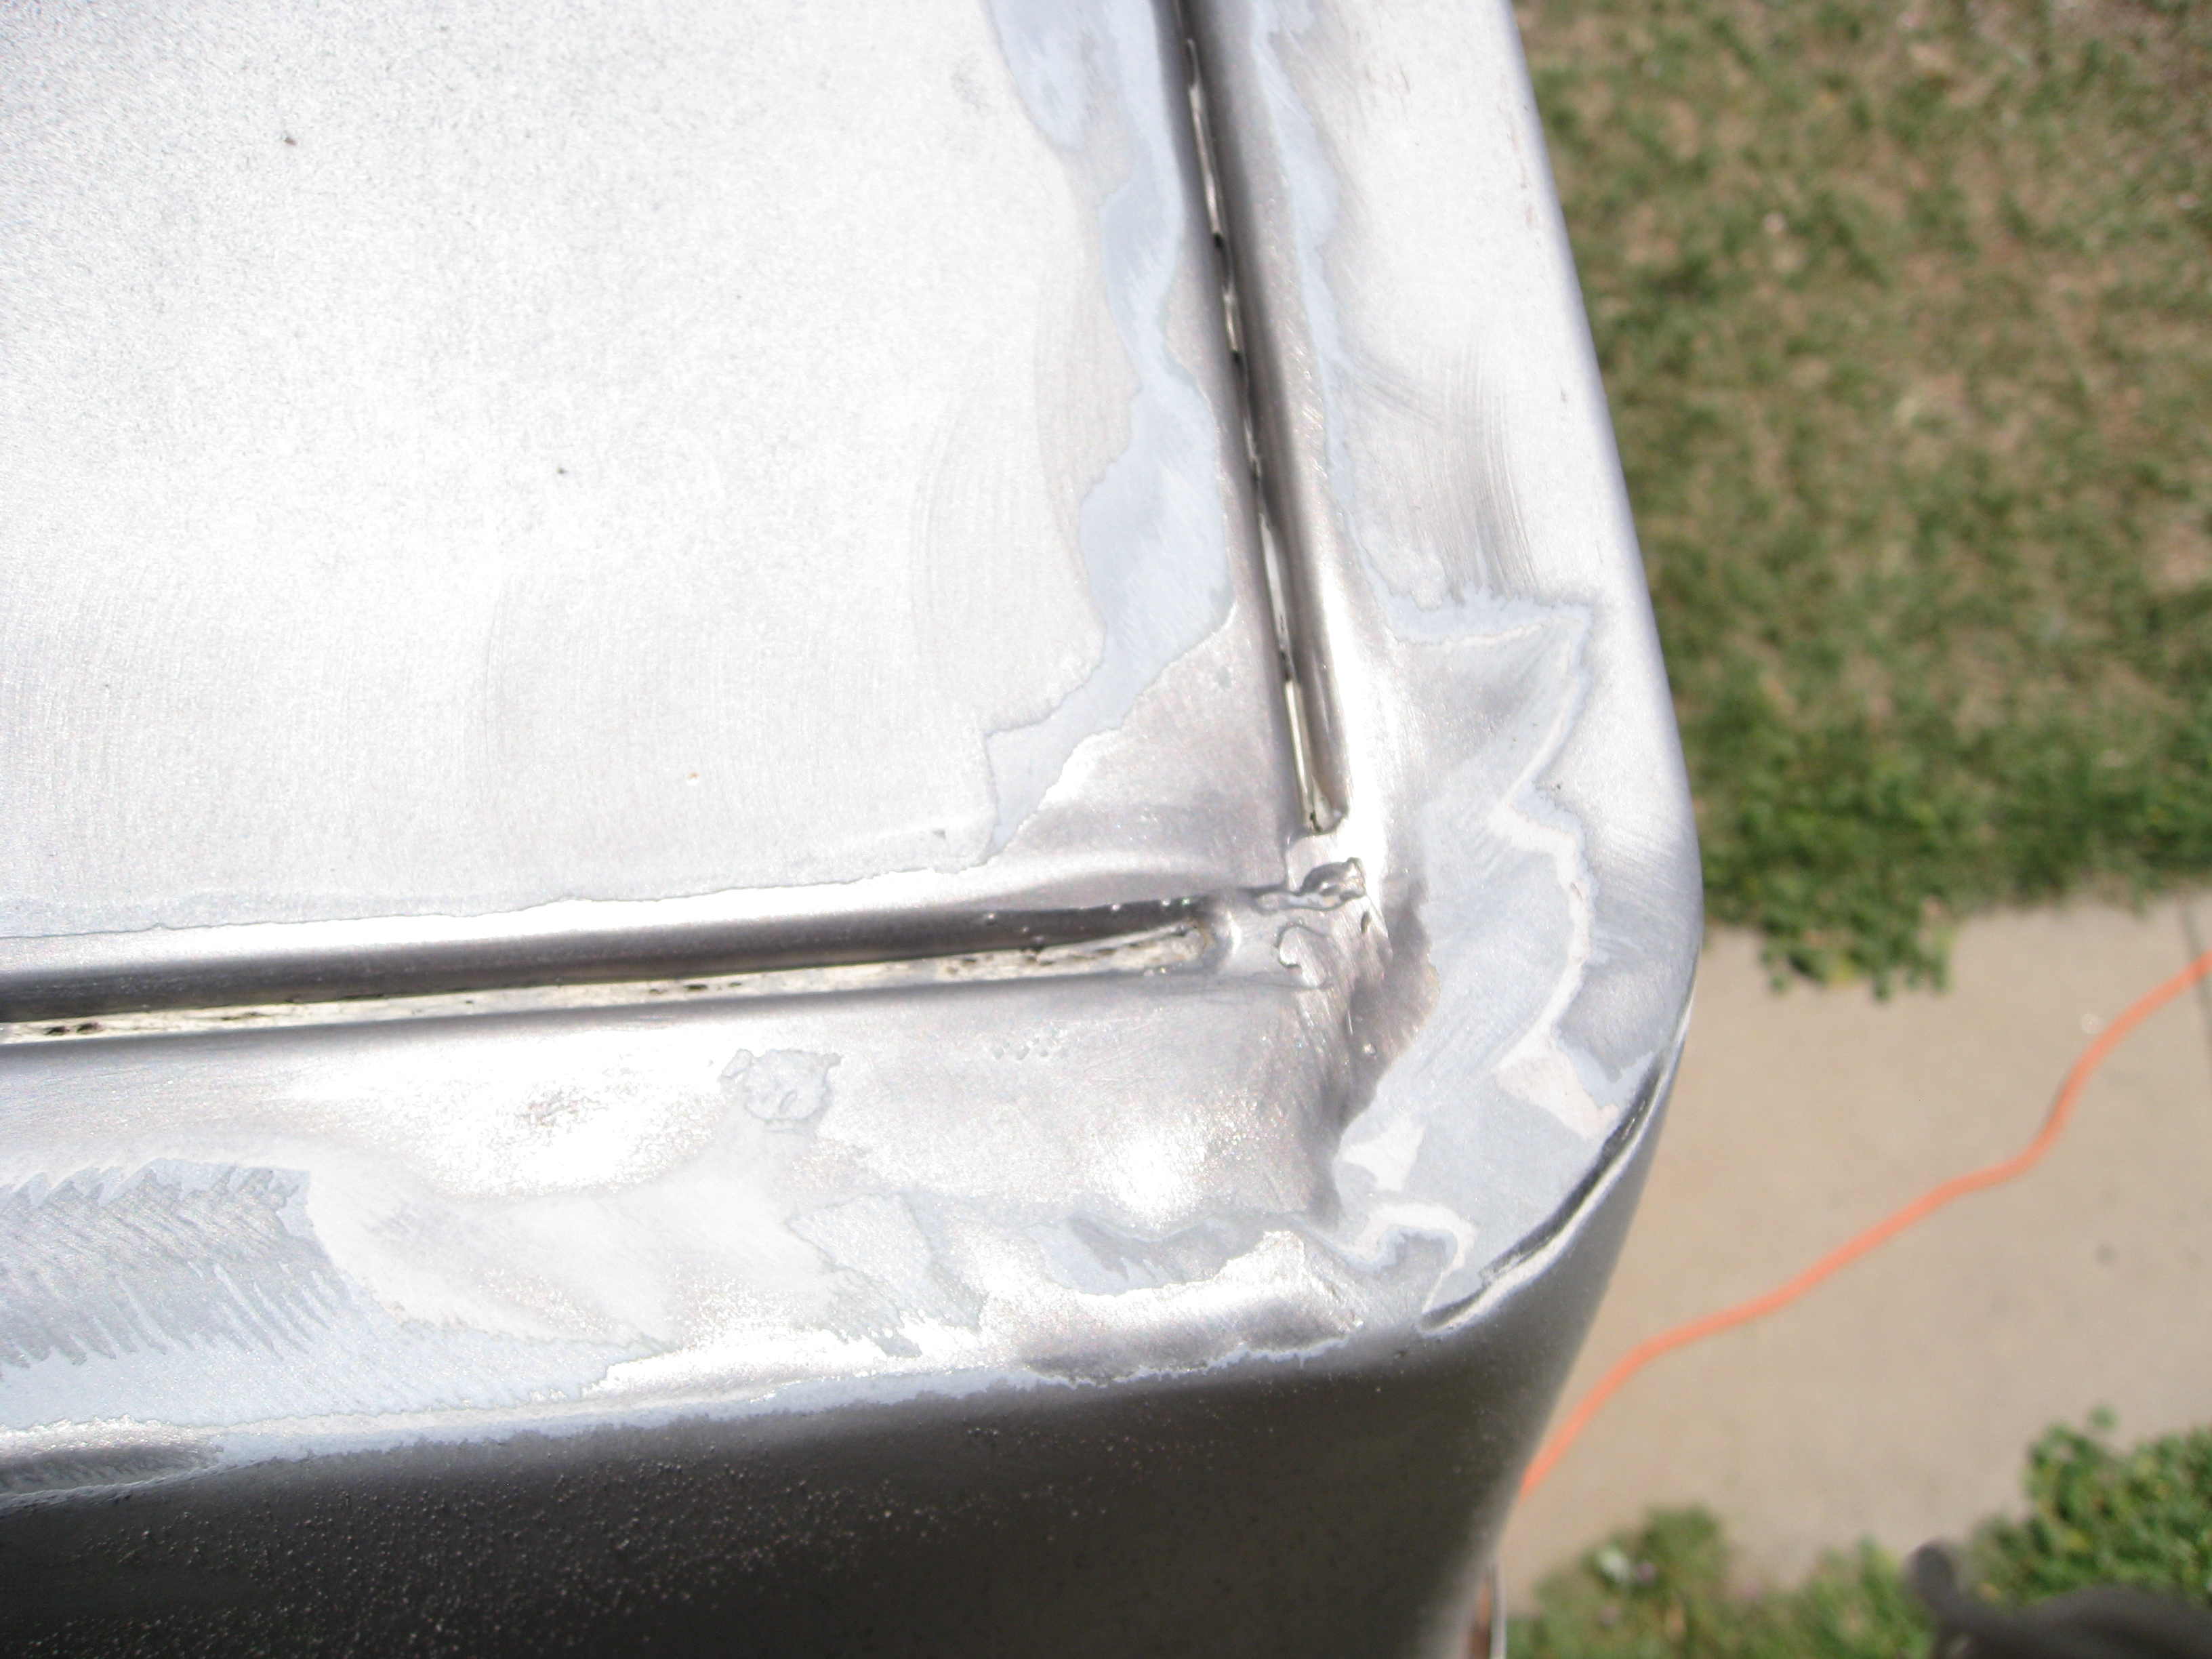
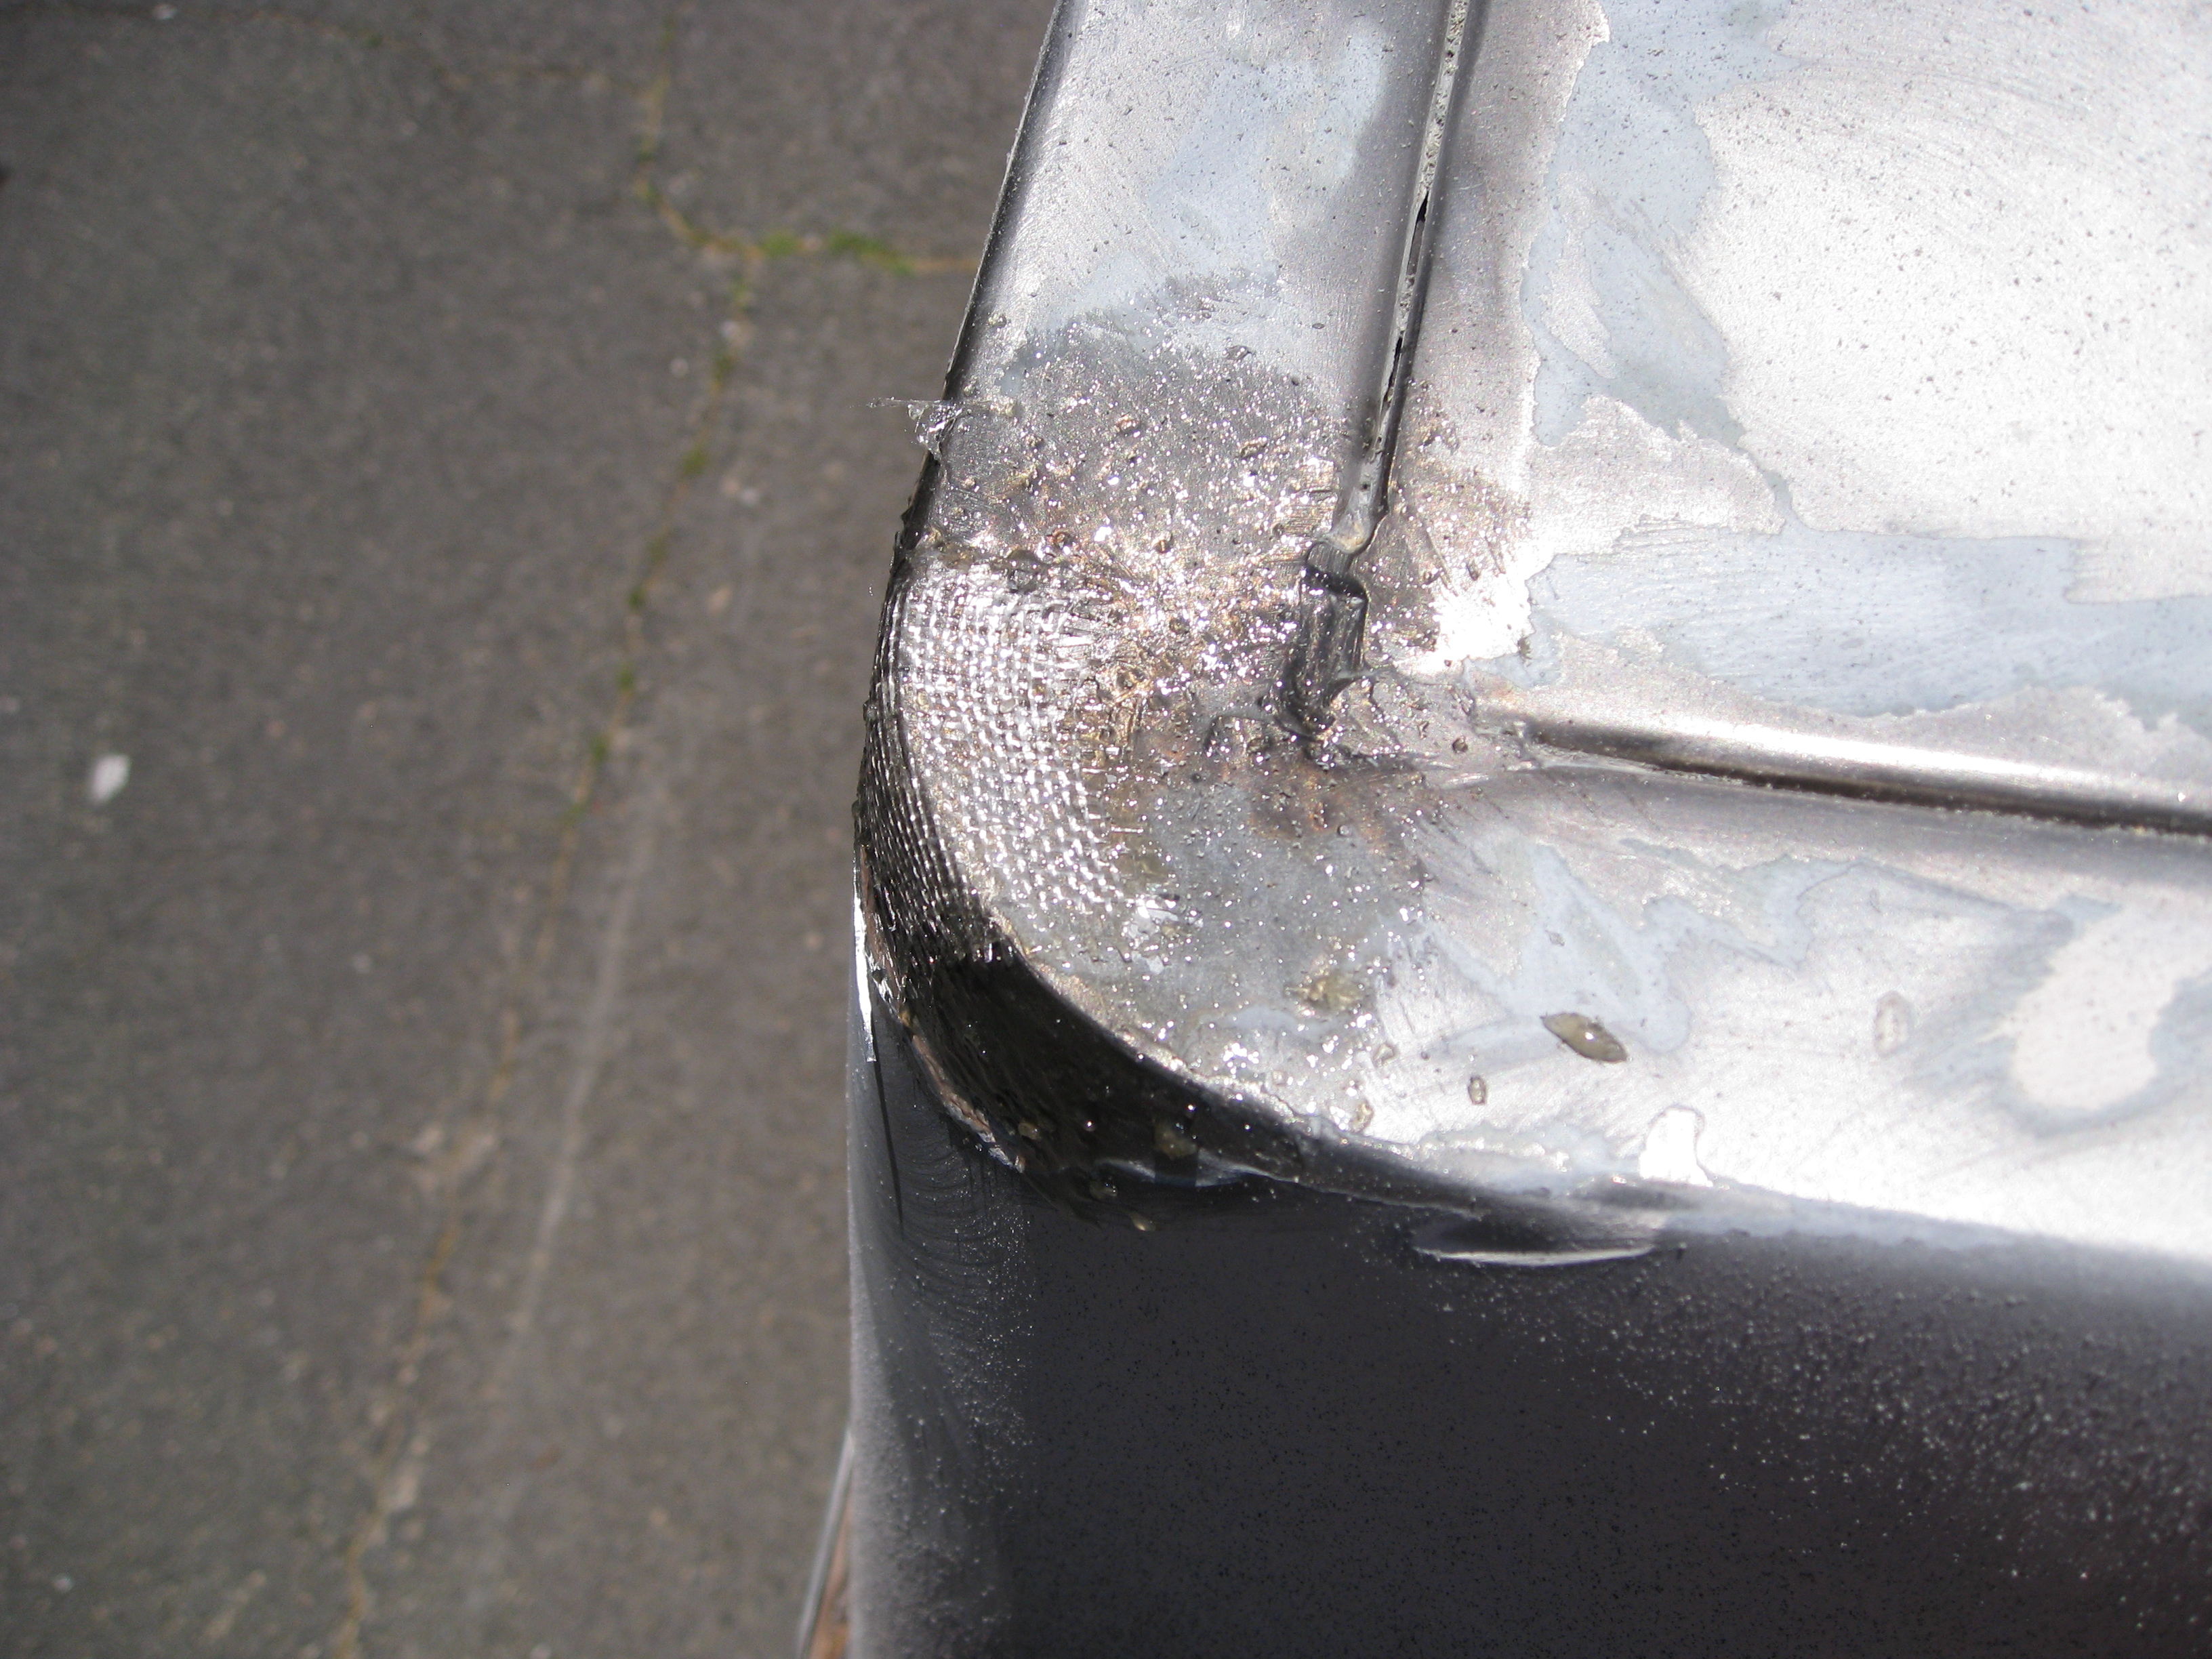
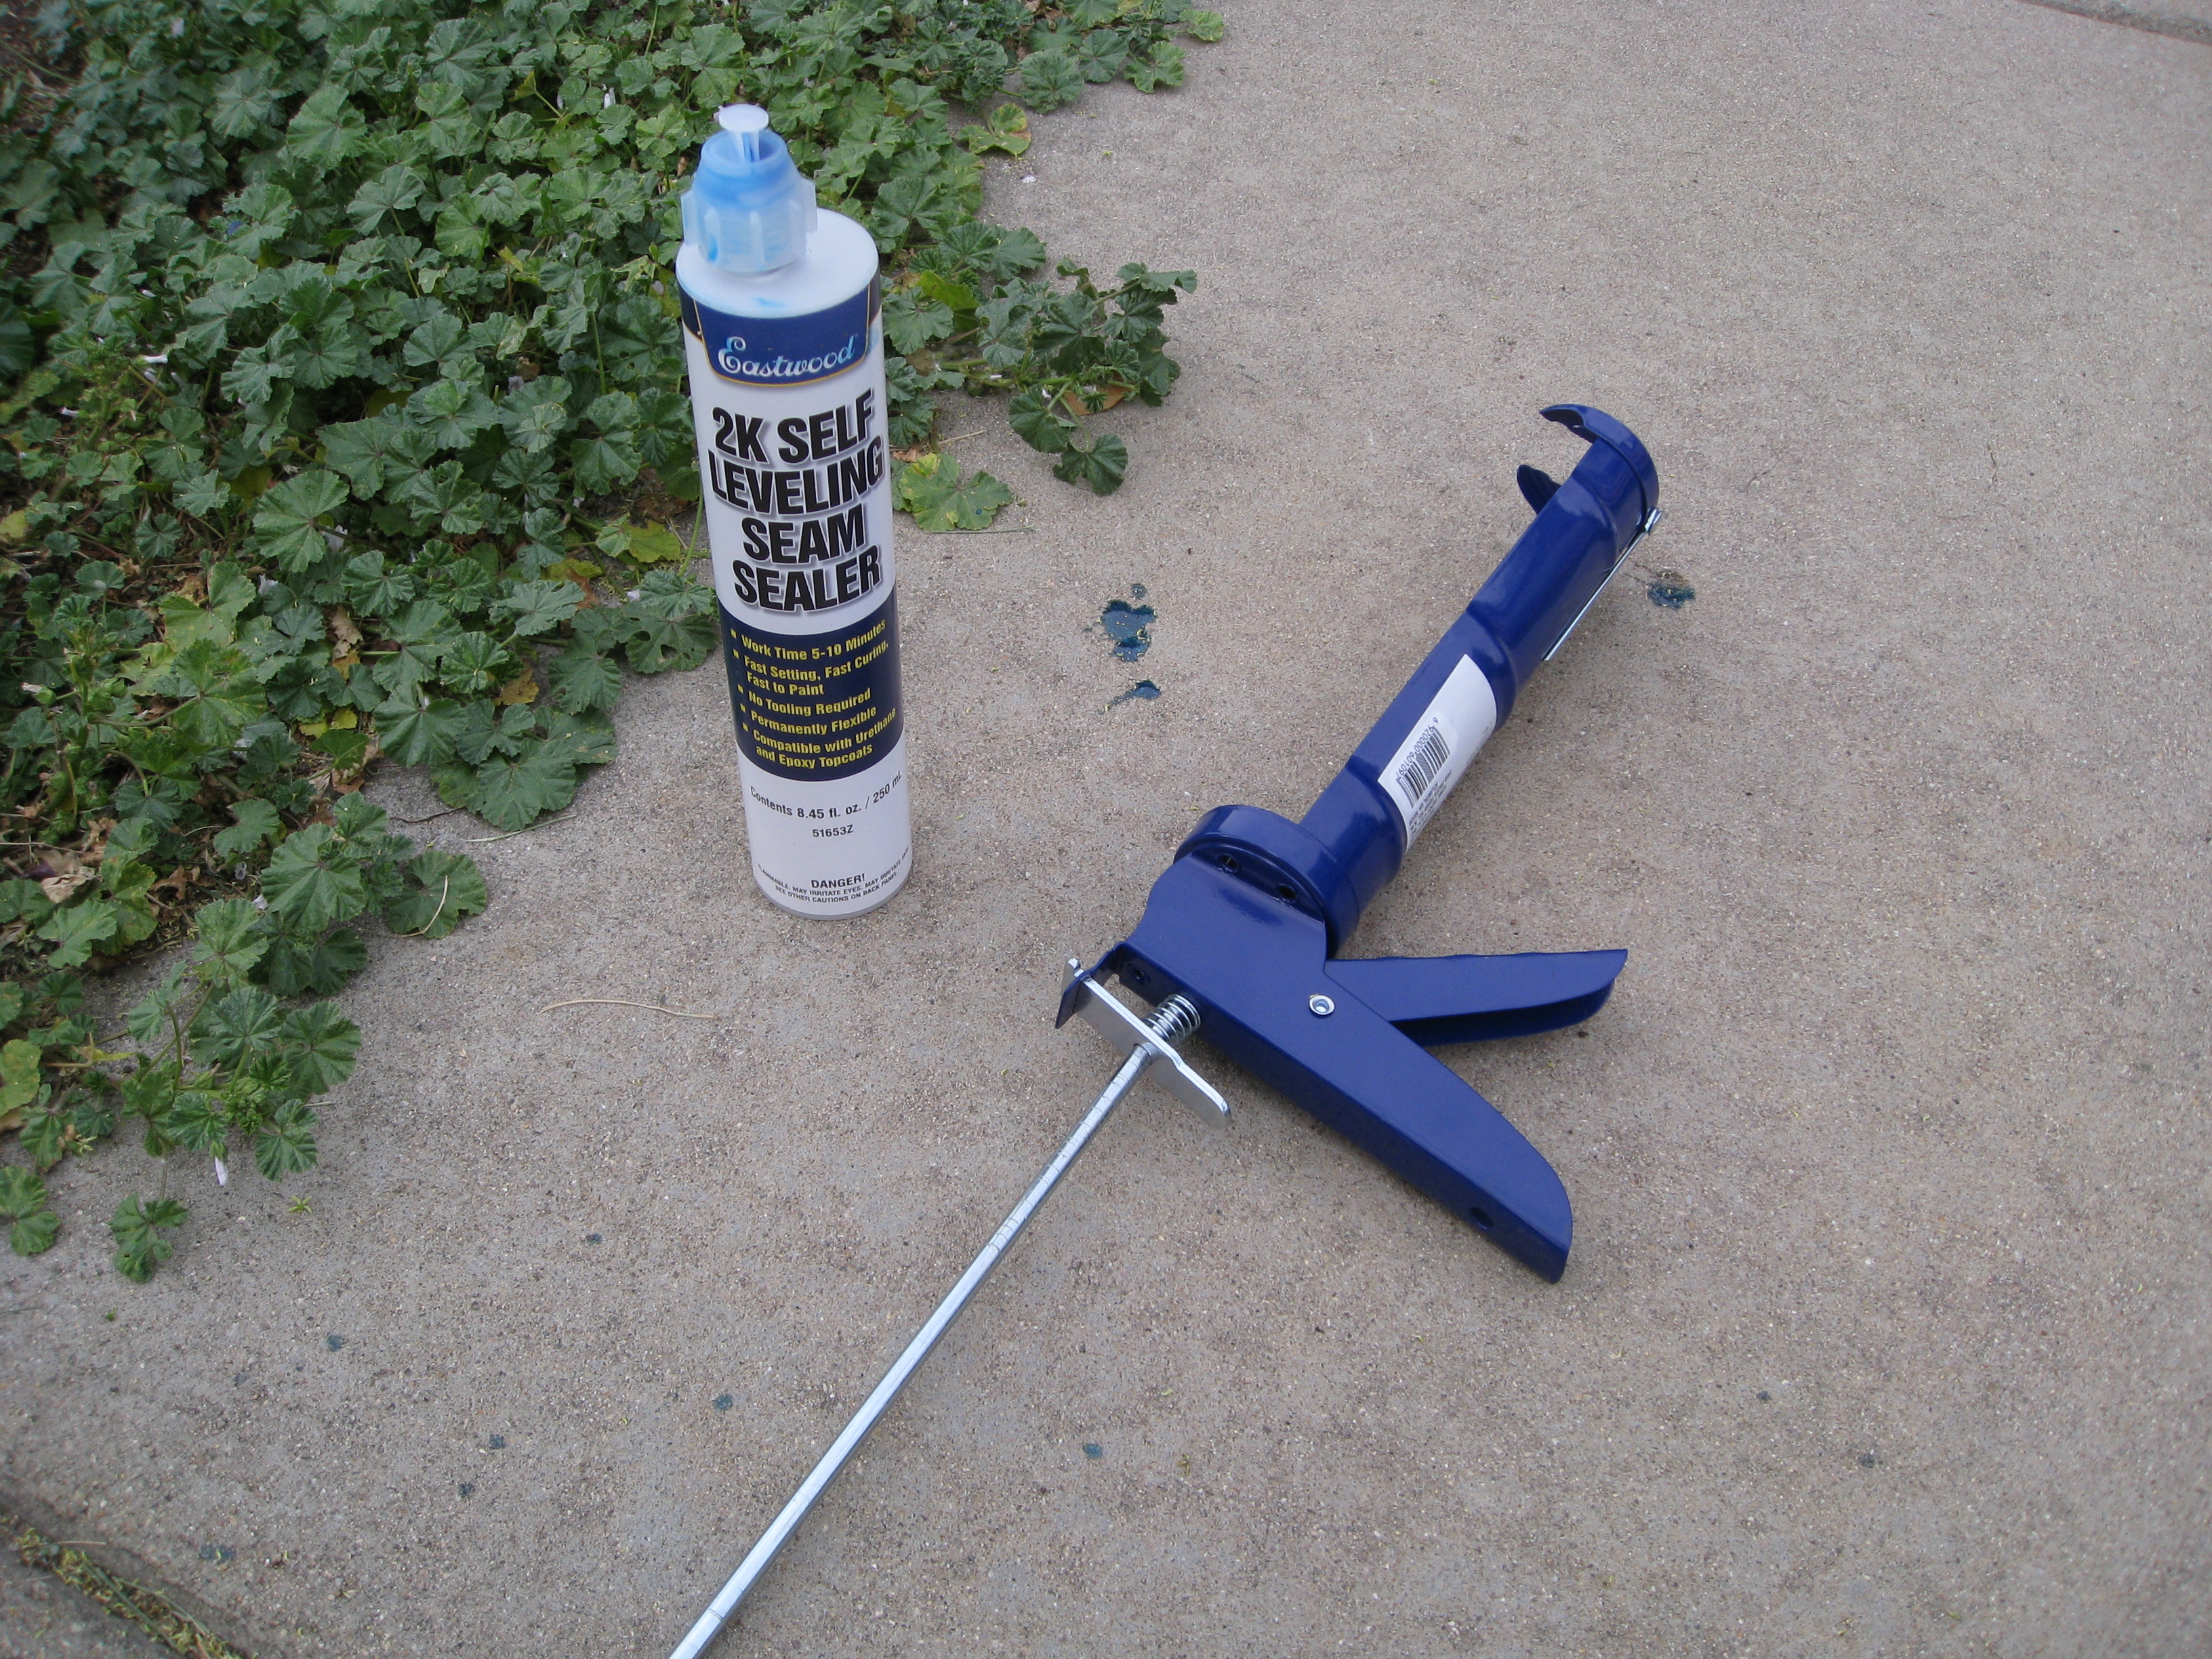
Finally I ordered a special seam sealer product from Eastwood that is both catalyzing and self leveling. Armed with a cheap caulk gun and two tubes of the seam sealer, I set about sealing the top. The stuff is absolutely amazing. It seeps right in and after a few minutes hardens into a flexible, waterproof, hot and cold temperature resistant, rubberized seal. It’s also paintable. Because it’s the top, I’m not even going to sand it down or remove my spills and misses. I’ll be painting right over it. In the pics, the yellow stuff is pollen, which is dropping so fast right now I can’t blow it off quick enough to shoot the photo! I treated the fiberglass repaired rails the same way as the interior by spraying the liquid rubber stuff on them.
Last night it rained. I went out and sat in the van for a bit and am happy to report it was bone dry in there! All that is left to do now is paint it and I’ll finally be able to start working on the actual conversion to a camper. Didn’t really expect it to take so long to simply get it ready to be built out. Note to self… don’t by anymore giant, leaking, rusty vehicles.