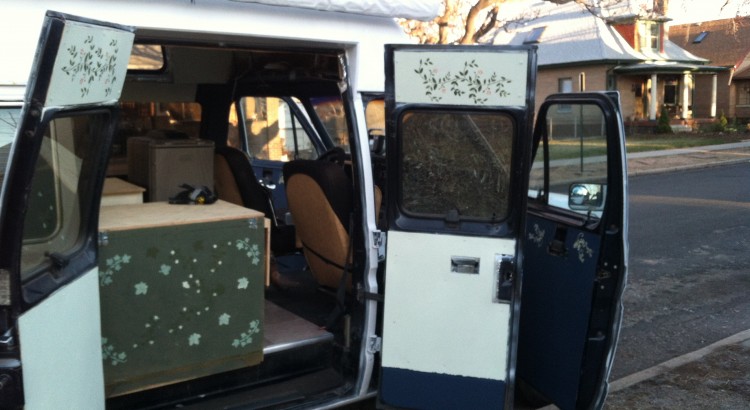
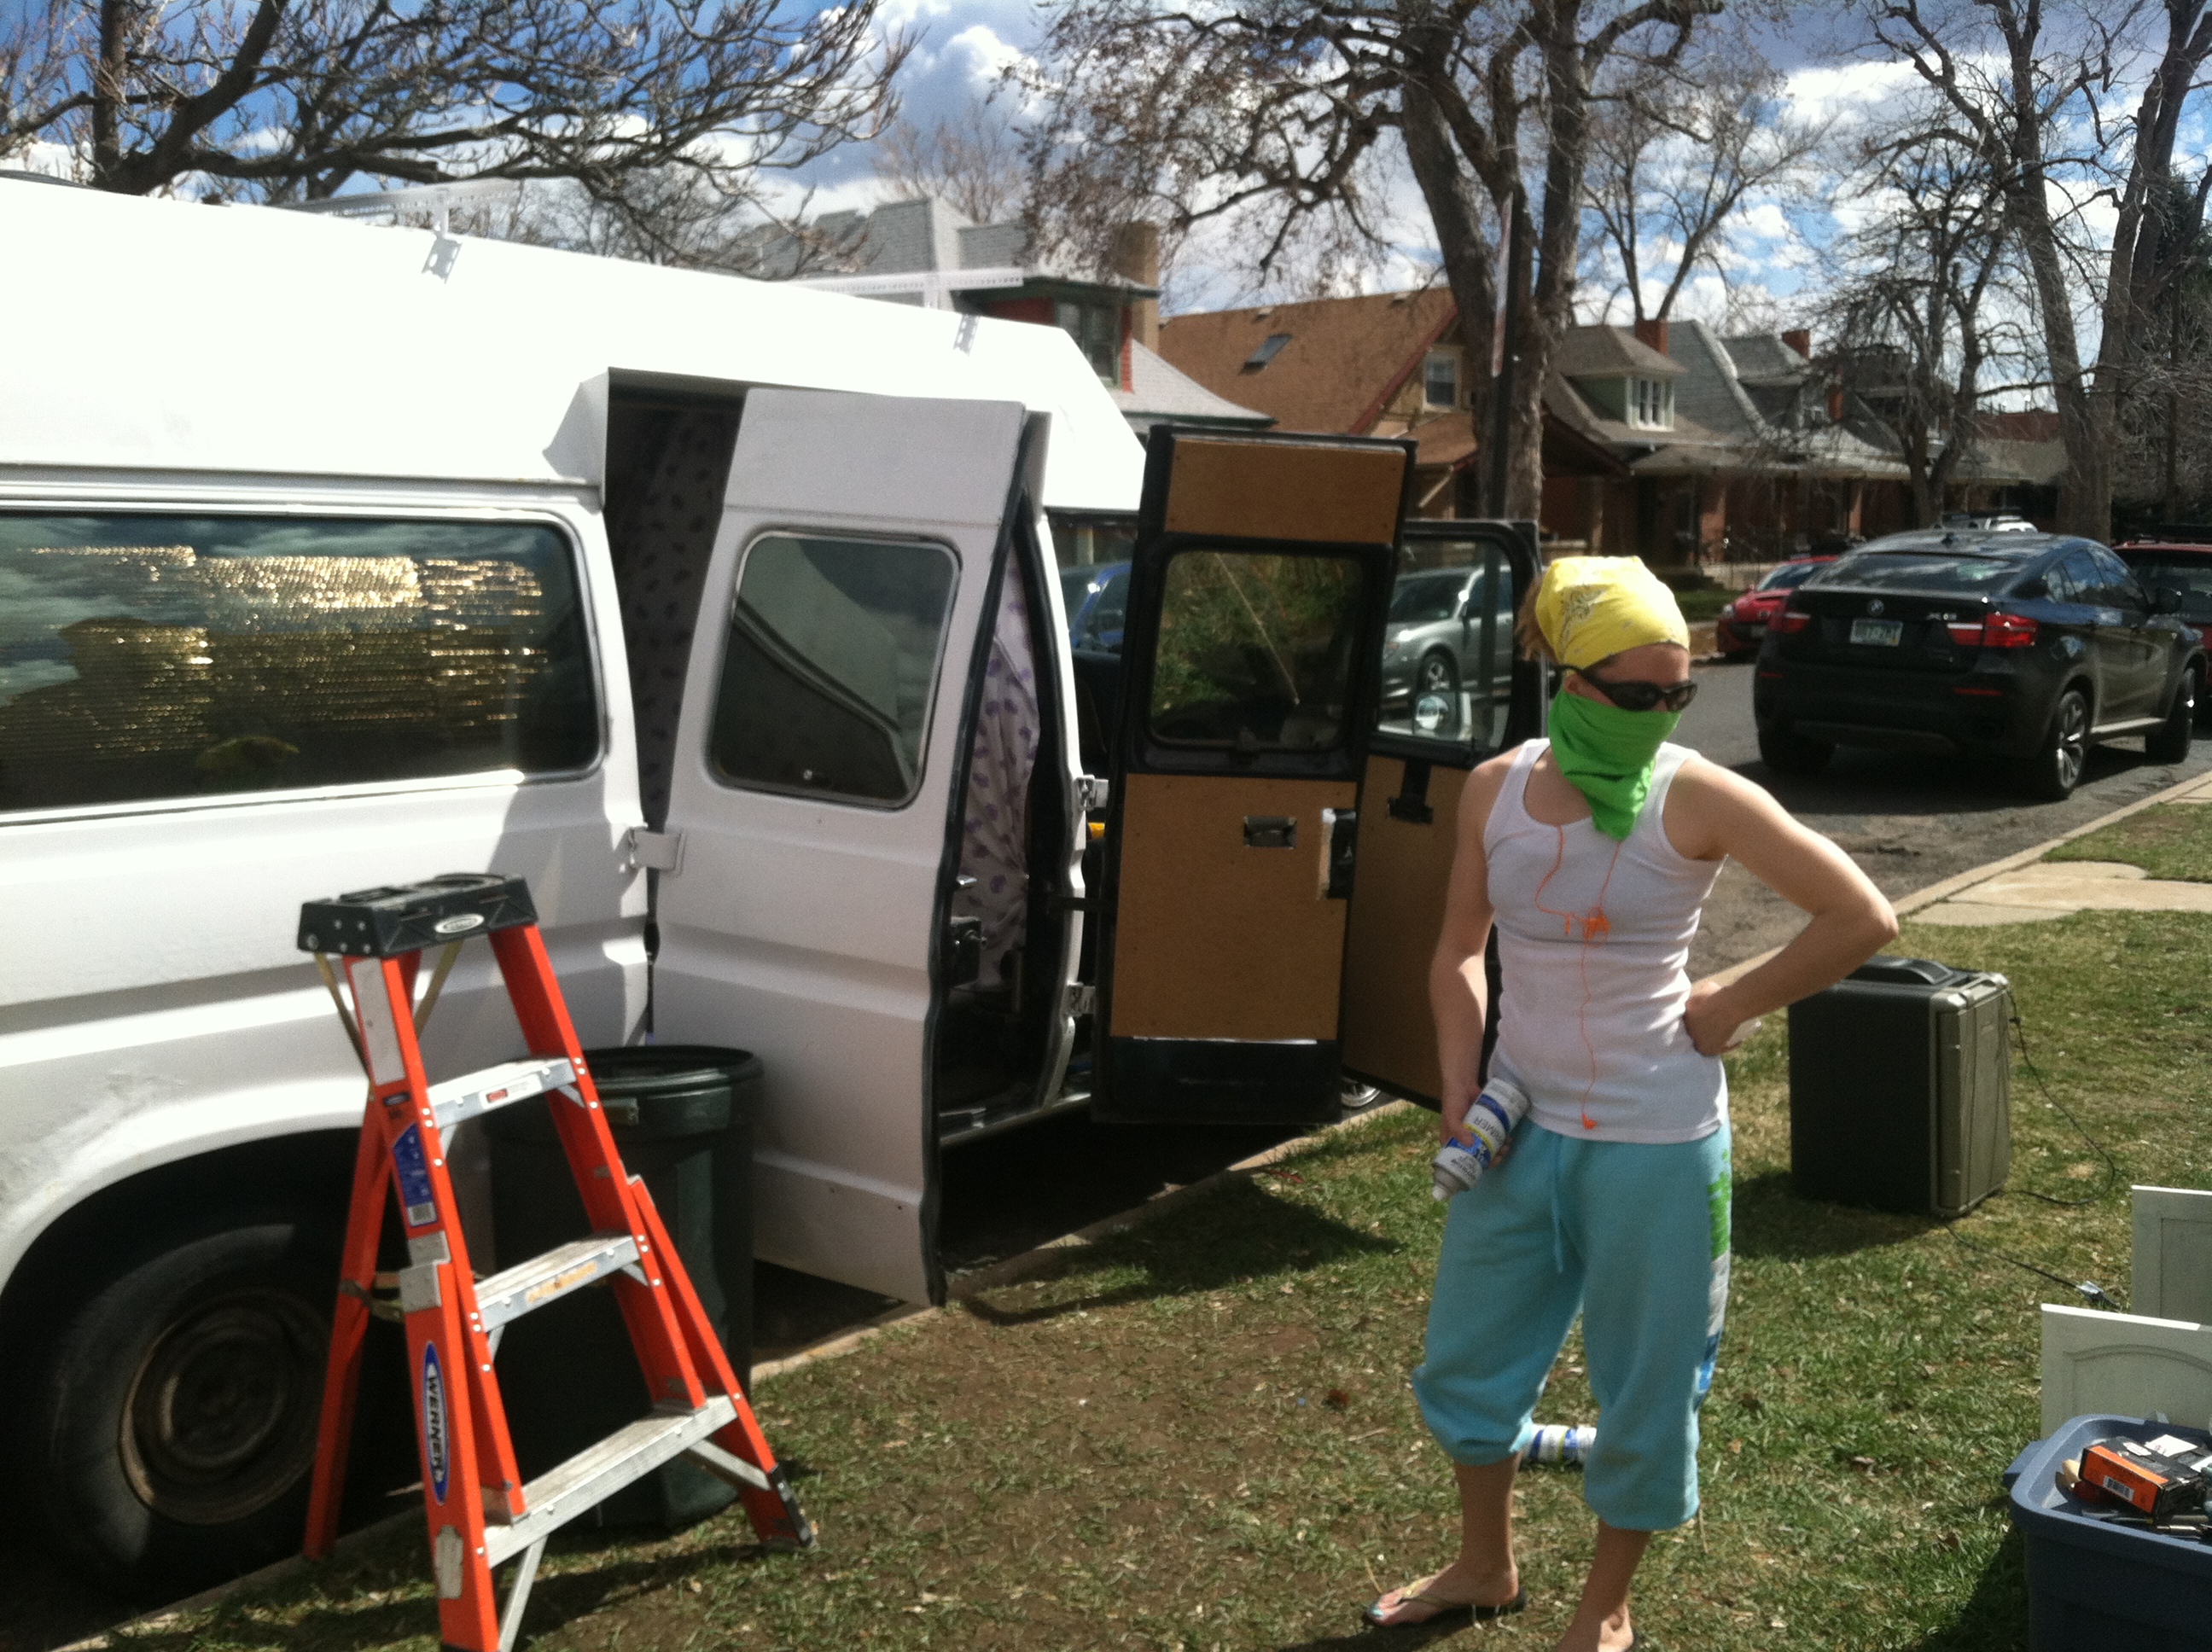
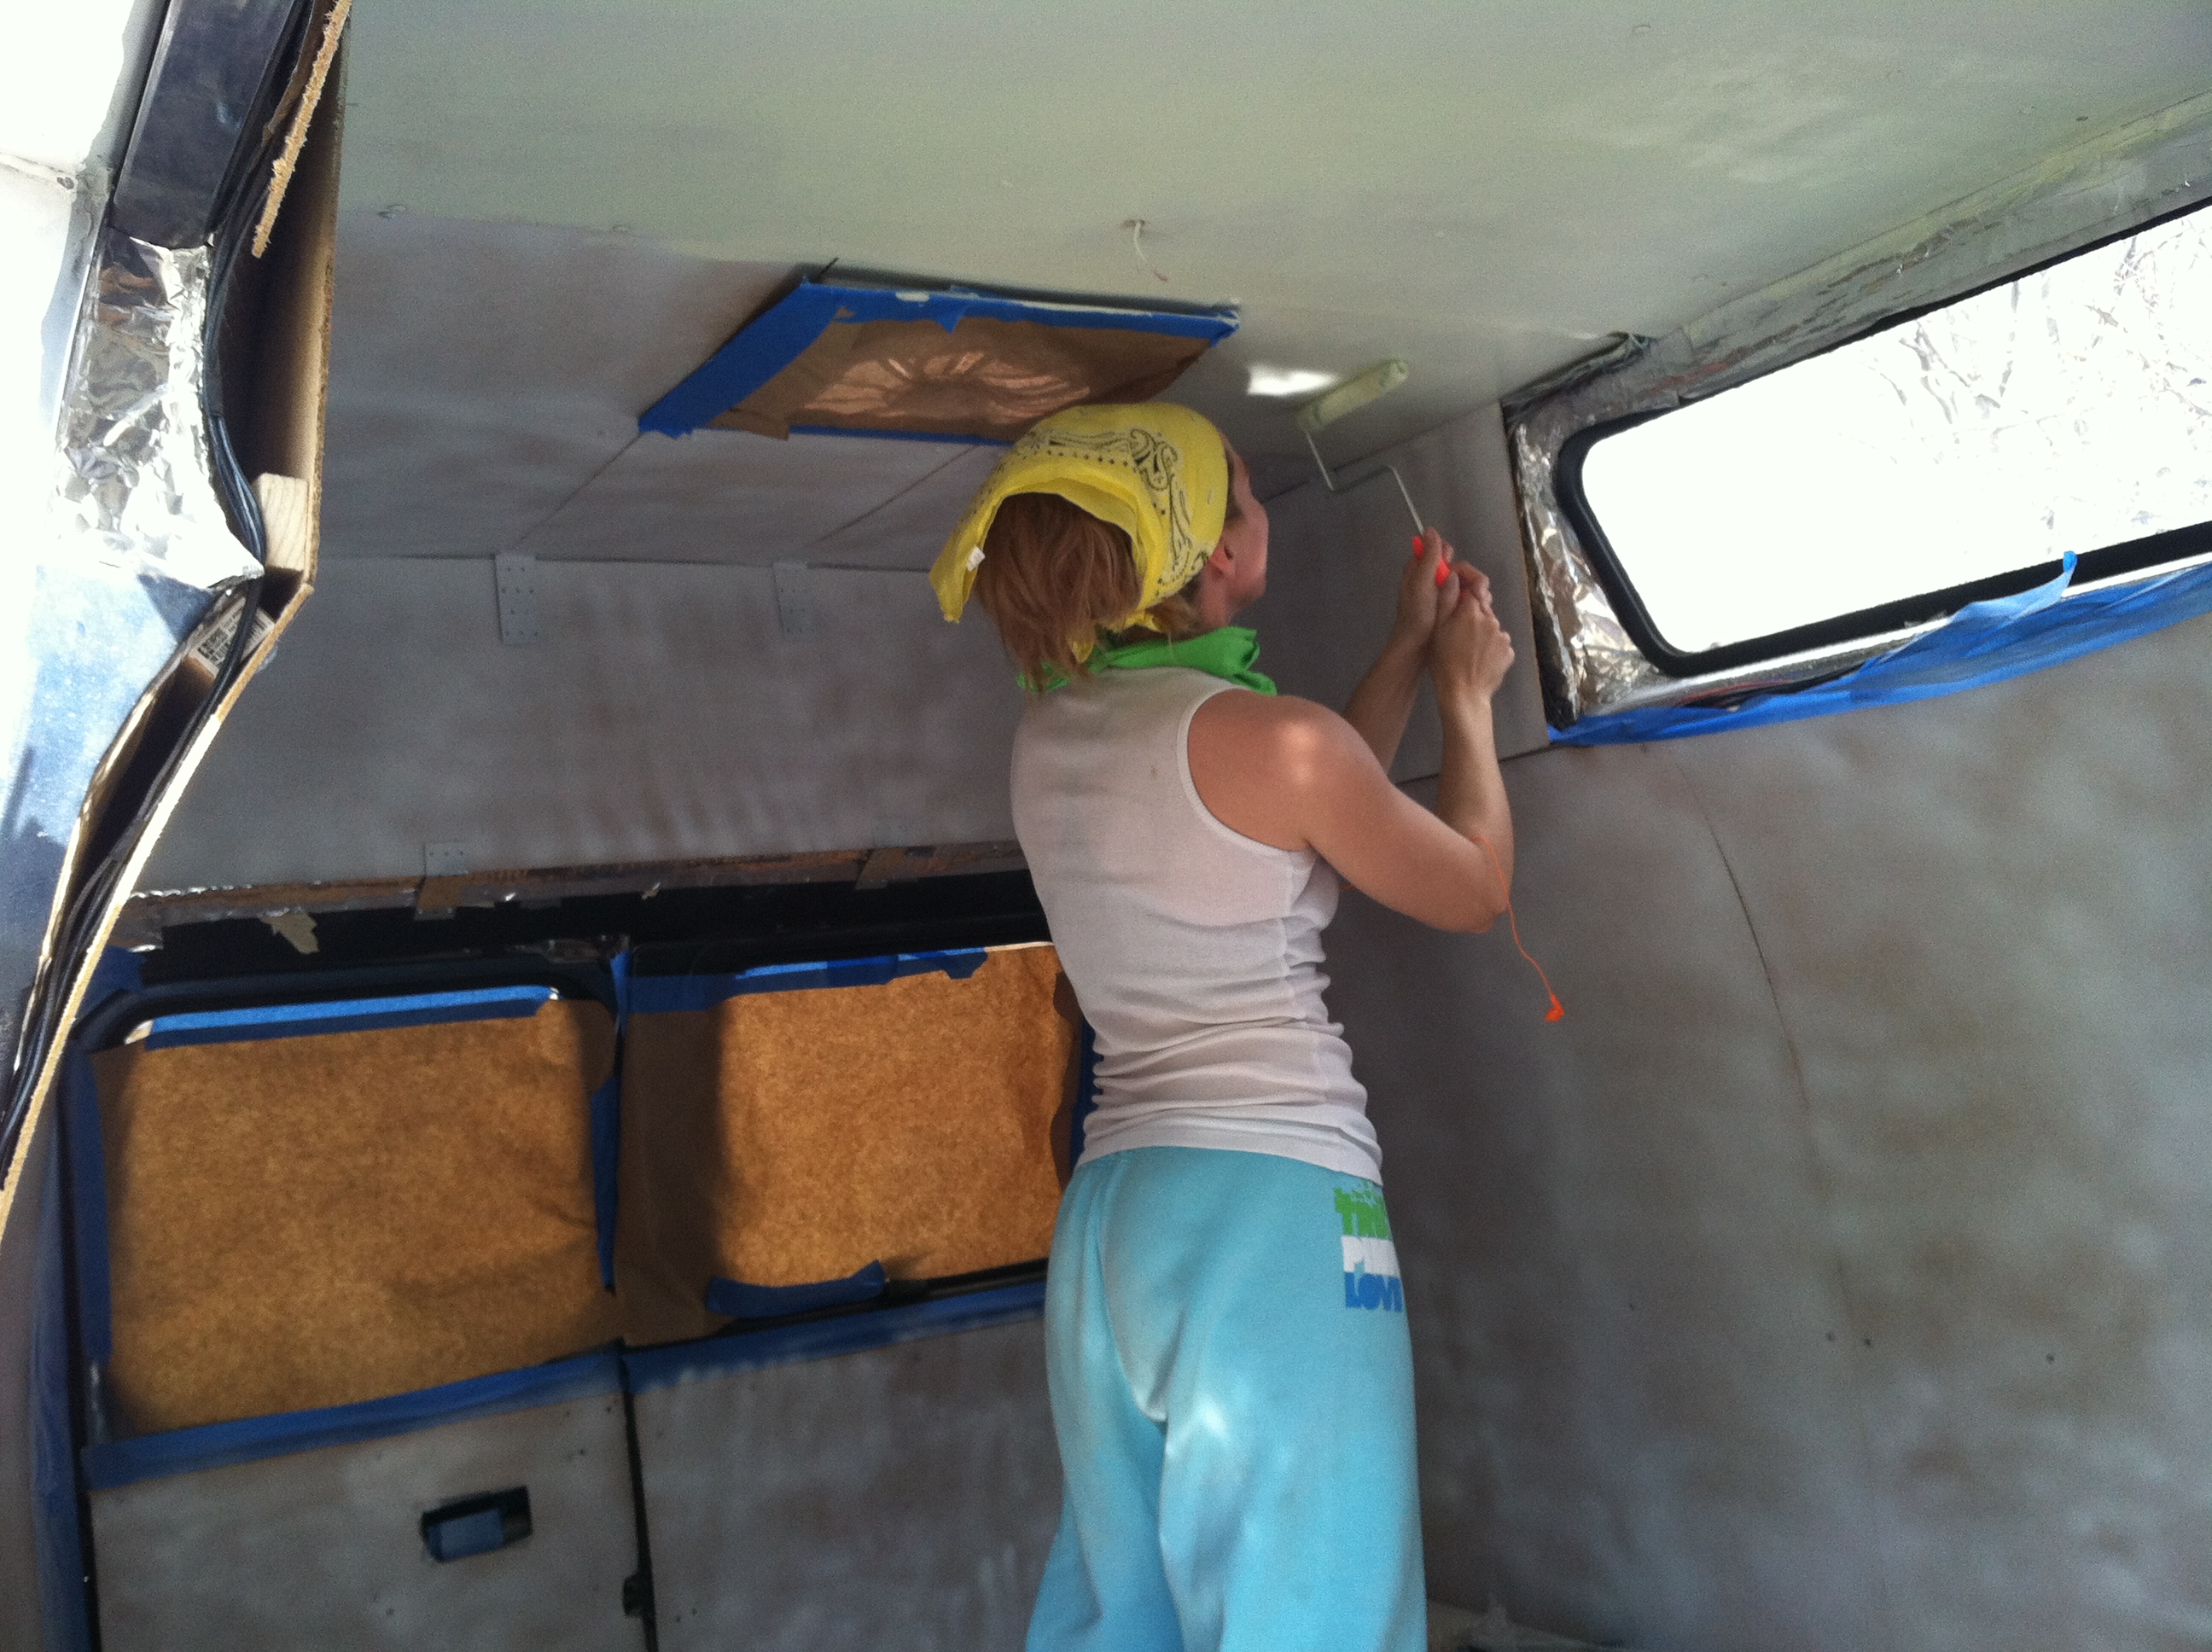
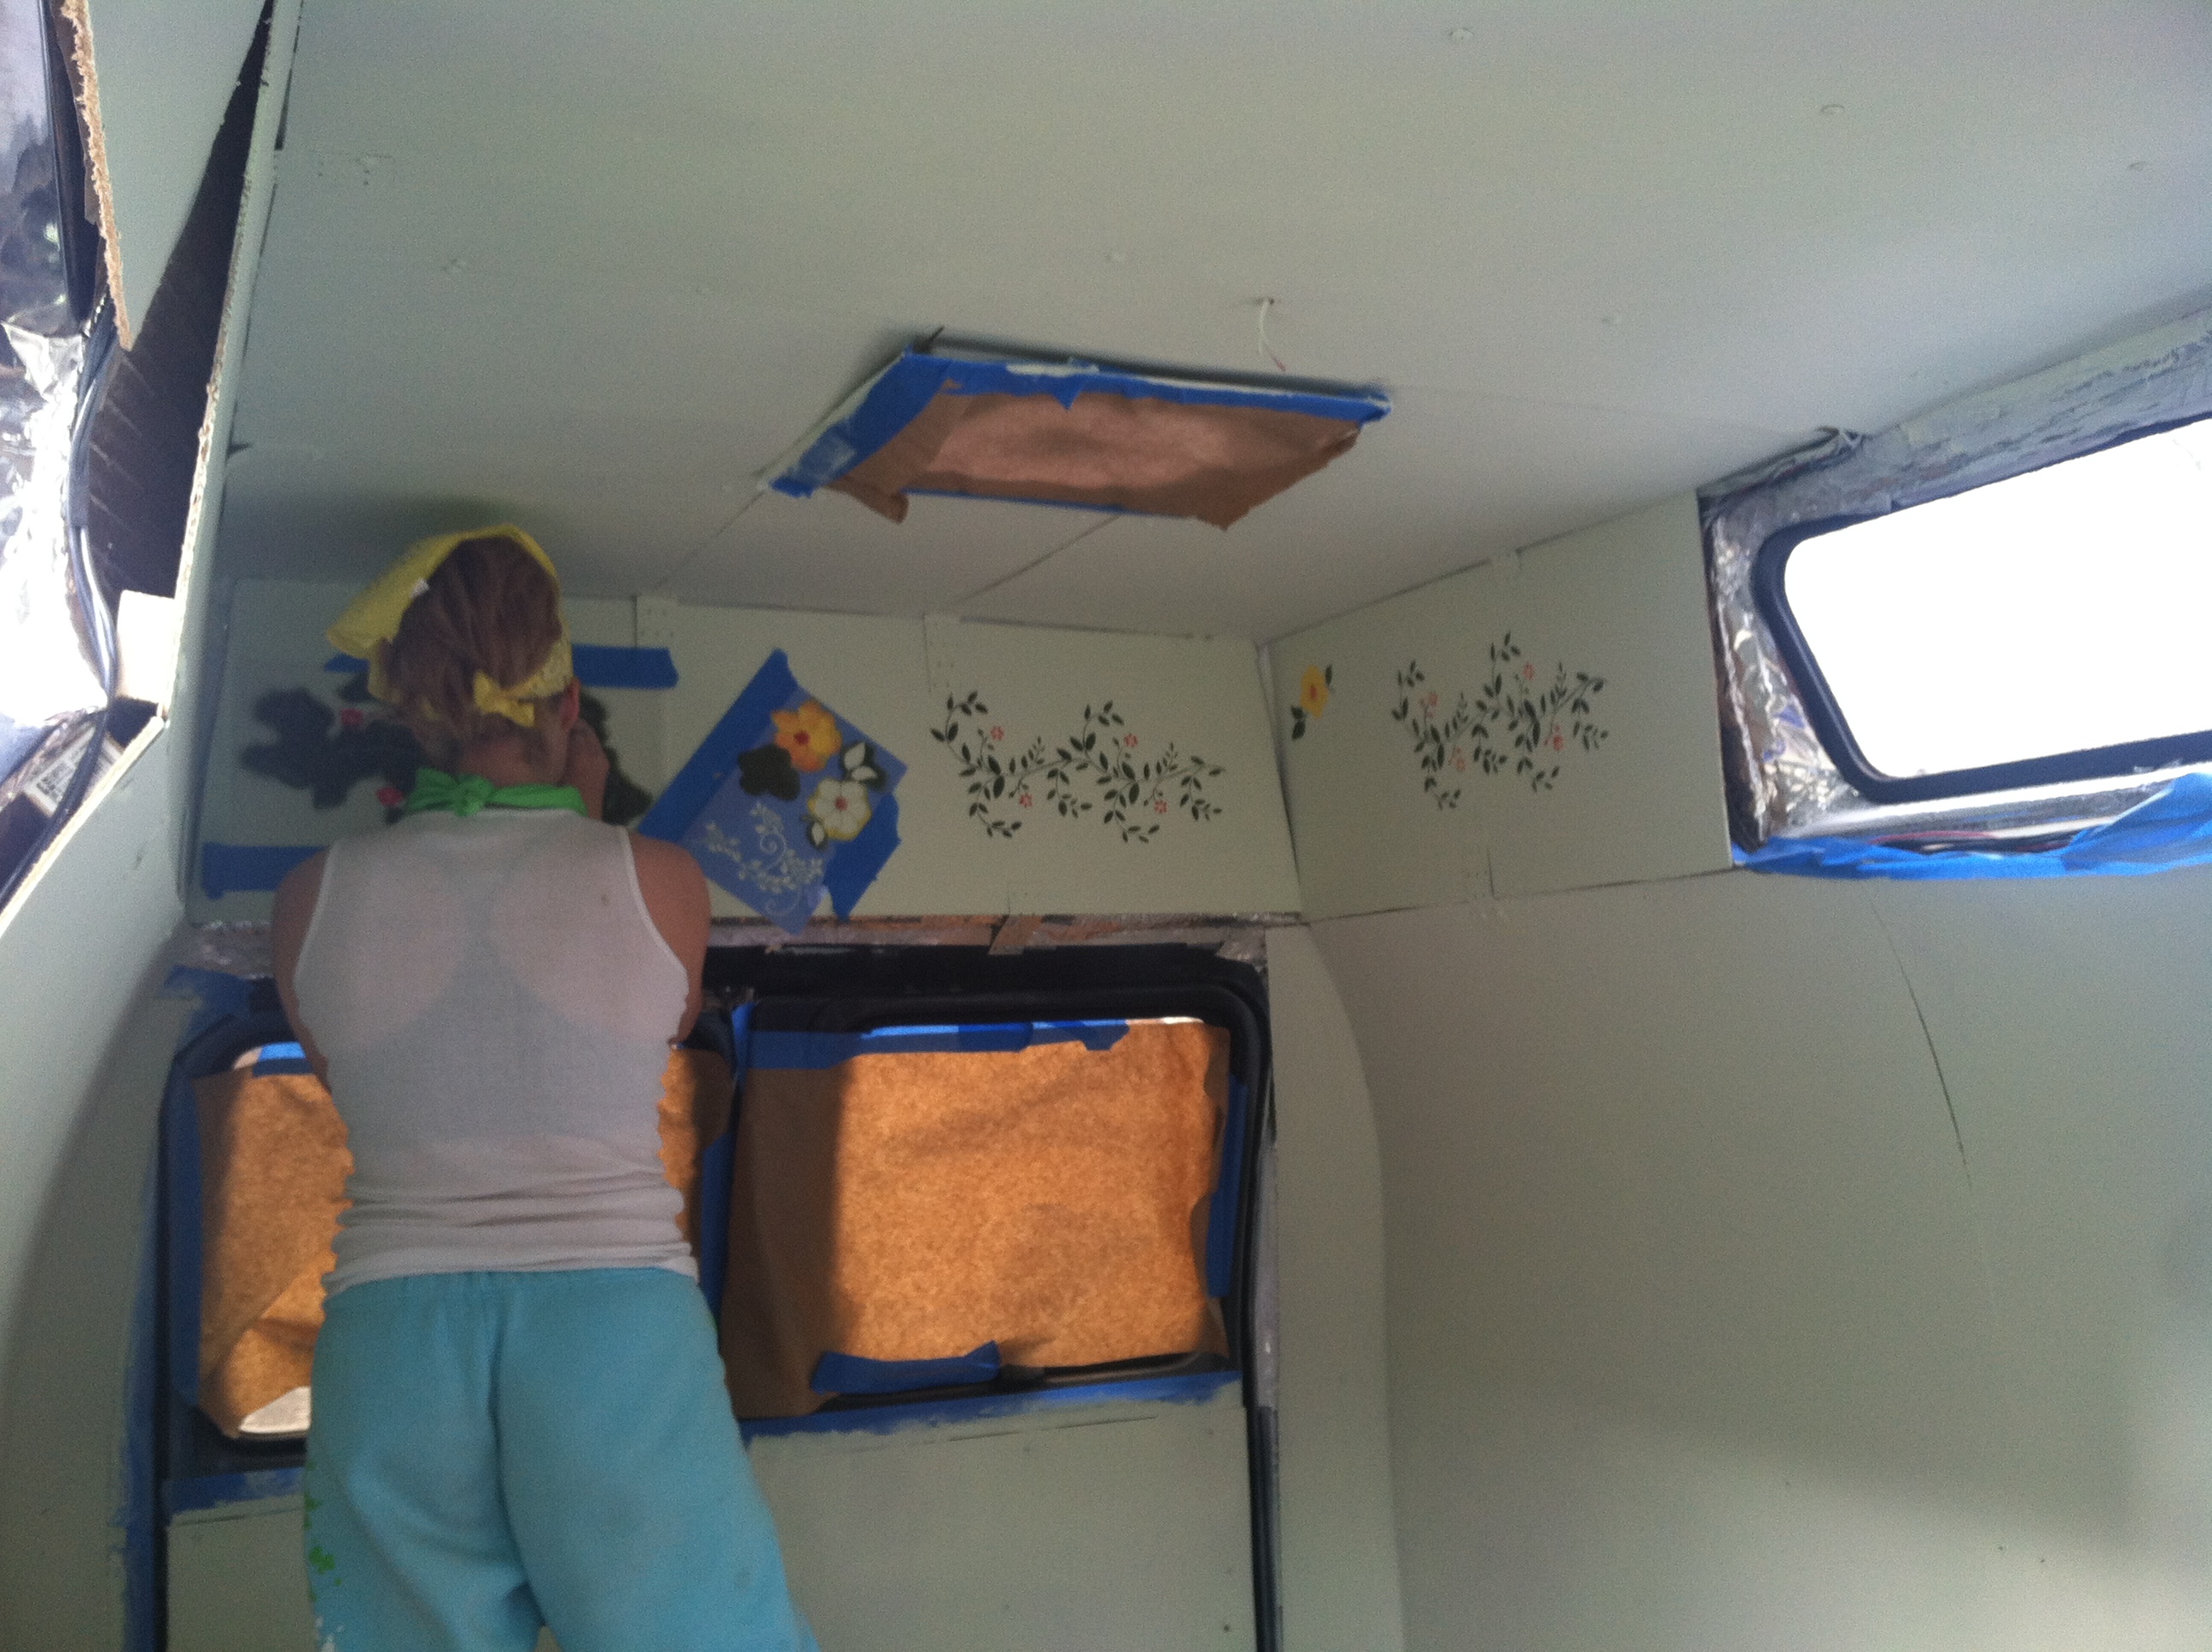
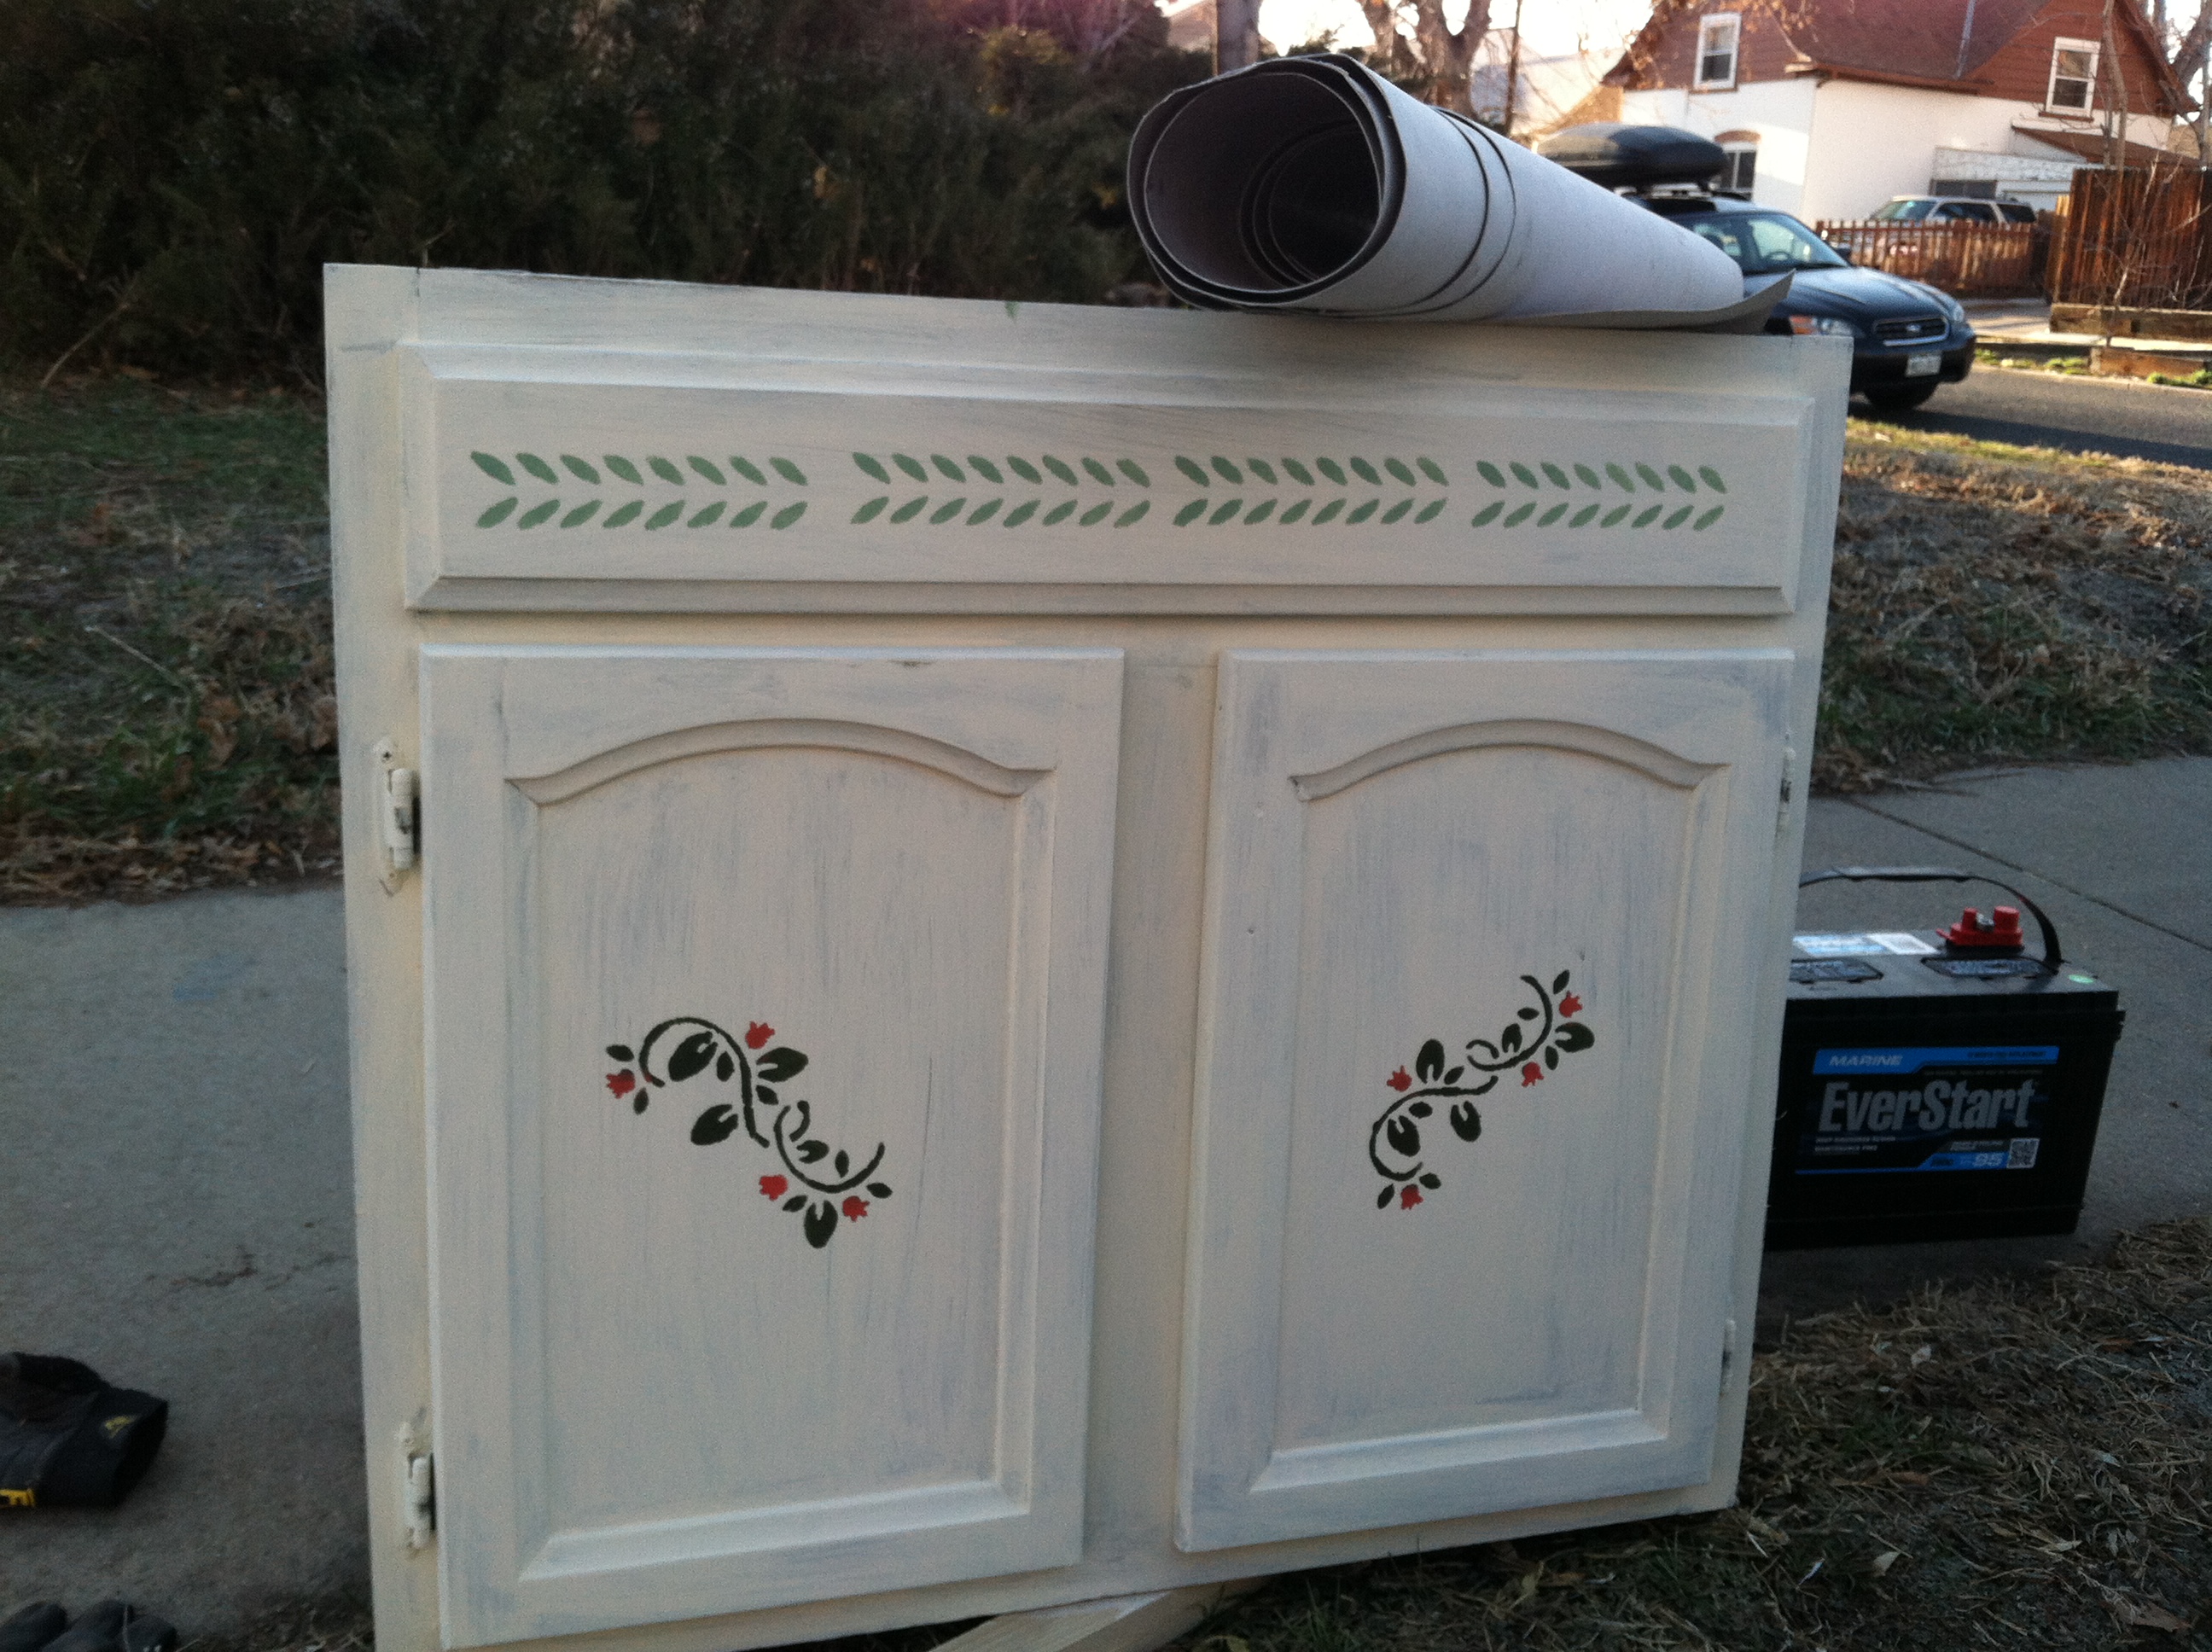
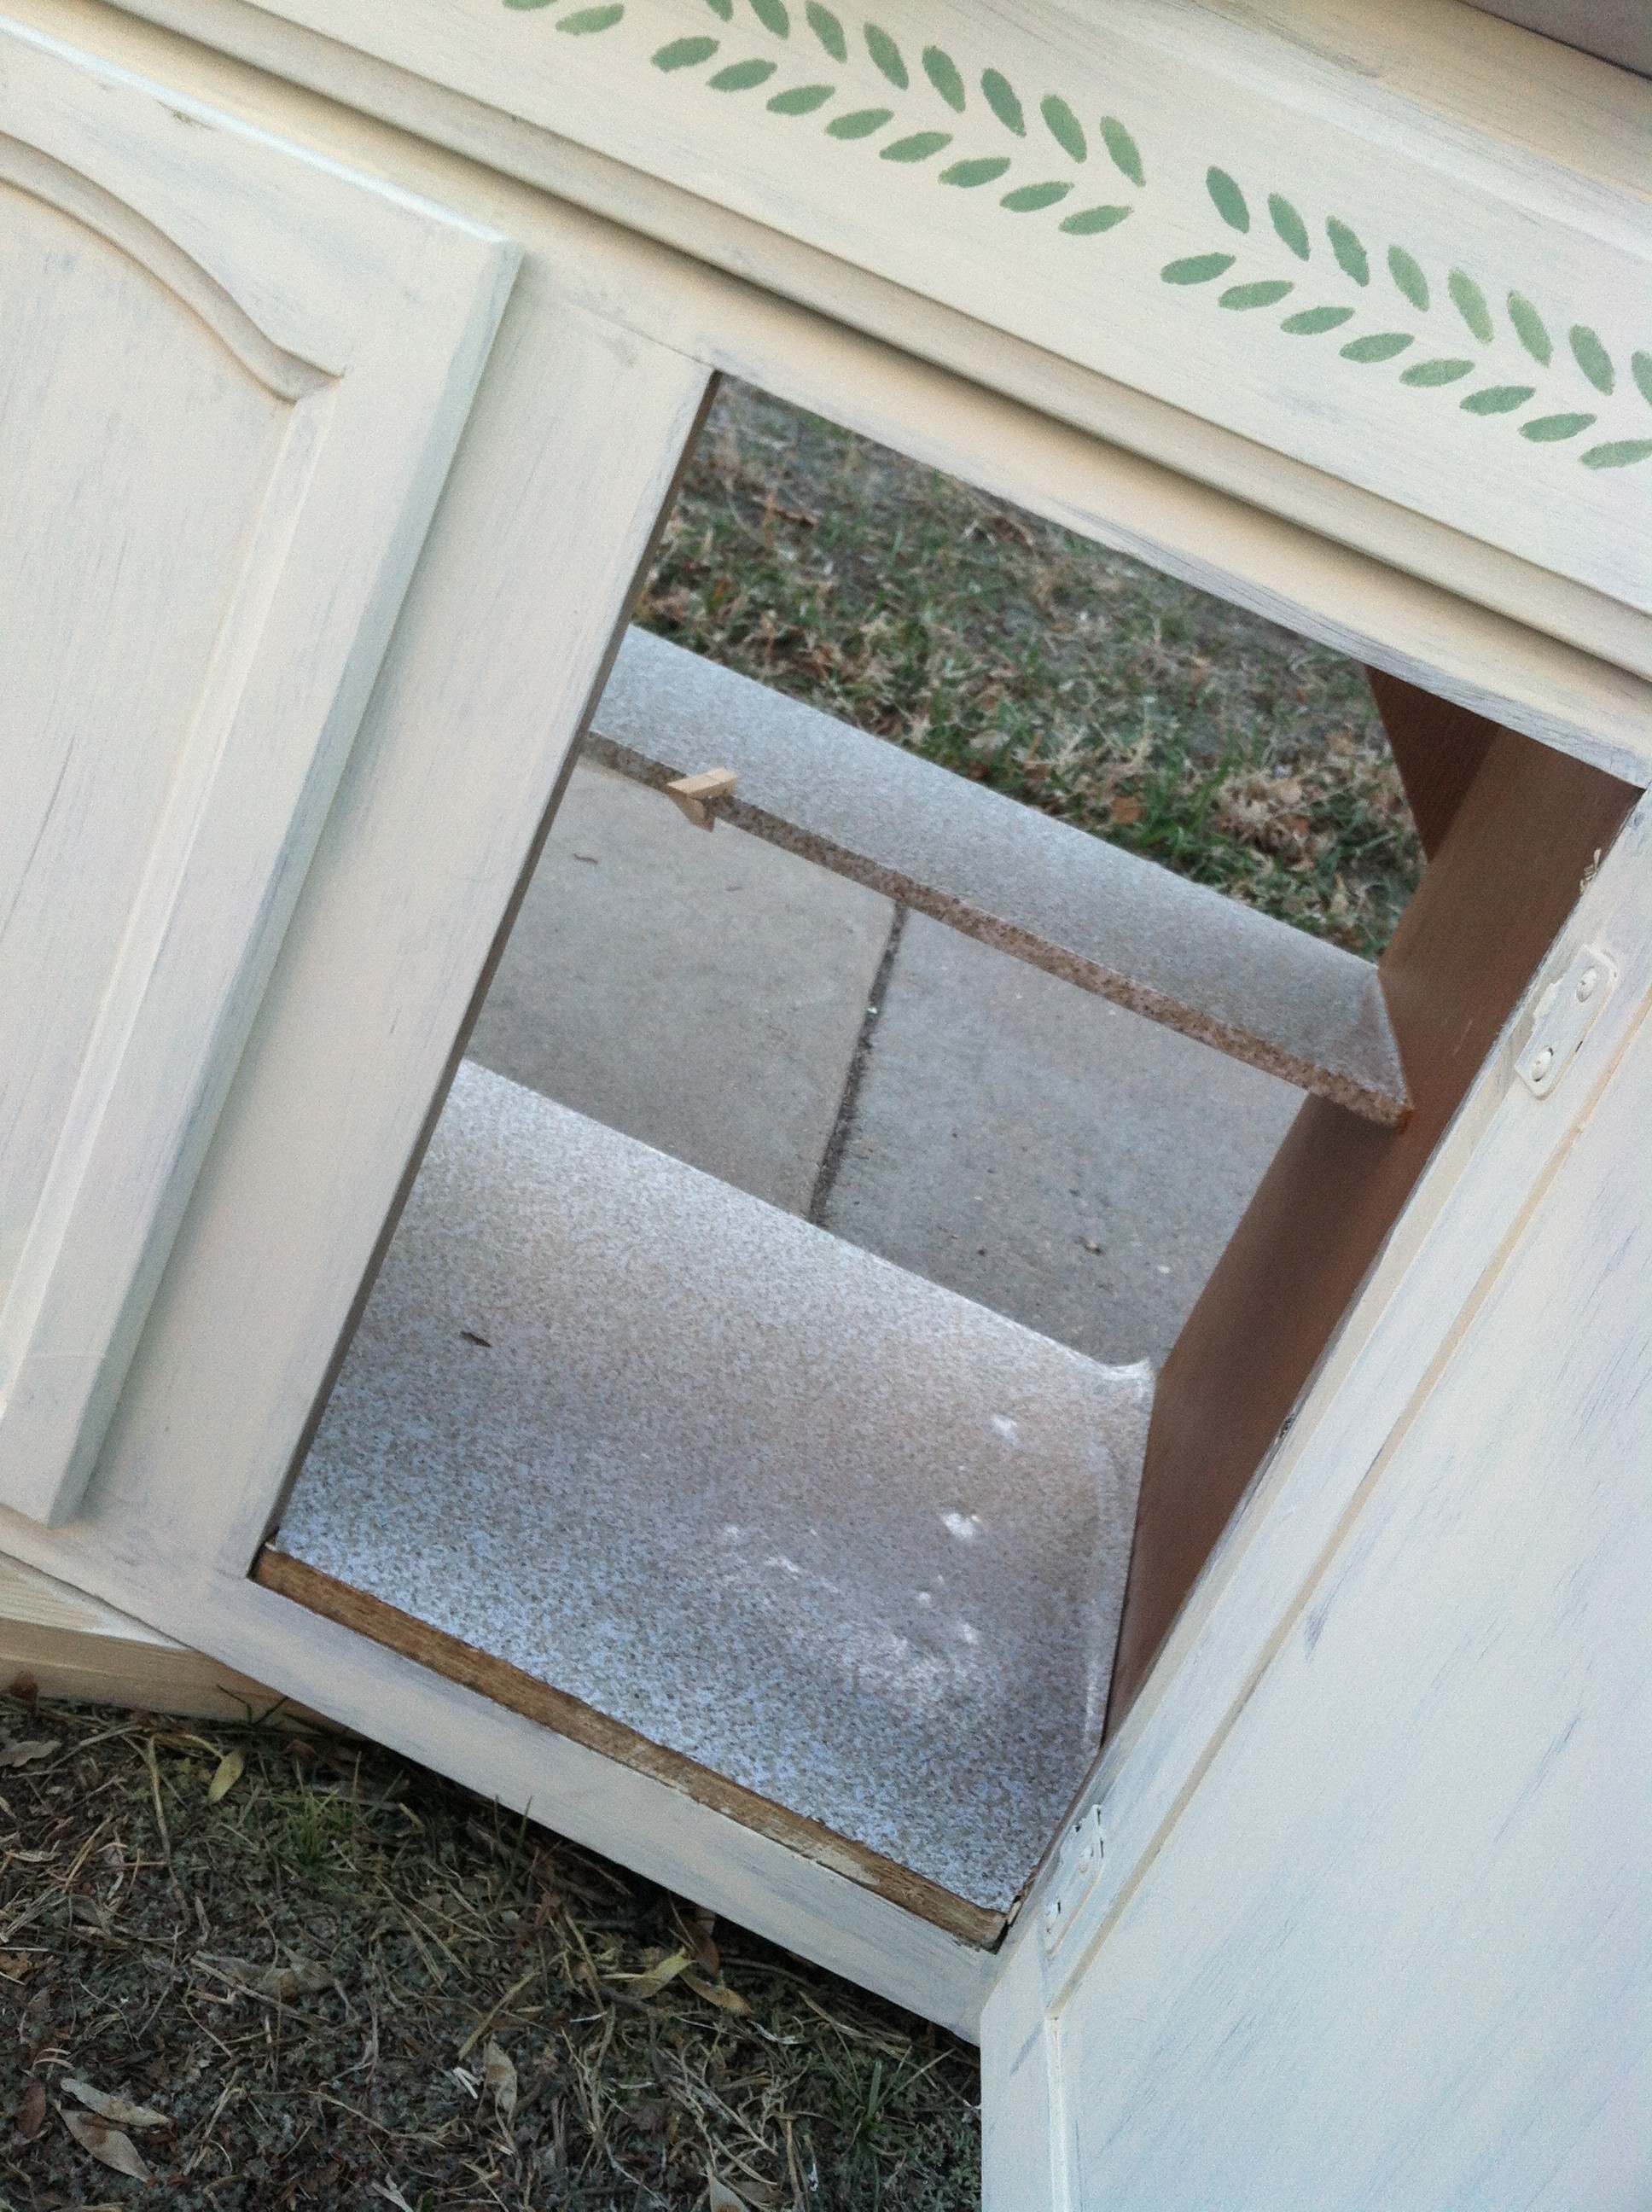
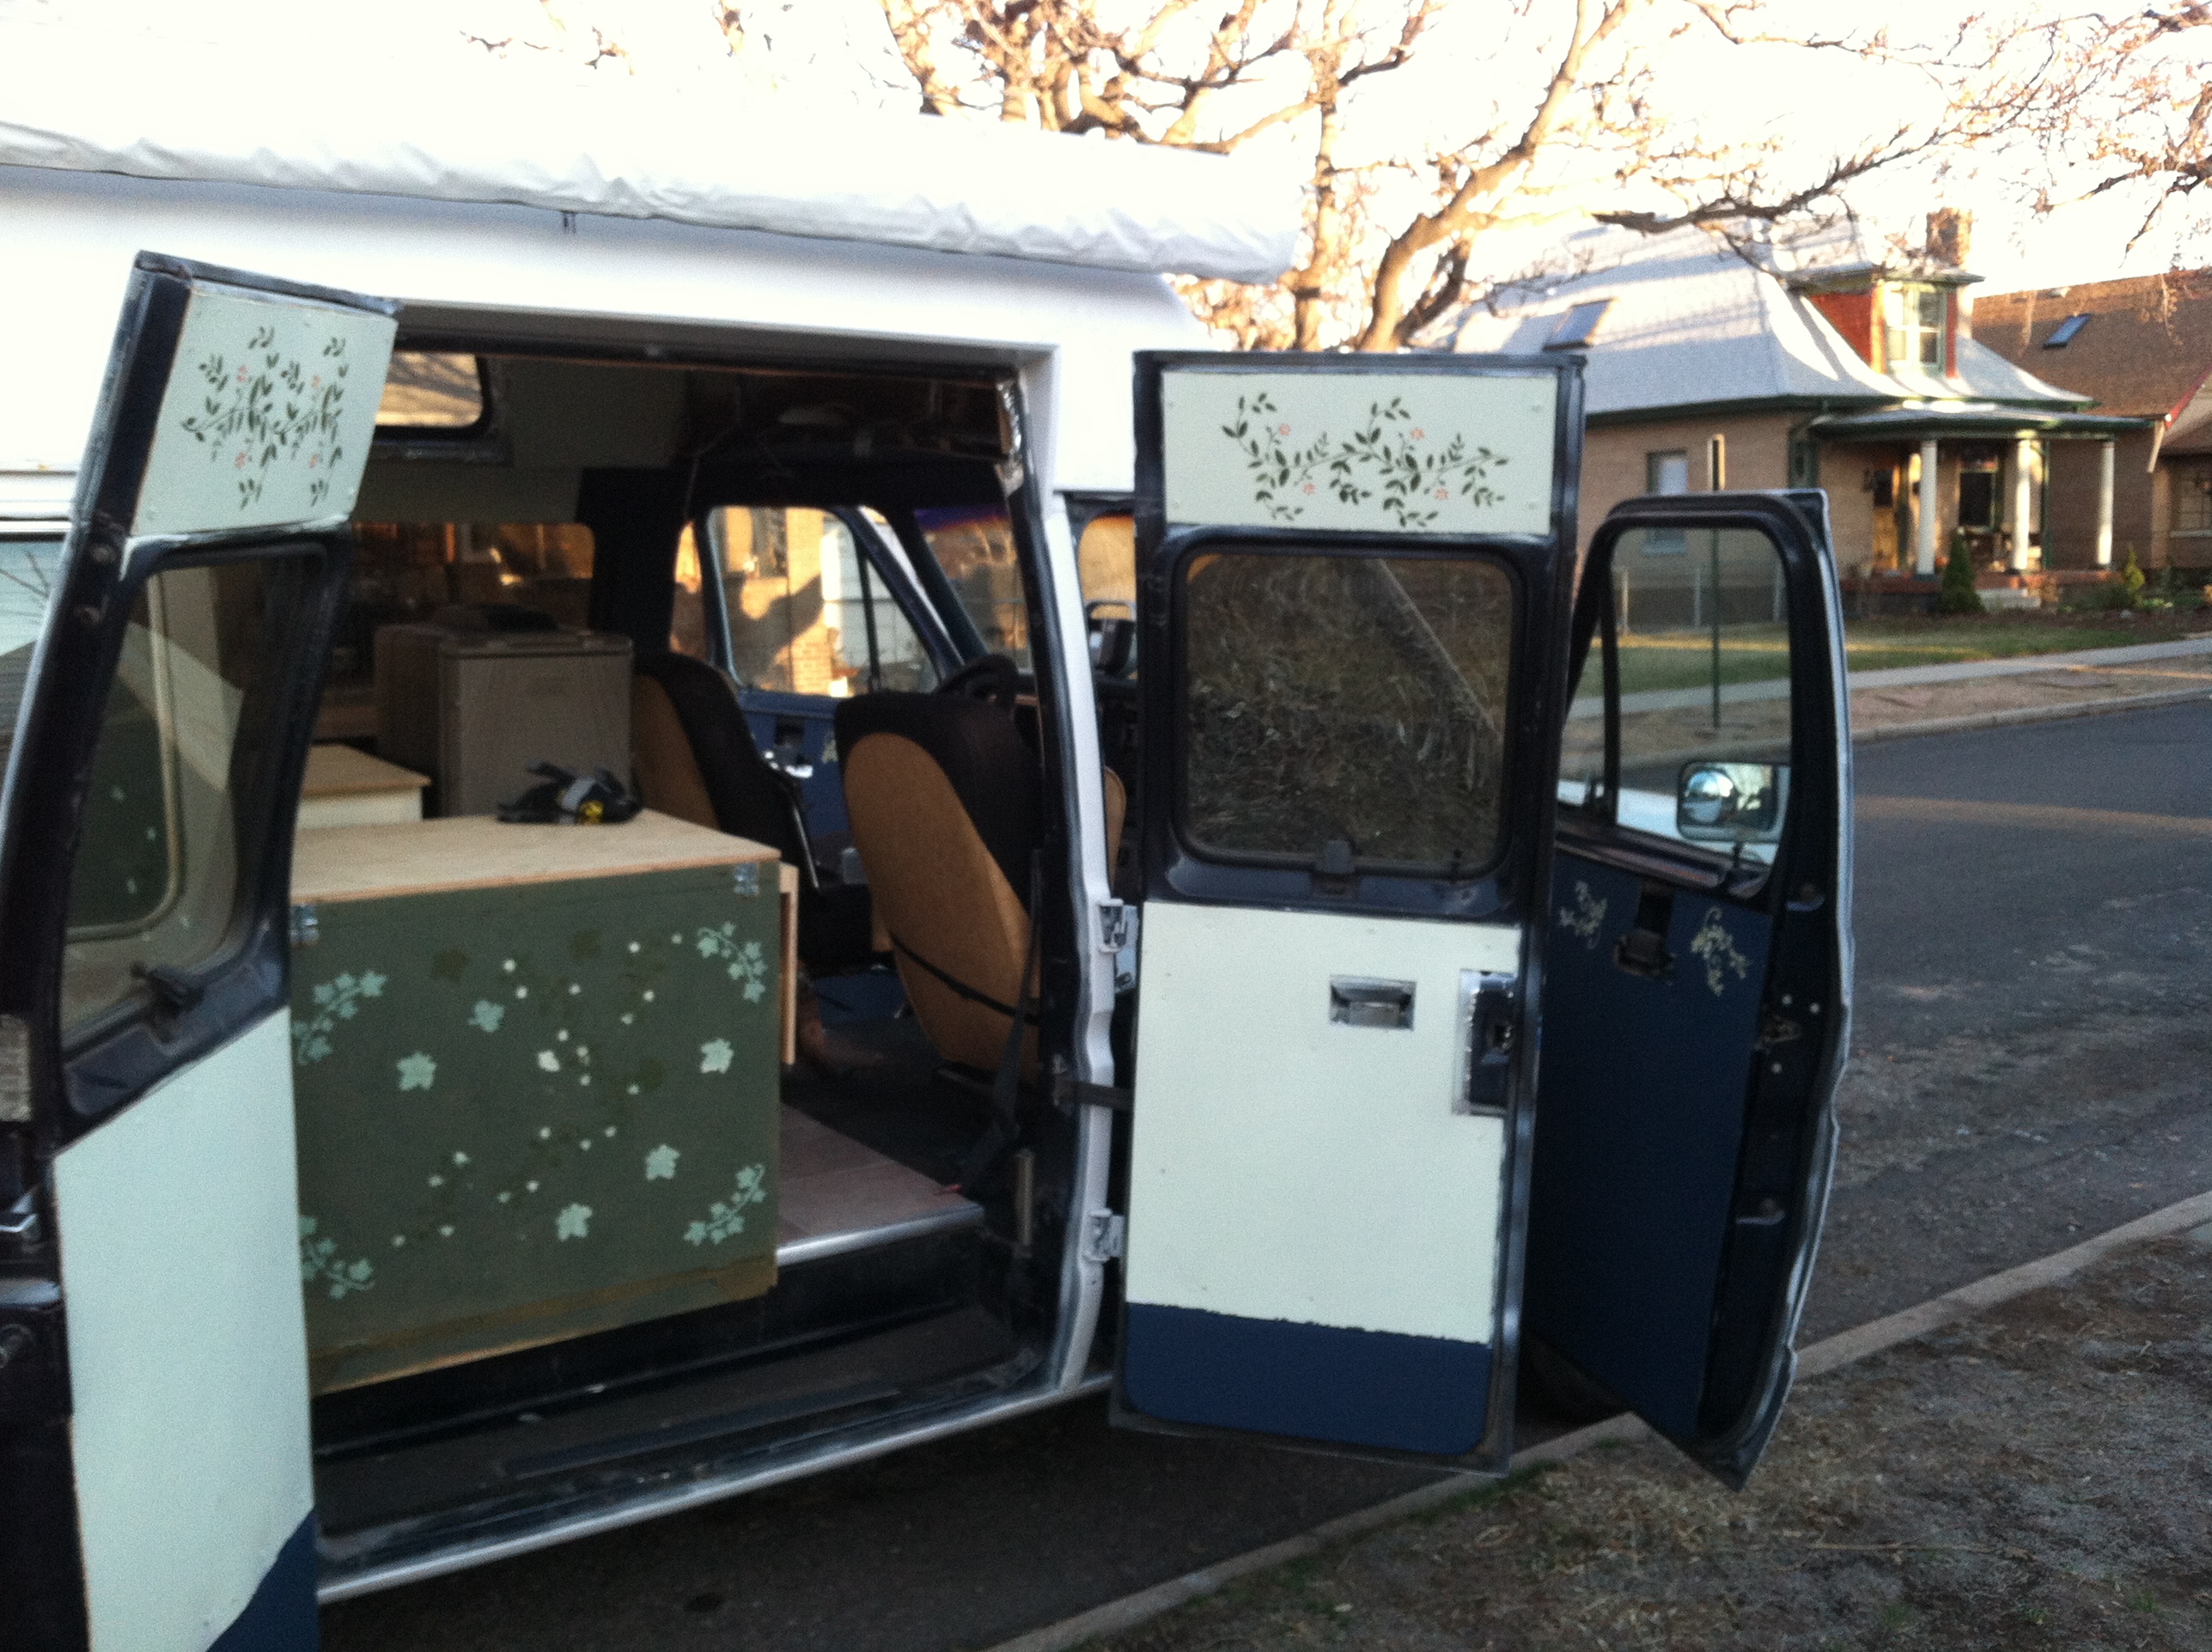
Hi all! This is Niccole finally writing part of the blog! Yeah! That also means that I finally did some work on the van. Being a girl, I couldn’t see myself living in a card board box for a month, let alone a year. So I decided to decorate! I initially thought the board that Eric used would not allow regular paint to stick to it very well. I learned I was wrong, but after I had already bought and primed most of the van. I used a spray on primer for the ceiling and walls. Then, I painted the majority of the van a very light green. I think it looks like living in a very light mint ice cream. I decided to stencil to break up the flatness. I used flat paint as I did not want us to be blinded on sunny days. I stenciled using supplies from hobby lobby. The little paints were super inexpensive. I also painted the front driver part of the van. We decided together to match this to the existing color of the dashboard, a deep navy blue. This was a great choice and tied the van together nicely. Plus, I was not worried about making this part of the van seem bigger through color choice. Lastly, I decided to paint the 2 counters a very light yellow and then put contact paper inside for water control. I initially had thought I would just wallpaper the van with contact paper and use glue to really get it to stay. Even with the spray on glue, this was not a worthwhile idea. It started to peel at the corners immediately. I had also thought fabric stretched over the boards would be nice but I think we would have had a lot of curling off with that too. So paint became the go to and it turned out rather nicely I think. I think that is pretty much the gist.

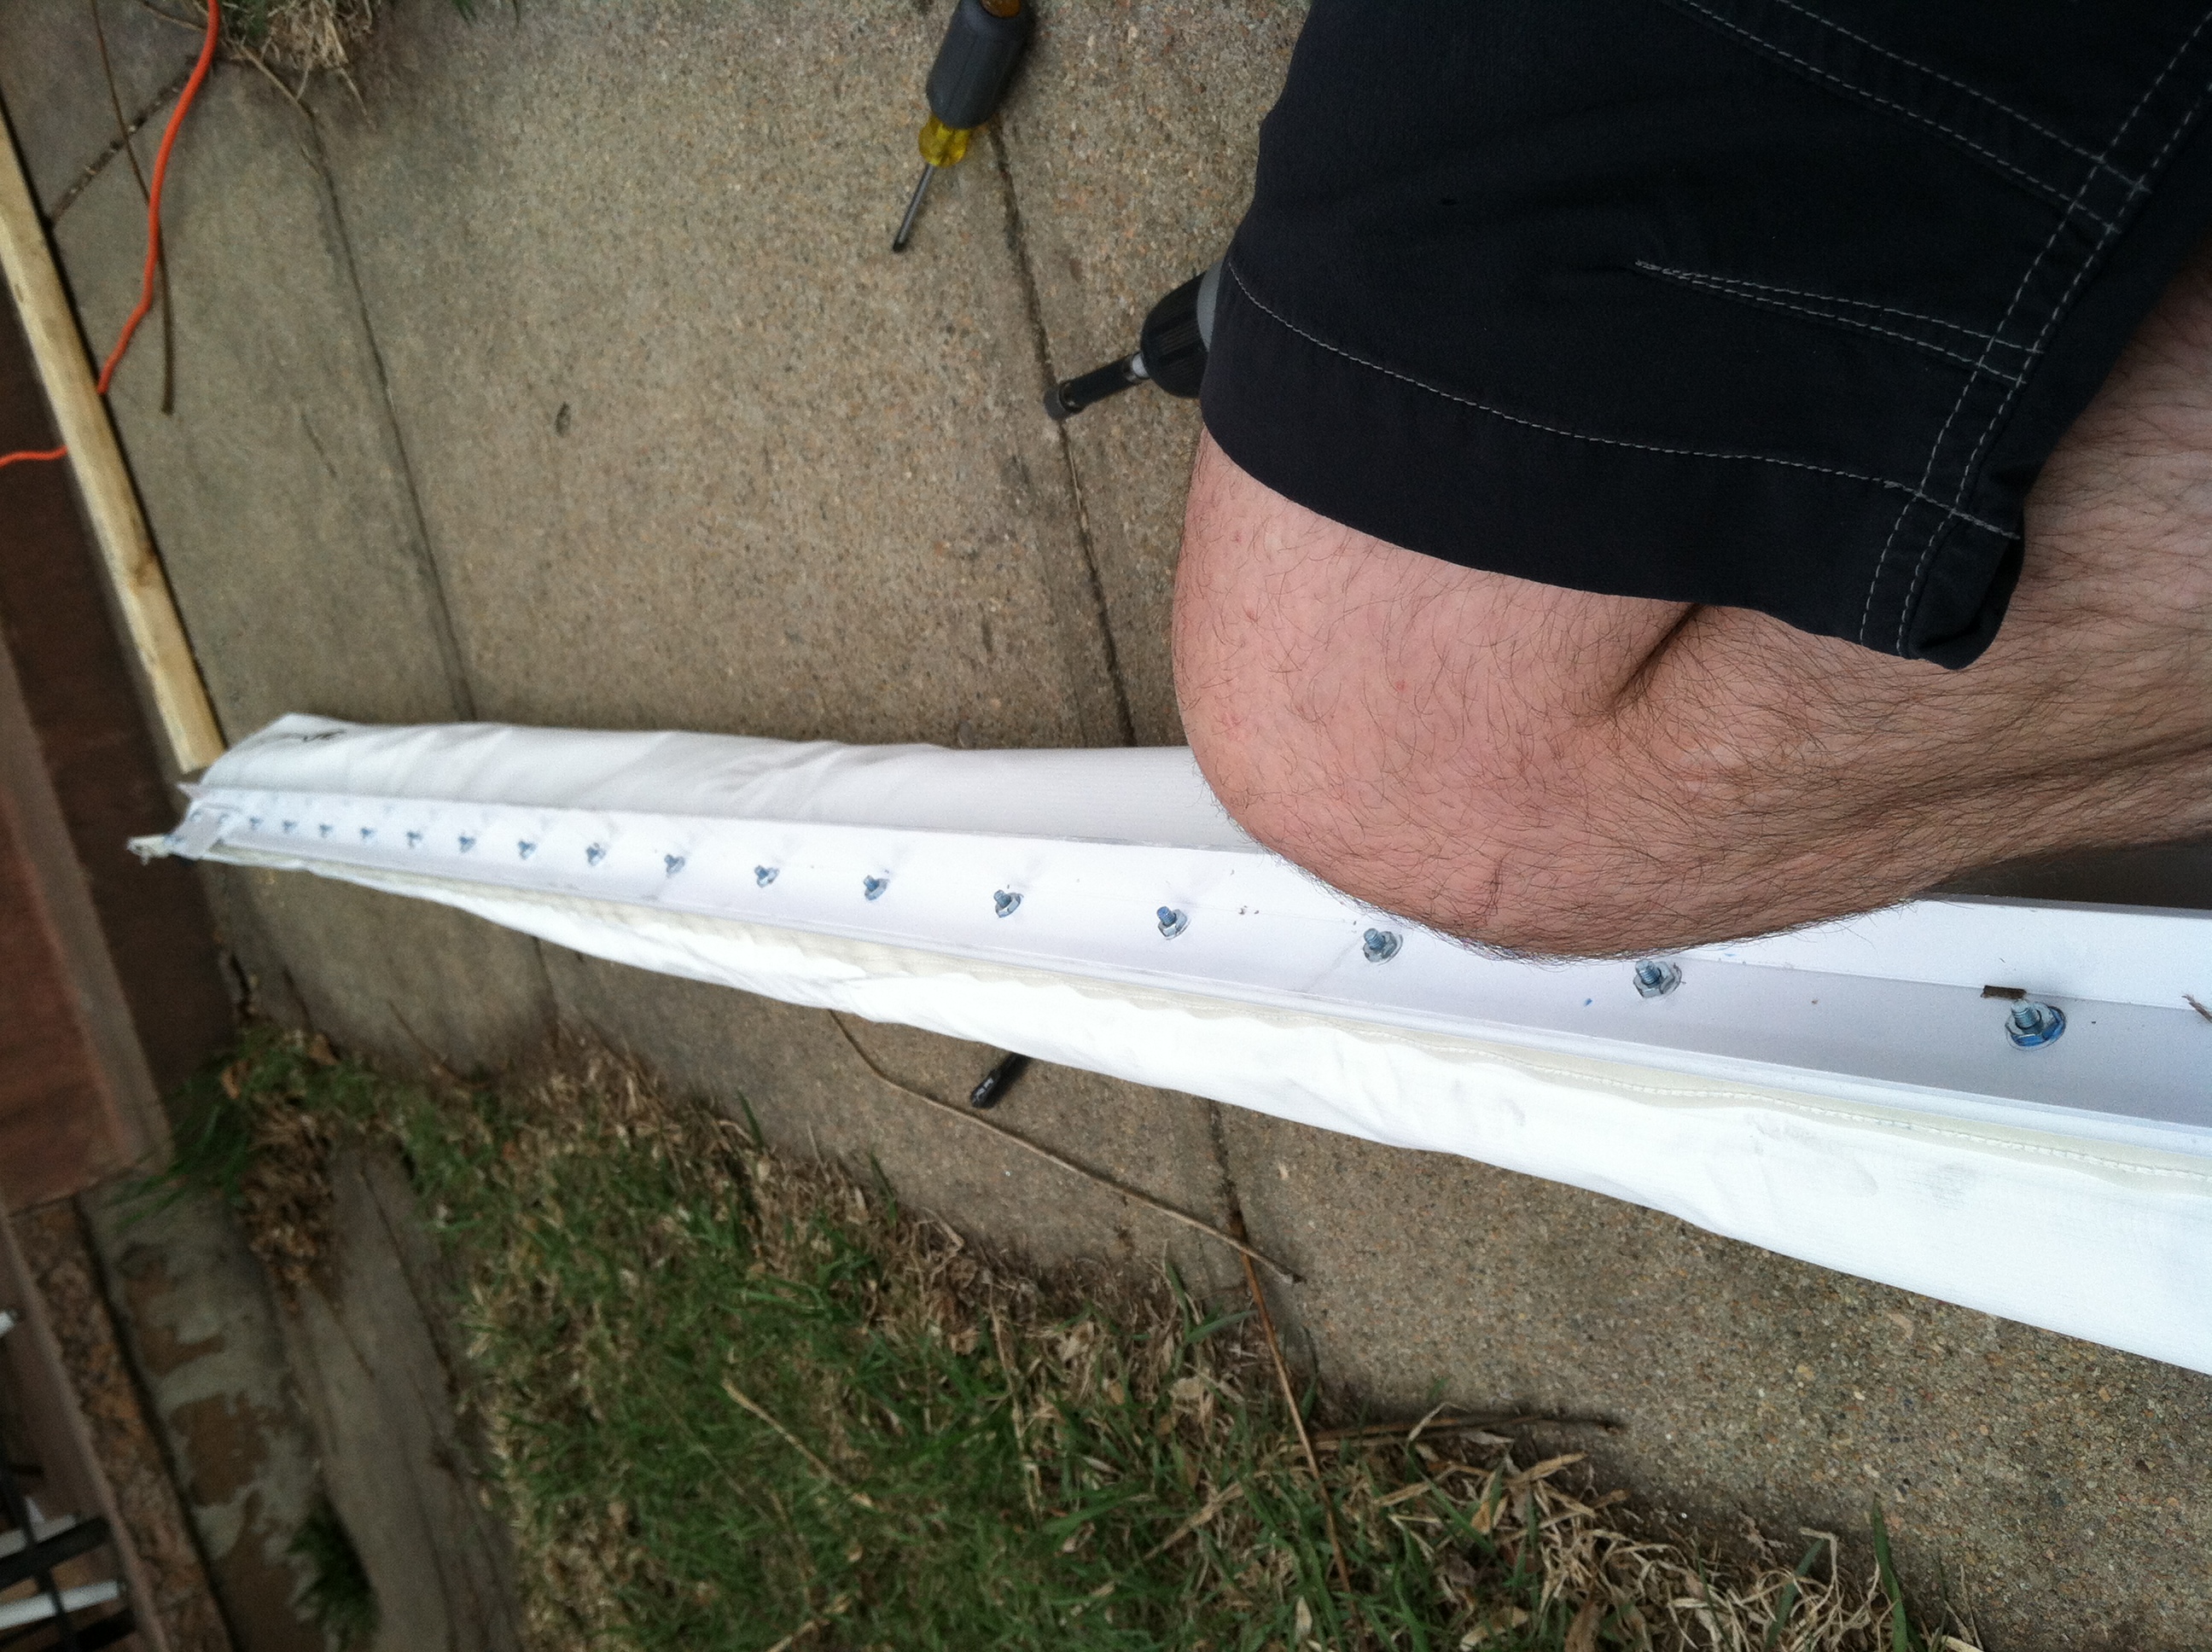
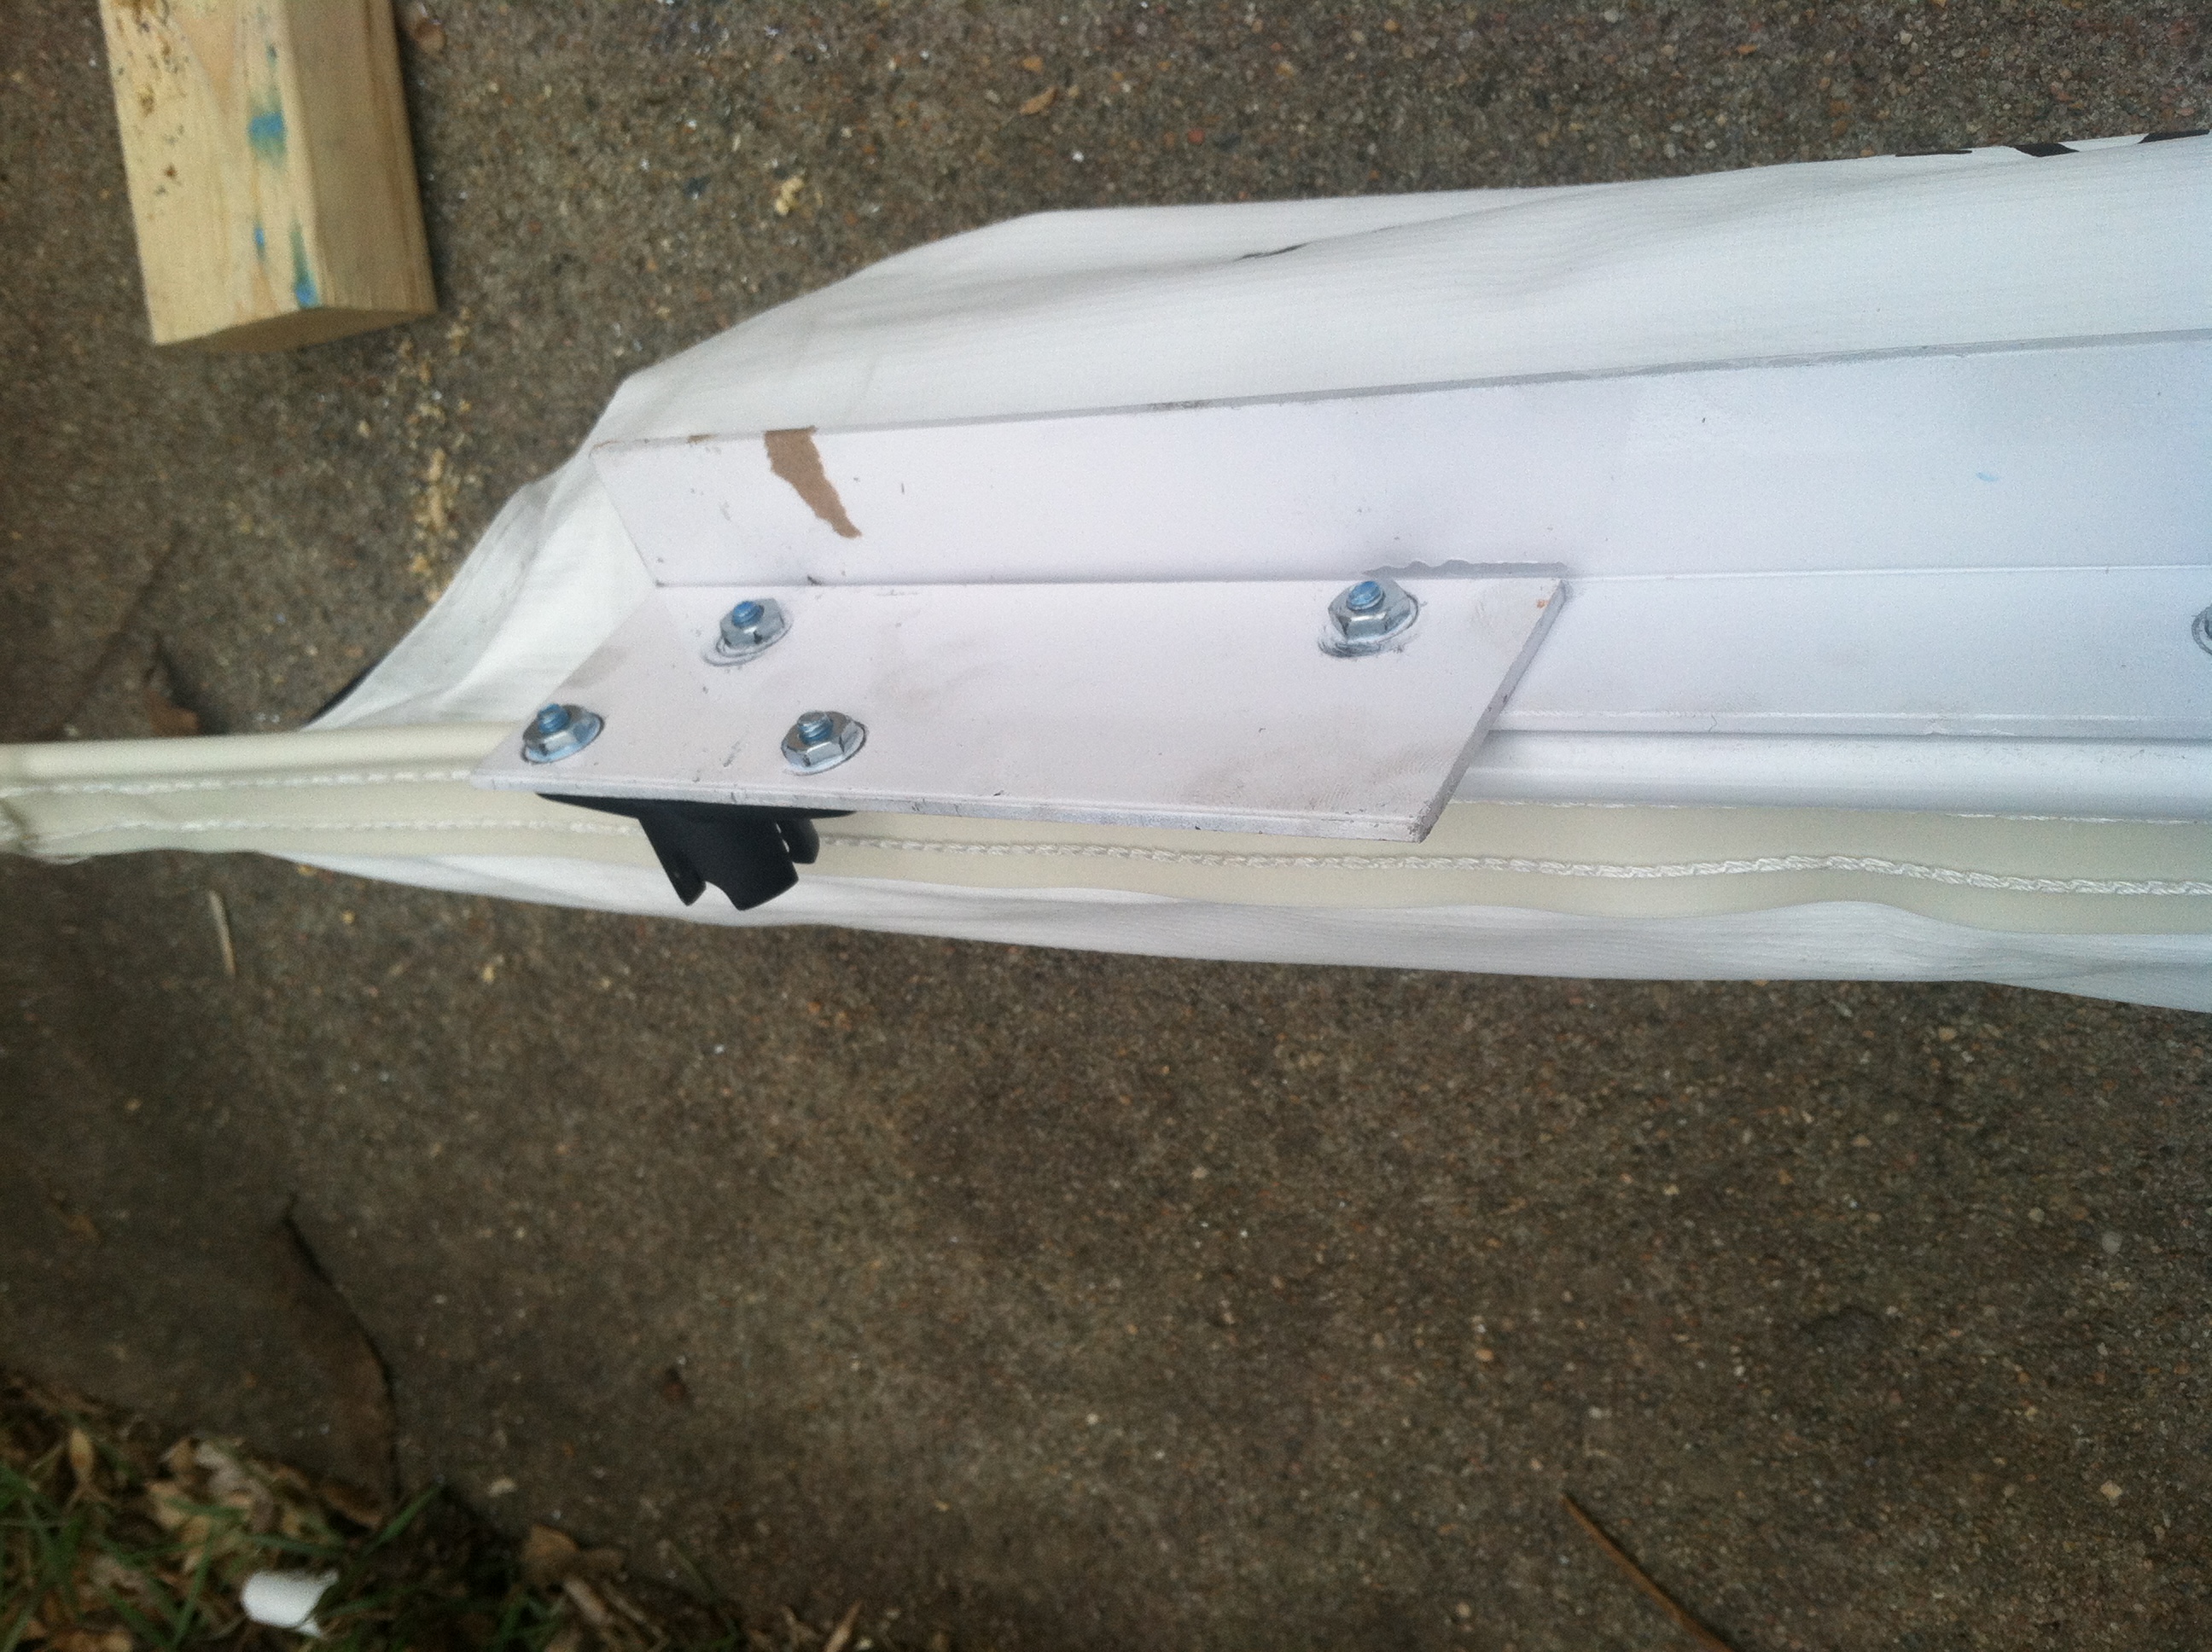
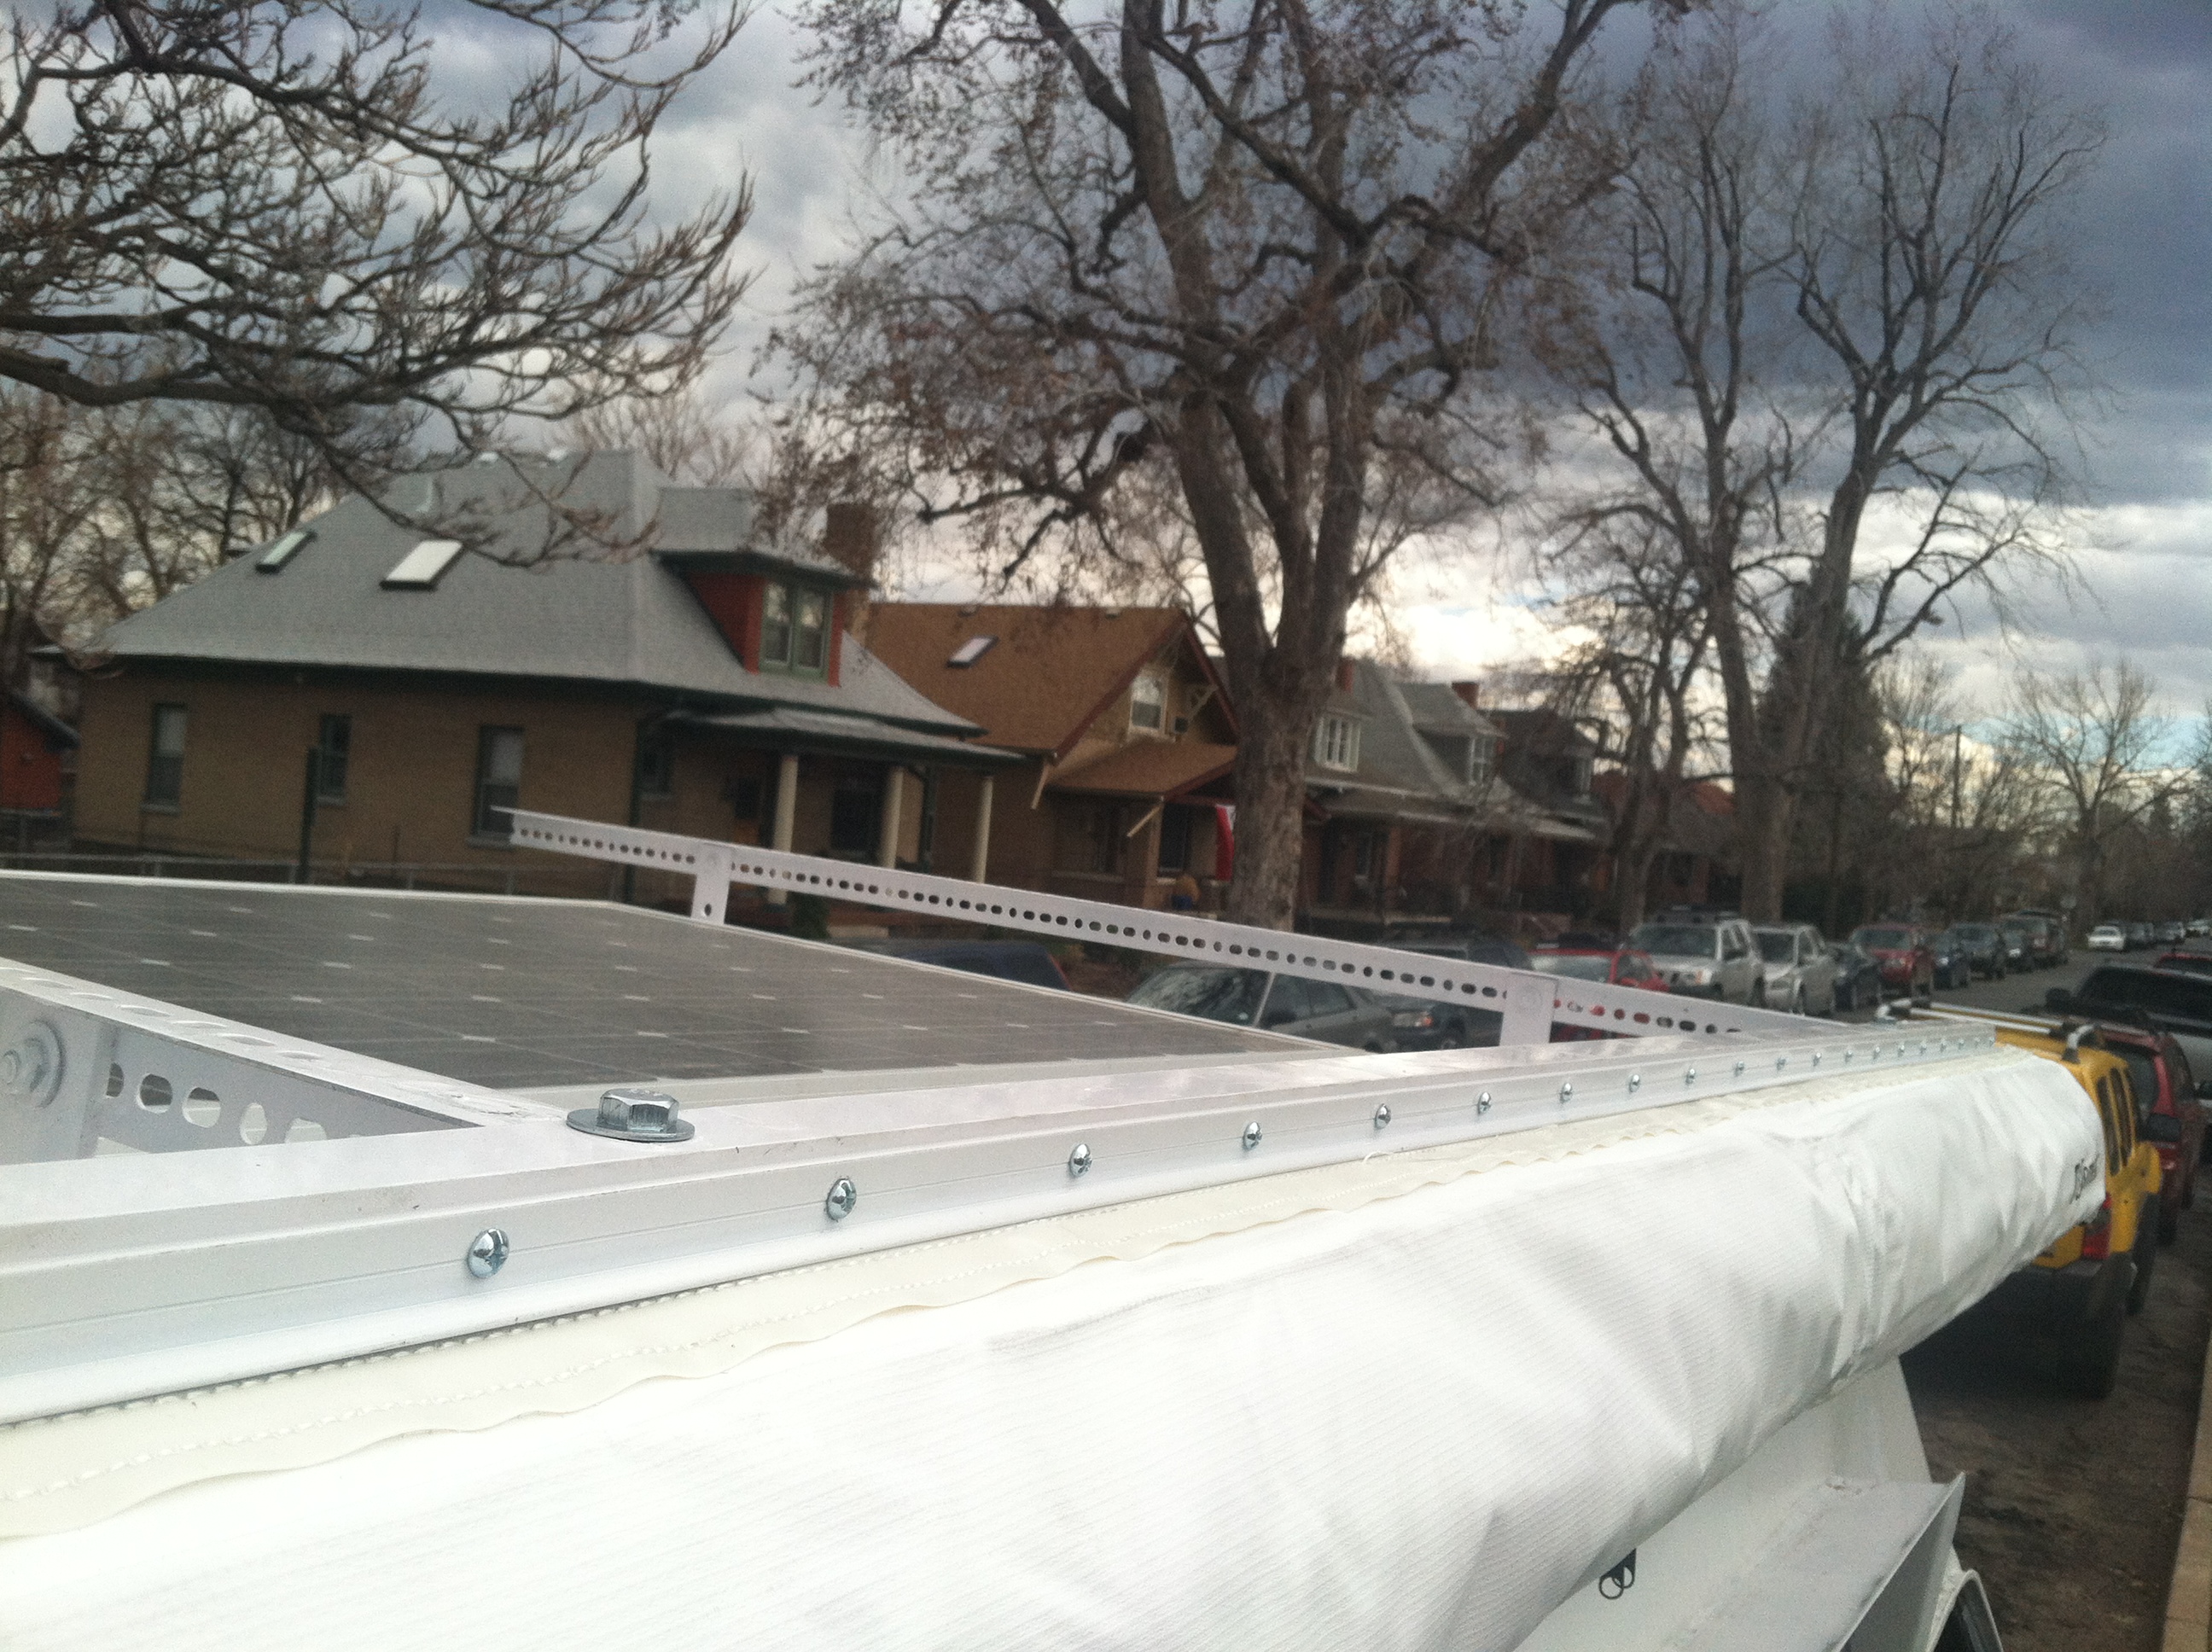
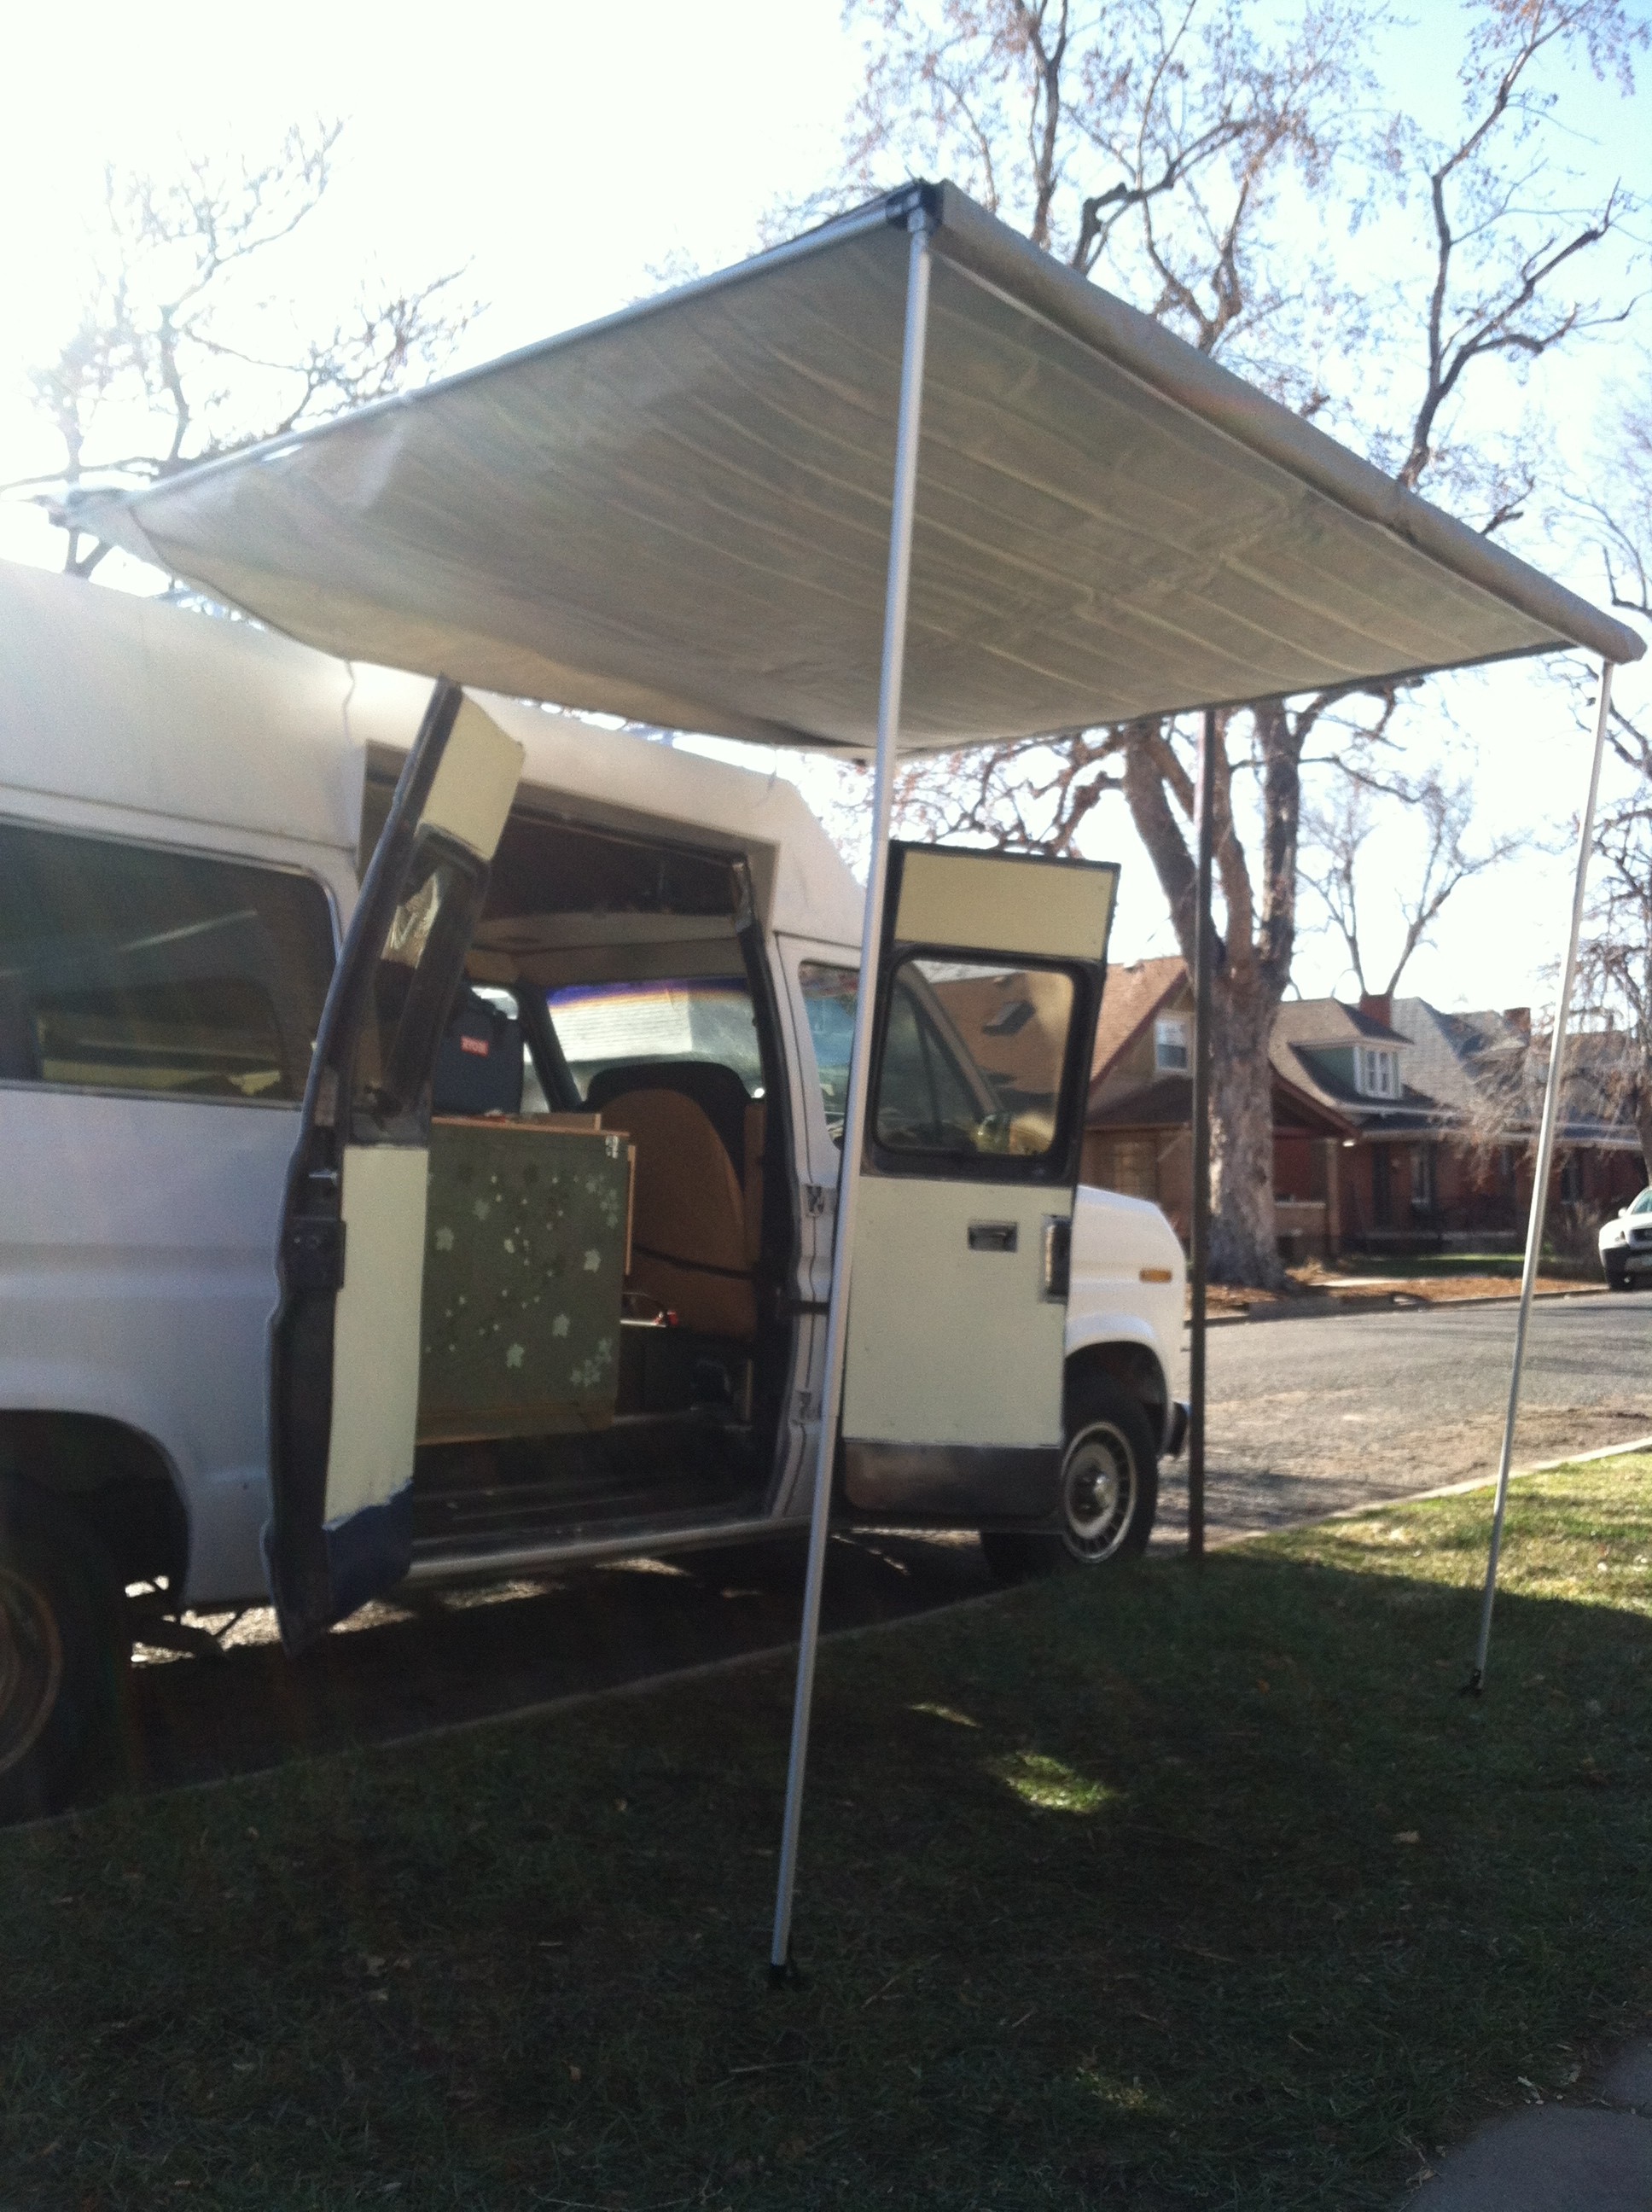
While Niccole was painting I finished working on the canopy. We bought a Dometic Pop-up camper/bag style canopy awning off eBay for $140 which was a really good deal as far as I could tell via my numerous web searches. I grabbed some awning rail from a local store to mount it with. Having no desire remove any insulation or the wall to screw the rail directly into the vehicle I set about mounting it to the surfboard rack rails up top. I bought some aluminum angle bar and mounted the awning rail to that. I had to make some brackets that extended below the awning rail for the poles to clip into. It turned out great and now we will have shade wherever we go!

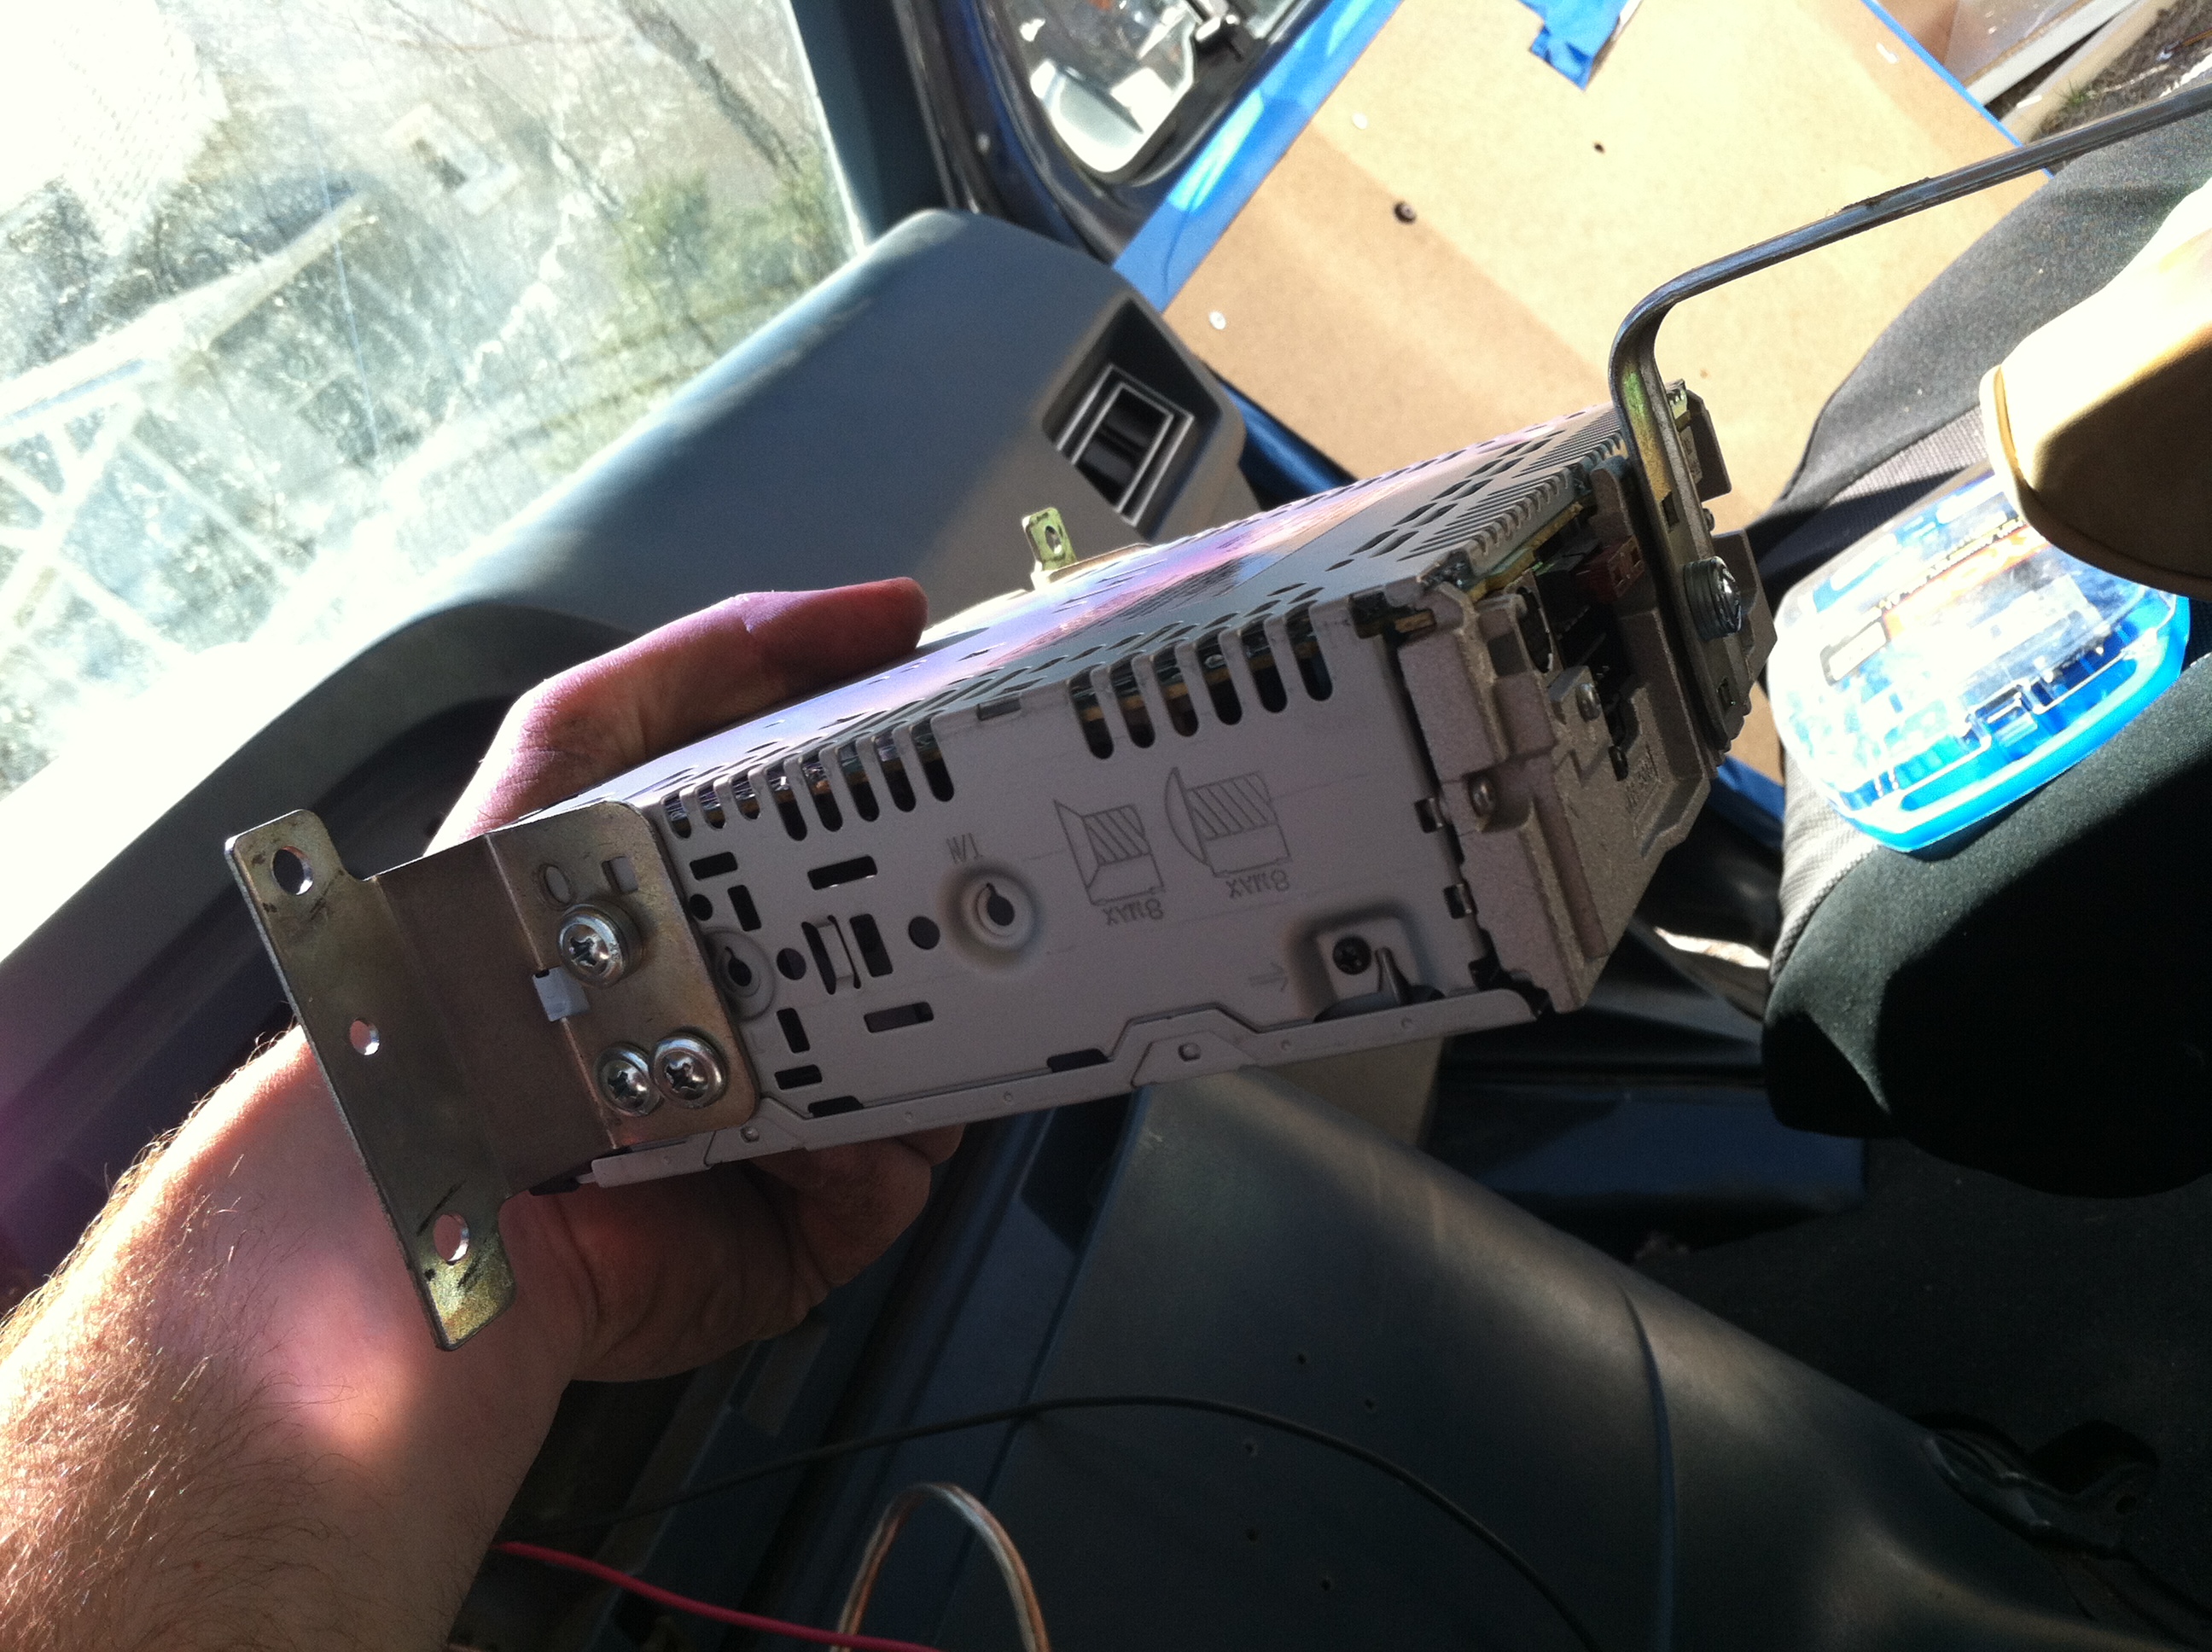
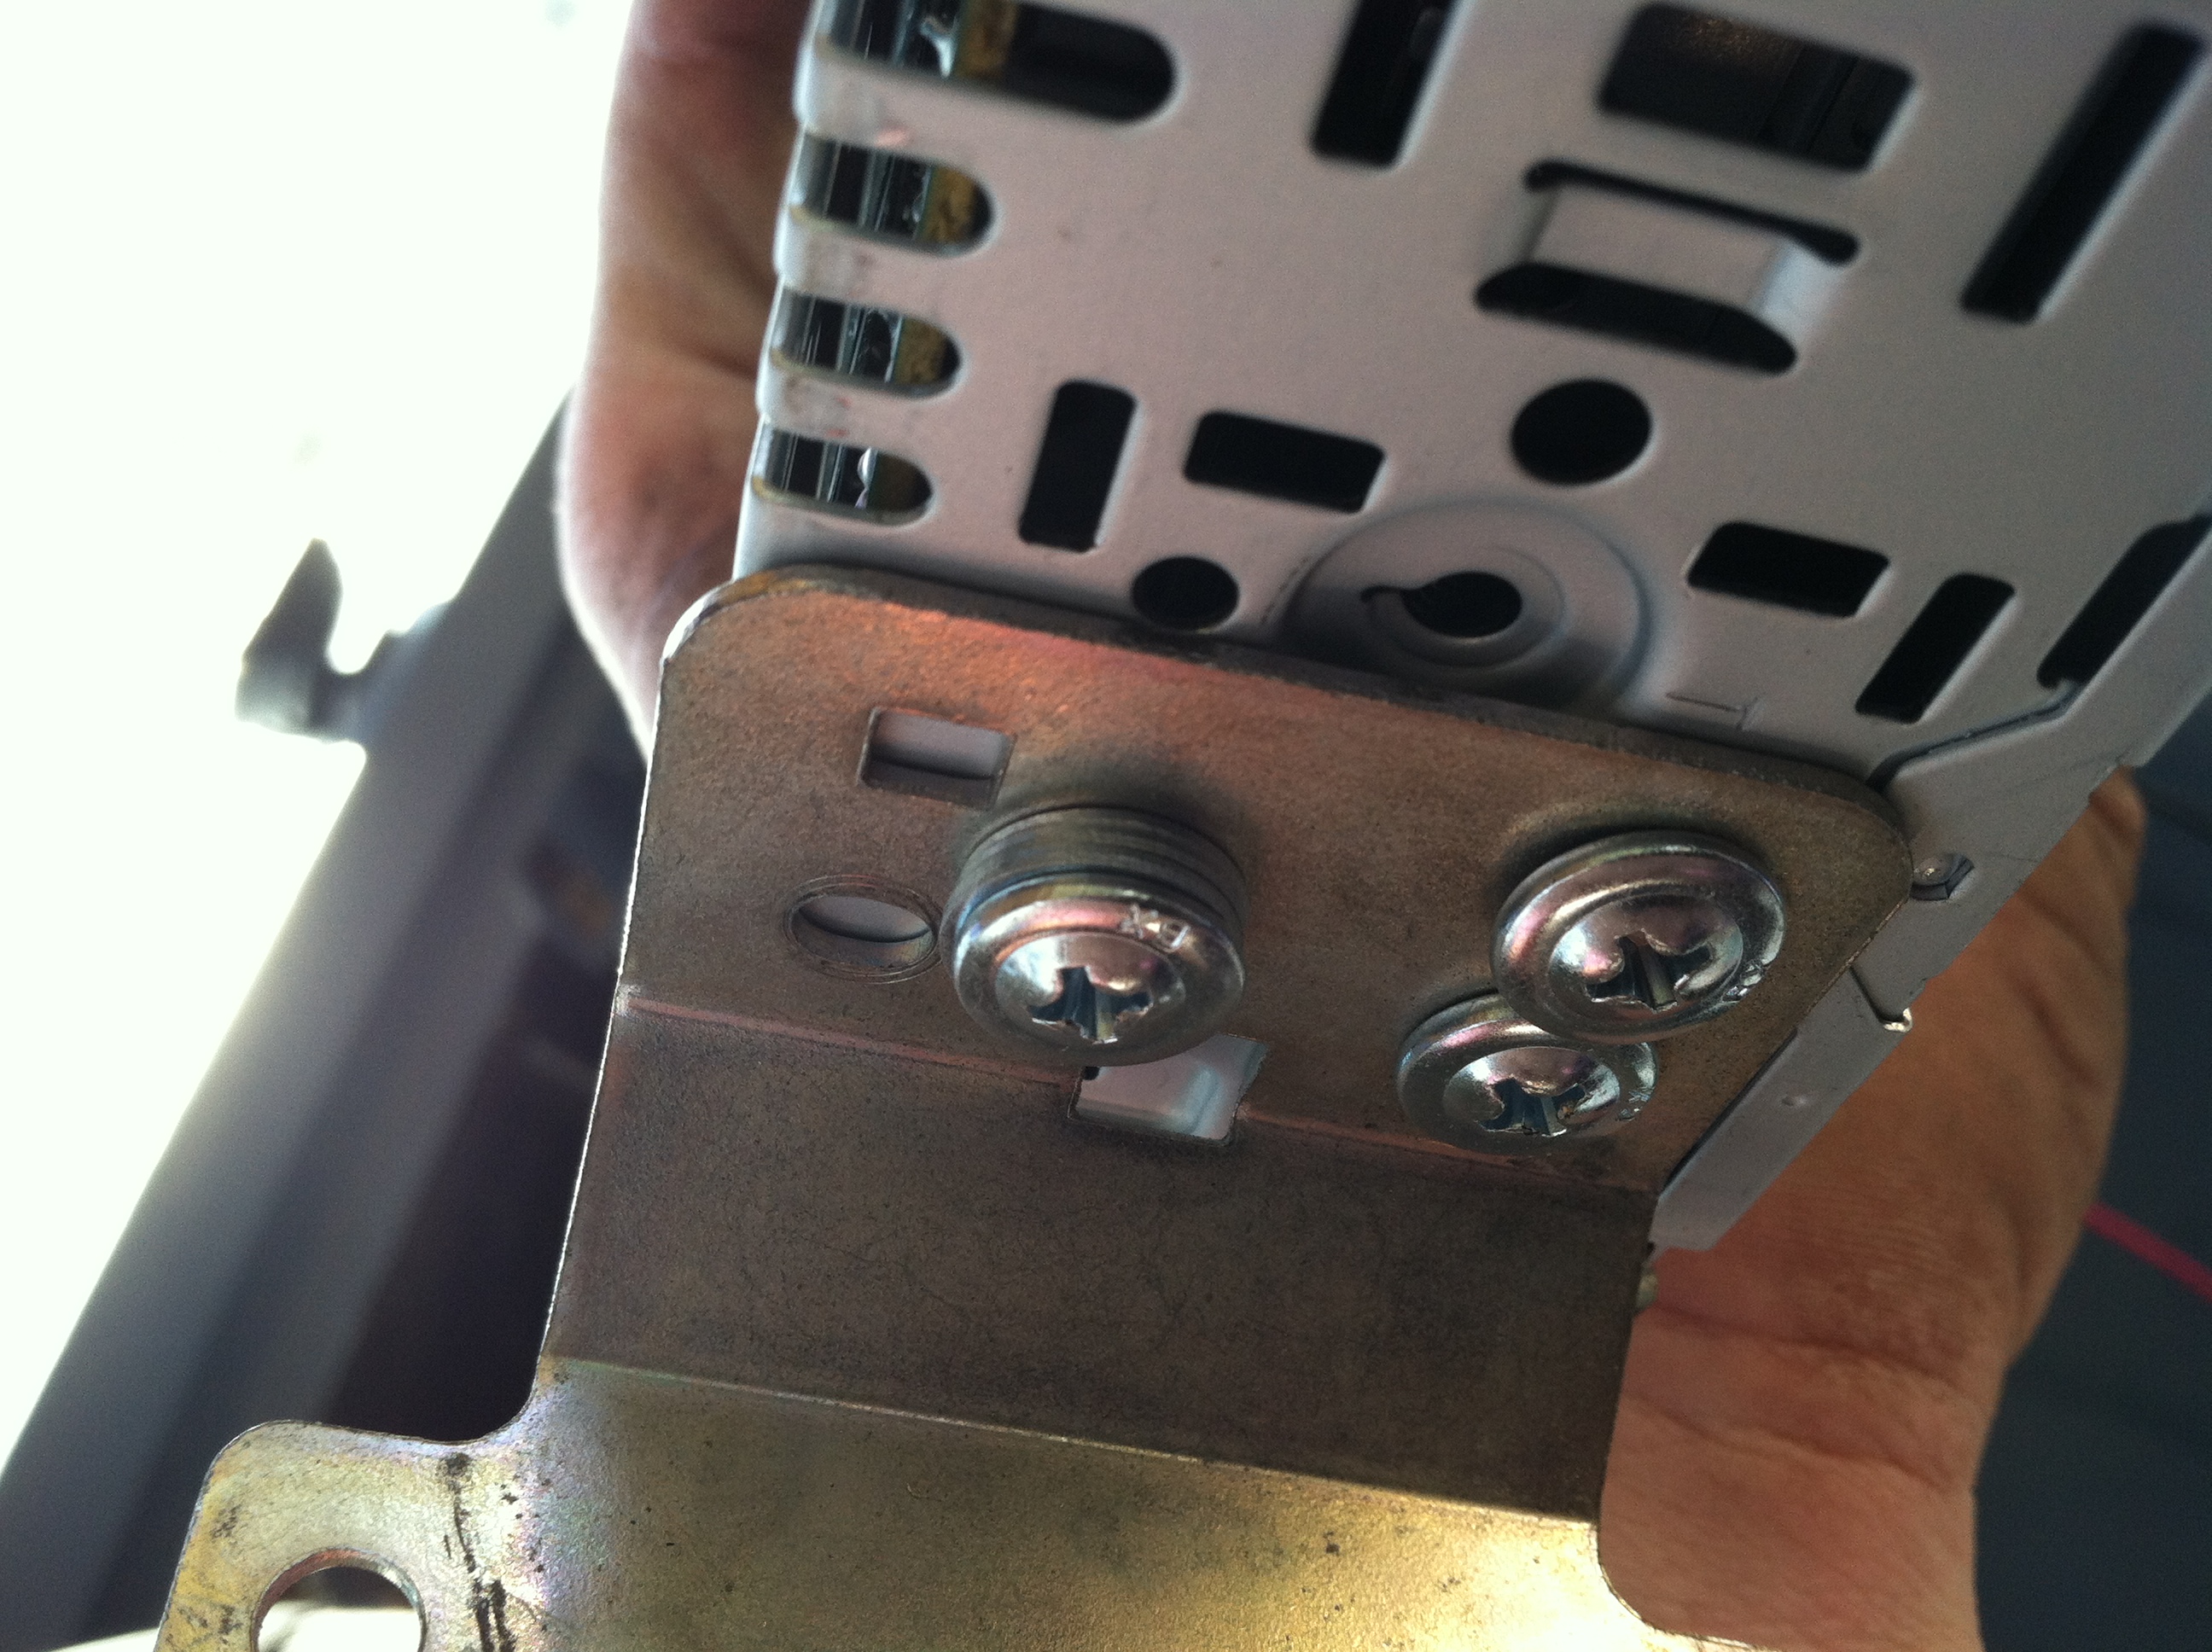
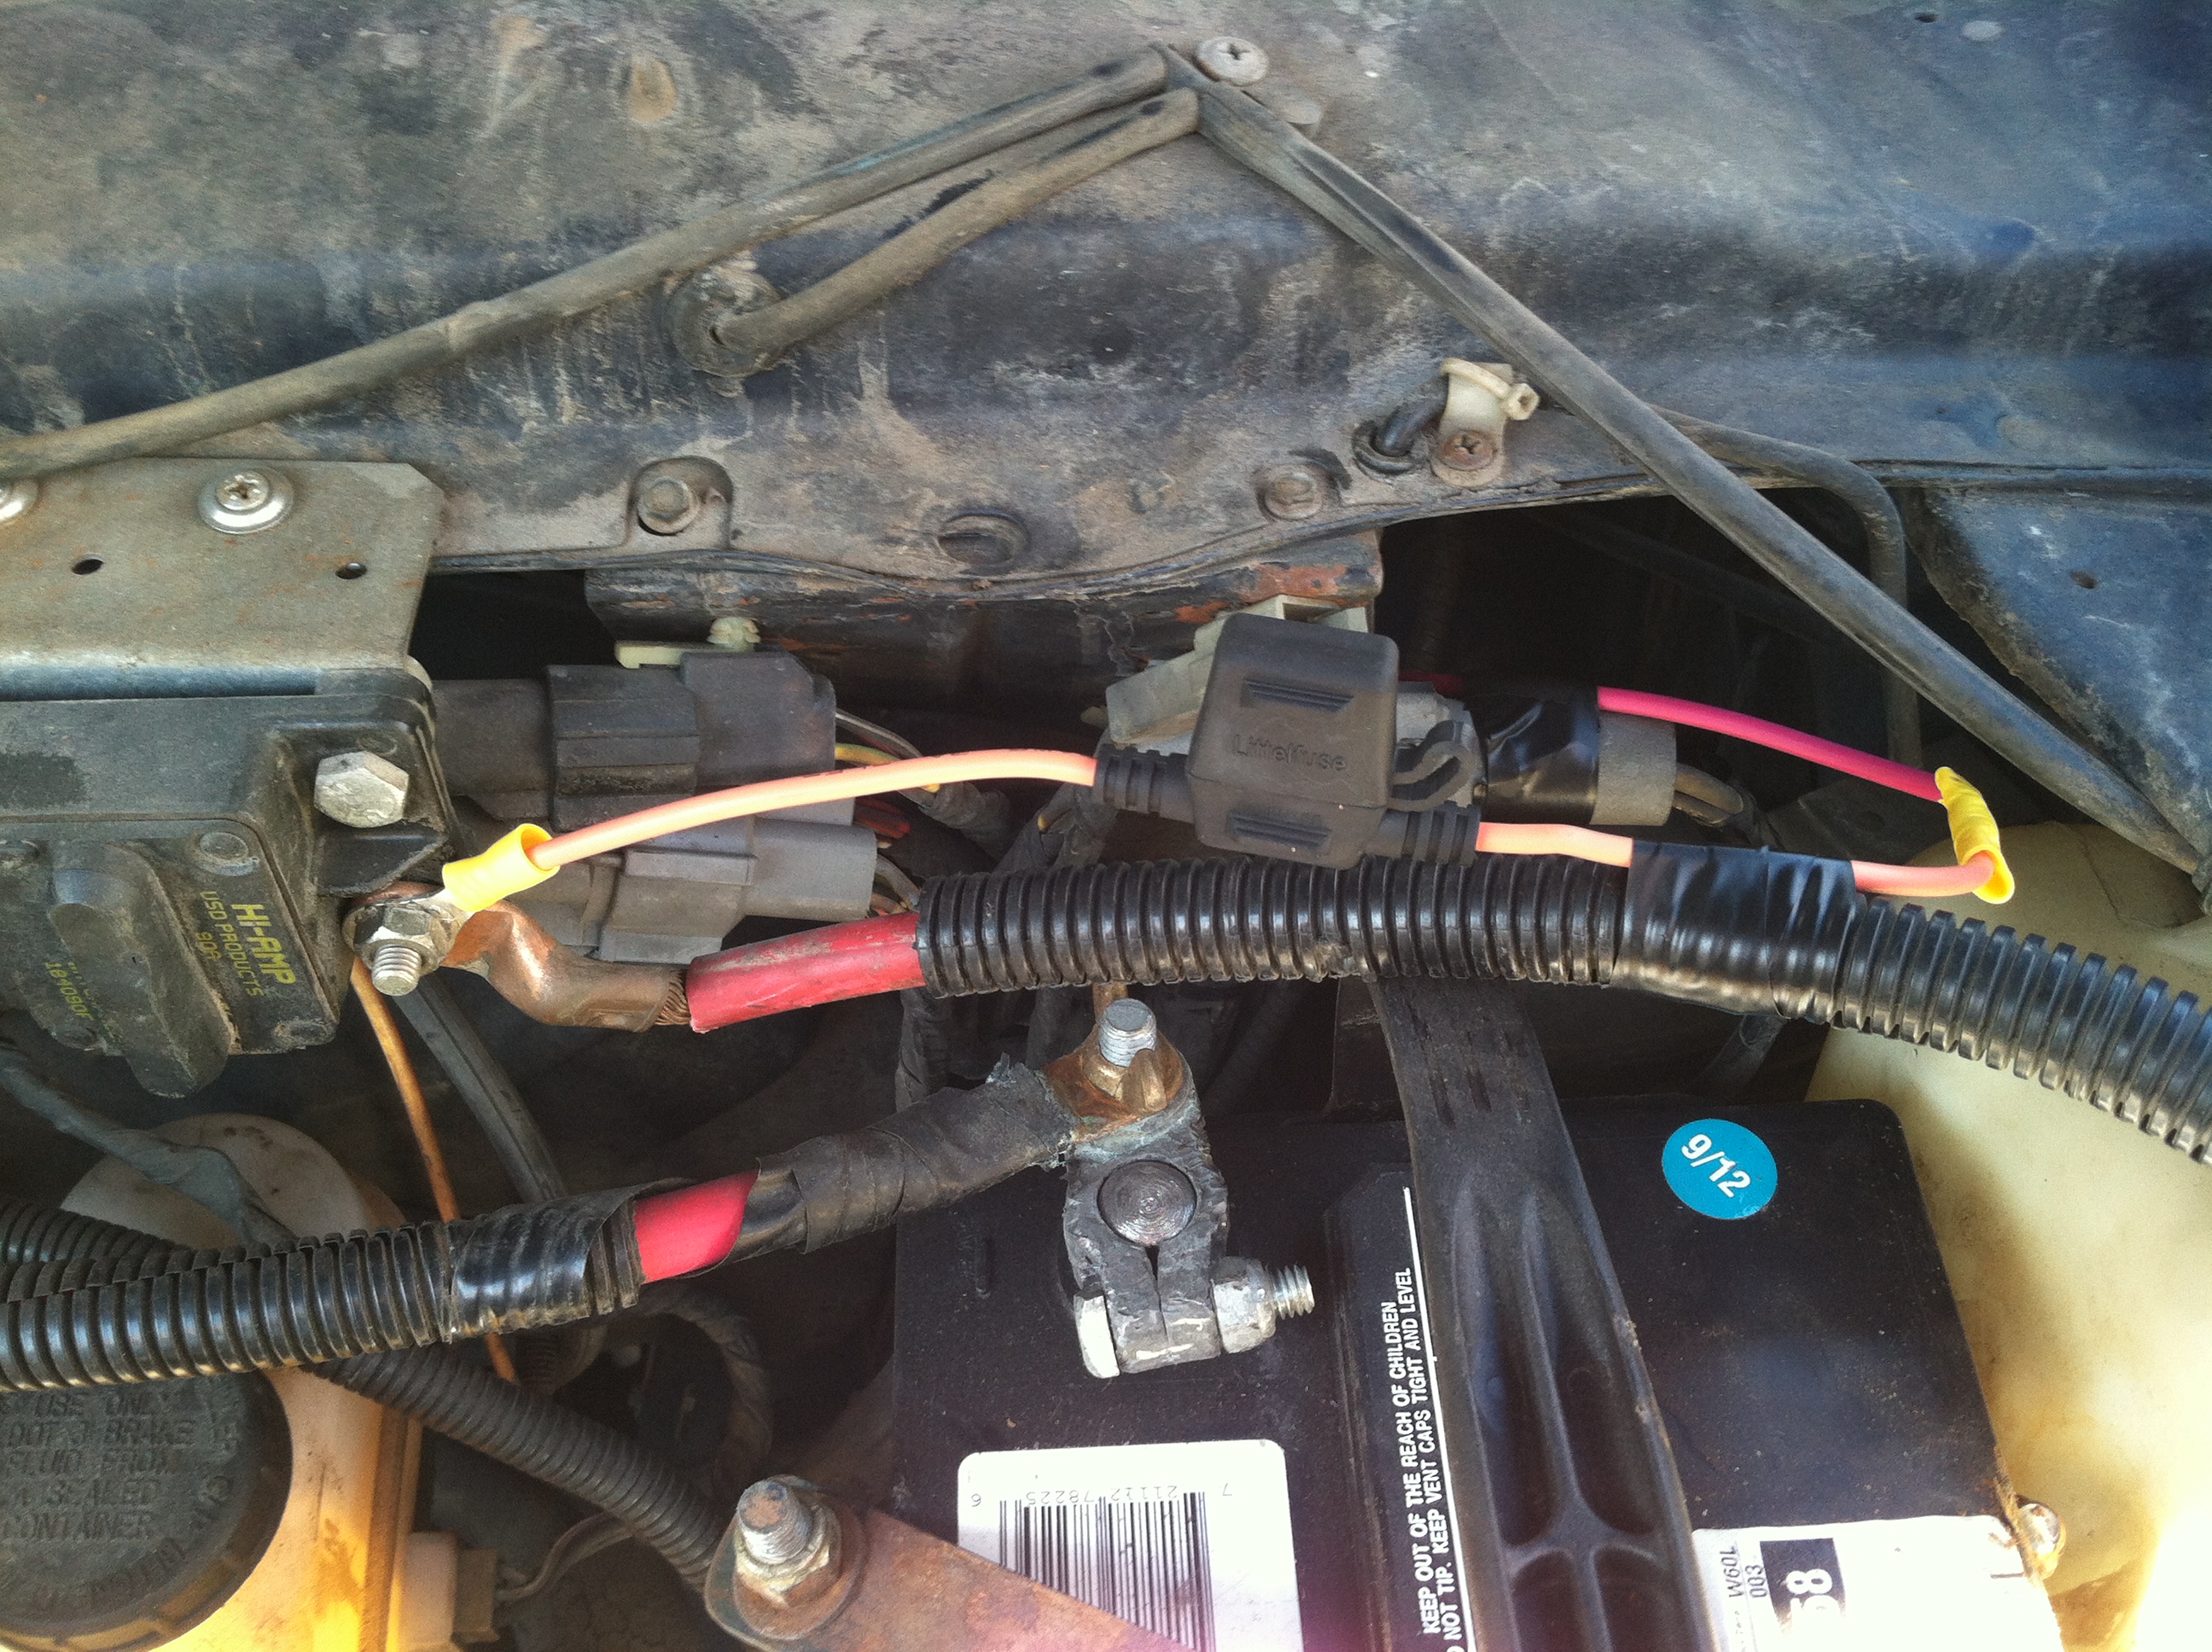
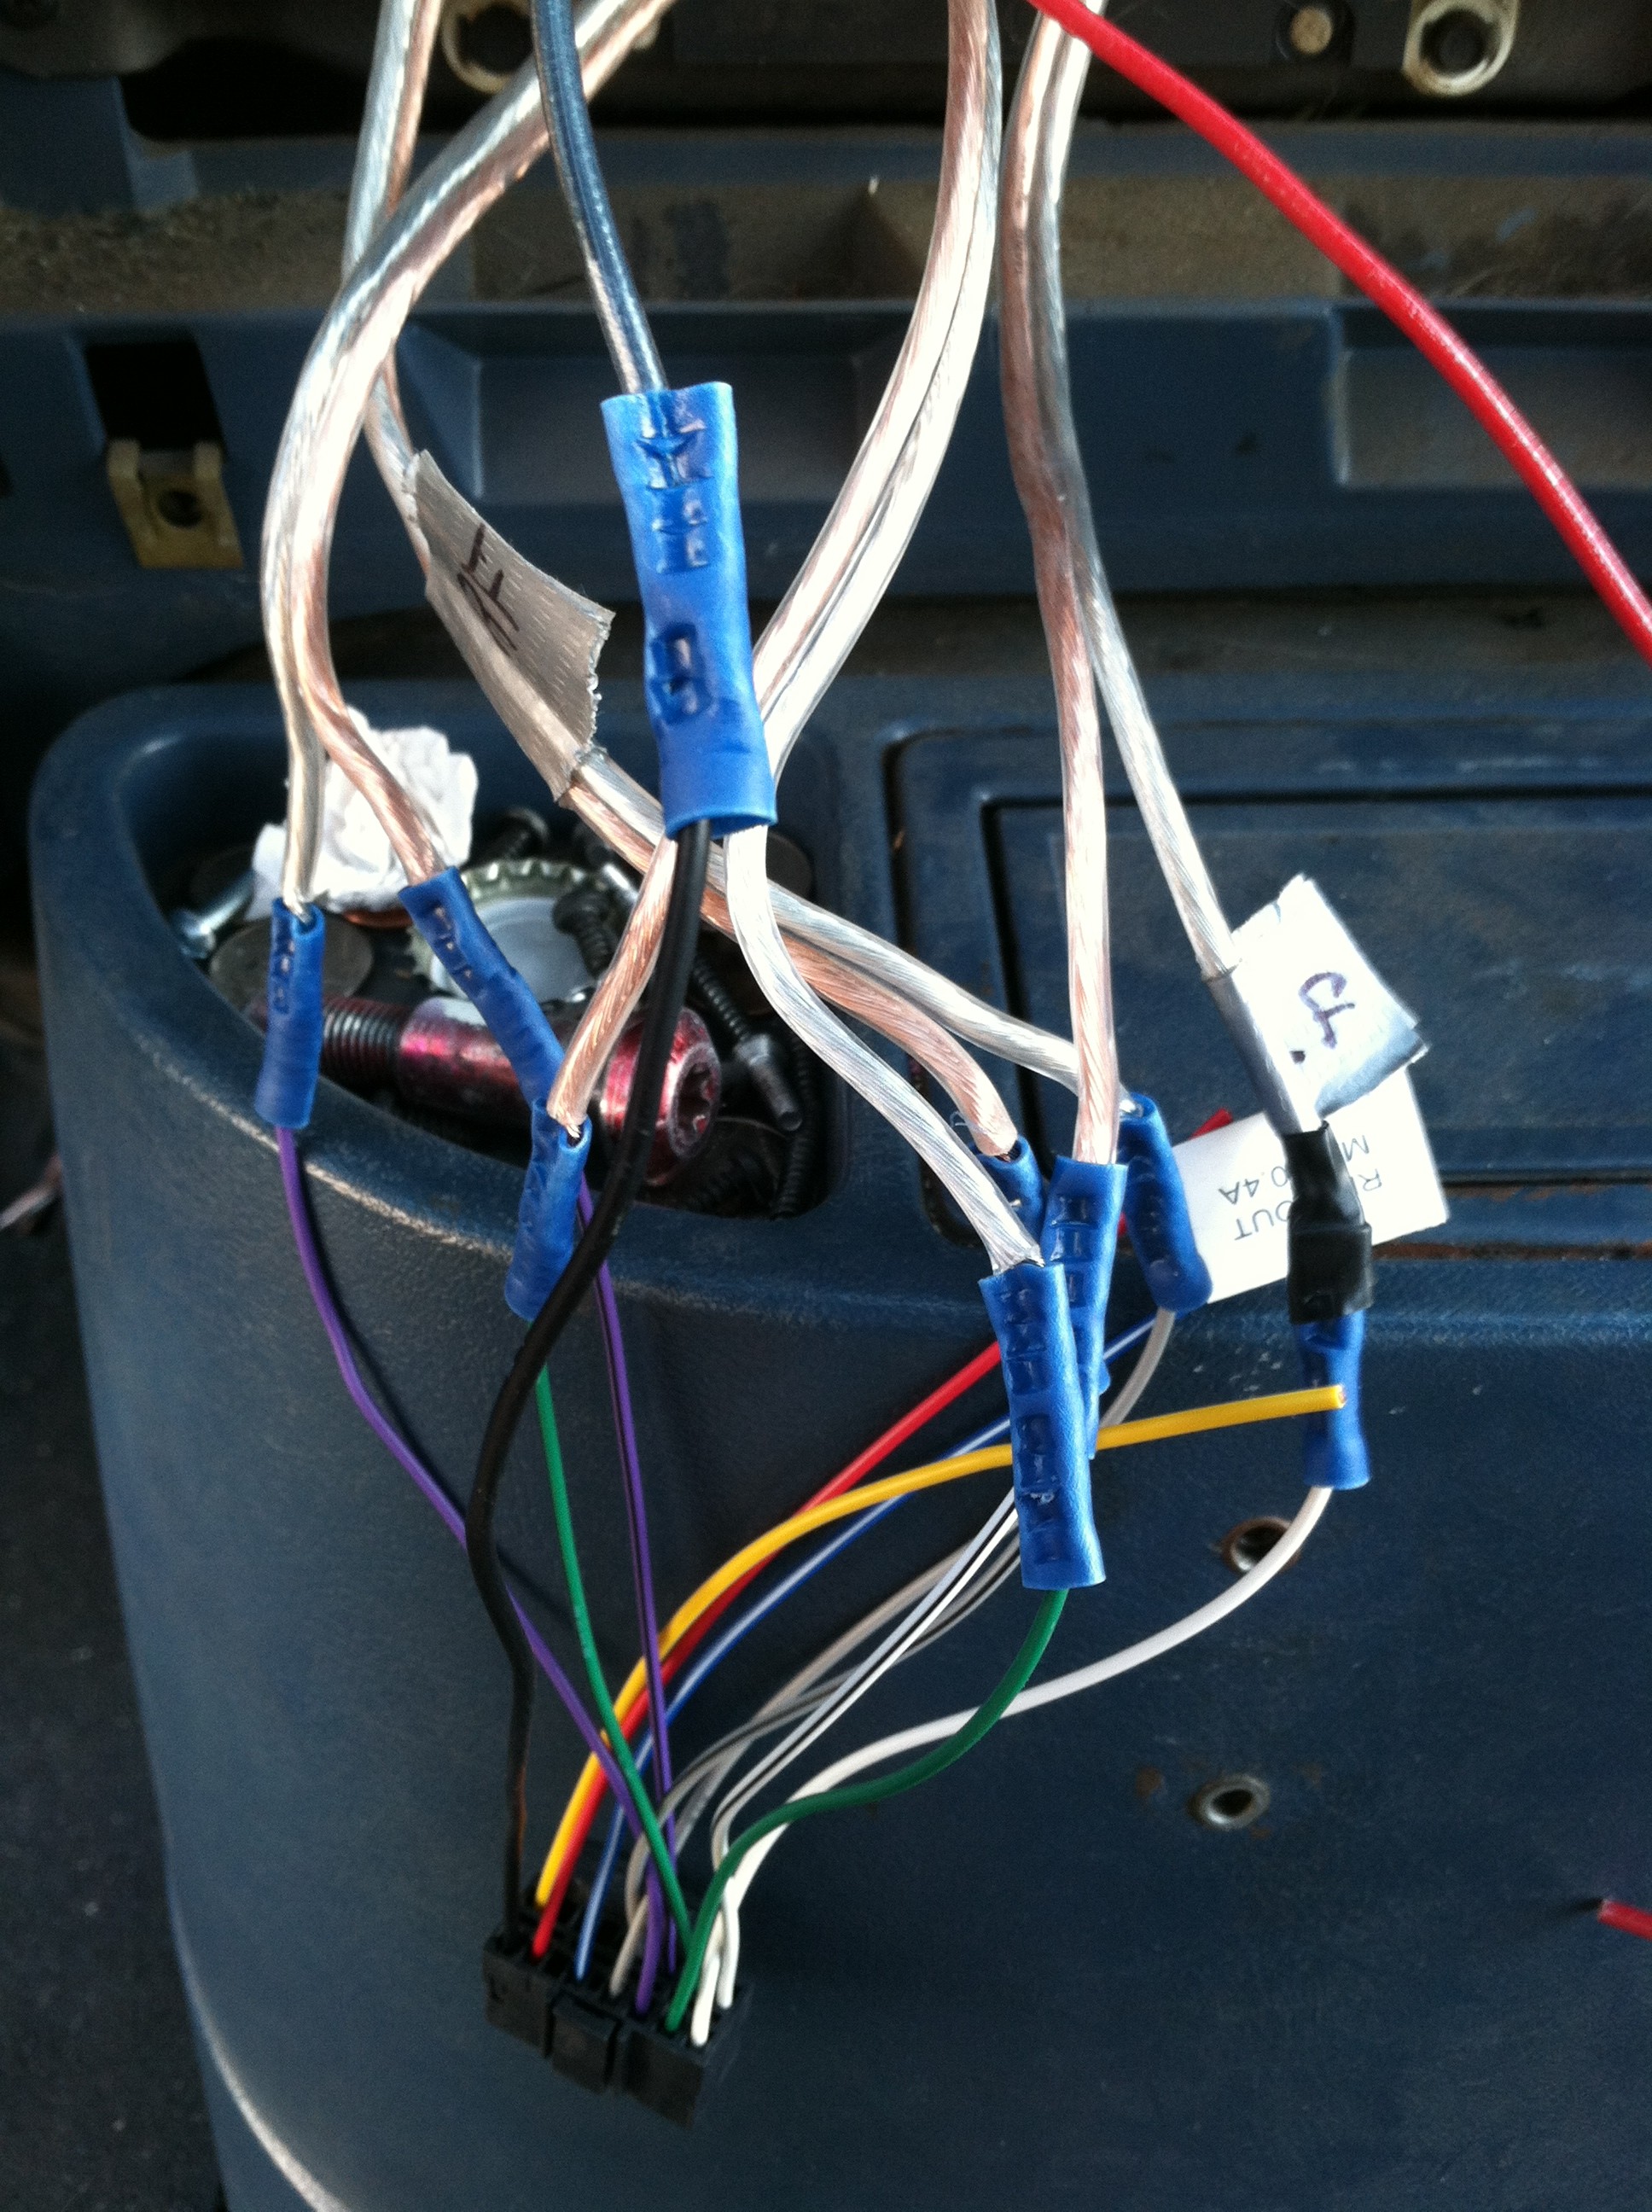
I disassembled the dashboard to run the stereo and aux wires and install the stereo. I had to drill some holes into the new stereo to get the factory brackets to work. I also ran the wire through the firewall that will connect the voltage sensitive relay to the engine battery/alternator. I put a 30 amp water proof fuse on it.

Now it’s time to start bolting stuff down, install the components in the electrical cabinet, and build the bed platform! The end is in sight and the savings account is filling up fast!!
| Canopy | |||
| Bag Style Awning | 140 | ||
| Awning rail | 18.27 | ||
| Angle bar | 29.9 | ||
| 188.17 |