This build has turned from hobby to mission. I feel compelled to put long hours in as much as possible lately. I suppose it could be that the finish line is in sight. Or perhaps I miss camping and climbing nearly every weekend with Niccole. We’ve been snowboarding quite a bit but could definitely go for a trip somewhere cool. I’d sure like that to be in the fully functional van though, and so I continue to throw down in it.
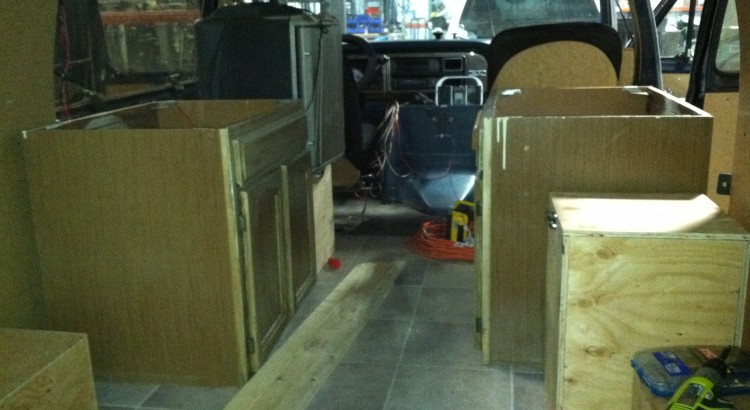
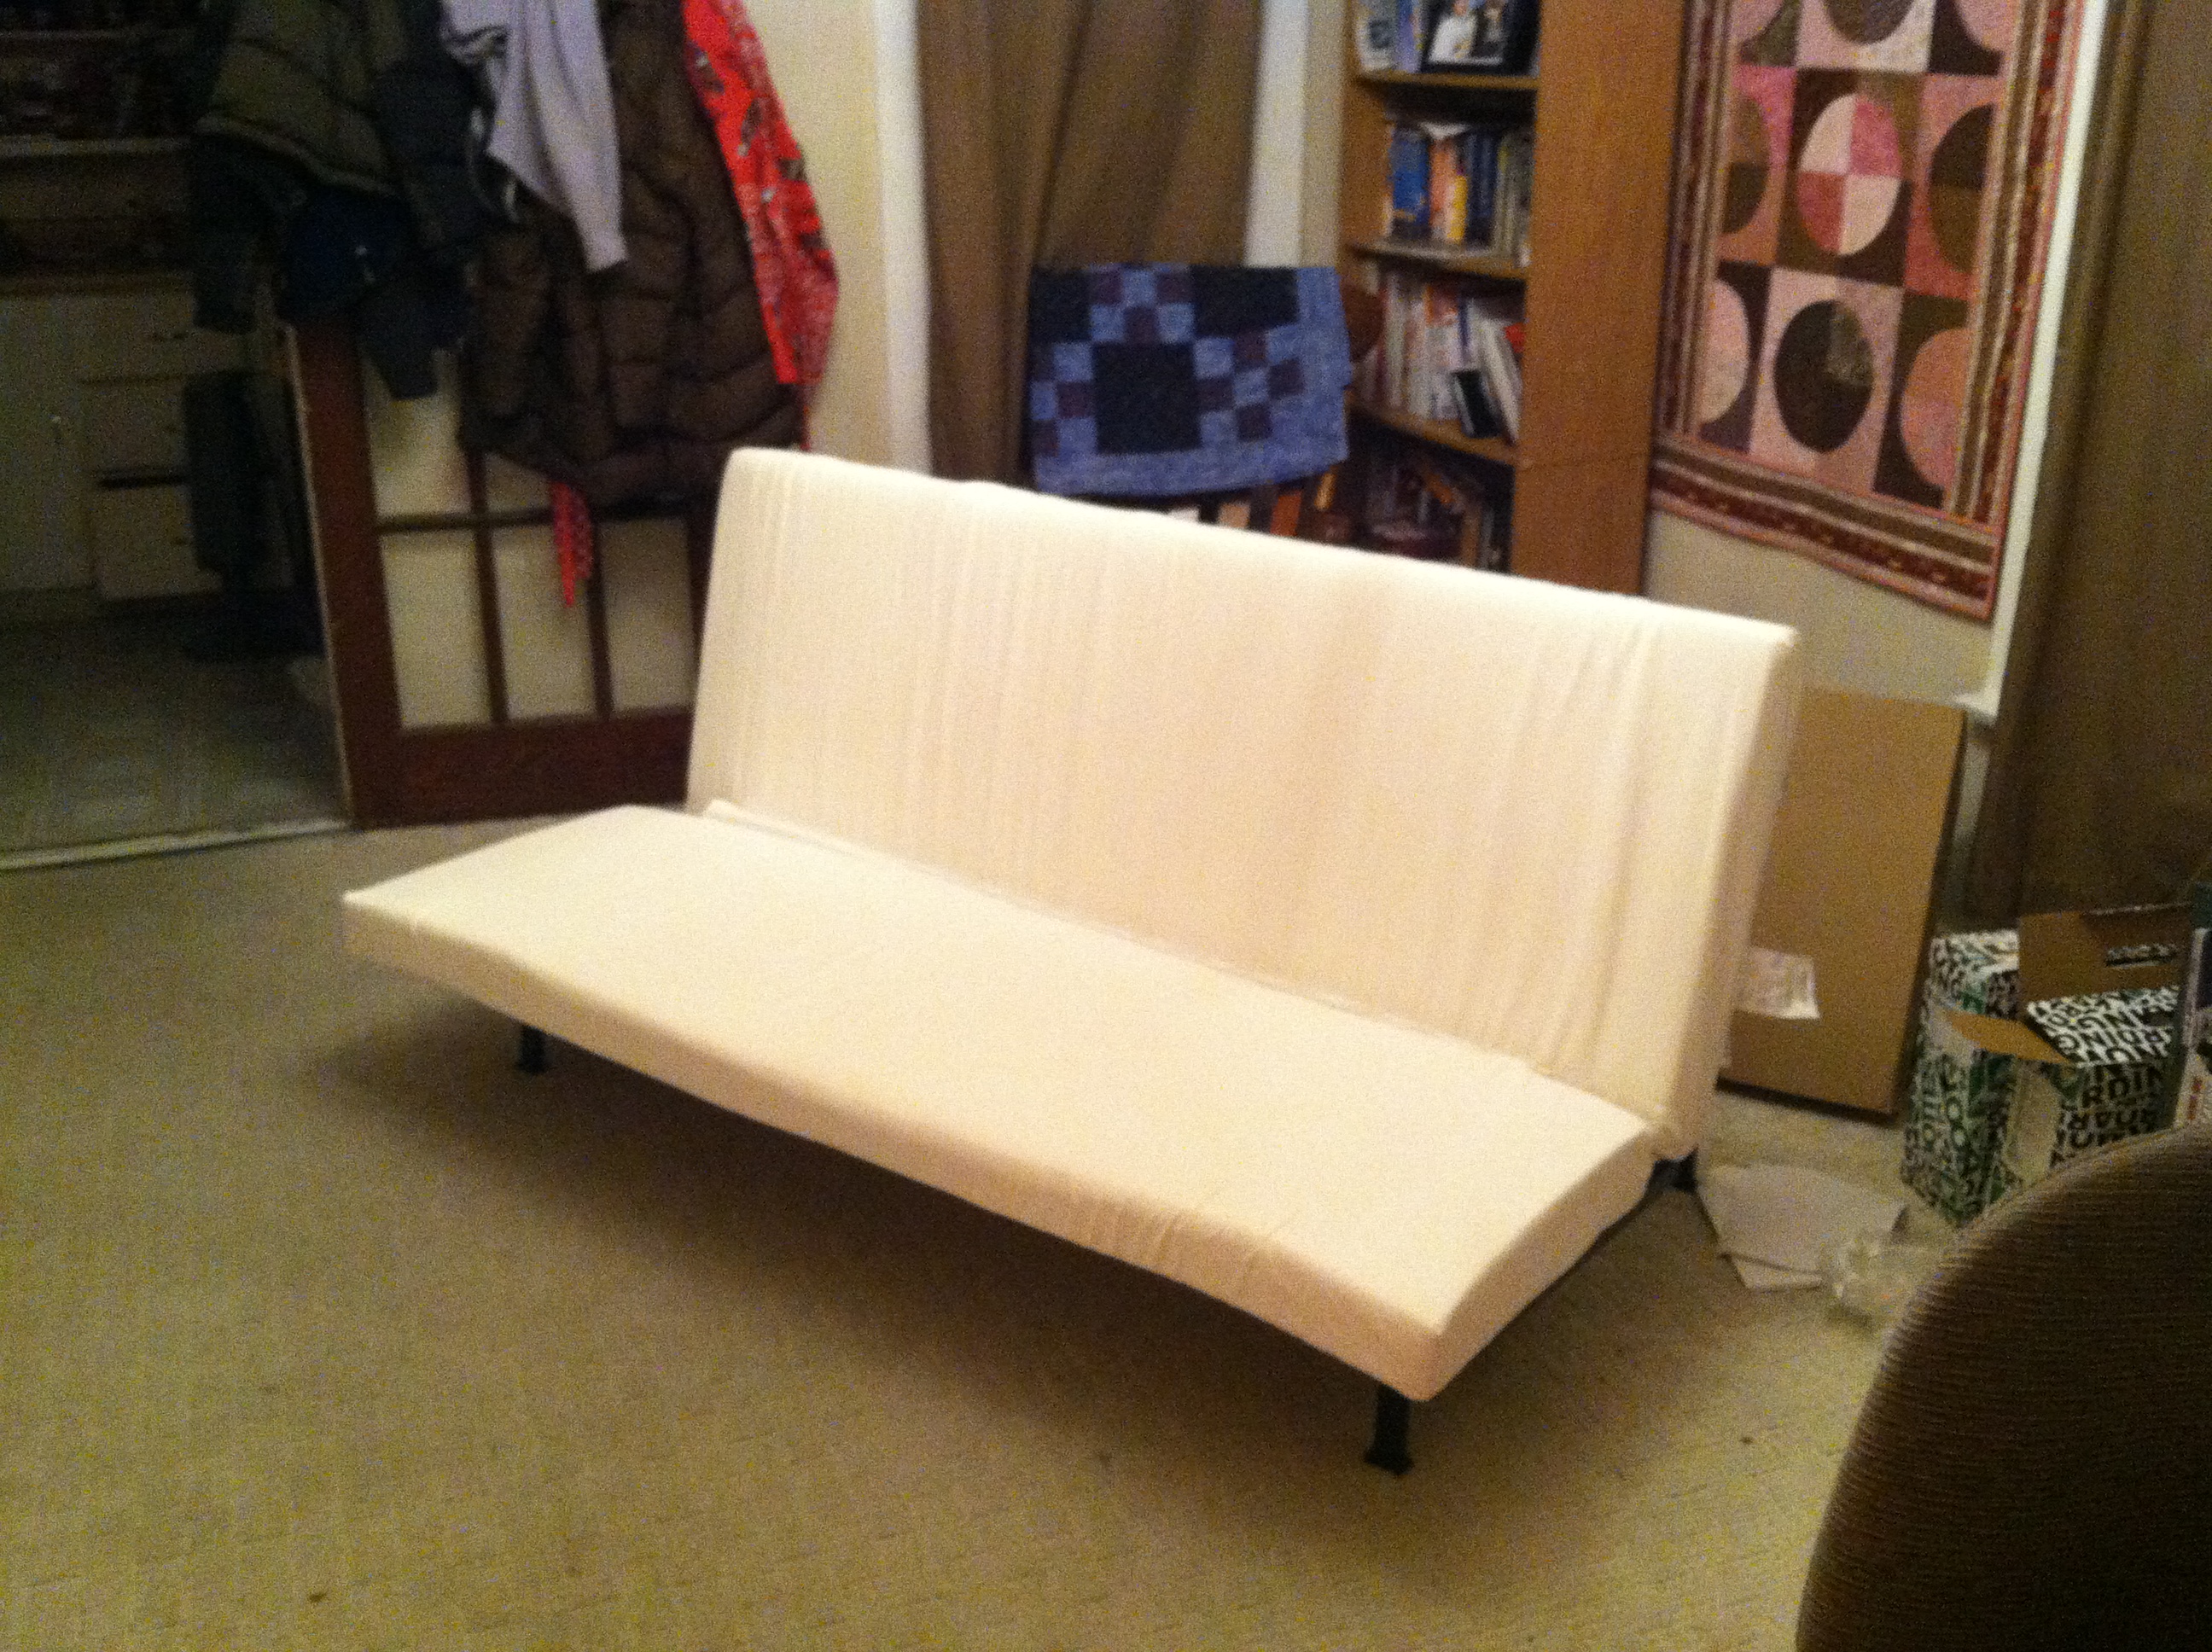
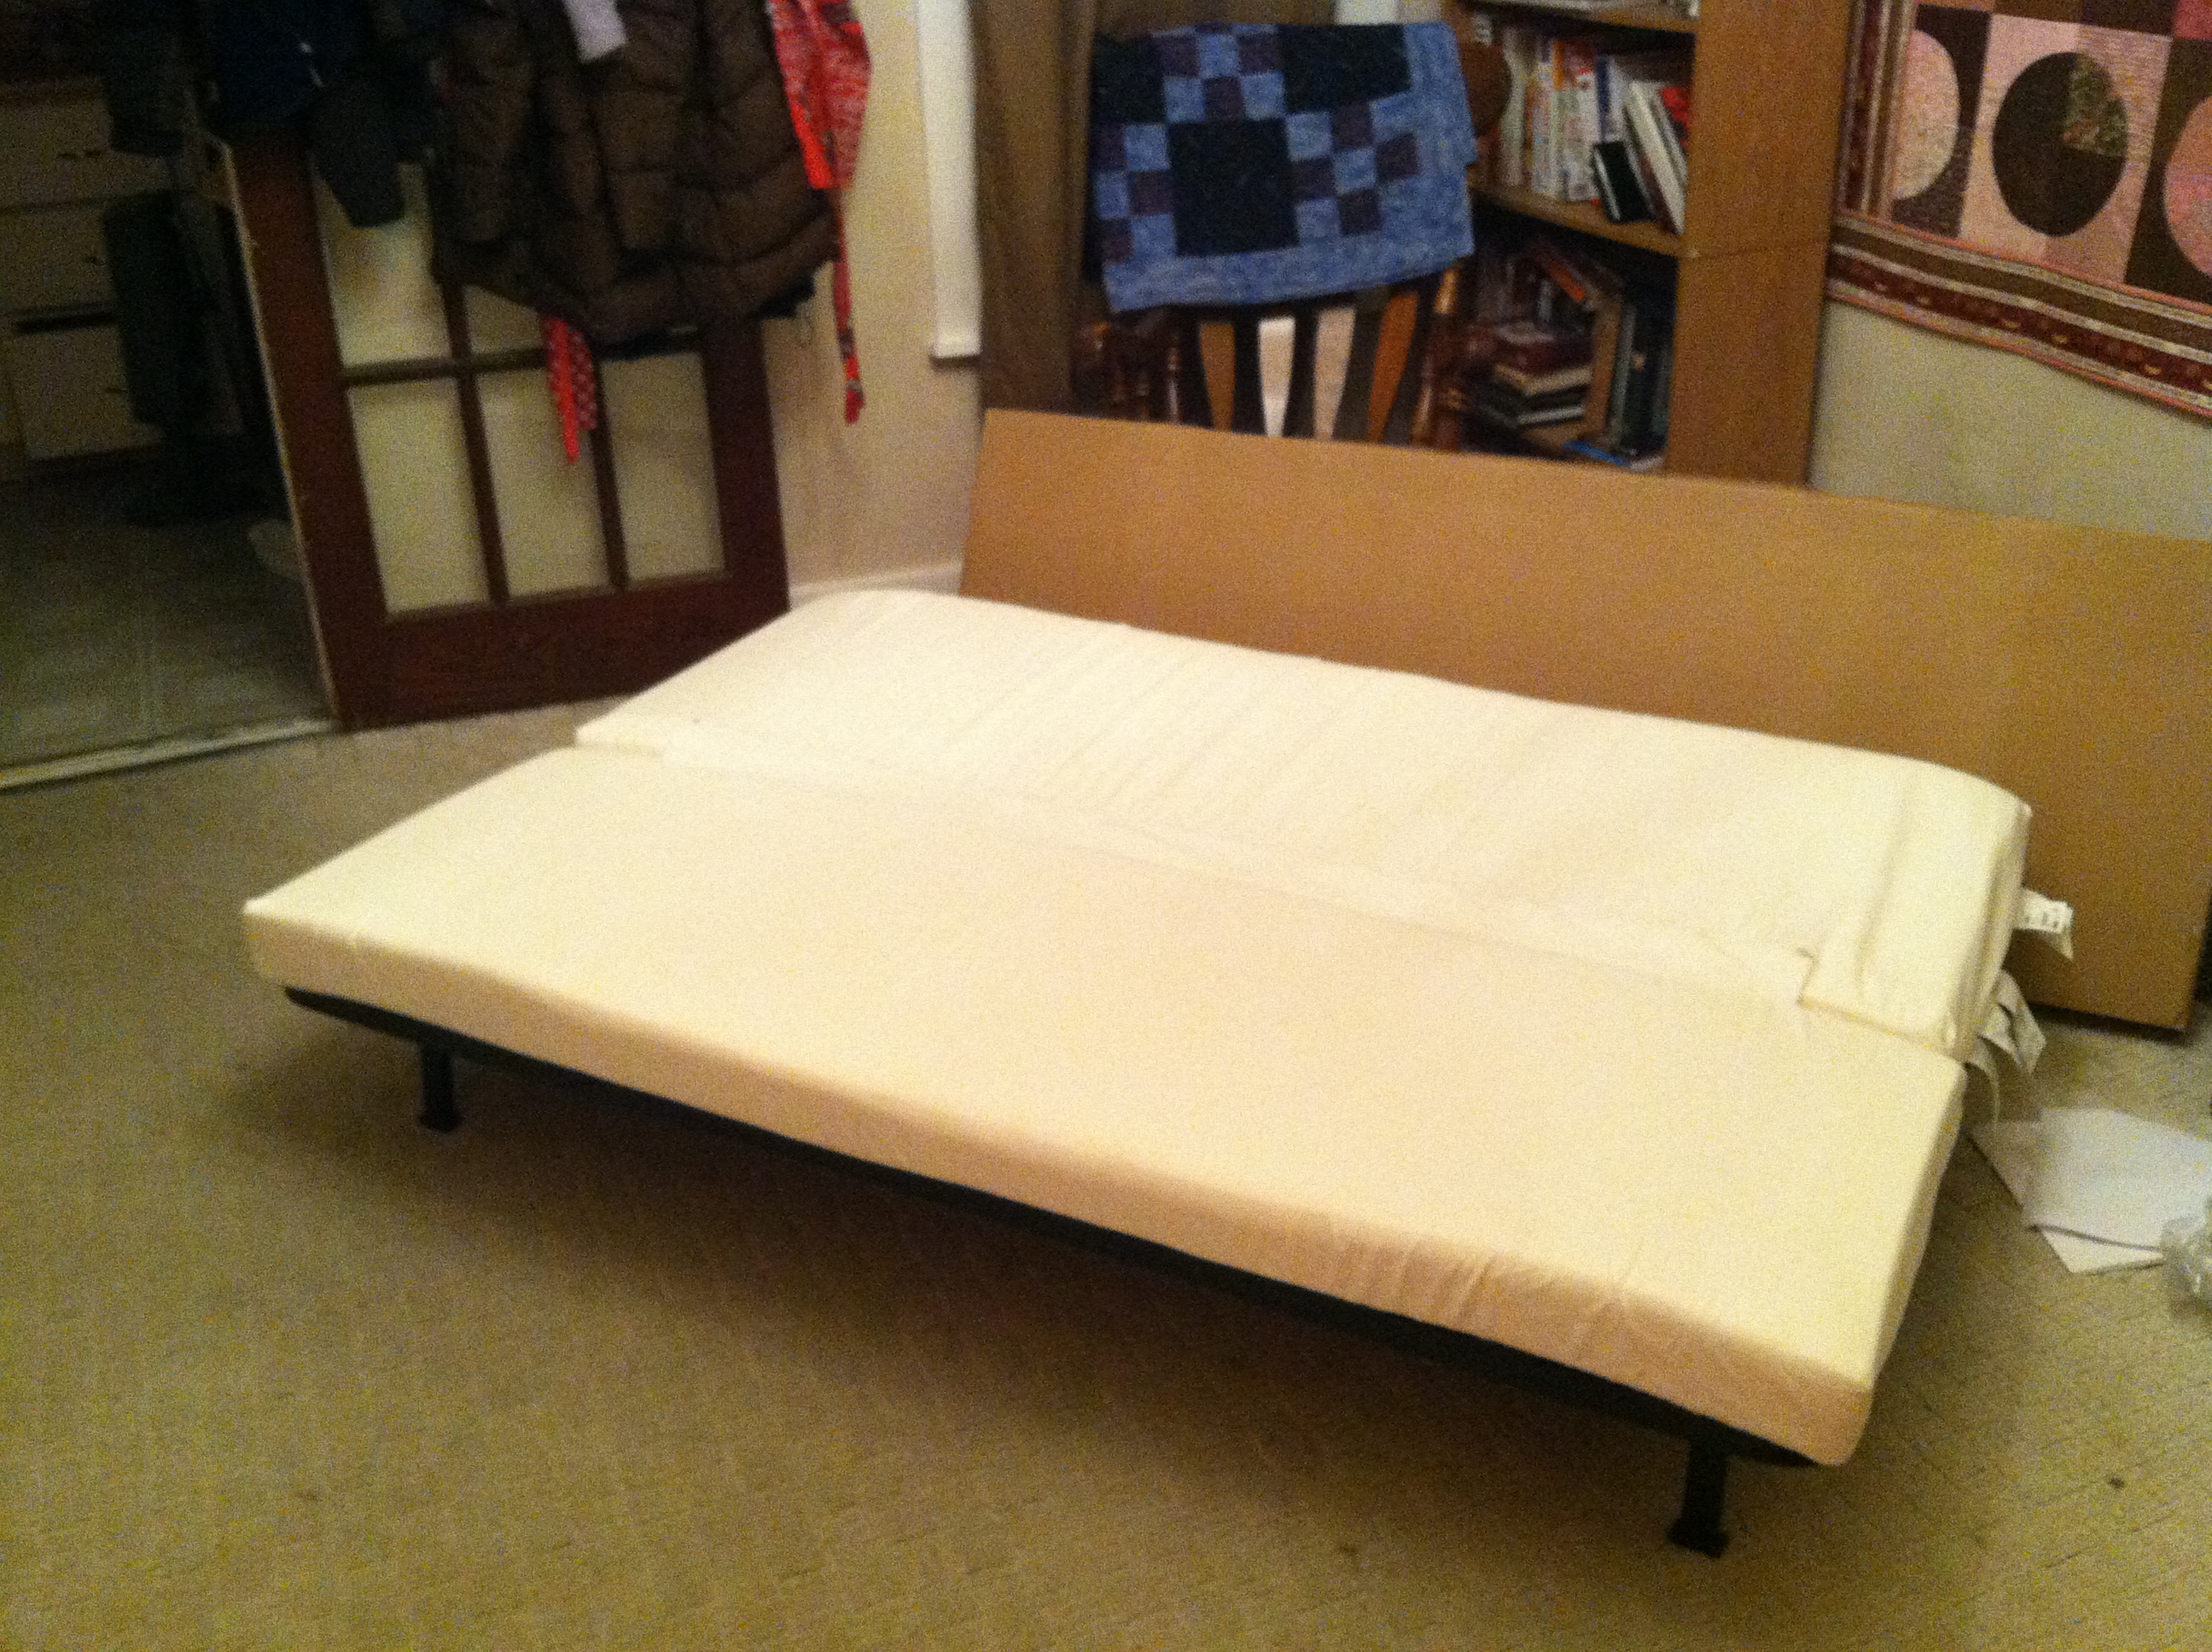
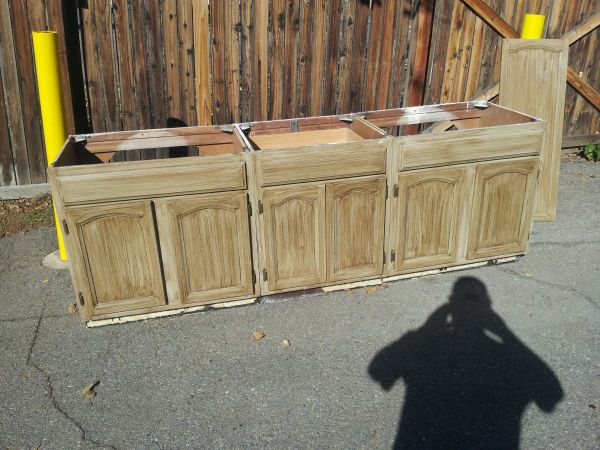
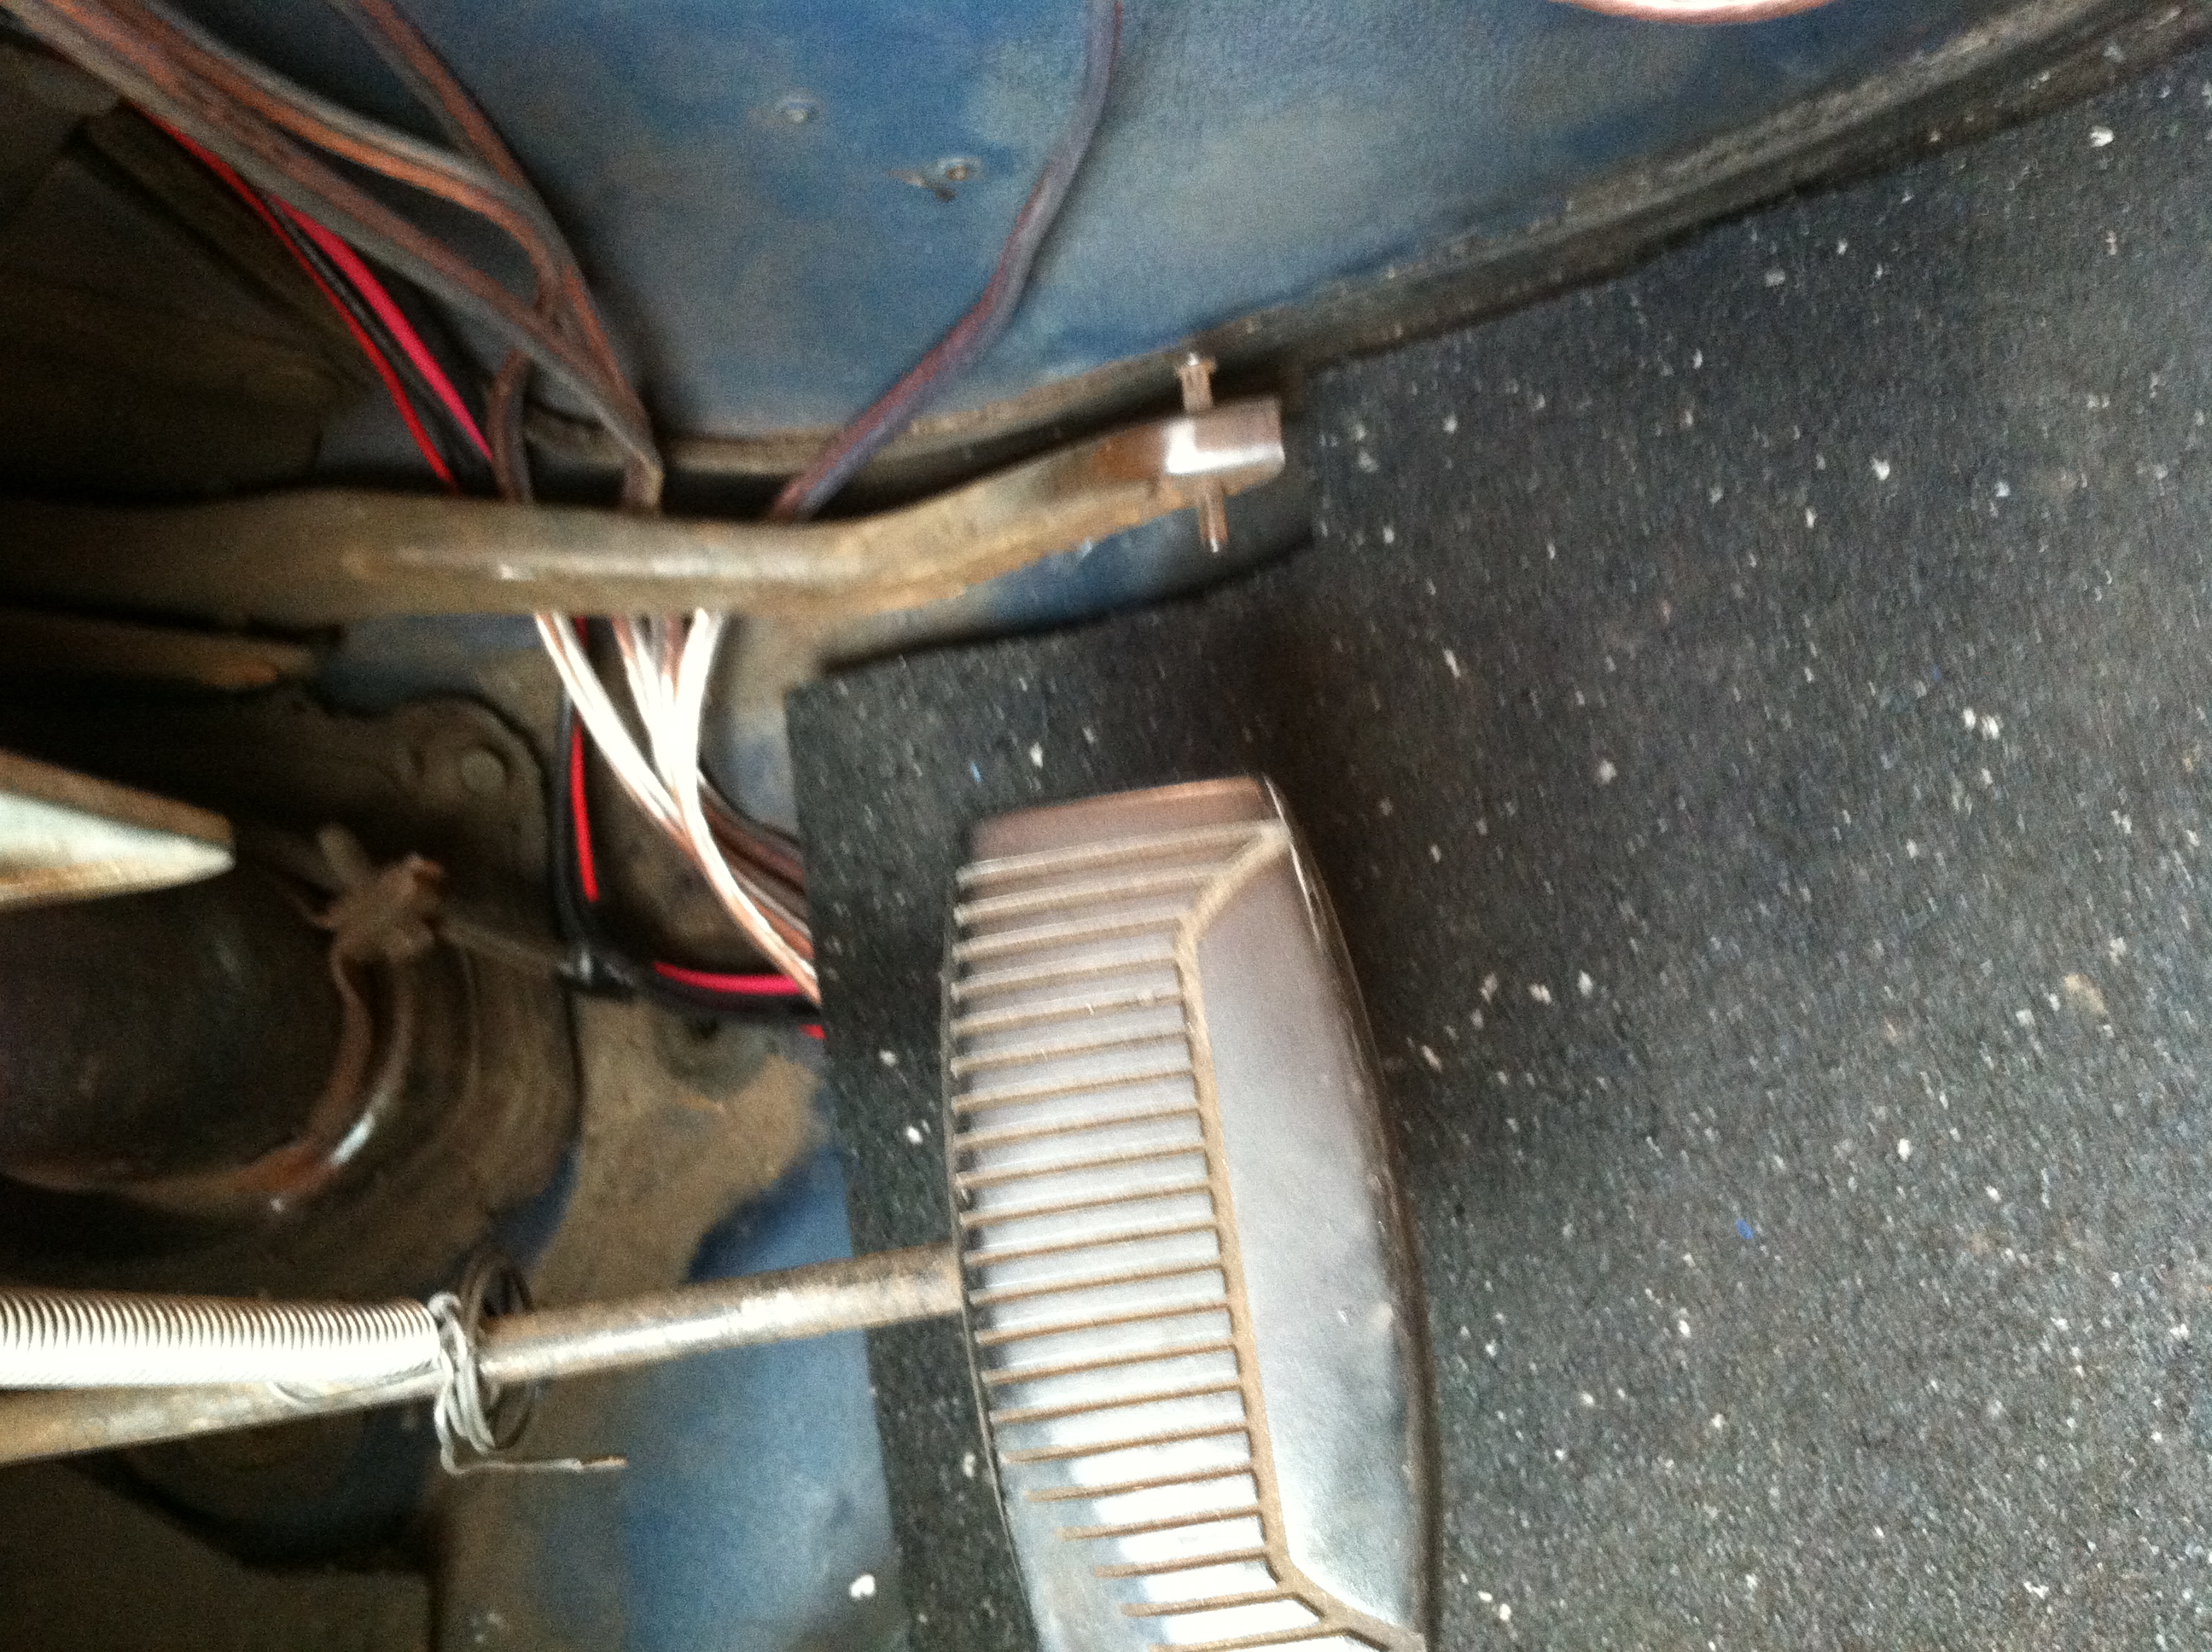
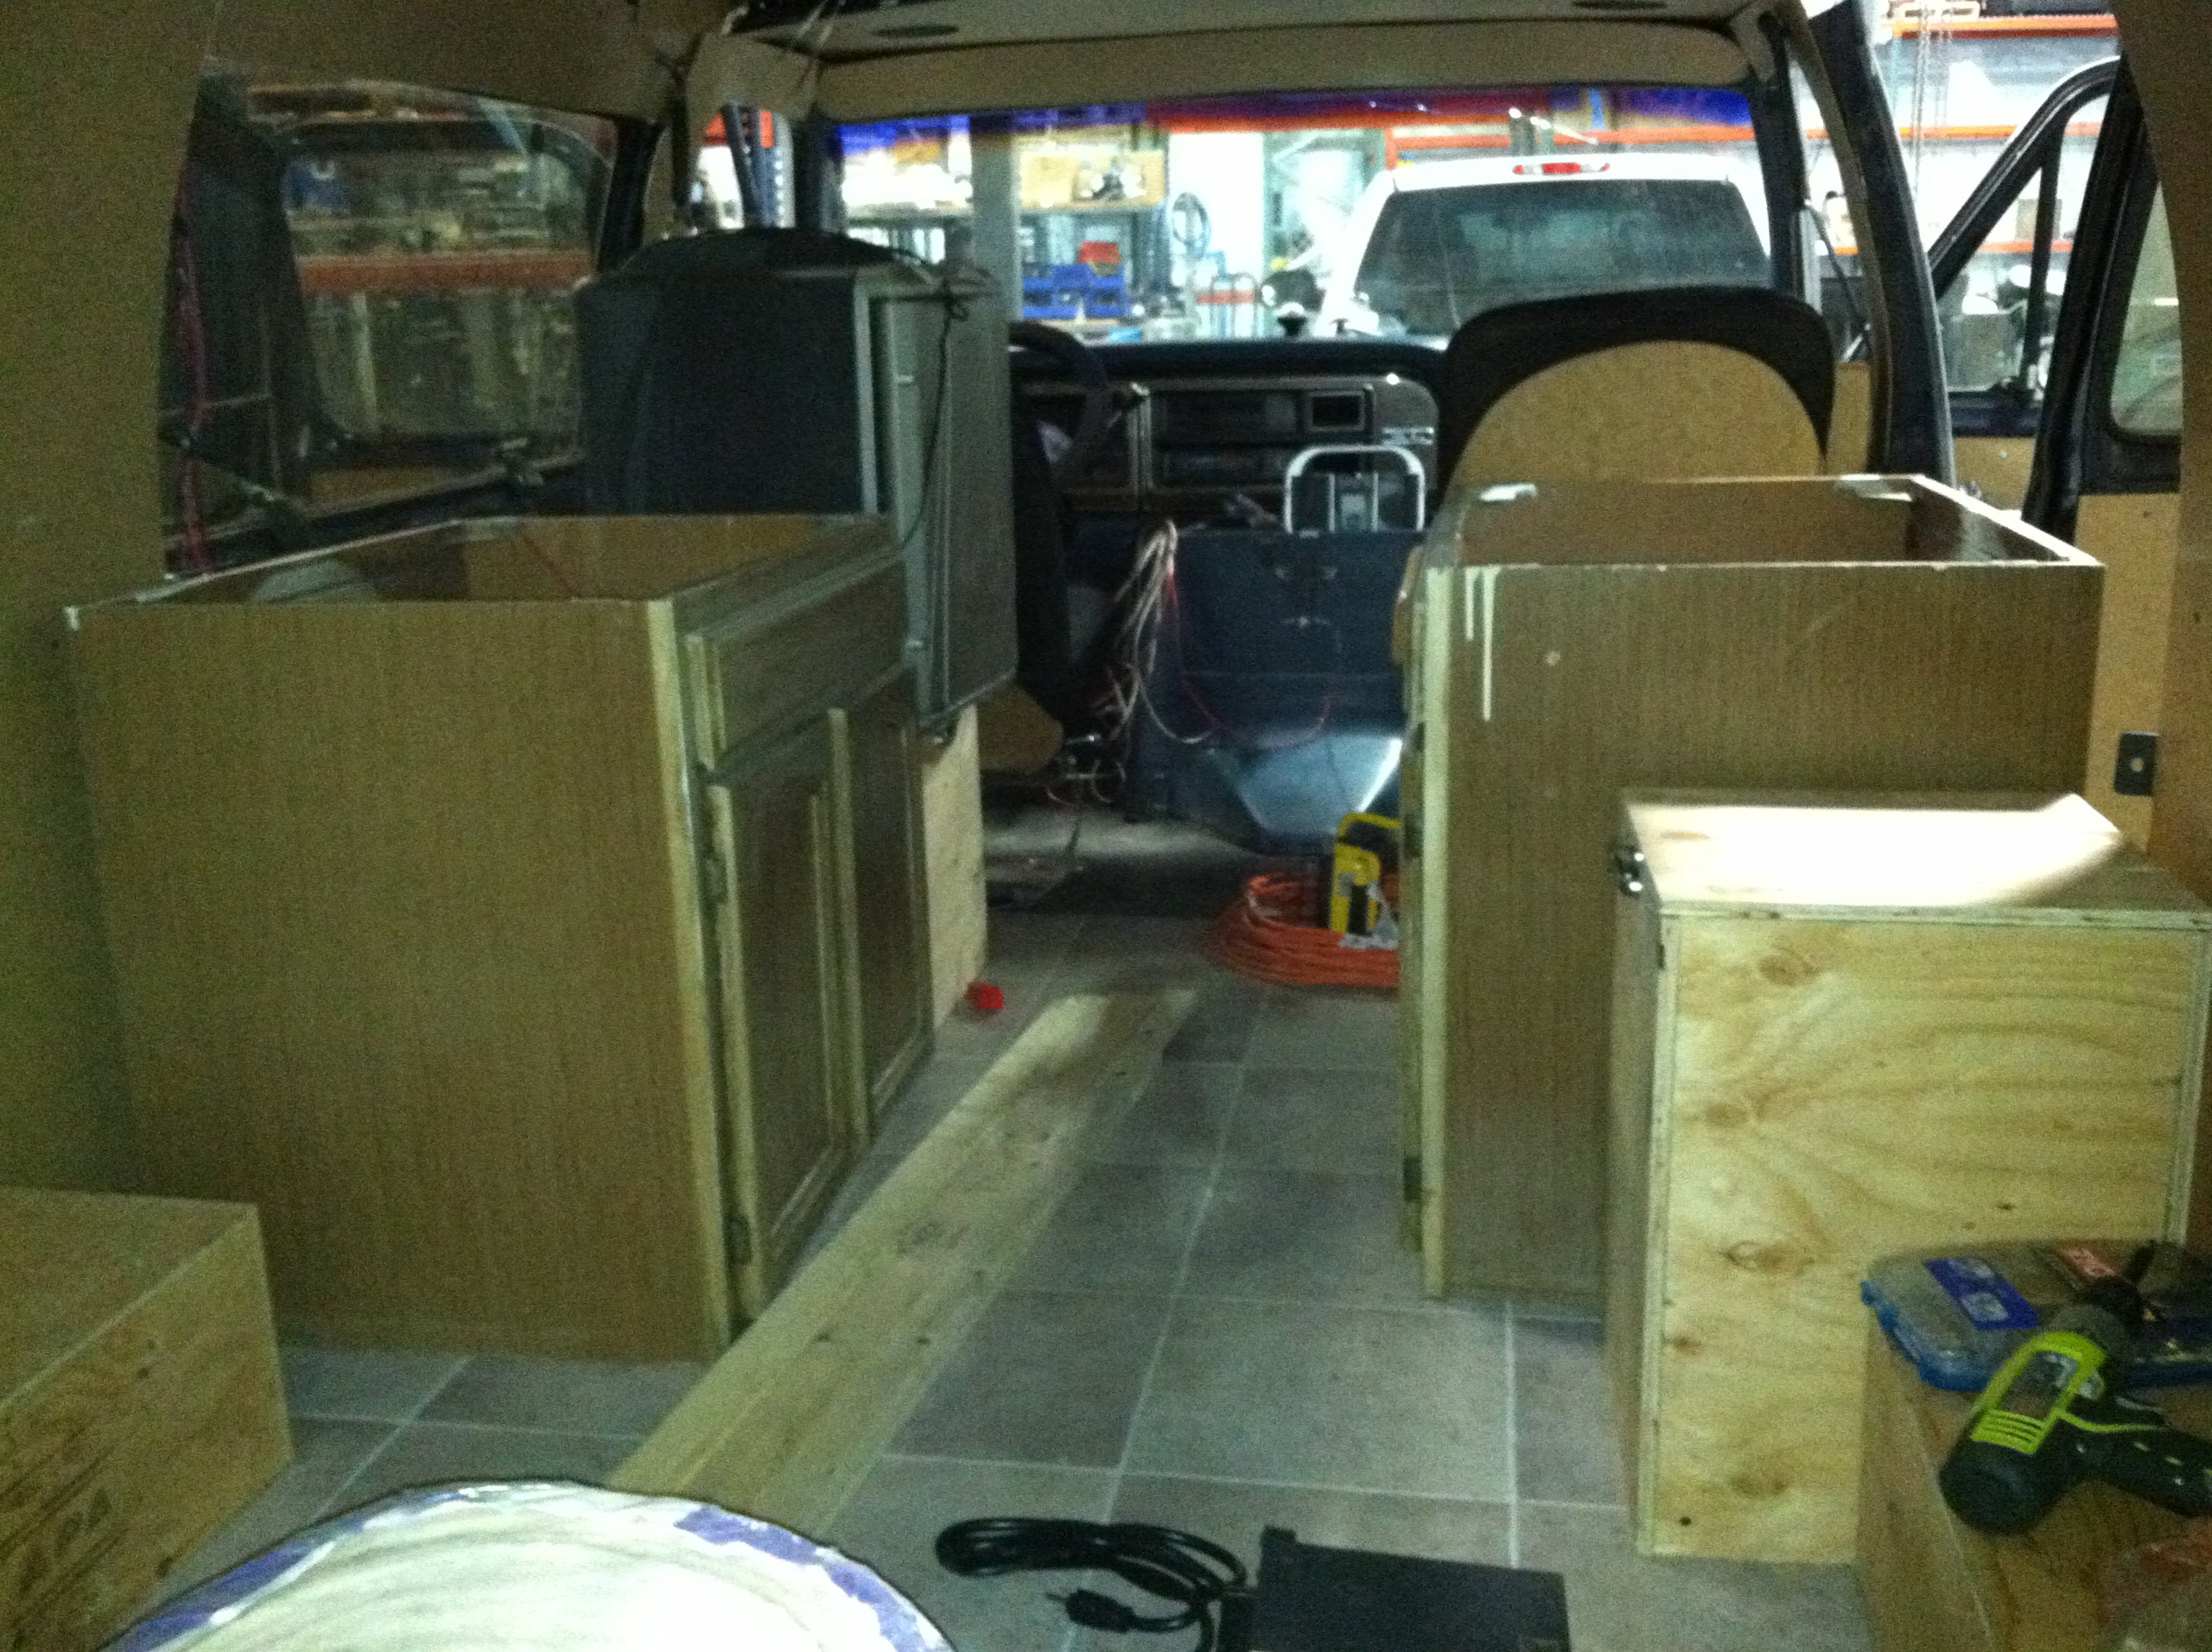
We finally have a floor plan, furniture layout, and concrete idea of where everything is going to go. Niccole and I searched craigslist and found a couple used bathroom vanities for $35 a piece. I’m not a cabinet maker by any stretch of the imagination and this seemed a logical start for furnishing. Having purchased them and placed them inside we really were able to get a feel for where other things would fit nicely and for how big the platform for the bed should be. We came up with a pretty ingenious design for that which culminated in a trip to Ikea. It was a funny day. There is a switch in the van that must be turned on in order for the vehicle to start. For some reason, the headlights in the van cannot be turned off at all. The on/off switch simply does nothing. I can find no other reason for the second ignition switch other than to forget it is on, which leaves the headlights on, which drains the battery. Perhaps the switch was designed specifically to punish me when I’m forgetful. Anyways, when leaving to get the cabinets we once again had a dead battery. After getting a jump I wanted to be sure that if it was all the way flattened and we needed a new battery that we didn’t get stranded on the other side of Denver, so I left the van running everywhere we went that day (we have a separate key for locking the doors). After grabbing the cabinets and stopping at a badass Wholefoods for lunch we drove to Ikea. I found it amusing that we left the van running, unattended in the lot while we were in there for so long. The trip was a success though and having the dimensions and a tape measure with us, we stormed the futon section until we found just what we were looking for. We have a bed! And some cabinets!
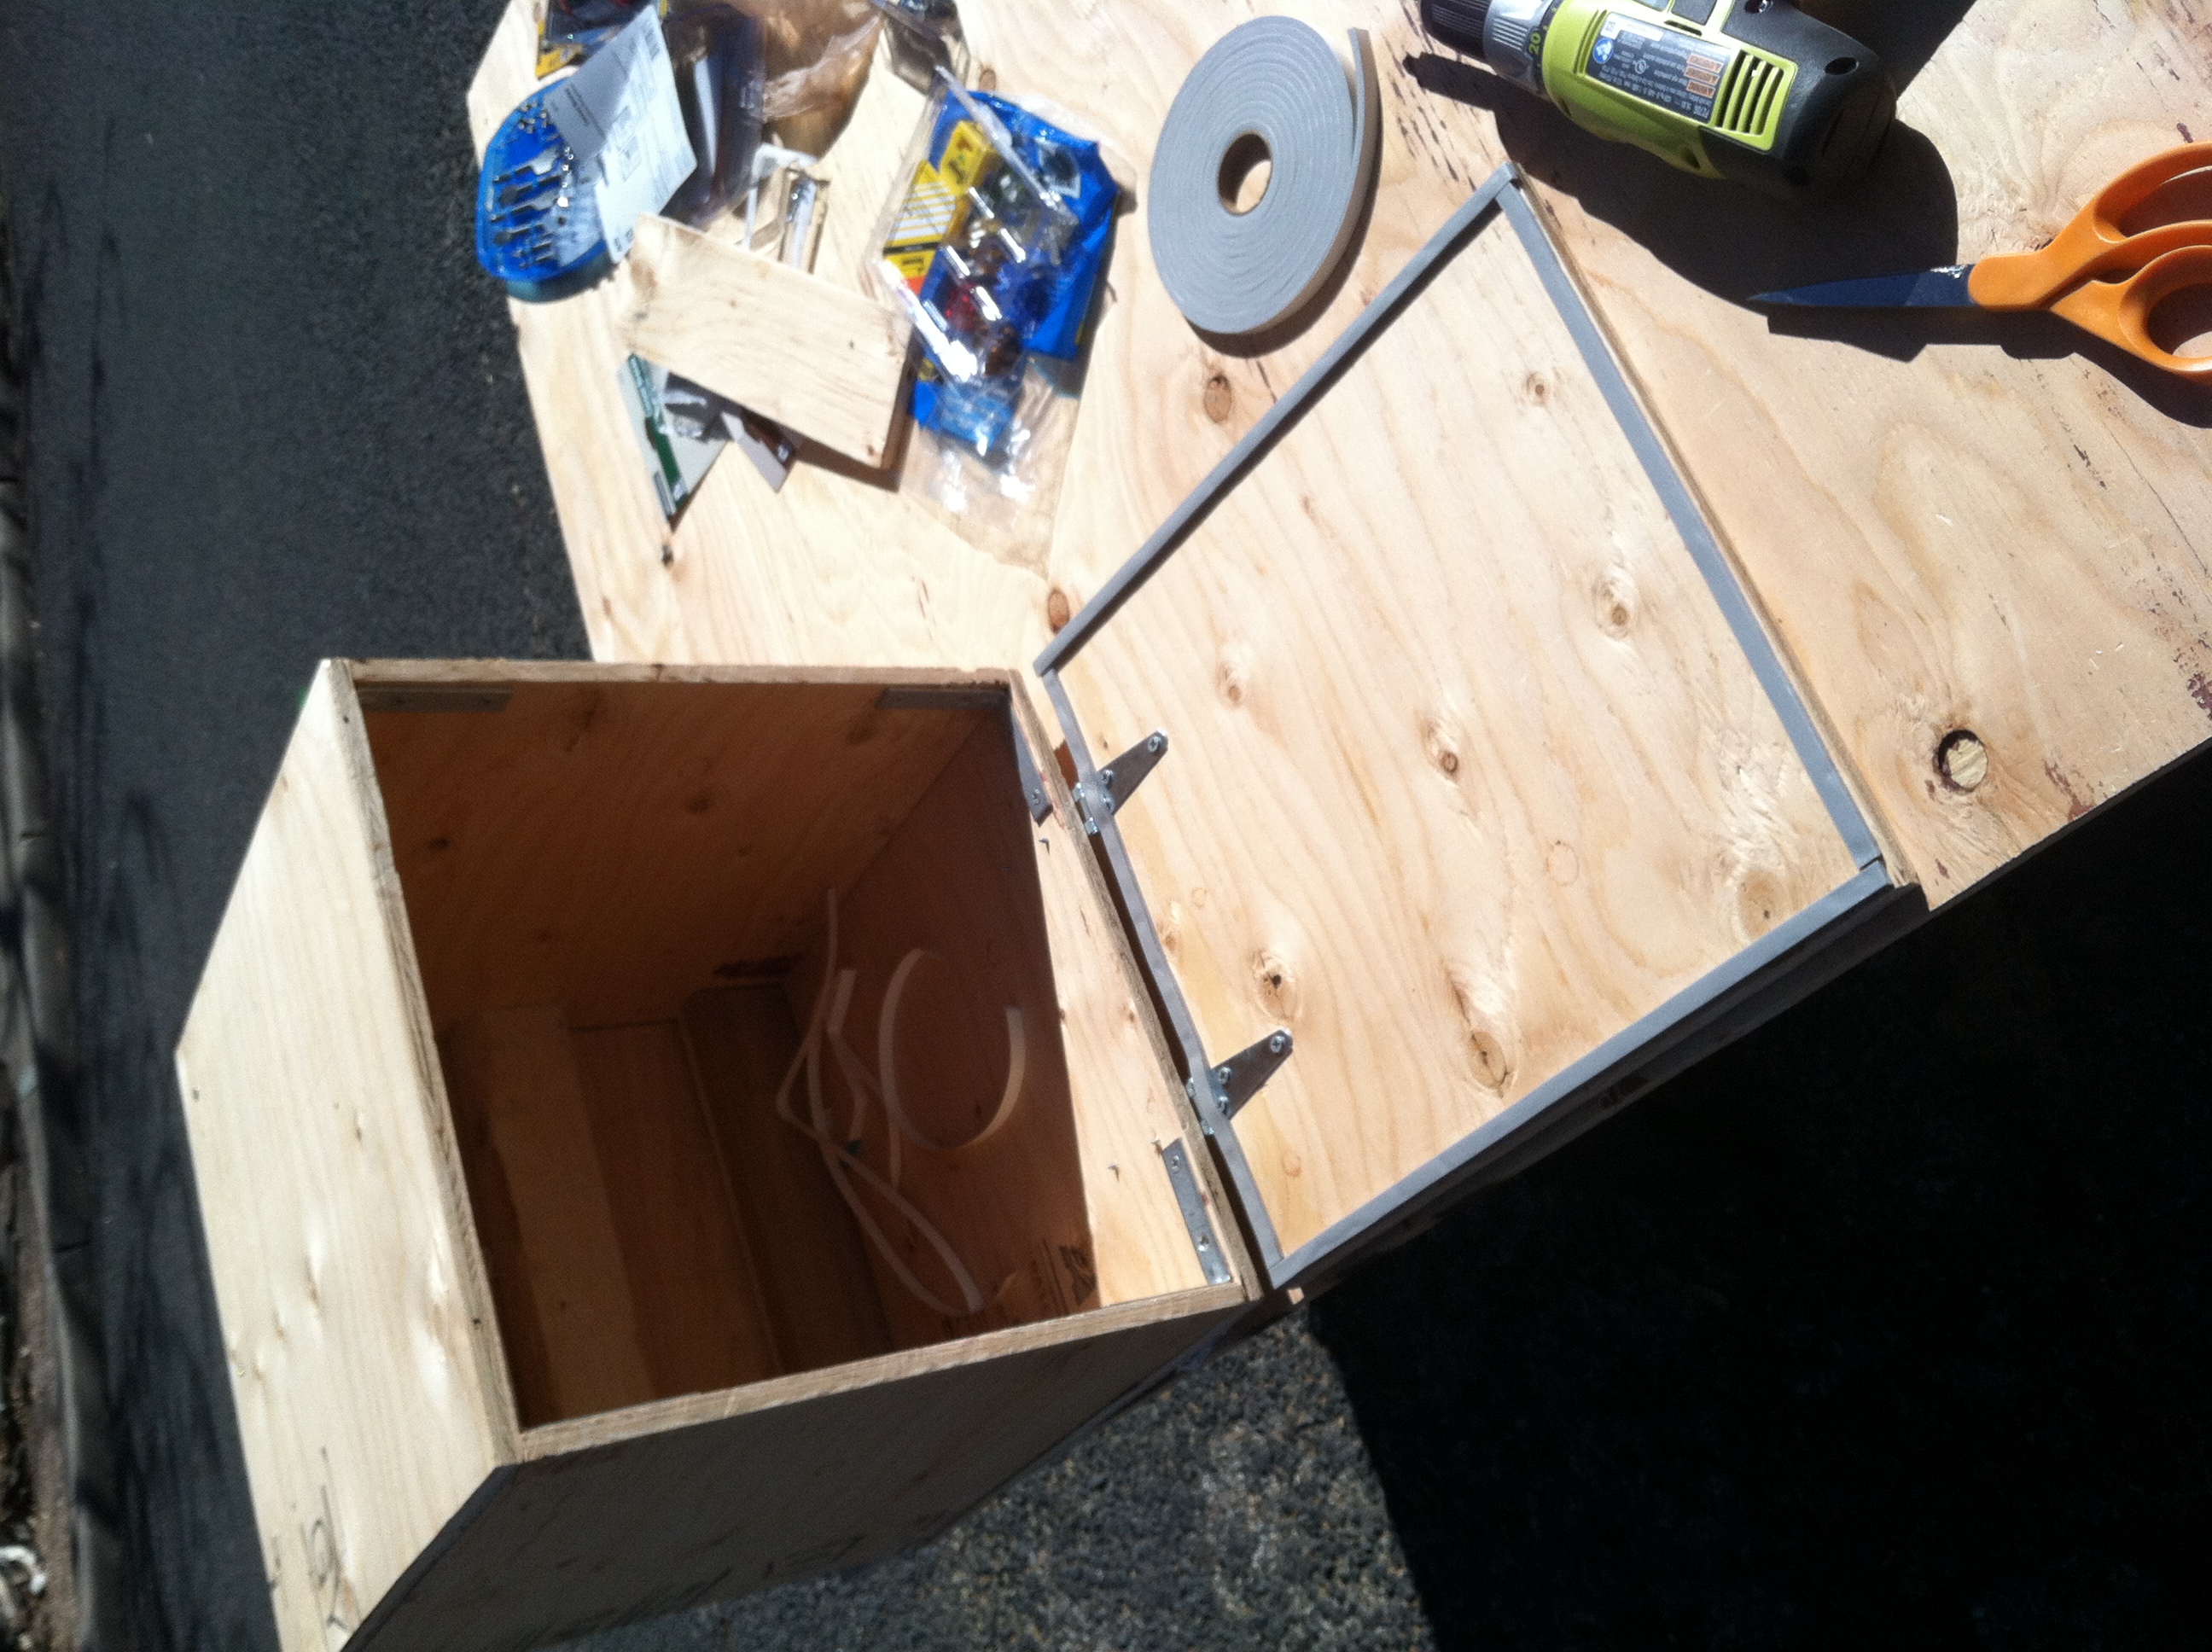
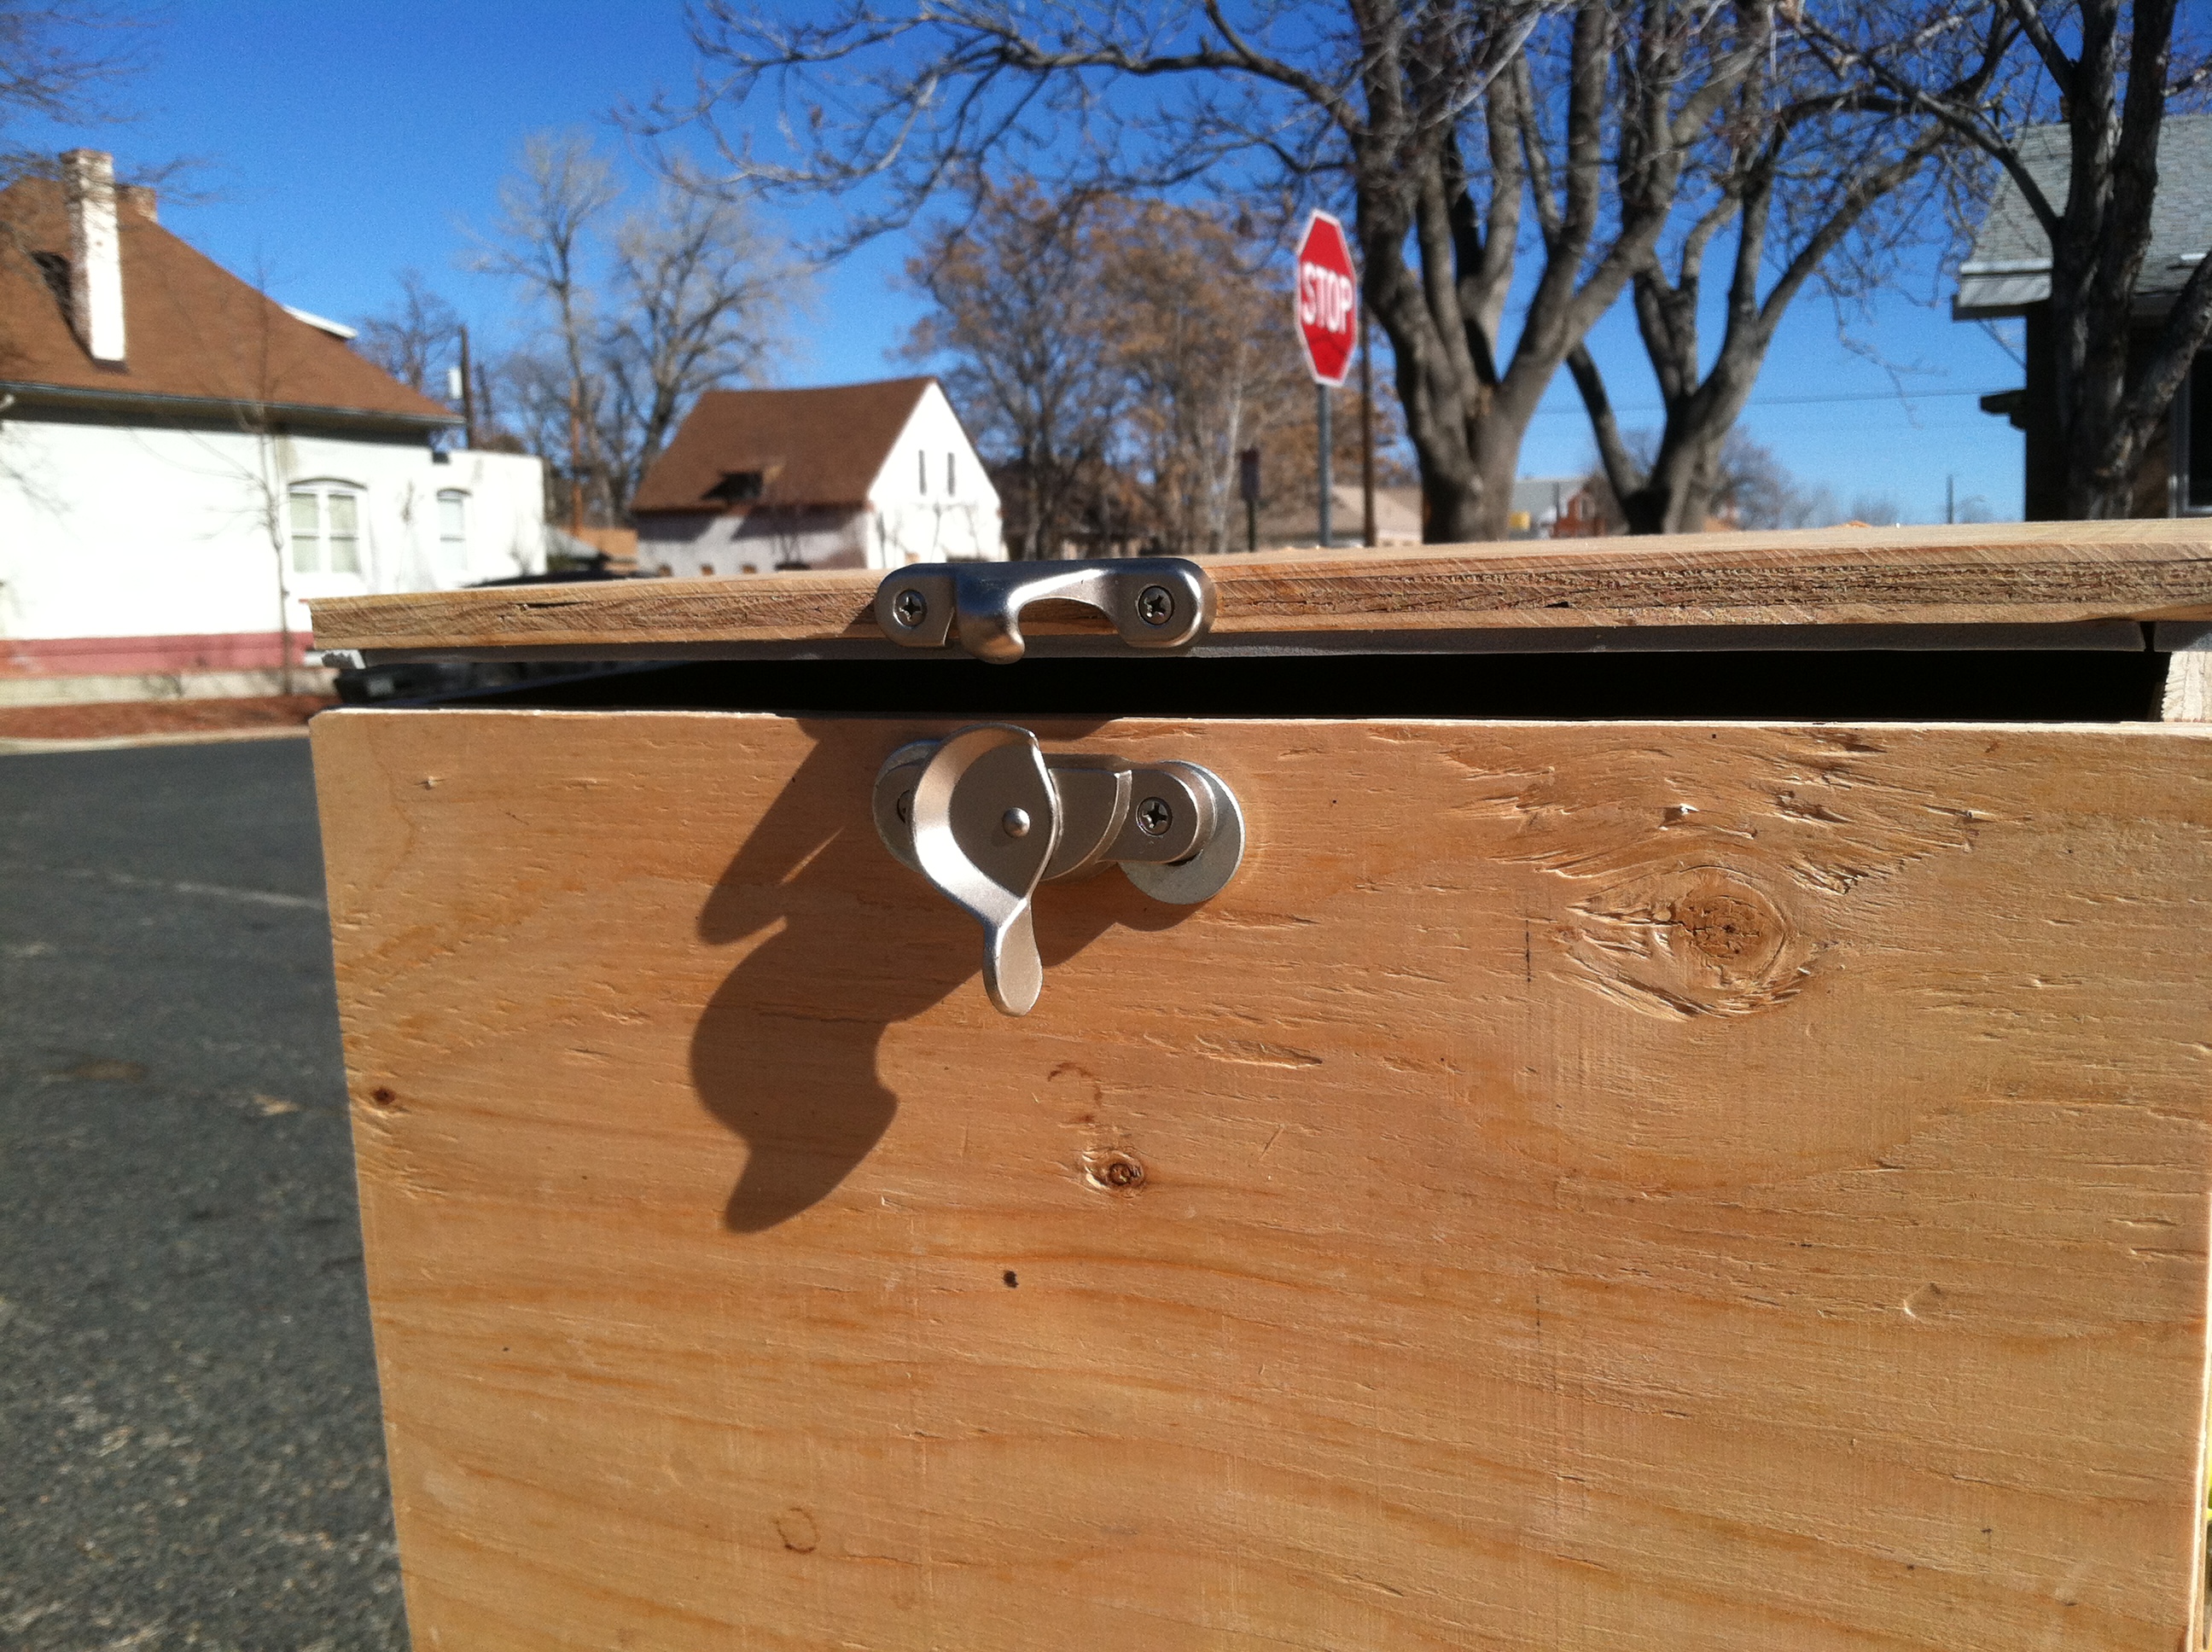
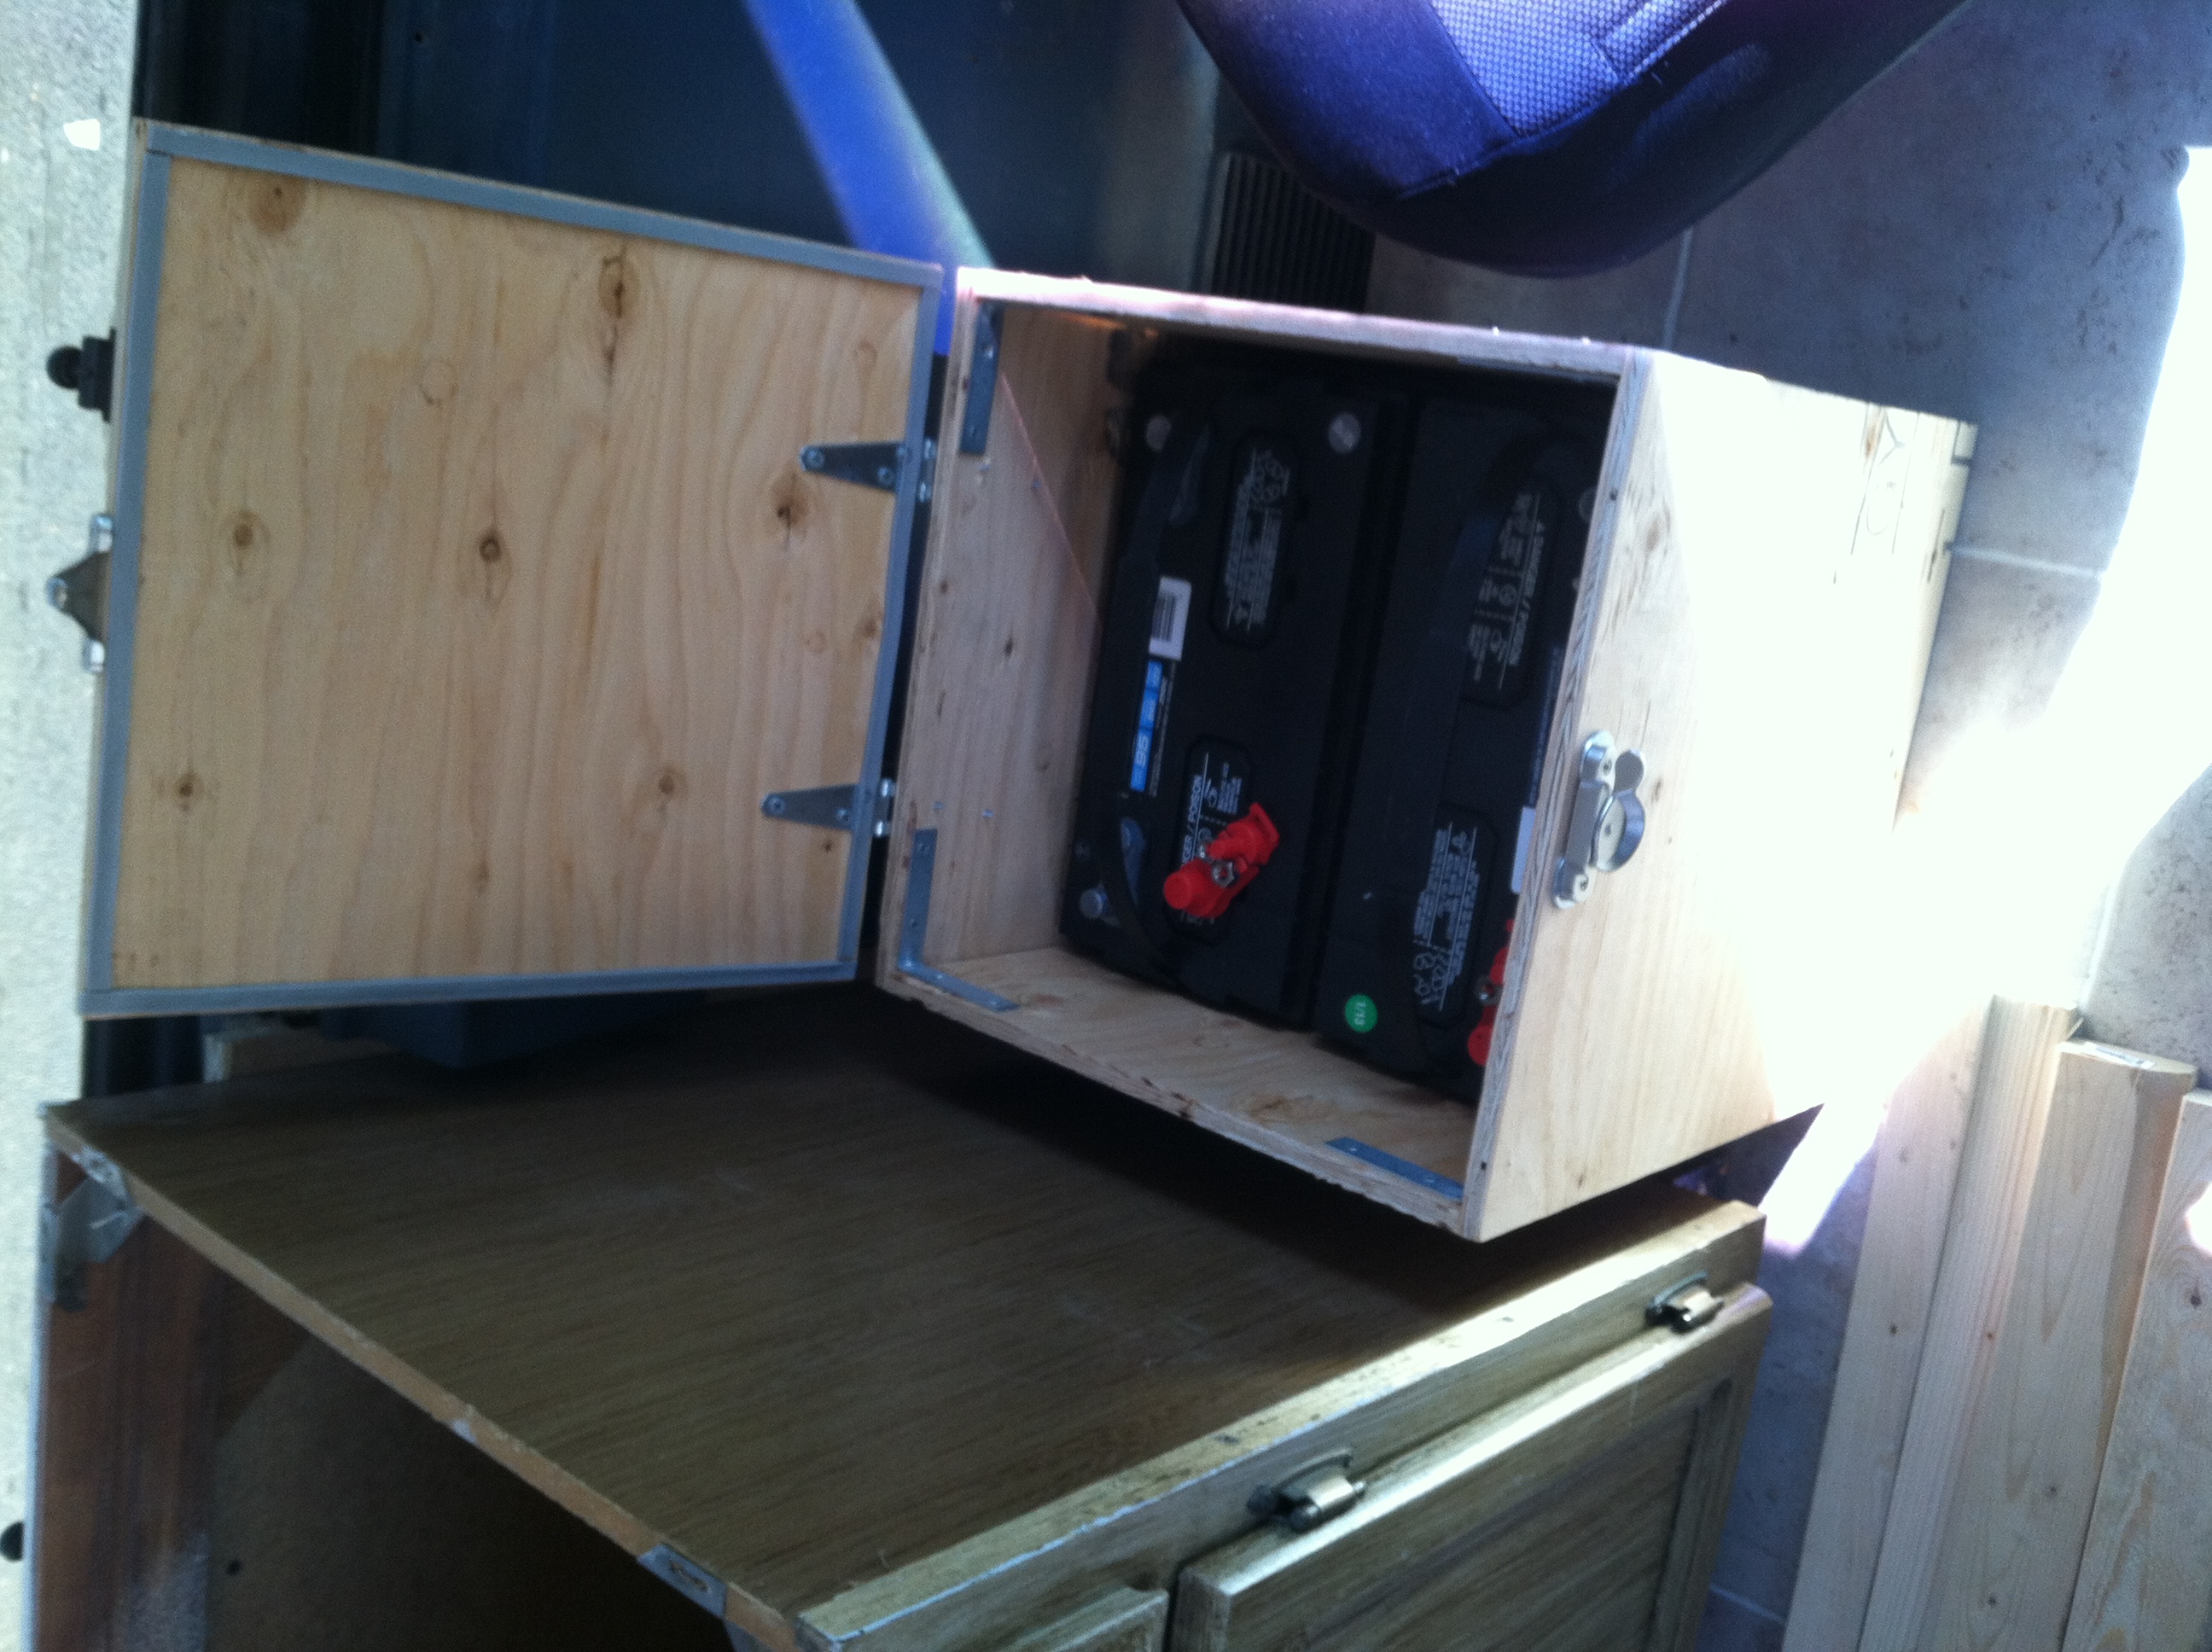
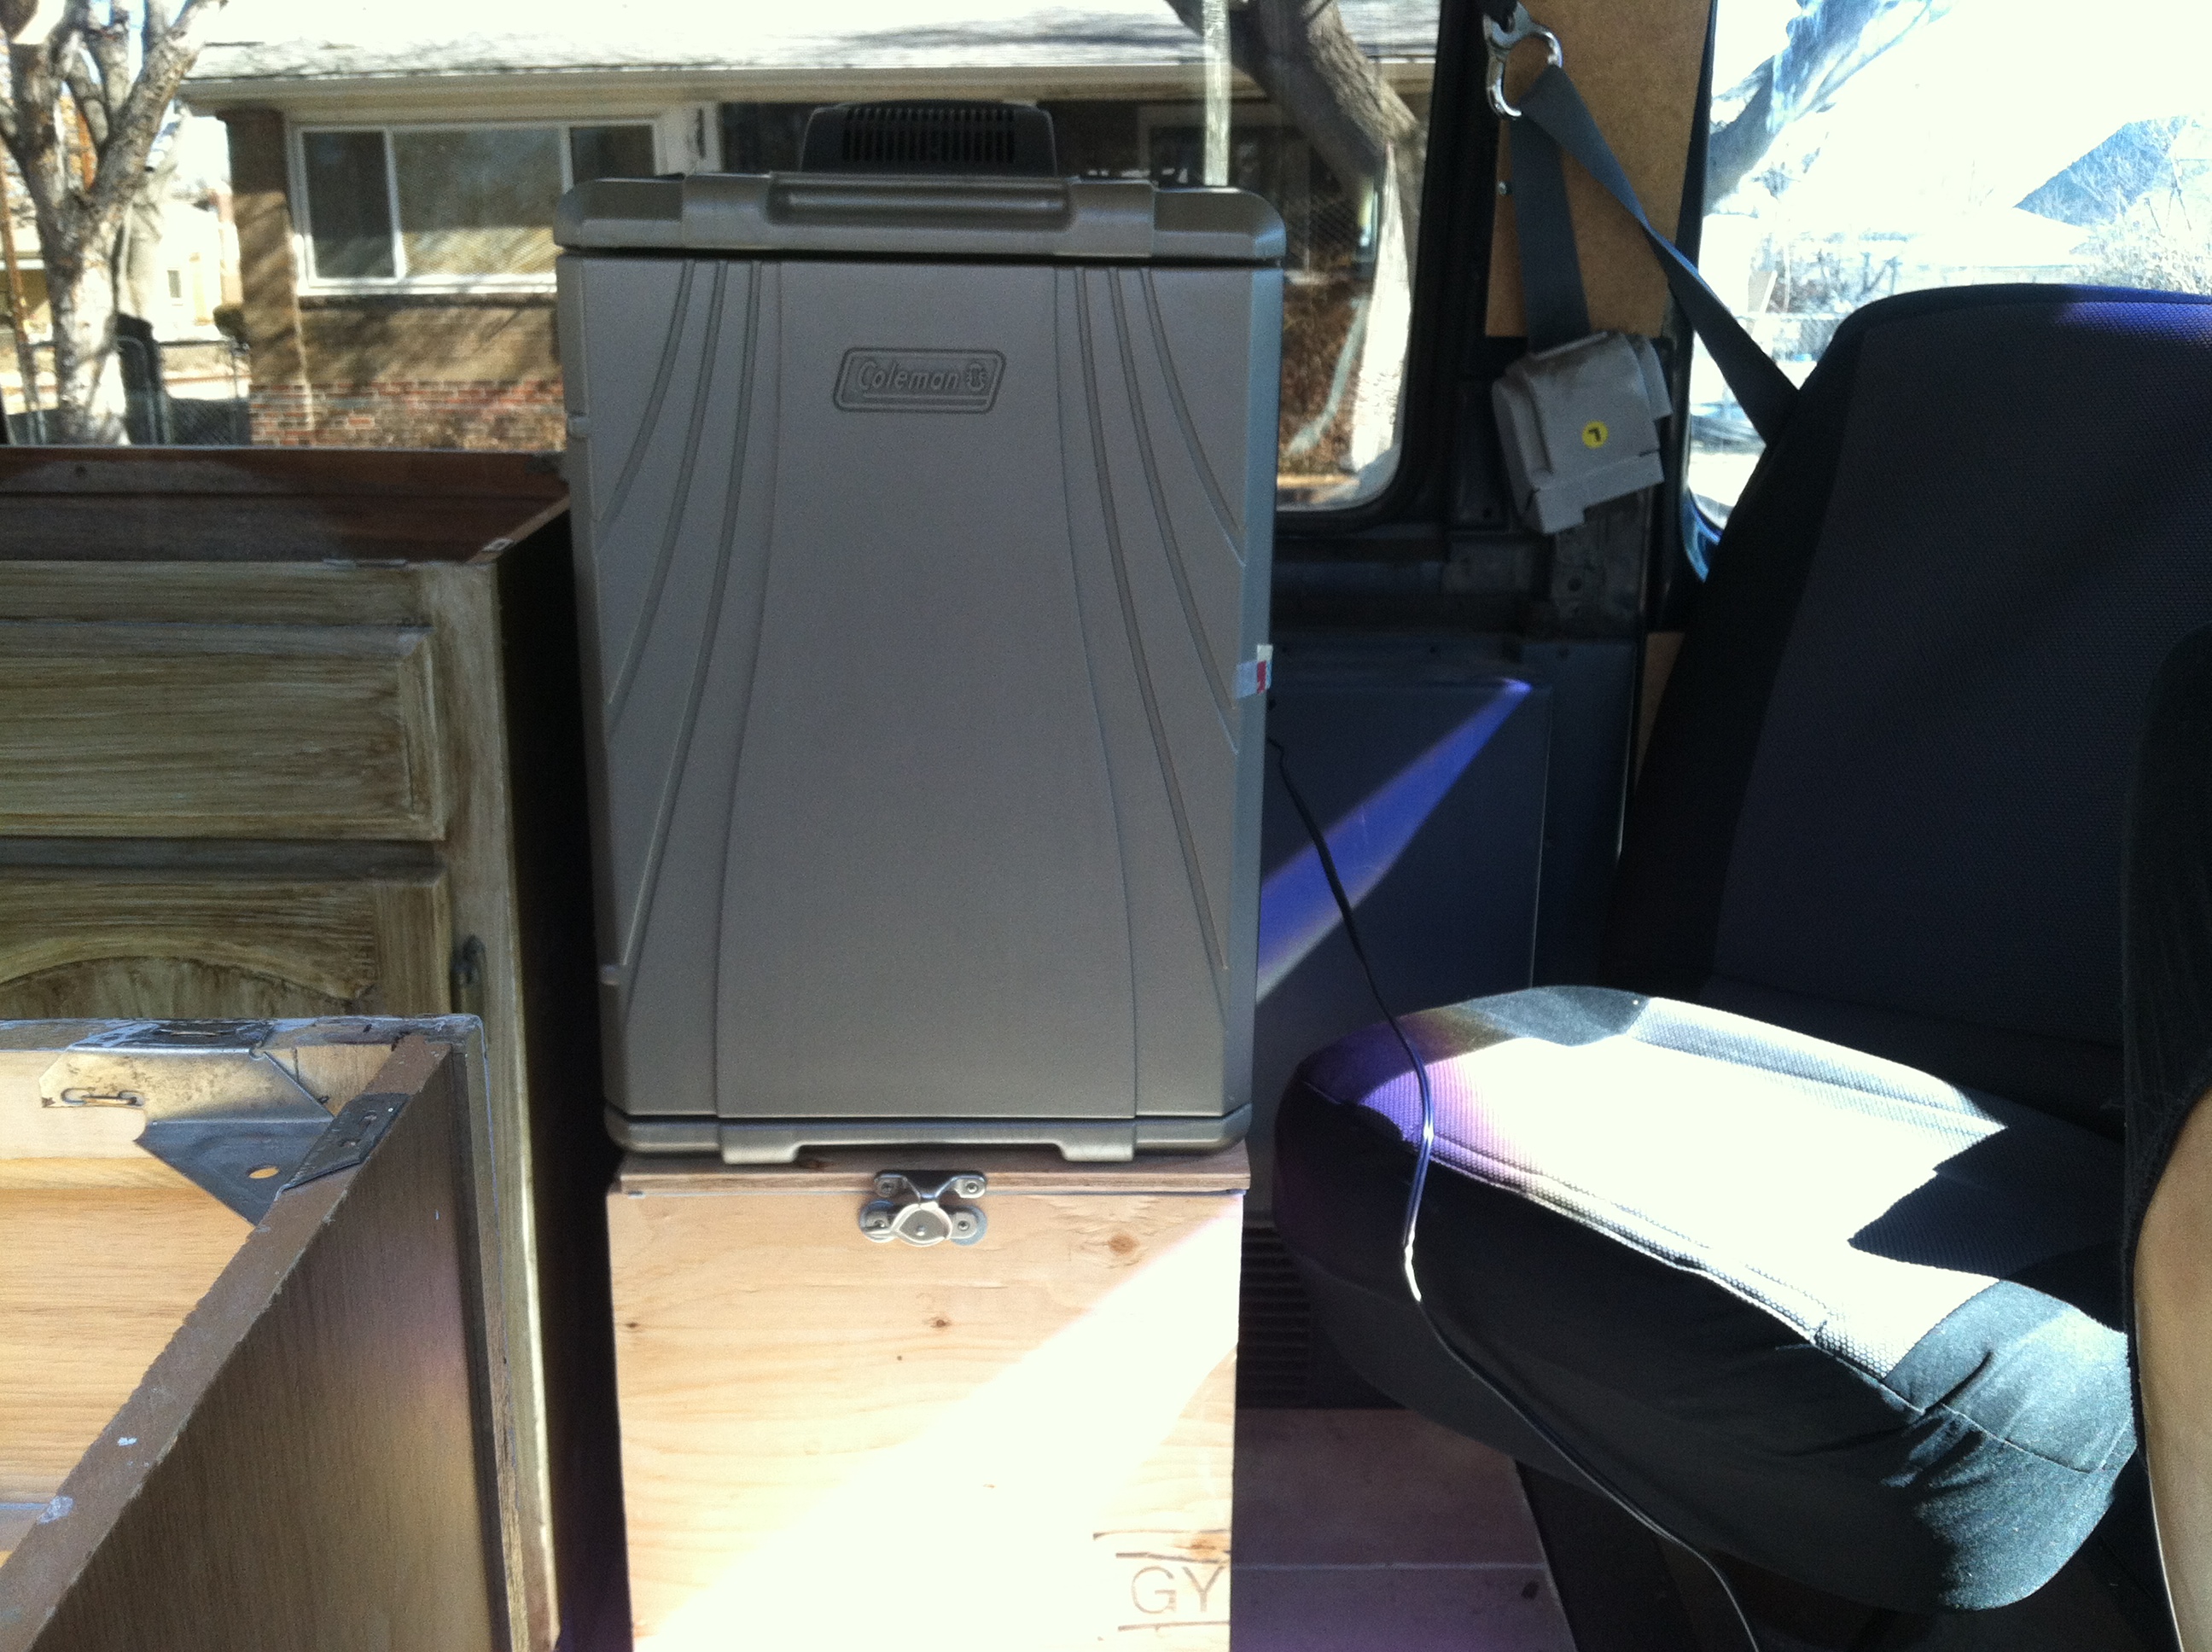
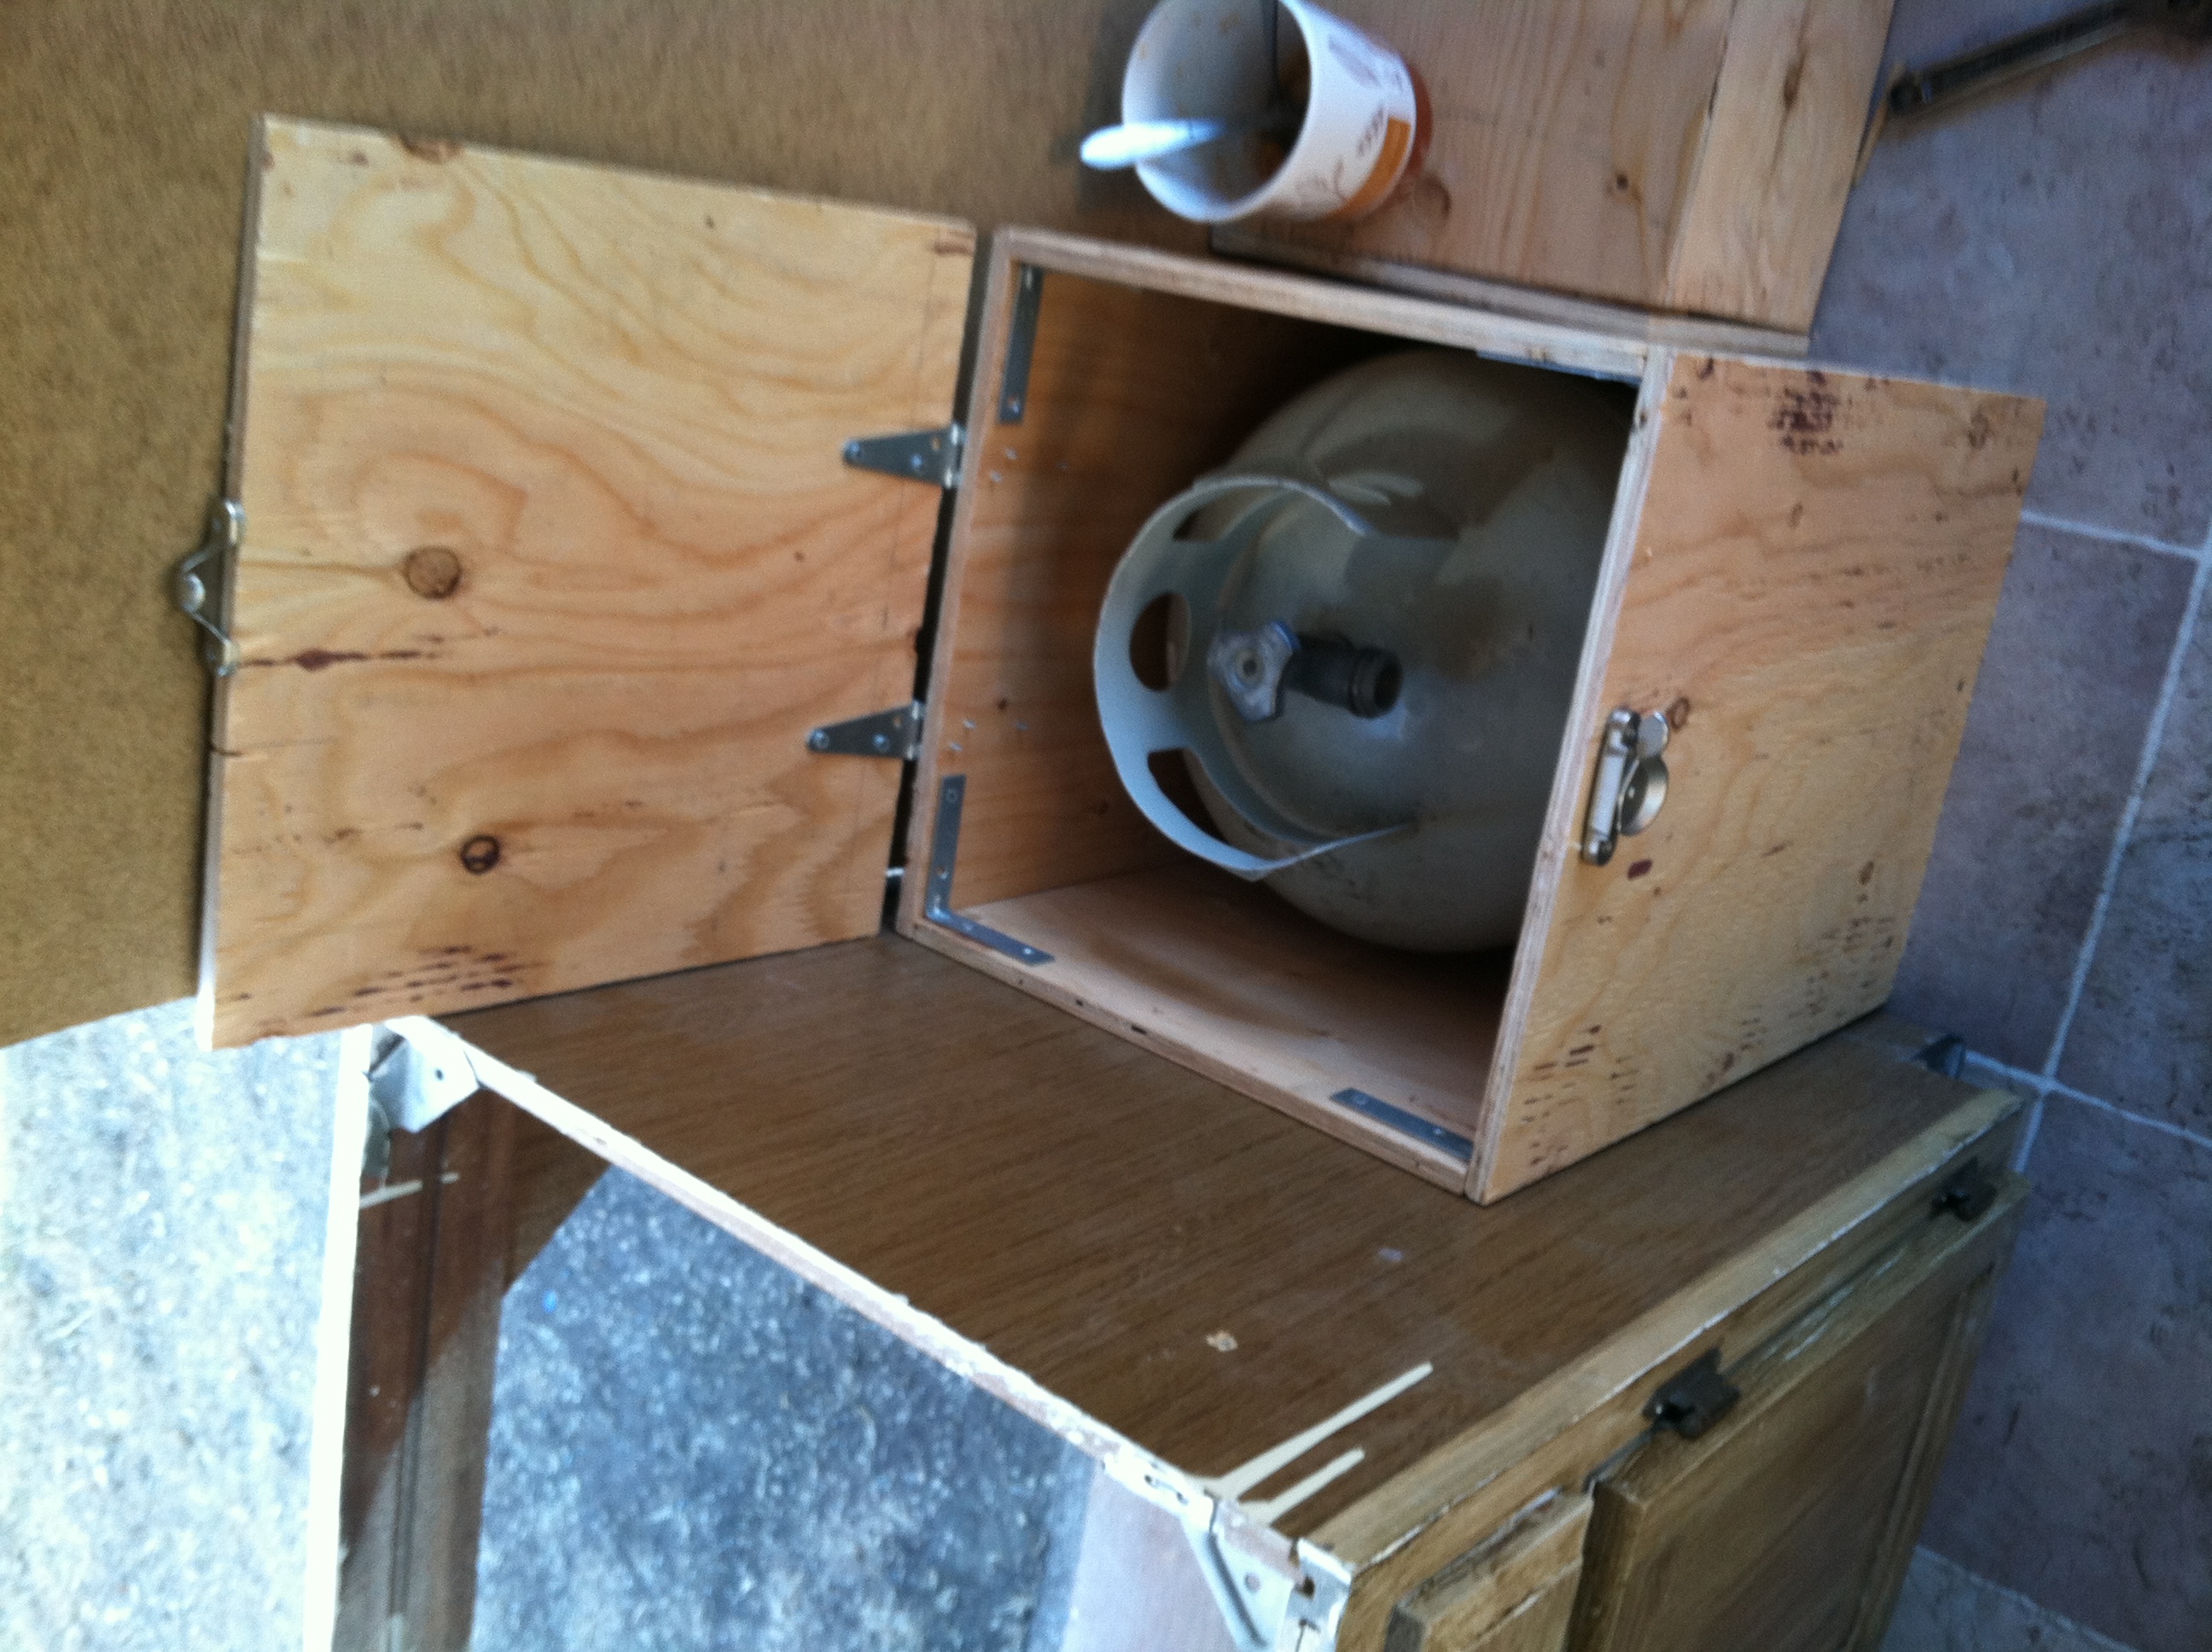
Being able to place the cabinets in the van was very helpful in determining where the best place for the batteries would be. Once the batteries have a place, the wires can be run, and once the wiring is run, I can finally close up the ceiling. As I mentioned in an earlier post, lead acid batteries require proper venting in the case that they vent hydrogen. I looked for a suitable sized plastic Rubbermaid, Tupperware, Action Packer, etc and struck out everywhere. I looked online and was unable to find anything with the correct dimensions. So, I built the battery box from scratch. It turned out great! and the fridge fits right on top of it behind the driver’s seat and in front of one of the cabinets. Perfect. I also built a propane tank box that will go next to the kitchen. It will have a floor vent soon.
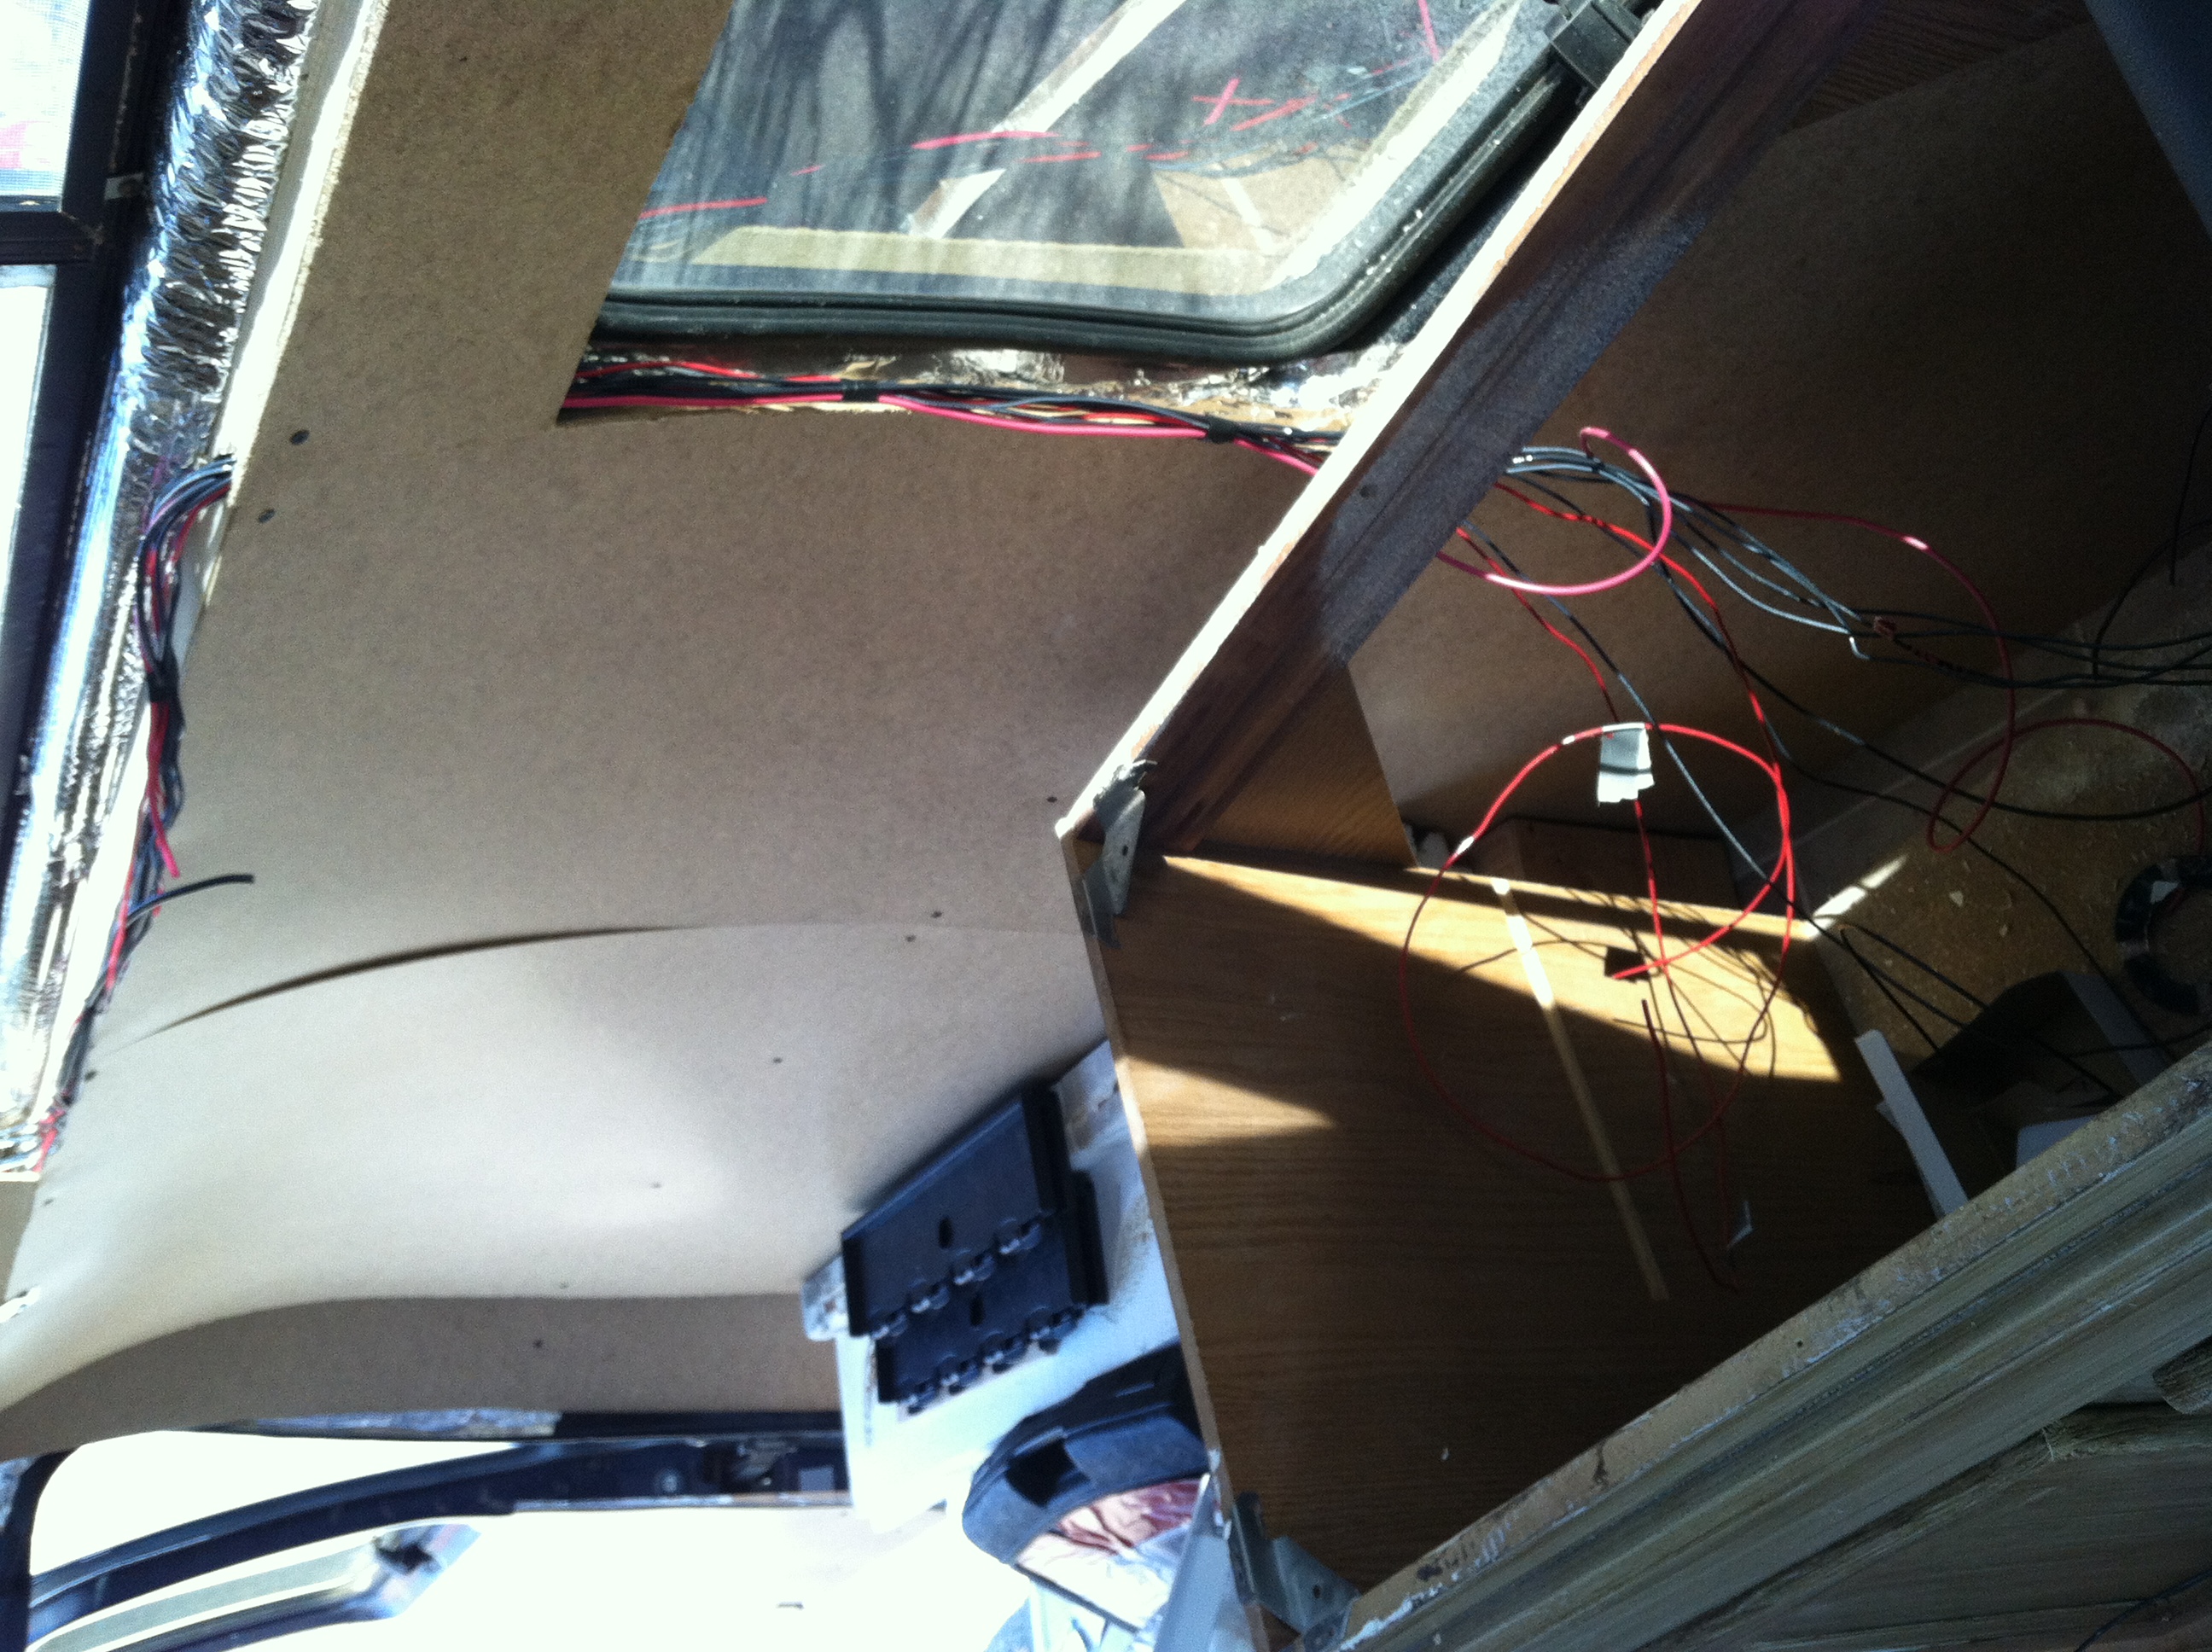
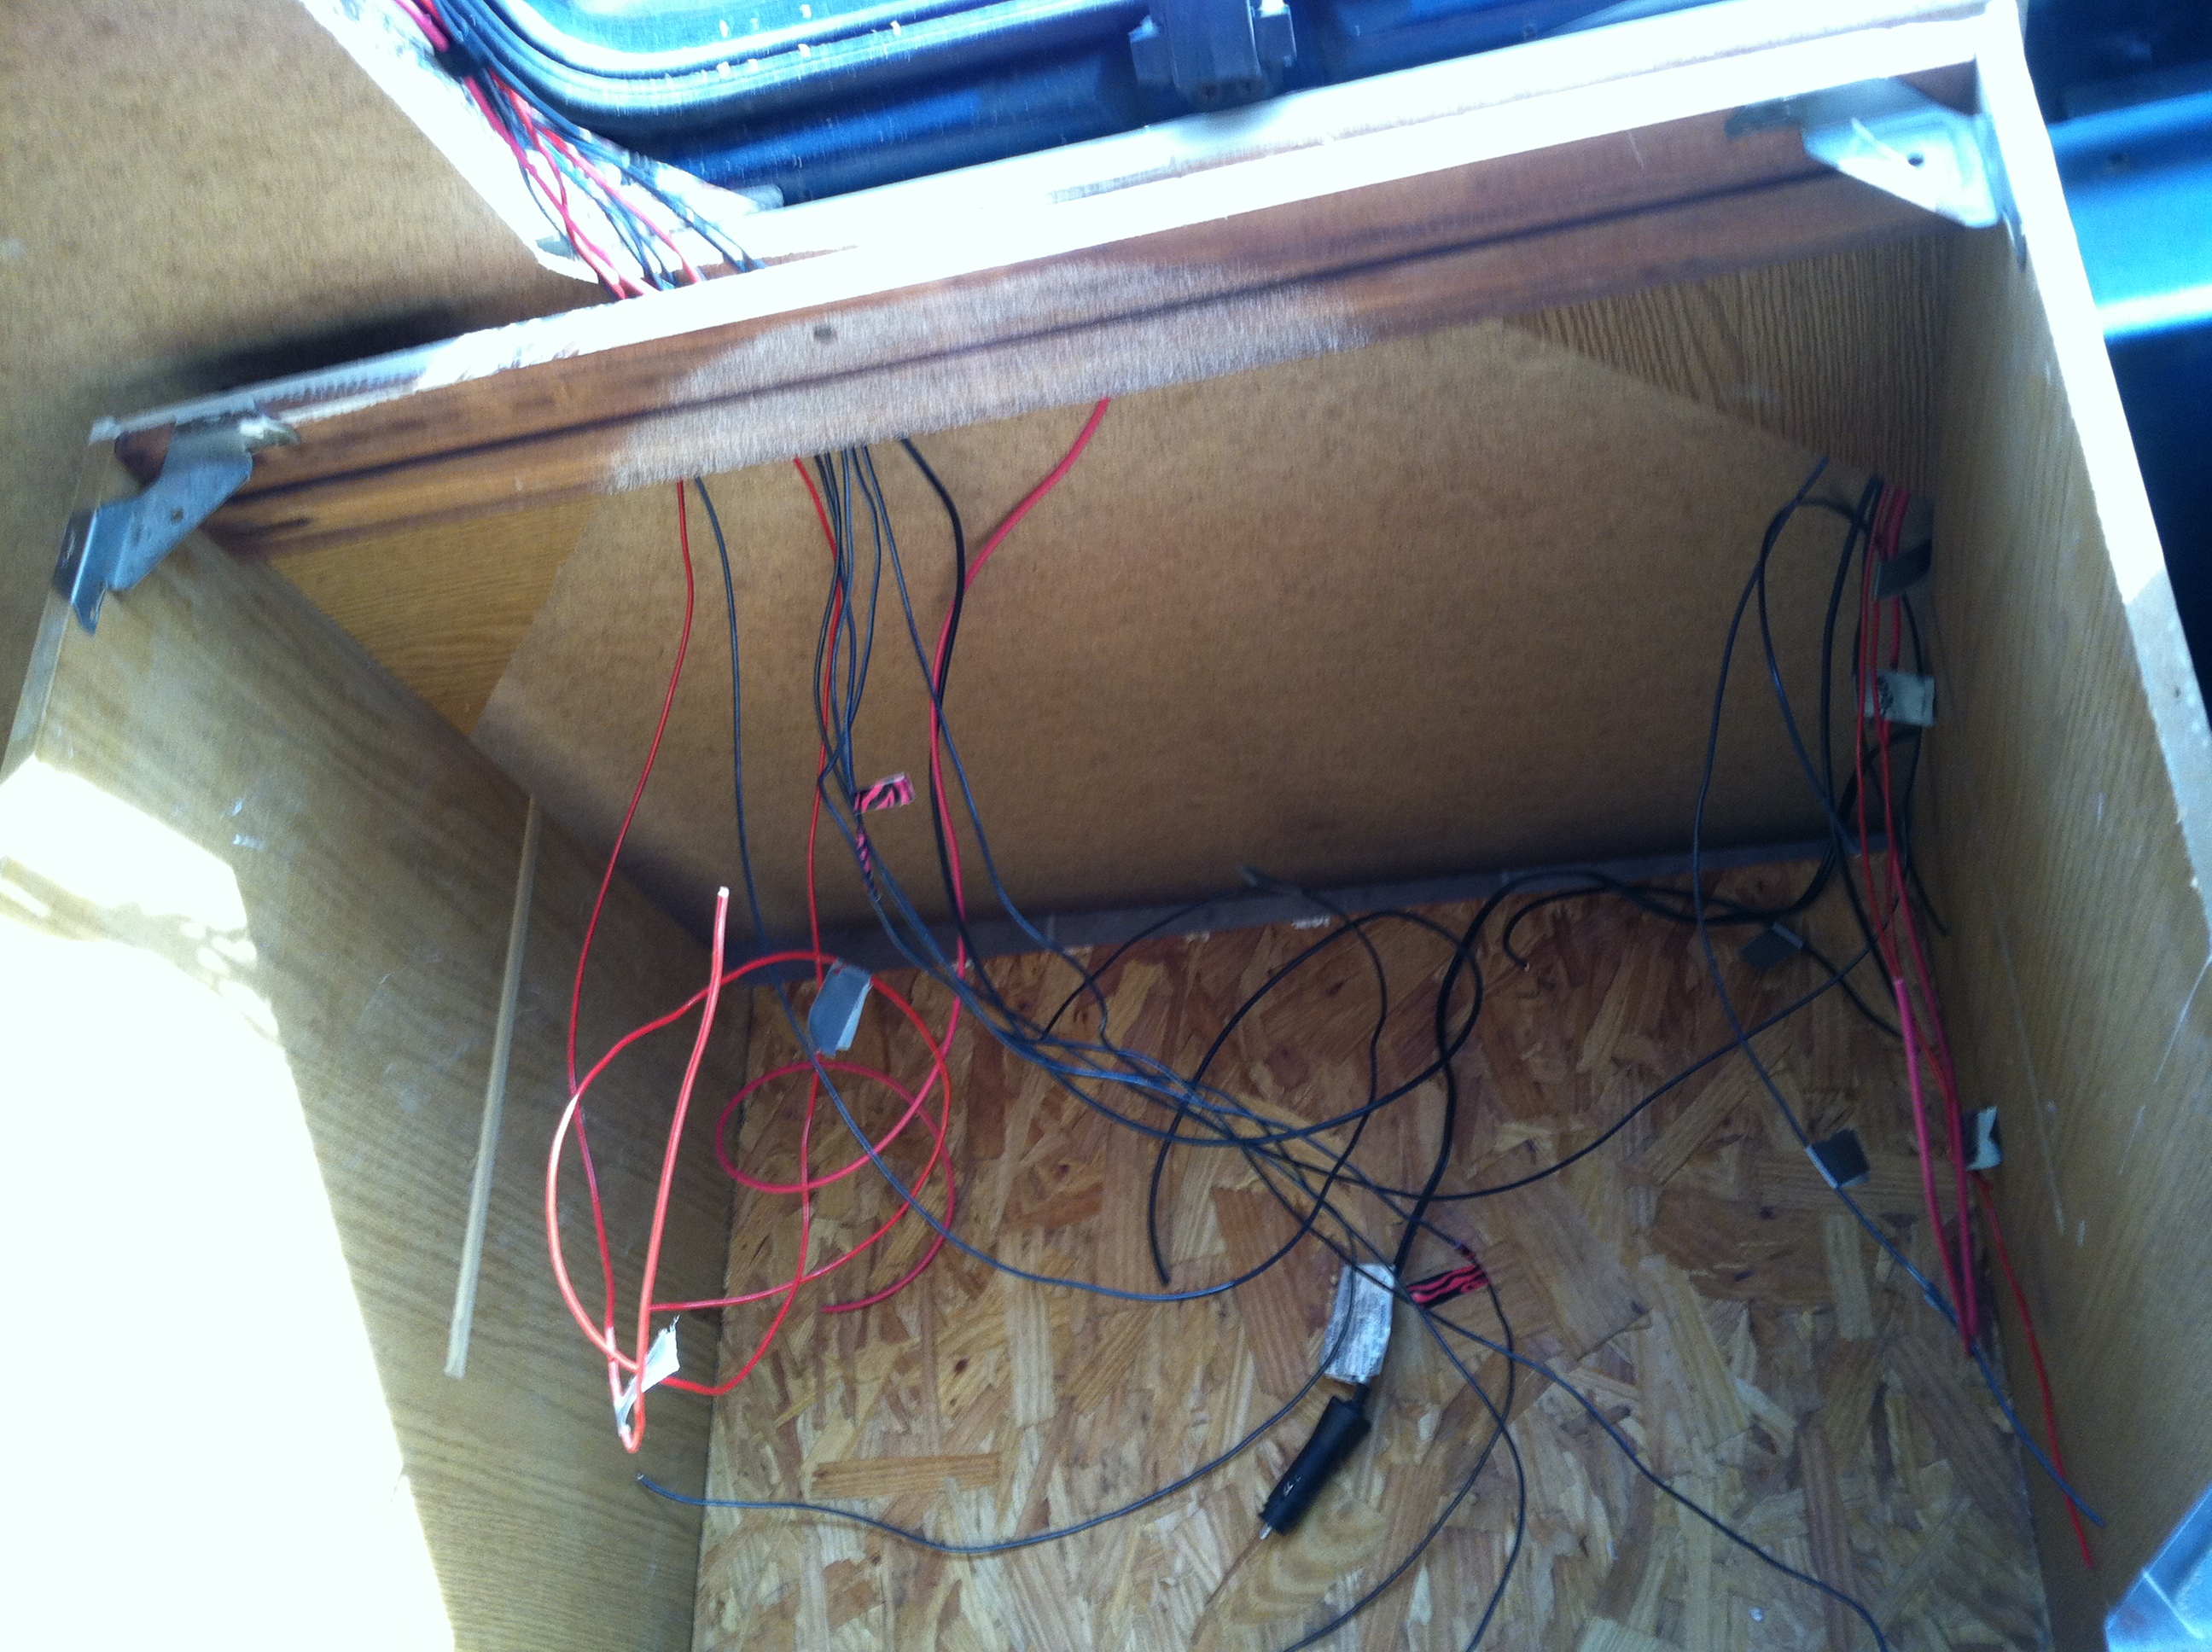
So, having located the battery box I was able to finally wire. Wiring is a pain. I was able to tuck most of it away and for the most part it went quickly and mistake free. I did two runs to the kitchen for a light and a water pump. Two runs to the ceiling for an overhead light and the fan. I extended the solar panel cables (realizing that I didn’t know which was positive and negative and that I have already permanently bolted that information underneath the panel to the top of the van… hmmm). I have runs to the stereo and cig lighter up front. I want everything none engine related to run off the house batteries so that when I turn the van off, regardless of what we run we won’t drain the starting battery. The cig lighter got a special run of 10AWG wire. There could be some beefy things plugged into it from time to time, like an air compressor, so it’s important that the wire and fuse are big enough to handle it. I also bought a switch that is permanently off and you have to press and hold it to keep it on. I plan on replacing the battery flattening switch up by the ignition with this. Further, I’d like to hide it under whatever we decide to finish the interior with so that no one will be able to start the vehicle without knowing where the hidden button is! Finally, I ran 4 lengths of speaker wire from the stereo to the overhead speakers. The runs up front I hid under the rubber floor mat.
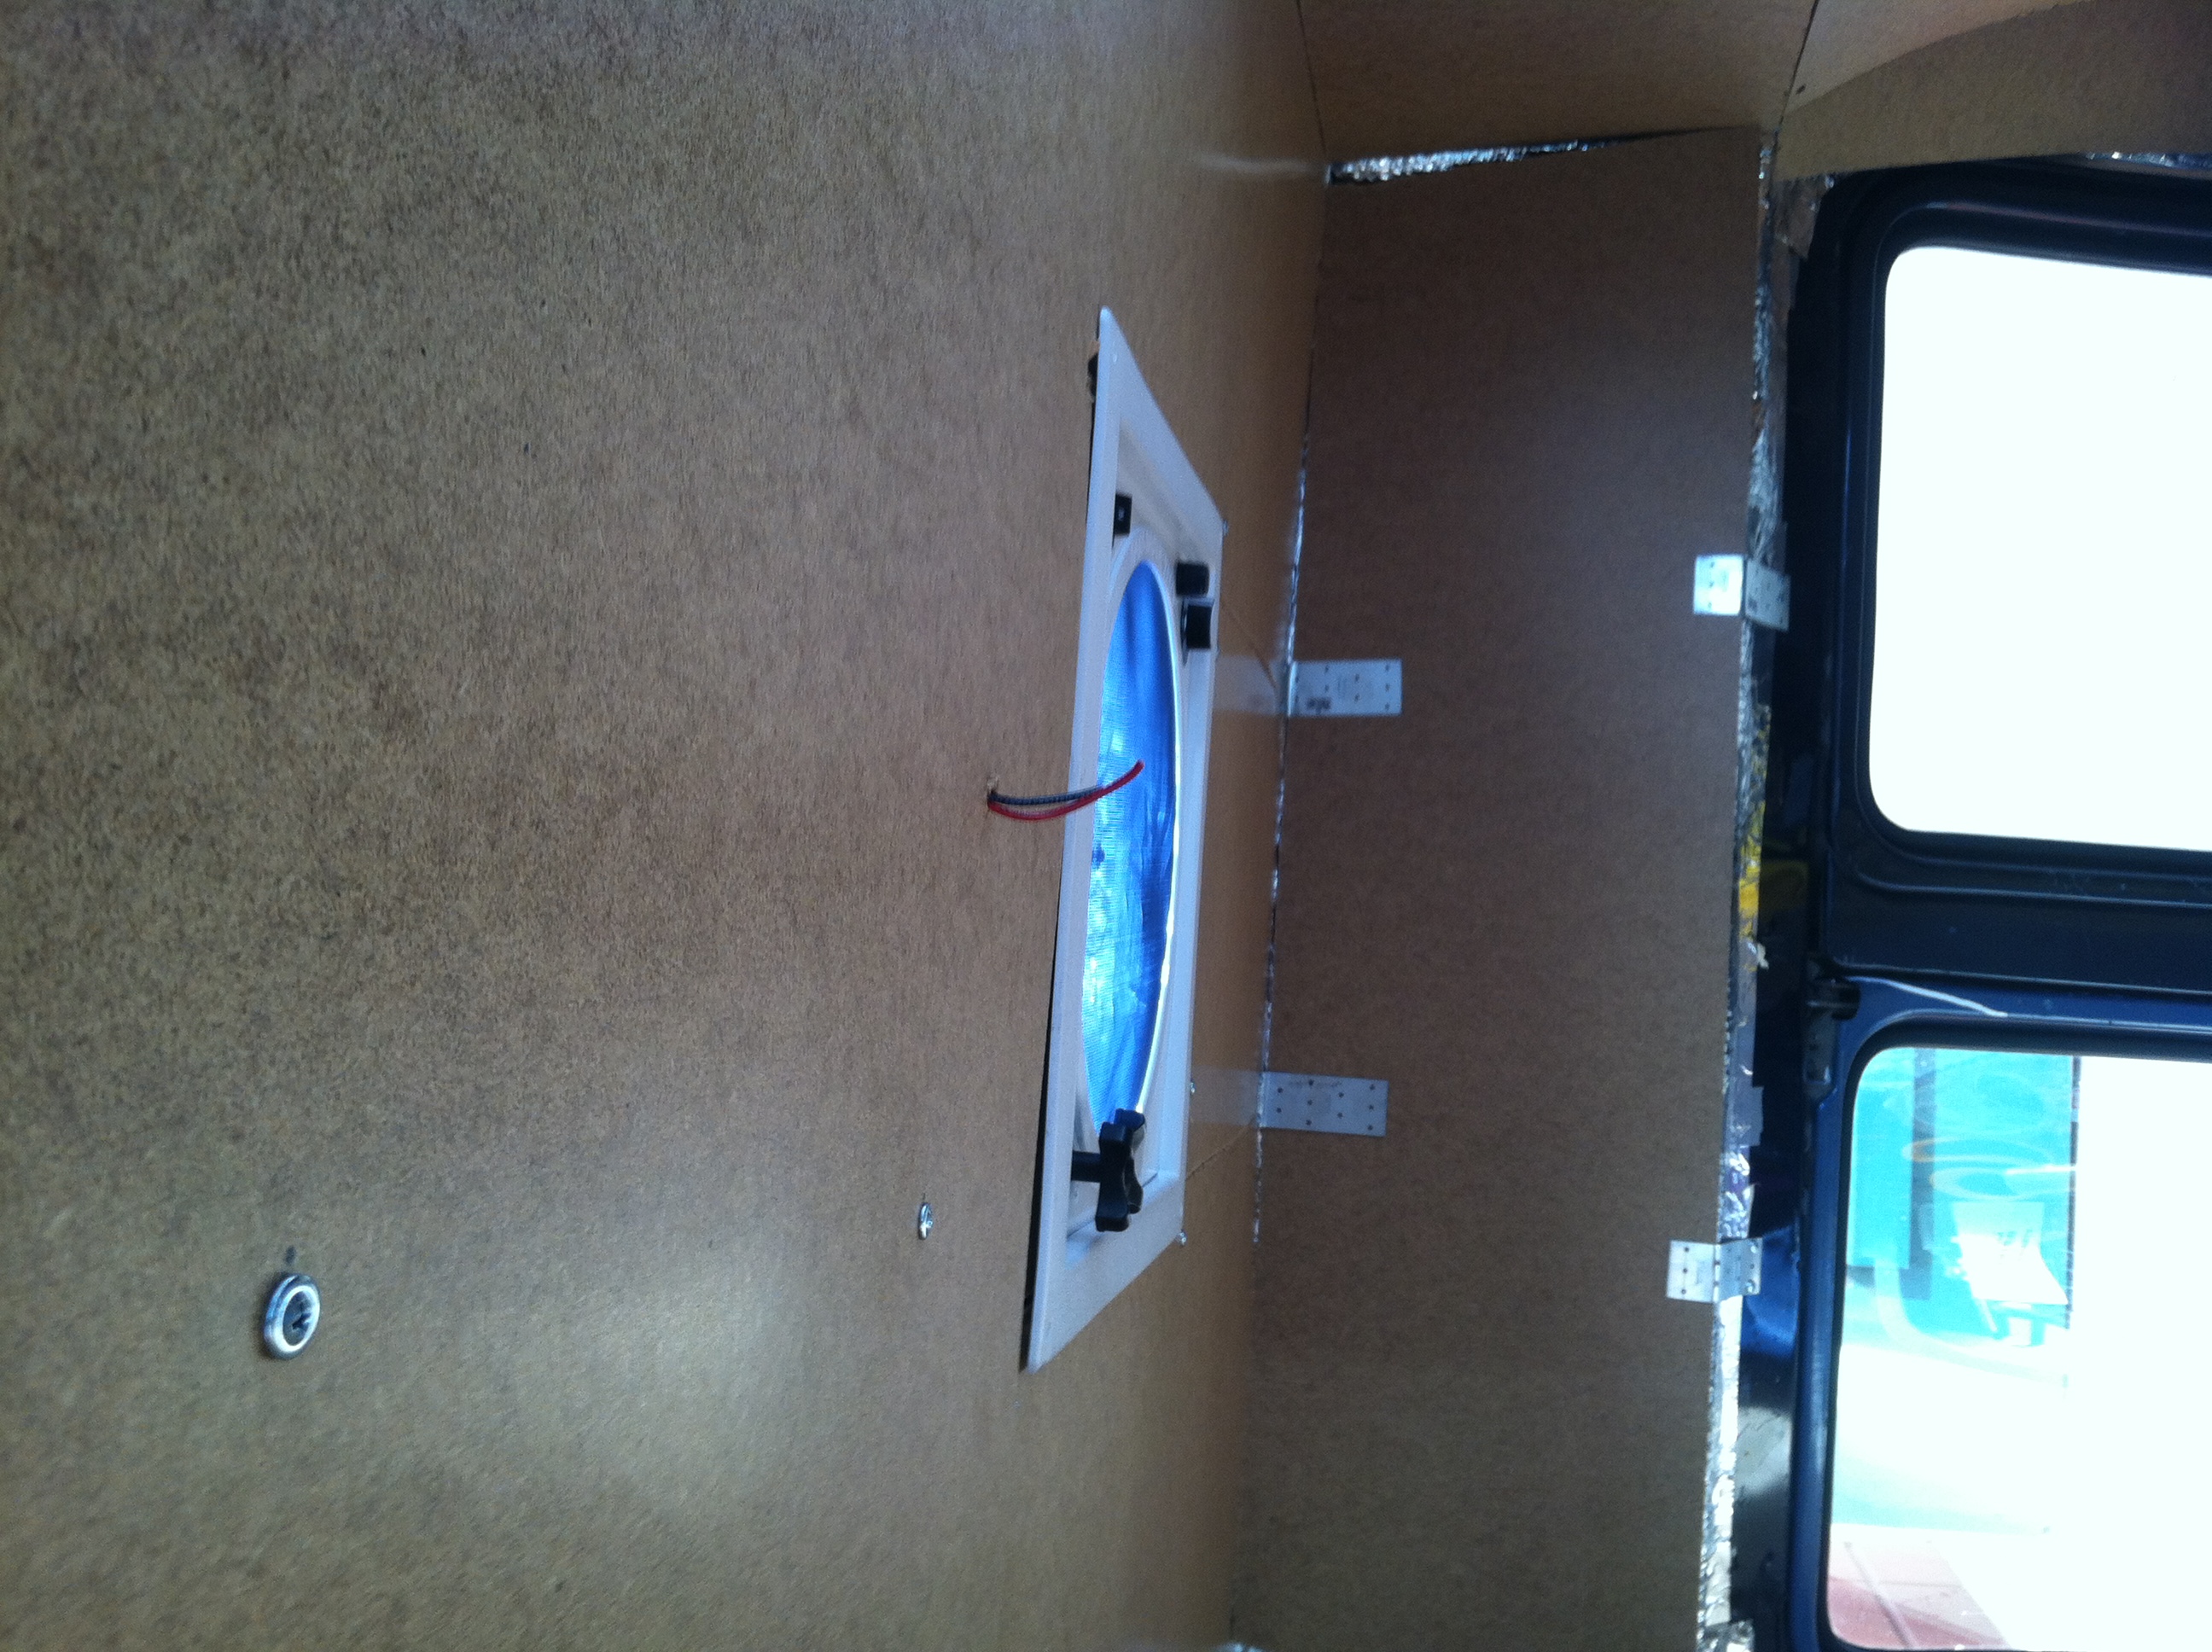

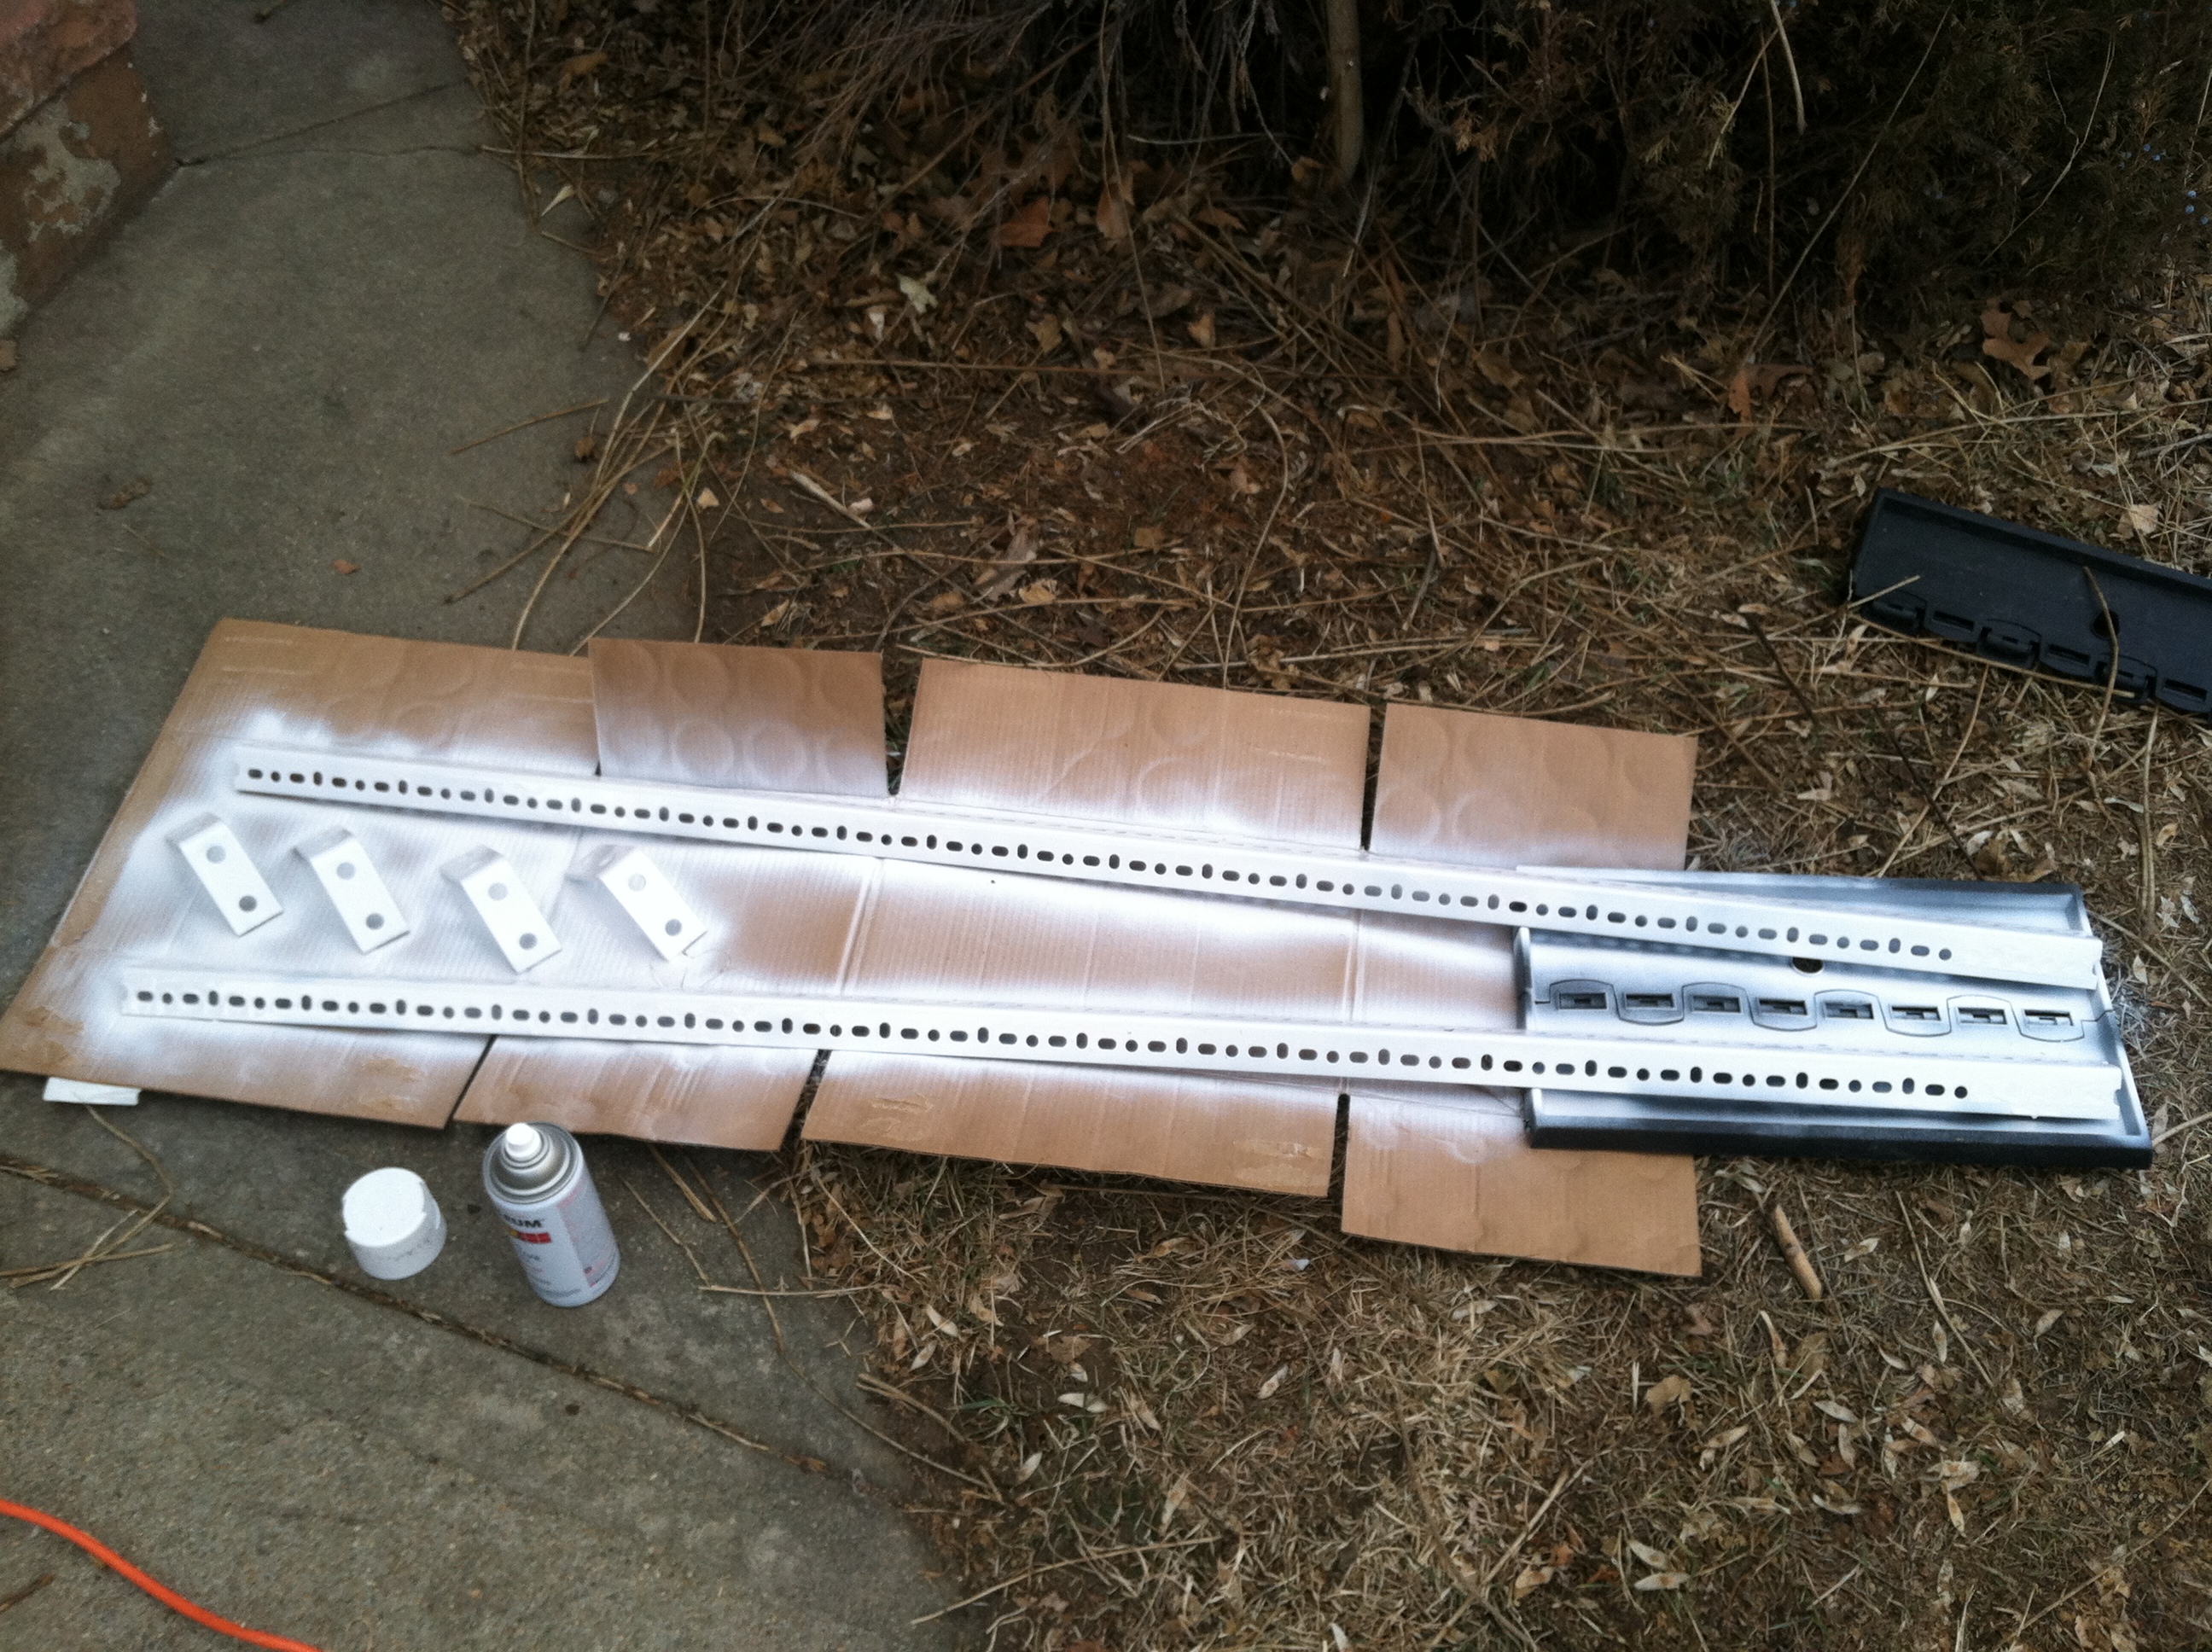
I was about to seal up the ceiling for good when I realized it was time to pull the trigger on something that had been in the back of my mind for some time now. A surf board rack!!! I almost did a separate post just for it for two reasons. First, I’m not sure that any one single addition to the van has resulted in a bigger smile. It’s as if building it somehow made becoming a dirt bag surf bum inevitable, as if it wasn’t to begin with. Second, I walked into the Depot with a few measurements and absolutely no idea what to make it from, walked around for a bit, and came home with exactly what was needed – not a part more, not a part less, and put it together quickly. It’s like I’m getting the hang of this stuff or something! The rack is solid and can be used for much more than surfboards. The rails are lined with holes for bolting other stuff to them. We could mount anything up there. I painted the setup to prevent rusting and to match the van. I raised the rack just high enough to clear the solar panel too. Really, blocking the solar panel is the only consideration when it comes to putting stuff up there. And finally, having completed the rack install, I could finally, permanently, reassemble the ceiling. Stoked!


So the van is starting to look like something we could actually live in! I’m making some finishing touches to the cabinets and finishing up a few other odds and ends while Niccole prepares for the decor phase. Before we bolt the cabinets down or install the bed platform, she has some plans for giving the walls and furniture a more “finished” look – which is awesome because the paneling doesn’t really look that nice by itself and frankly, I would probably just leave it that way if it were just me building this thing. The end of the build is indeed in sight!!!
| Furniture | |||
| Vanities | 2 | 35 | 70 |
| Futon | 1 | 50 | 50 |
| Cushion | 1 | 70 | 70 |
| 190 | |||
| BatteryBox, Propane box, Roof rack | |||
| Brackets, bolts, hinges, chain, locks, etc | 89.32 | ||
| 1/2 ply | 20.37 | ||
| Slotted angle iron | 2 | 13.78 | 27.56 |
| 137.25 | |||
| Wiring Materials | |||
| 14AWG wire 50′ | 3 | 11.95 | 35.85 |
| ATC Fuse Pack | 1 | 14.48 | 14.48 |
| Liquid Tape | 1 | 5.99 | 5.99 |
| Ring terminal pack | 2 | 1.98 | 3.96 |
| Butt Splice pack | 3 | 2.39 | 7.17 |
| Wire crimper/stripper tool | 1 | 19.96 | 19.96 |
| Speaker wire, 14 guage, 50′ | 2 | 14.97 | 29.94 |
| Momentary push-button switch | 1 | 4.49 | 4.49 |
| 10AWG wire, 44′ | 1 | 29.36 | 29.36 |
| 151.2 | |||