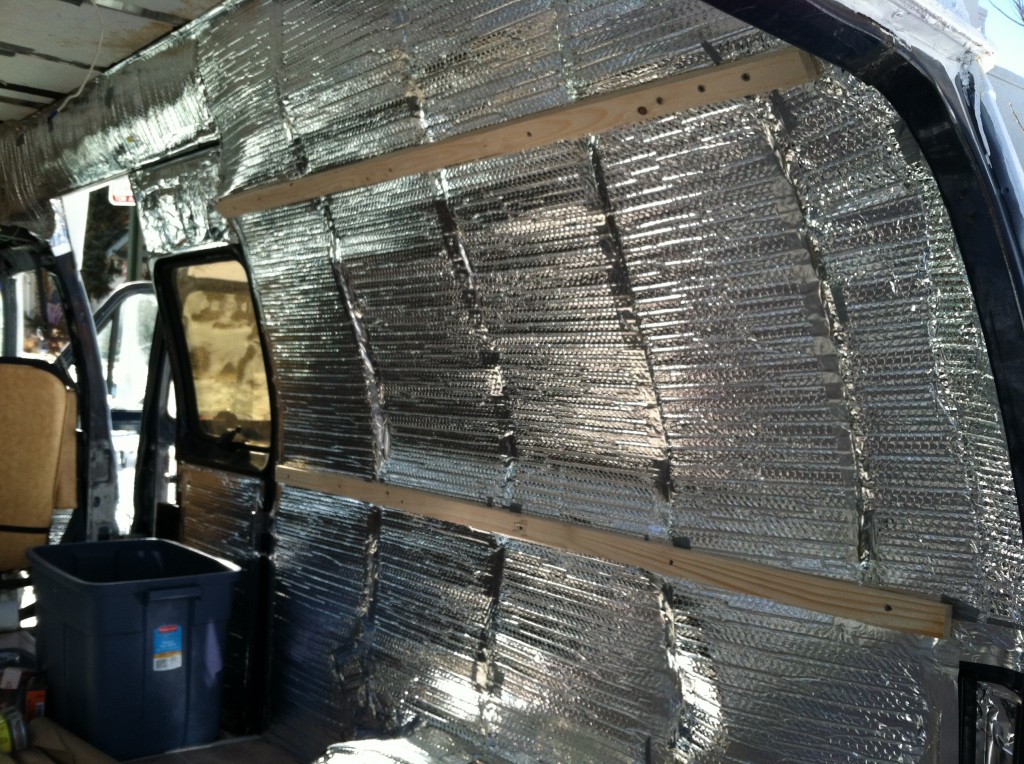
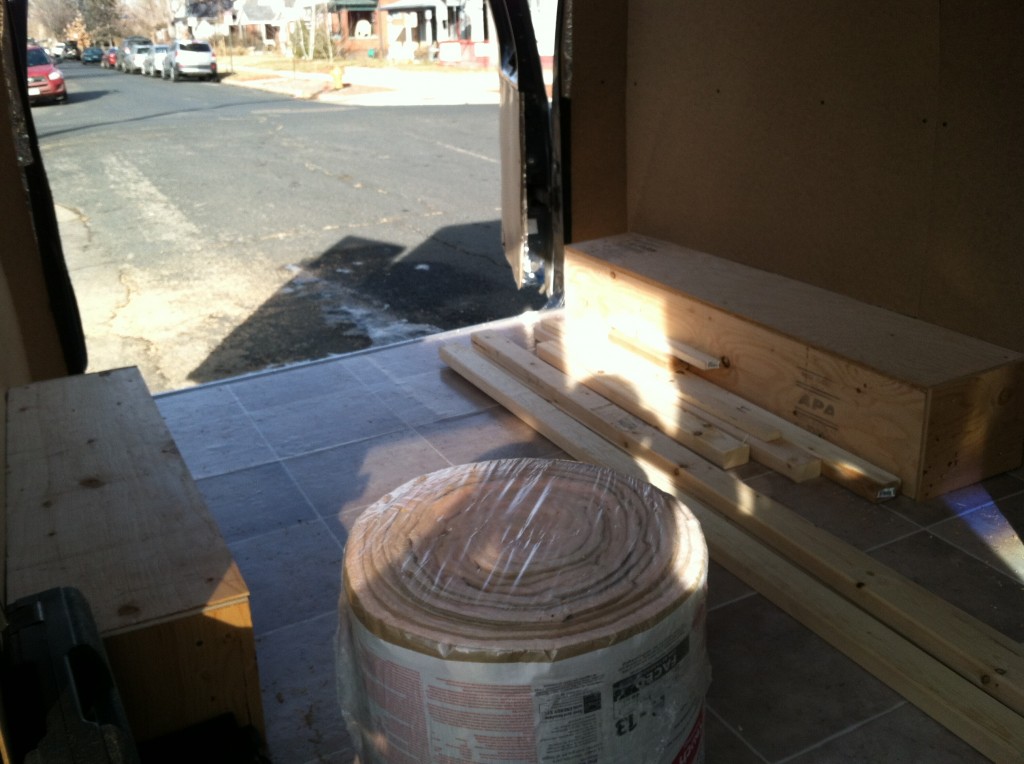
Even as I set out to begin building the walls I wasn’t 100% sure how I was going to do it. Most of the research and blogs I read had more or less used the stock panels that came with their van. A few people had made their own but hadn’t provided much in the way of detail. So, I figured with the insulation installed I would screw some batons onto the walls and use them to attach the walls to. I chose hardboard for this because it was cheap and light. The walls don’t really need to be all that resilient considering most of them will be covered up by other stuff eventually.
I used self tapping screws to secure the wood batons to the frame.
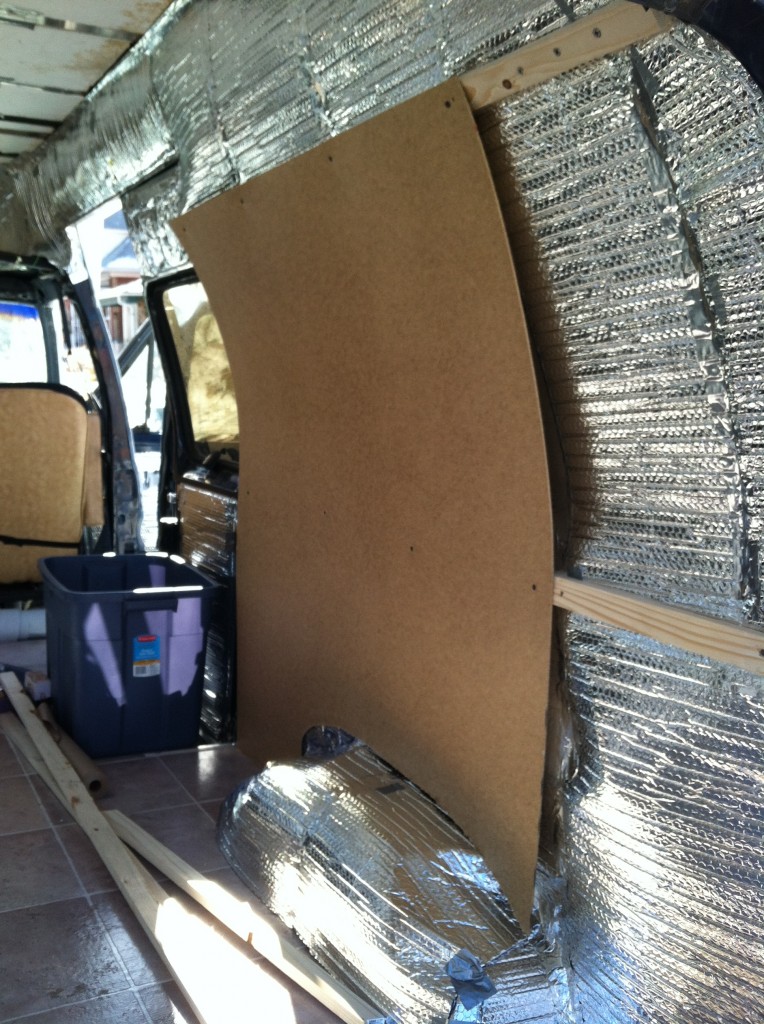
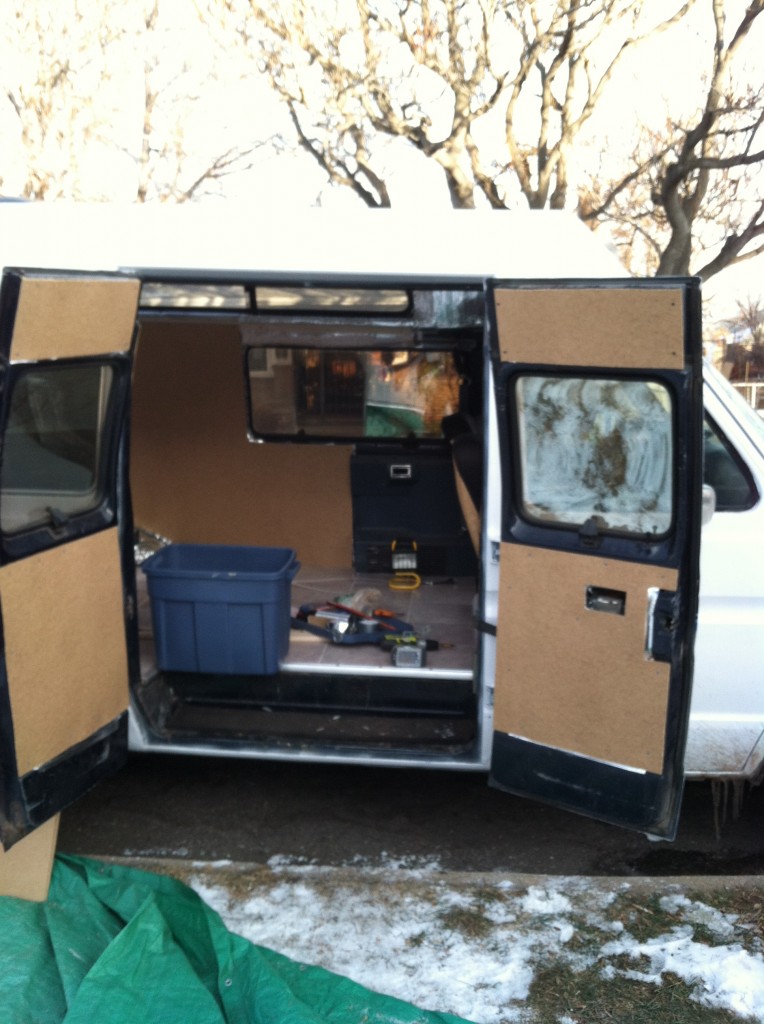
I then set to work with a jigsaw and a tape measure. The process moved along pretty well and despite the non-uniformity and odd angles of he van I was able to get most of it covered with several large pieces.
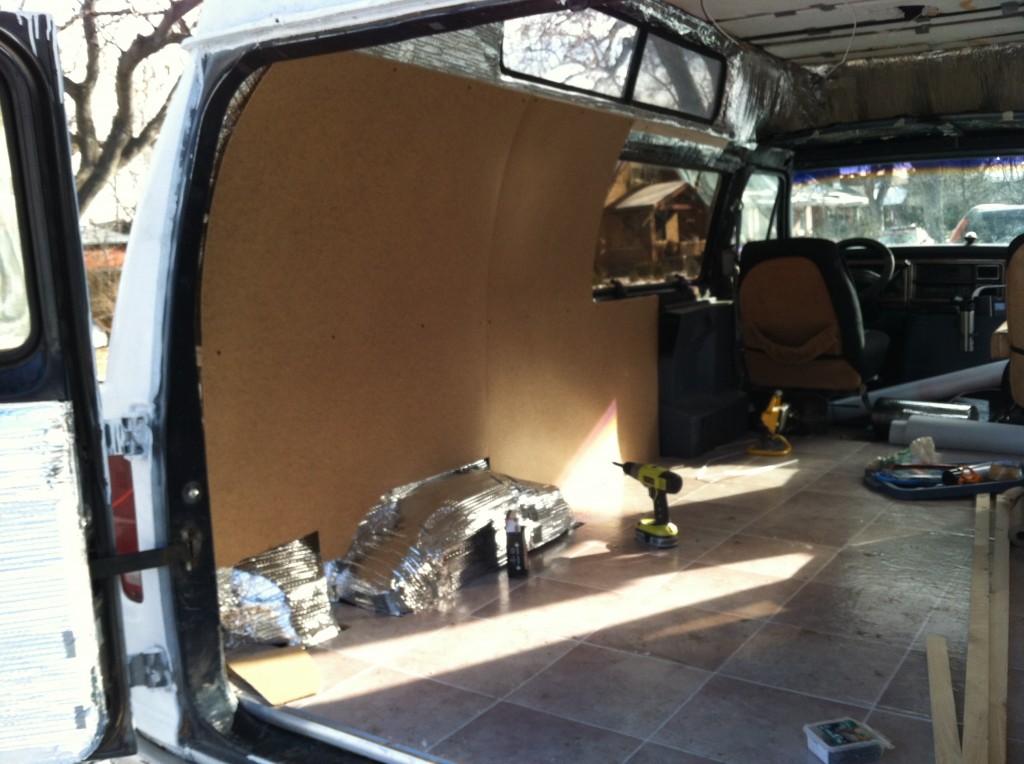
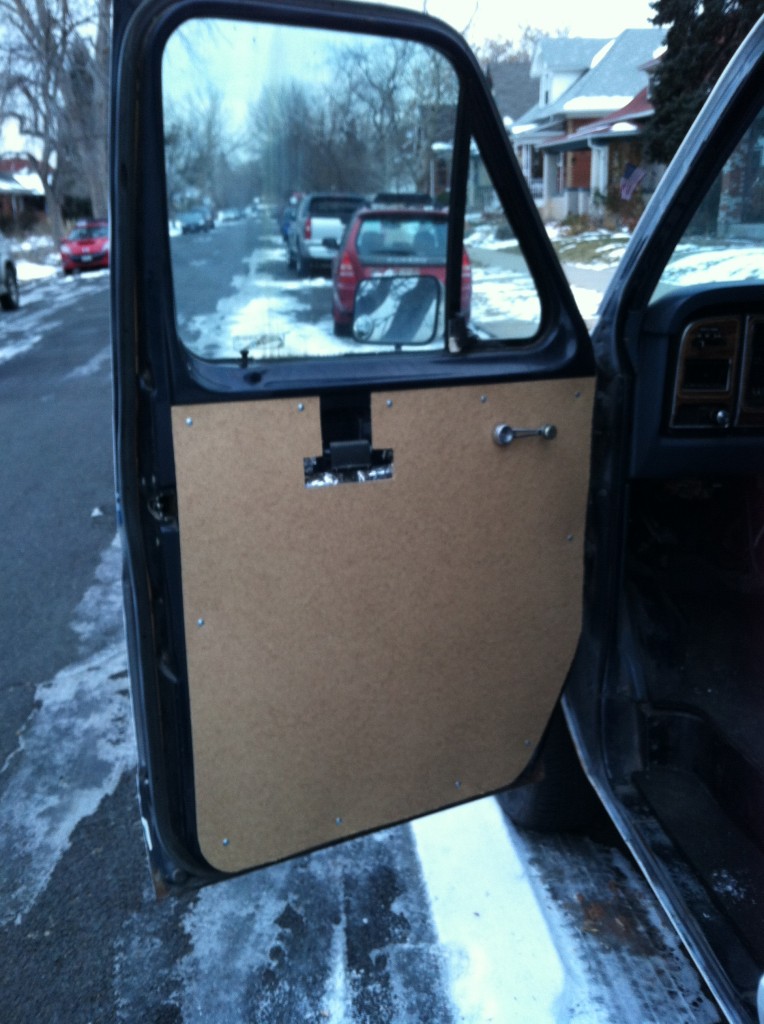
I filled in the gaps and roof in a similar fashion and screwed the panels directly into the frame in many places. Made panels to trim out the doors too. They’ll look a bit better once they have handles and the board is covered with something nicer and more finished looking.

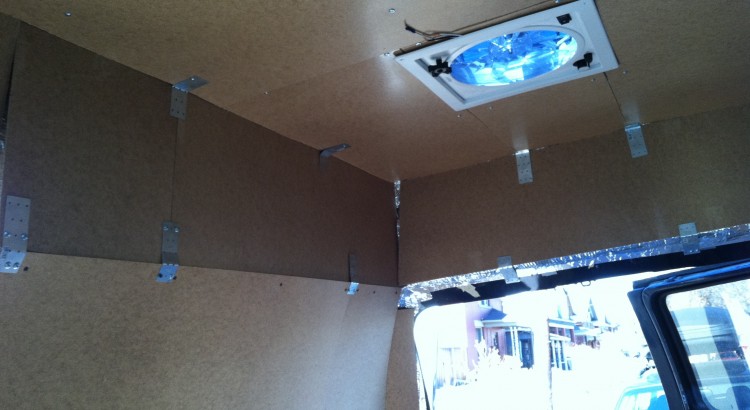
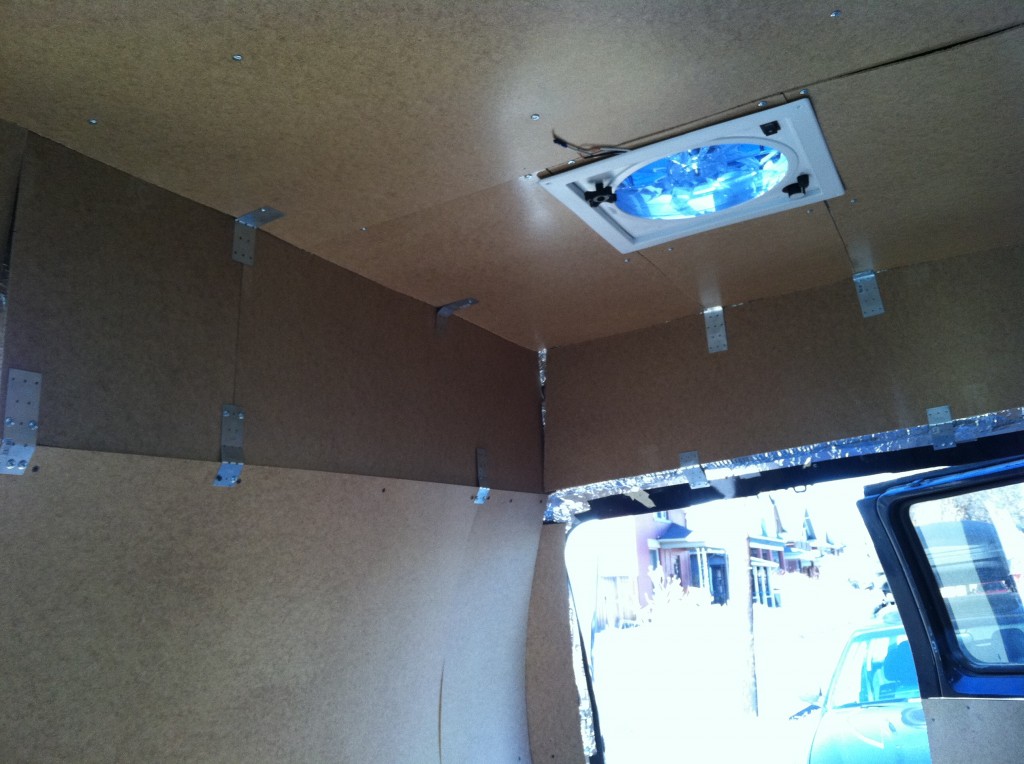
In some places there was no frame to mount them too and no where to mount a baton. In those areas I used brackets and bent them to custom sizes myself.
I made separate, small, removable panels for the rear section where the tail lights are covered so I can access them in the future should one go out. I also made boxes to cover the insulated wheel wells.
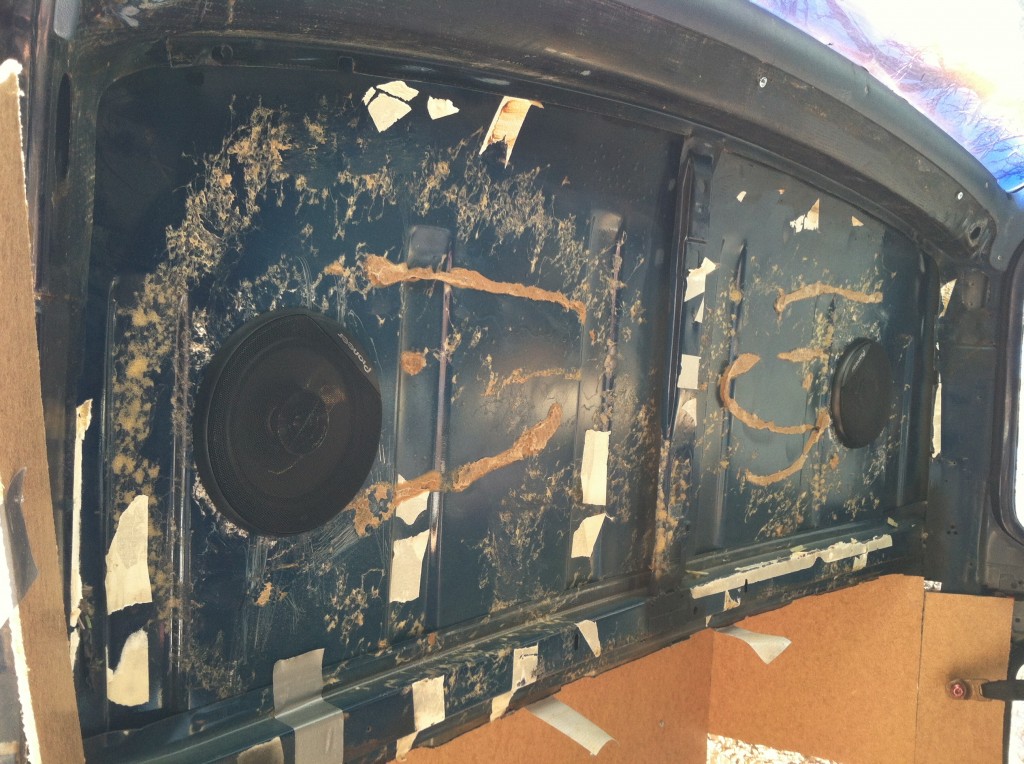
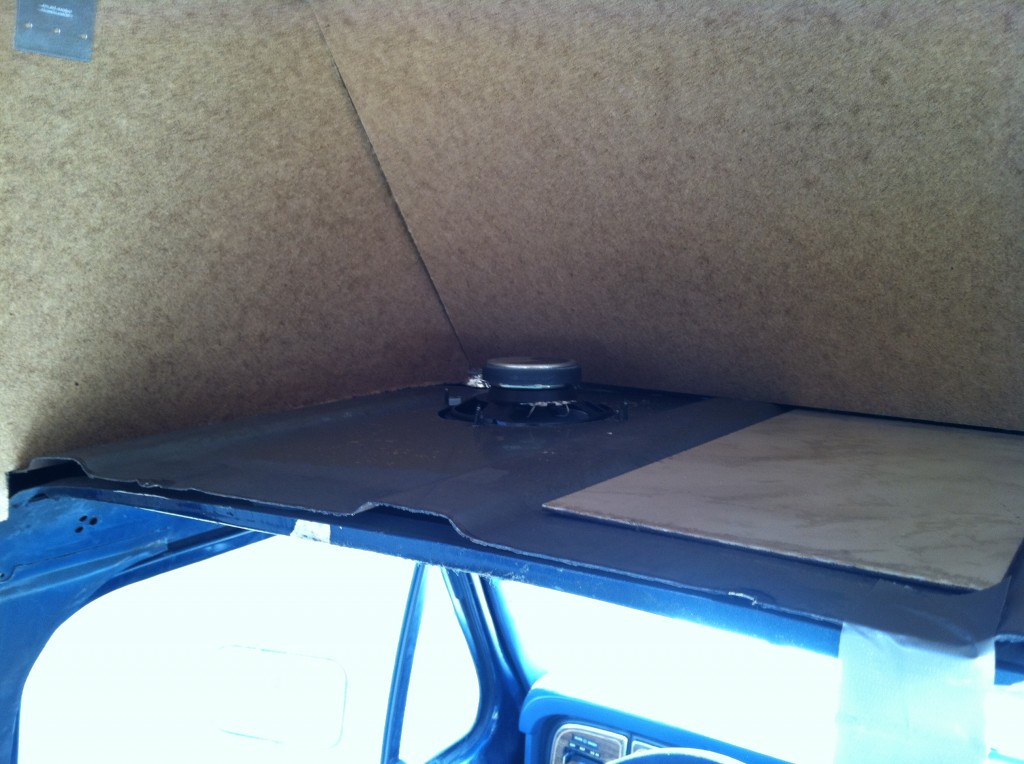
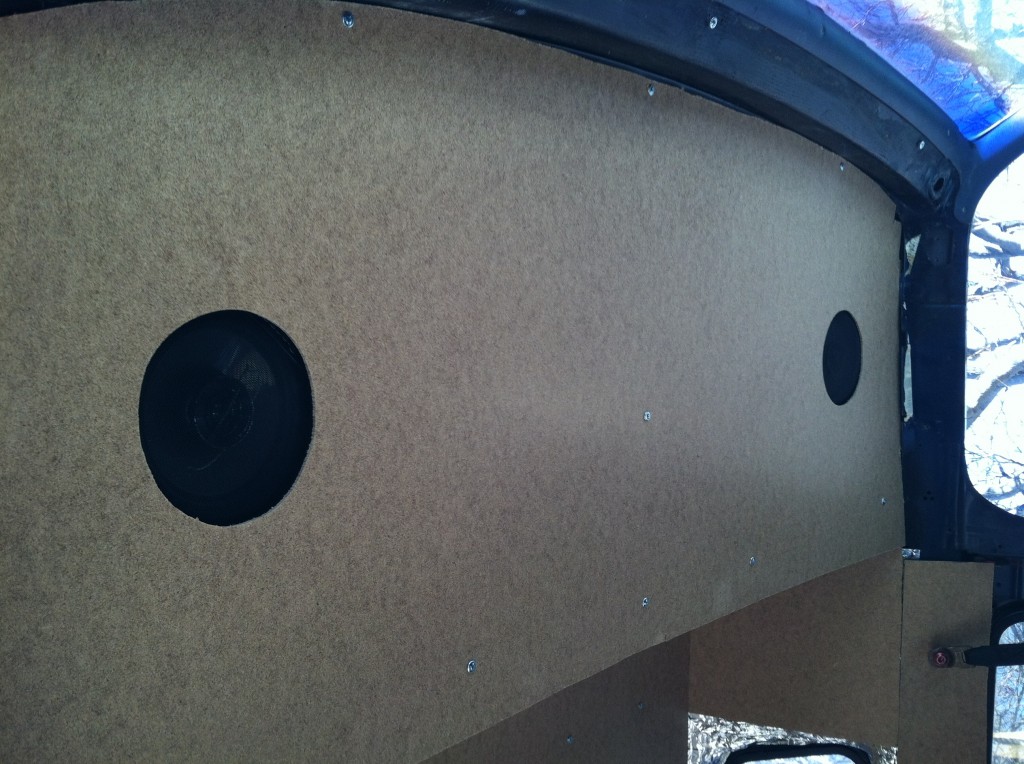
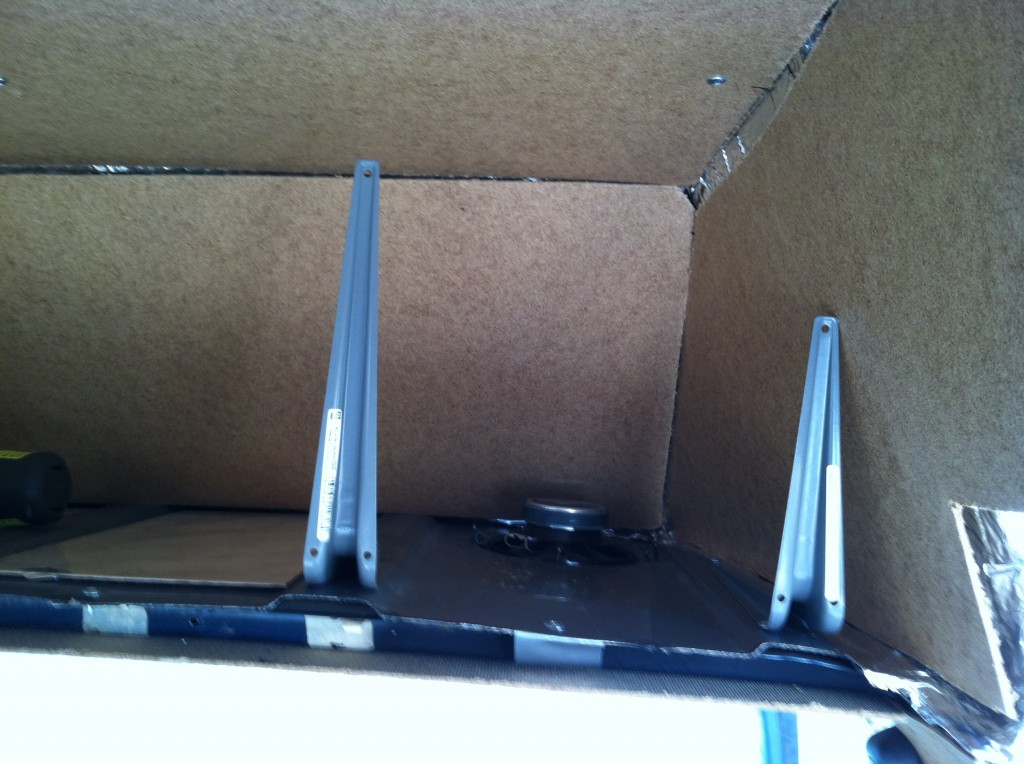
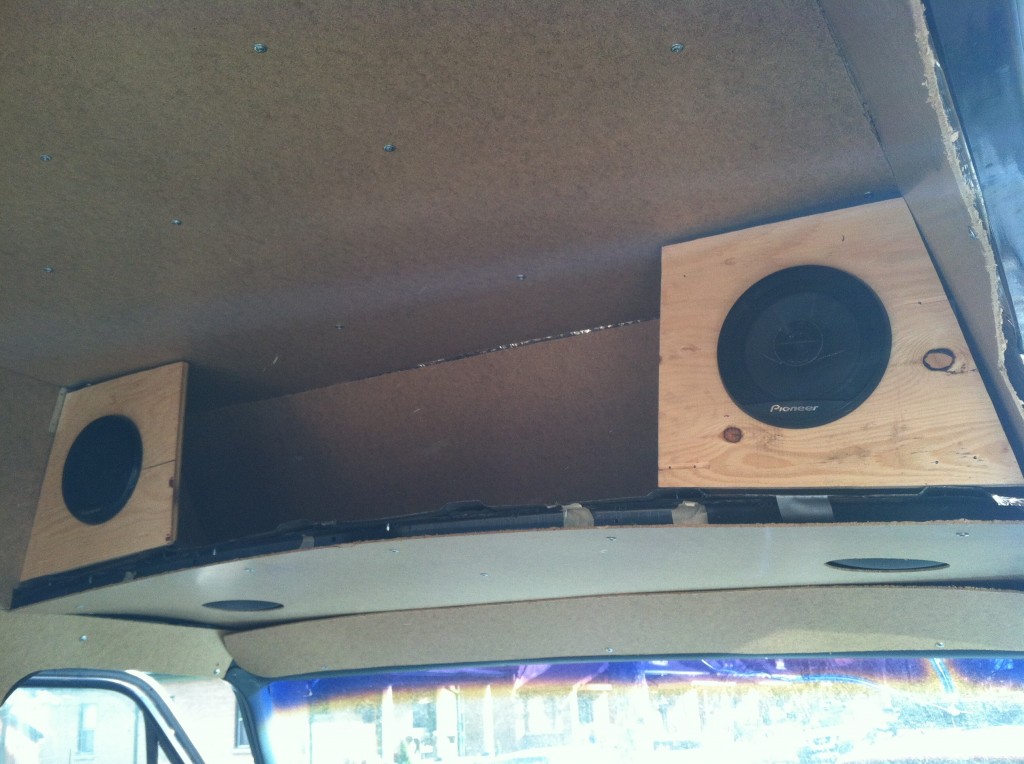
I cut holes in he metal shelf above the front seats for speakers, mounted them, cut similar holes in the panel for the front cab, and ended up with a nice, custom speaker setup.
After that I built some brackets and cut some ply to fit and mounted speakers facing he back. I’ll eventually wire these to the stereo and the stereo to the house batteries so I we’ll be able to listen to music in the front or the back whether the car is on or not.
All in all it was pretty time consuming and challenging at times, but turned out better than I expected. We plan on covering the walls in a fabric or wall paper to hide the seams, brackets, screws, etc and give it an overall nicer look. More on that soon!
Walls, speaker mounts, wheel well boxes
| batons | 6 | 1.08 | 6.48 |
| hard board | 7 | 8.98 | 62.86 |
| screws | 2 | 6 | 12 |
| ply board | 1 | 20.37 | 20.37 |
| brackets | 4 | 1.47 | 5.88 |
| Bolts, washers, nuts | 2 | 5 | 10 |
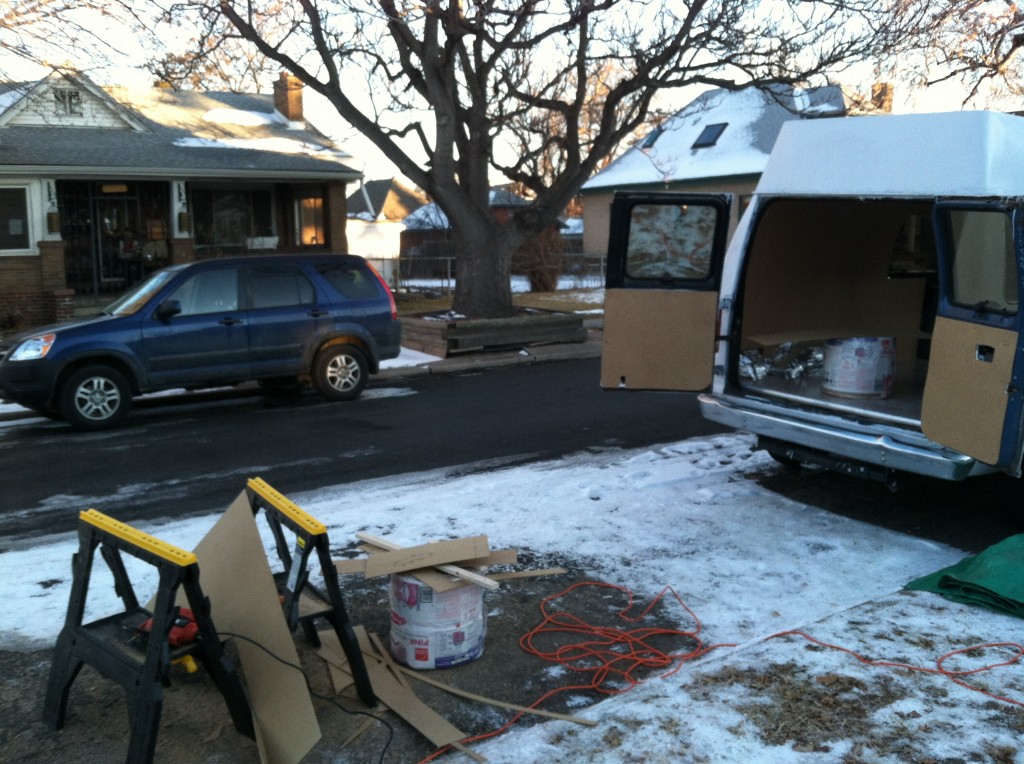
| saw horse | 2 | 6 | 12 |
| tie plates | 12 | 0.58 | 6.96 |
| 136.55 |