The Darien Gap – Shipping Your Rig

We’ll cover this in two sections. The first section is information about the planning and coordination process that I wish we could have read somewhere prior to diving into it for ourselves. The second section will cover the process and paperwork – though this is covered in a lot of other blogs, much of the information out there is several years or more old and the processes and port specifics have changed a bit. This information reflects shipping as of April, 2014.

Planning & Shipping

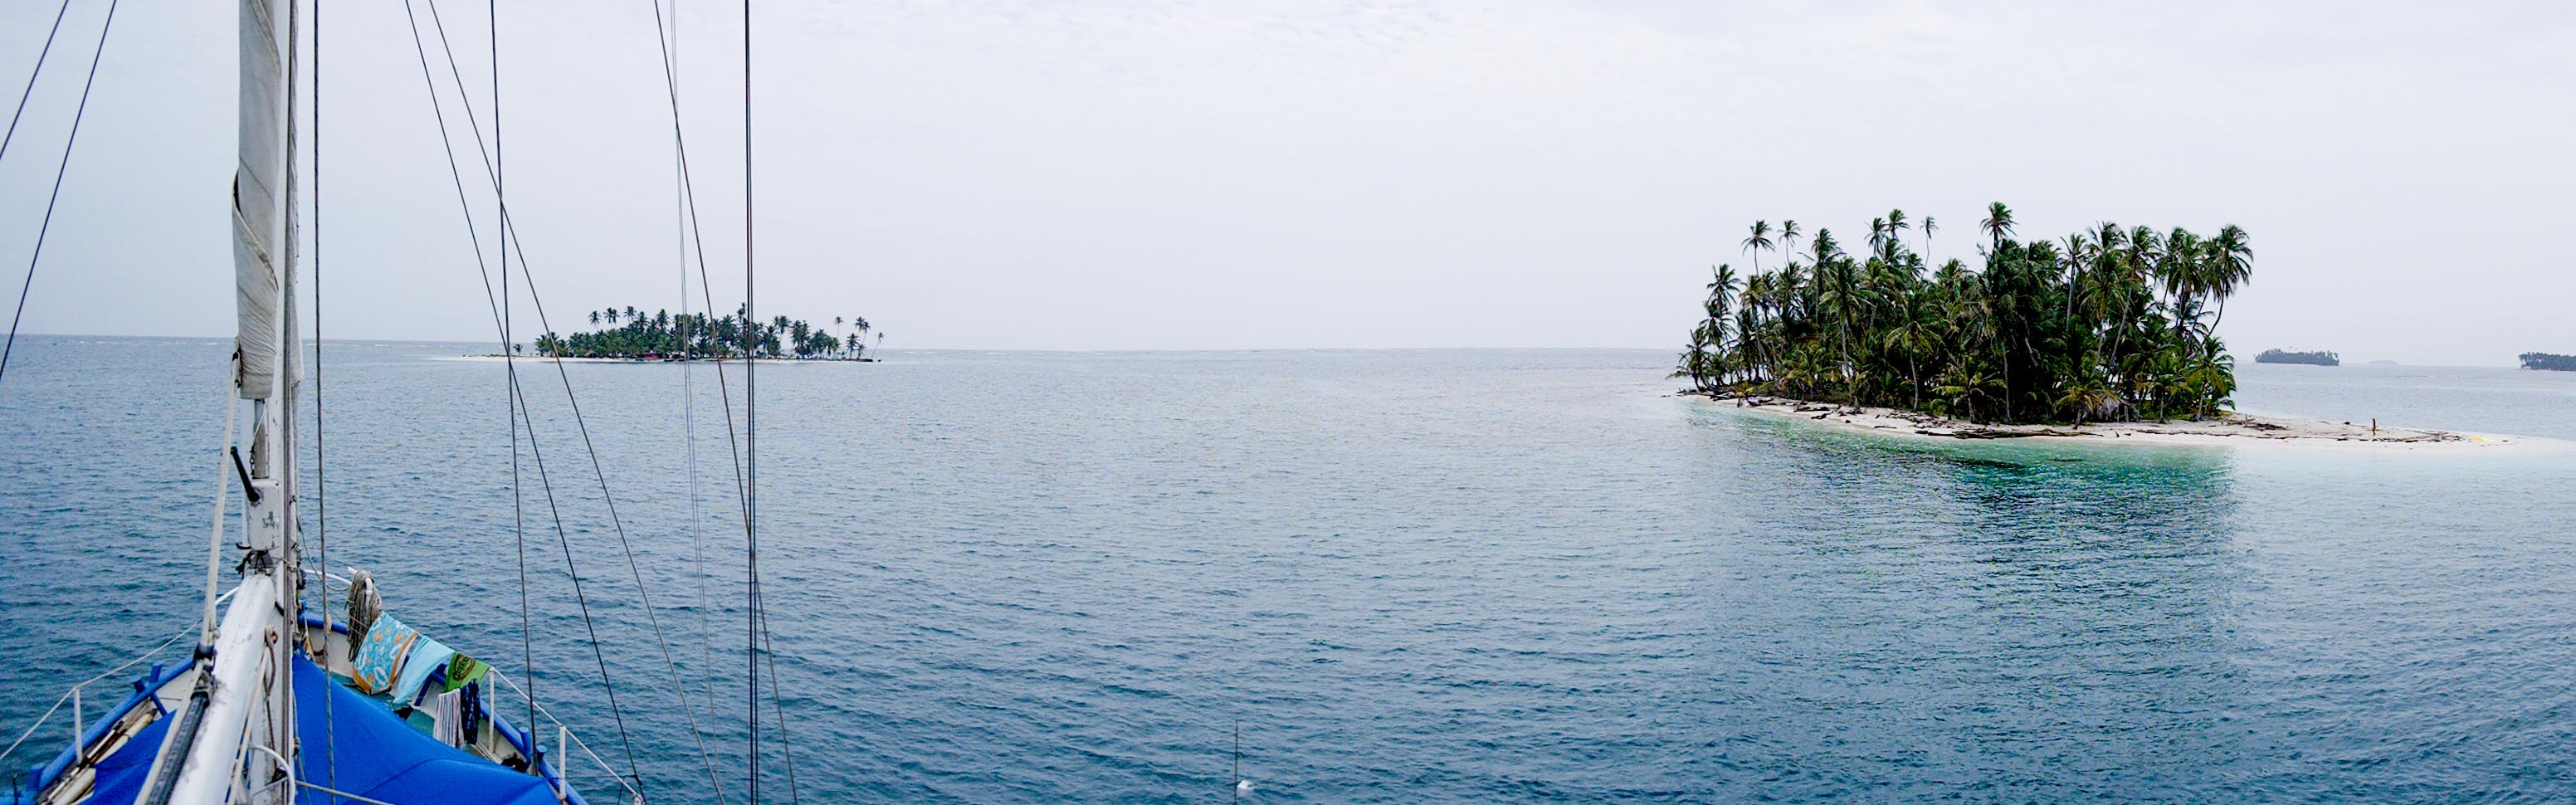
First off, if you’re planning to sail the San Blas to meet your vehicle on the other side (which we highly recommend), then your planning begins a month or more in advance. Better get on the ball in Costa Rica or lay up in Boquette or you’ll be in Panama City for a long time.

The trick to the planning is that you’ll have three things to coordinate. 1) A sailboat, 2) A Shipping Partner, and 3) The actual container.  The sailboat is important. Read up, talk to people, and decide what you are looking for. Do you want a big party boat with lots of people, or a small boat that doesn’t,  or something in between? Once you figure that out, check the schedules online or contact a booking agent like Mamallena’s Hostel and figure out when a boat that you’d like will be leaving. Then schedule your shipping around that. Sailing with your shipping partner is definitely not a bad thing either!

If you go through an agent, which seemed like a good deal to us, make sure you get a schedule from them in advance and that it coincides with your sailing. We used Tea & Amy and shipped out of the Manzillo port in Colon. Our inspection was on Monday (with Tuesday on standby in case anything went wrong), and we put the van in the container on Wednesday (with Thursday in case anything went wrong), and then we jumped on our sailboat early Friday morning. Our sailboat got in the same day as our container, though there is a little leeway to be had there. I really don’t think an agent is necessary on the other side – my container partner and I both got our vehicles out at the same time as a different couple that shipped with us out of Panama who paid for and used an agent on the Columbian side. Be ready to take some cabs between your hostel/hotel and the two main places stamping and paper issuing happen (the DIAN office and the port) and make sure you have all of the necessary documentation and paperwork with you as well as a pair of pants and shoes for the port when you sail – you will not be getting anything out of your vehicle until it is back in your possession on the other side!

We had read in some blogs to take all of your electronics with you because of the temps in the container. I thought this advice suspect, did some research, and determined that this is not necessary. Anything you want to leave in the vehicle will be fine. It will get hot, but not hotter than electronics can handle. The only exception to that would be batteries. They will not perform as well after being exposed to high temps, but even that isn’t a huge deal for the short amount of time they’ll be in the box. We took a camera and an iPad with us leaving everything else on board – no issues. This is all assuming that they’ll be safe which bring us to our next subject…

Many of the agents and big shipping companies ship from the Manzillo port now. They DO NOT allow you to put your vehicle in the container. This means handing over your keys to the people at the port… which gives them ample time to look around for things to steal. Not as bad as RORO, but not ideal either. Our largest gear container cannot be accessed from within the vehicle and can only be removed via the back doors which we chained shut and padlocked. That kept all of our climbing gear and items we couldn’t fit in our lock box safe. They didn’t take any of our loose kitchen stuff, etc, but we did leave a crappy pair of binoculars on the dash and they were gone when we pulled it out of the container on the Columbian side.

We learned after the process from our friends at SouthToNowhere that there is a second port with agents in Colon that allow you to drive in and lock the container yourself. Sounds pretty ideal and likely the best way to go.

Lastly, hostels book up quickly in Cartagena. It is wise to reserve a room/beds before you leave on your sailboat. We stayed at Mamallena’s on both sides. They were awesome, especially on the Panama side letting us park in front and actually sleep in the vehicles at a discount till we containered them. Because our shipping partners were in on it and we had been at the Panama hostel for a bit as well as sailing through them, they gave us a great deal on a private room on the Columbian side – and trust me, you’ll went a nice shower and some A/C after the sailboat!

Paperwork

Panama Side

We found using an agent helpful. We also heard that the main shipping companies will not deal with individuals but cannot verify if that is true as we didn’t bother to find out. If you use an agent the process will go something like this:

Day #1: Monday

Doing this step on Monday gives you more time to fix anything with your paperwork that might need fixing in order to still get your van shipped the same week. Also, inspections do not happen if it rains.

  • Inspection by police. Our agent had us meet at the Balboa Yaught club with other shippers. She then had us follow her to the place of inspection (this was a super sketchy area of town and our agent also warned us). Inspections only happen 9am and 10am Mon-Fri. Engine must be cold for inspection so open hood upon arrival.  You will need originals and one copy of the following for inspection: Driver’s passport, vehicle title, Panama permit, Panama Insurance. There is a place to make copies right across the street from inspection place but they do cost $0.25 a copy. The guy who inspected our car only verified the VIN but I have read many blogs where people are turned away for other issues with their paperwork. We gave our copies to the inspector and he kept them. We were told to go home and return across the highway later.
  • Return to inspection place – the next office is on the other side of the 6 lane highway. You turn over your passport or driver’s license to security at the gate in exchange for a visitor ID. Once inside, ask for the Permission Certificate Office, you will not find it on your own. Also, you do not need your car for this step, so taking a $3 taxi split between shipping partners is ideal. This office opens up at 2:30 and closes at 5. Get there at 2:30. Wear pants and closed toe shoes or you will not be allowed entry. Only the vehicle owner is needed.
  • The office will issue a Police Permission Certificate. They will need original and 1 copy: Driver’s passport, vehicle title, Panama vehicle permit, Panama Insurance. Definitely double check that everything is correct once you are issued your Permission Cert – our shipping partner had several errors on his including someone else’s passport number!
  • For the next step you will need 3 packets with the following information: Driver’s passport, vehicle title, Panama vehicle permit, Panama Insurance, Police Permission Certificate.
  • Our agent received and took care of the Bill of Lading

Day #2: Wednesday

I would do this on Wednesday if you have a choice so if anything again goes wrong you still have Thursday to fix things.

  • Meet with your agent. Drive to Colon.
  • Go to Aduana’s. Our agent added the Bill of Lading (she also had copies of this) to our packets. To reiterate, for packets you will need 3 copies: Driver’s passport, vehicle title, Panama vehicle permit, Panama Insurance, Police Permission Certificate.
  • Customs will enter information into a computer and stamp the driver’s passport so that you can leave the country without the car. Customs will keep one of the packets and give back 2 packets. They will stamp and sign all 3 packets.
  • Then you and the agent will go to a building with numerous windows. Our agent took the paperwork and got the necessary stamp at an unlabeled window.
  • Port fee: $64, paid at another window with a receipt that you need to keep. Agent then gave us one of the copies of packet for our reference.
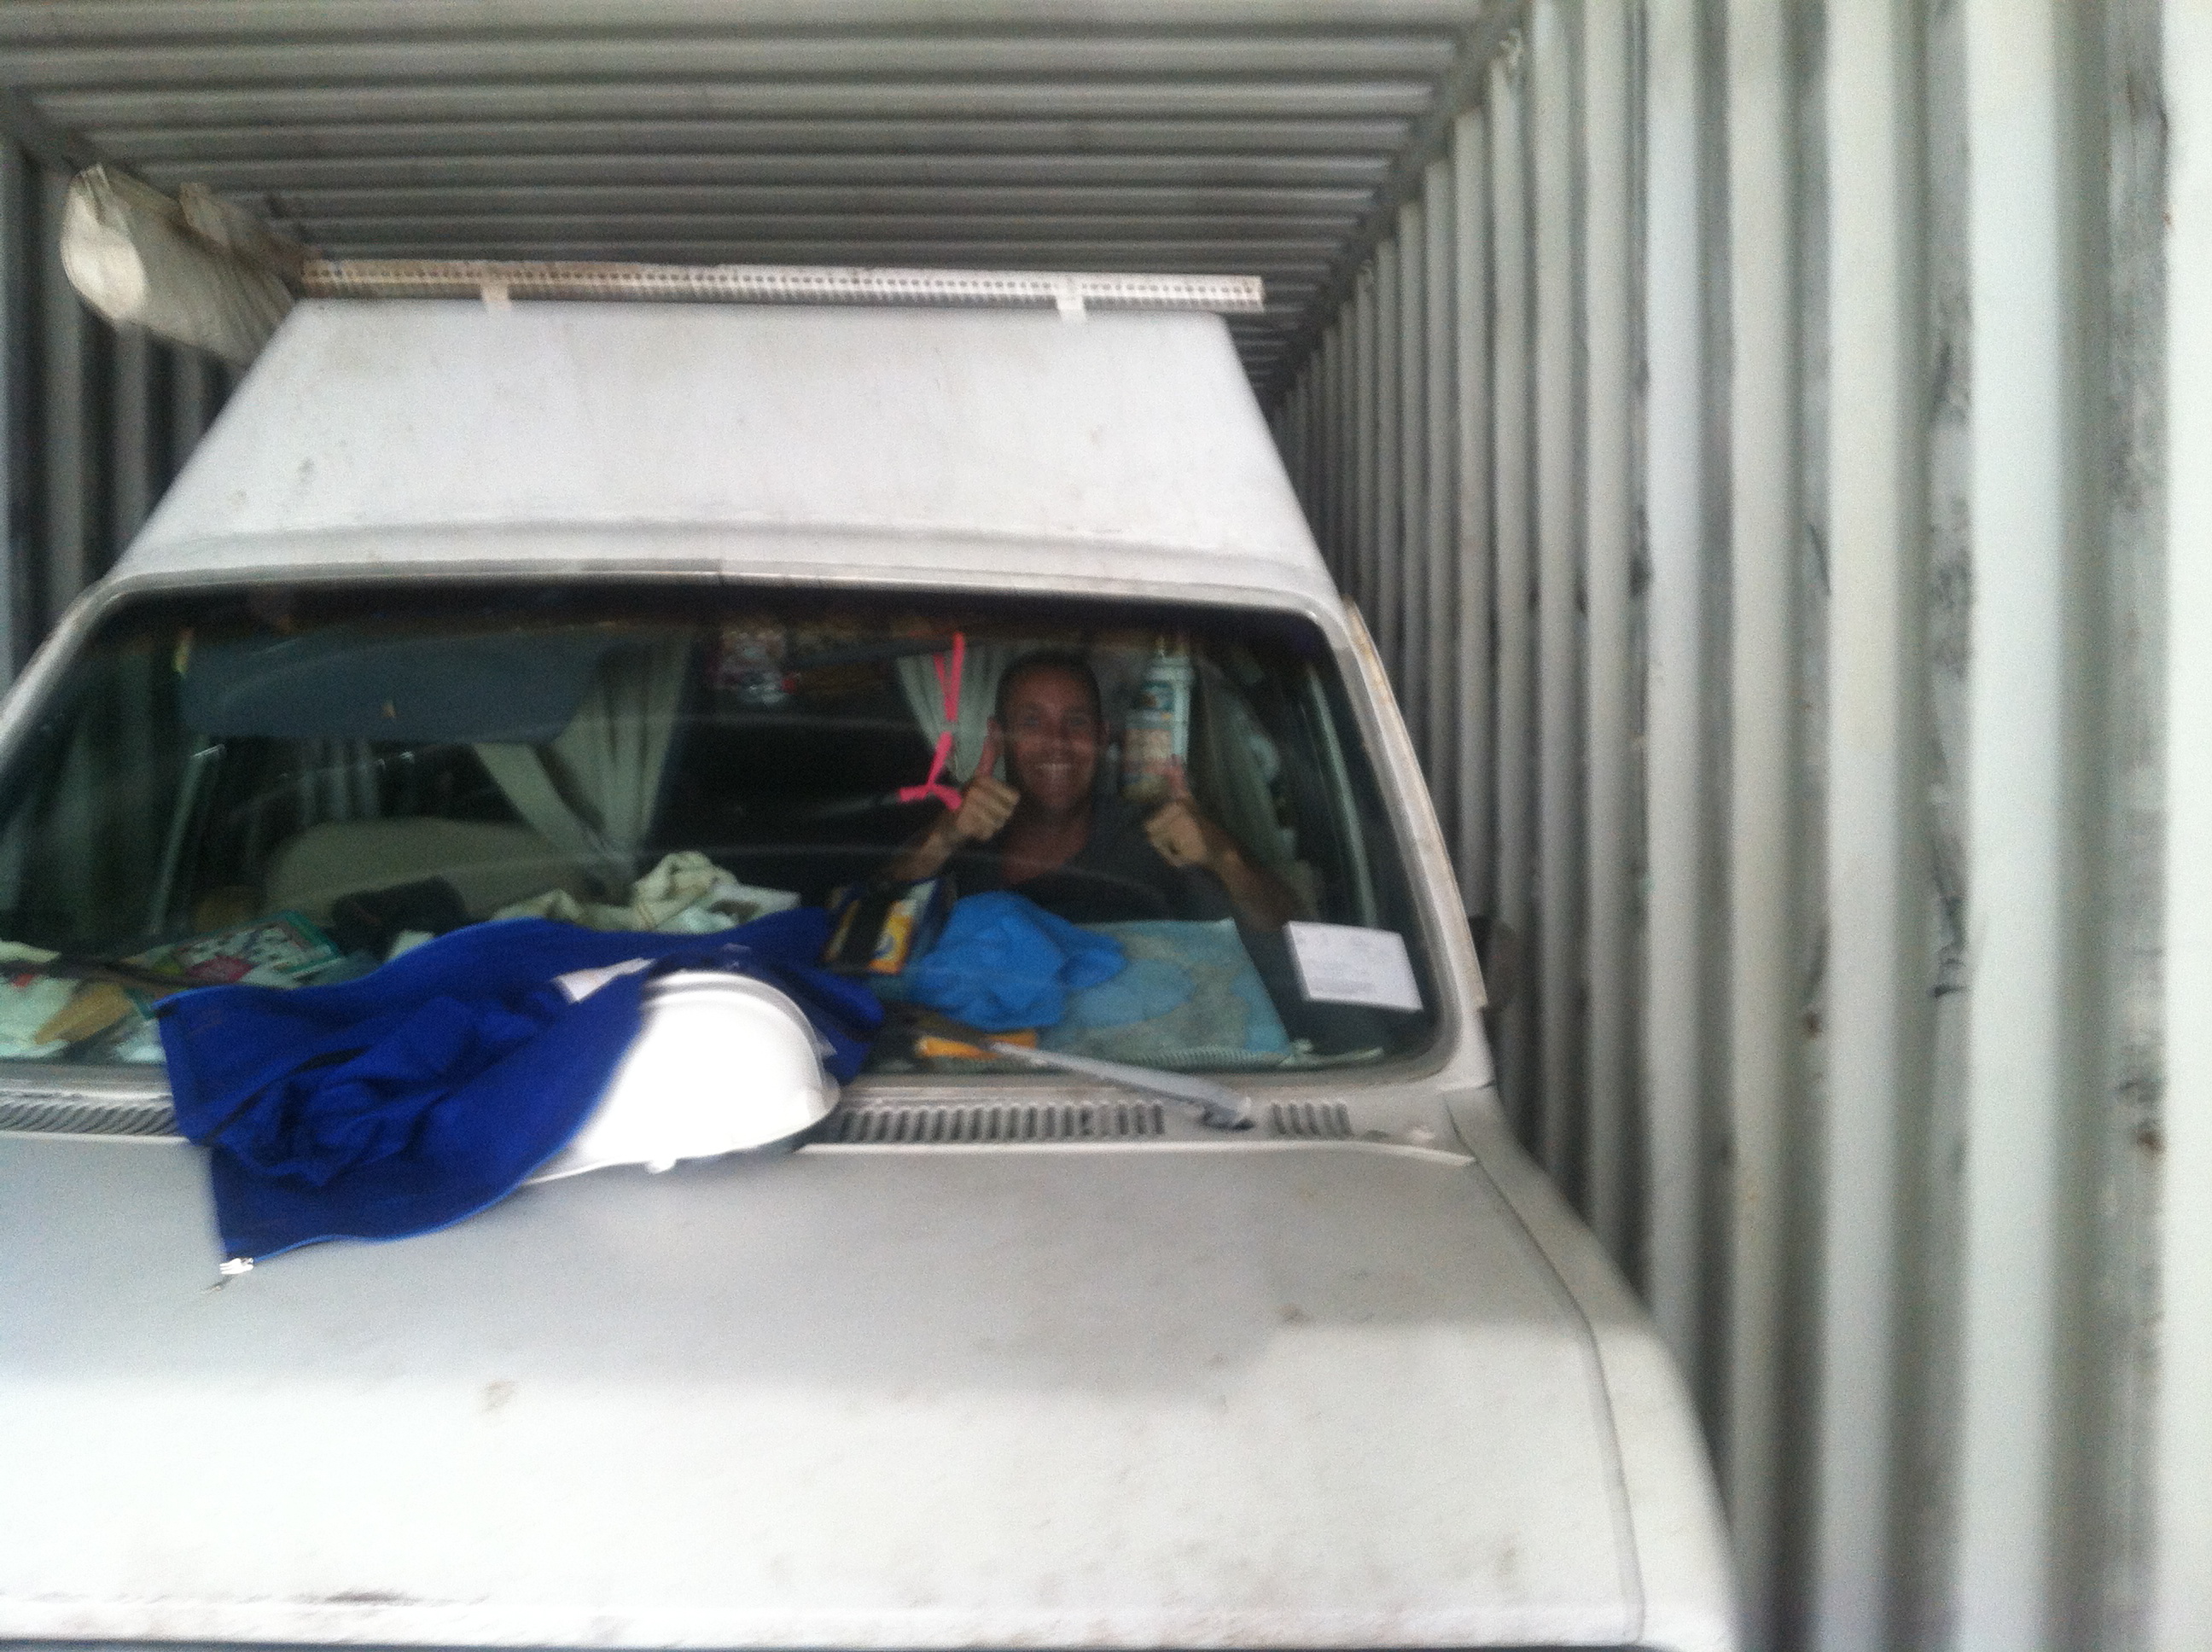
  • Drive vehicles into an inspection/parking area. Only drivers are allowed in here with agent. They will inspect the vehicle and then have a drug dog go through it. You are no longer allowed to drive your own car into the container if you ship through this port, so we had to hand over the keys. Remove anything on the dash or front that is within easy access. They don’t have a lot of time to go through your stuff we were told, but they did take some handy binoculars that we left on our dash. We had locked everything of significant value in the back.
  • Pay agent: $990
  • Take taxi home. All of this was completed before 2pm! Our agent was really on top of everything and I highly recommend her. This was Amy, Tea’s daughter. Taxi ride home was $65-85 split between however many people who took the taxi.

Cartagena Side

There are basically two places you need to go, the port and the DIAN office.

  • Start at the port, go to your shipping company’s window/office and get your new bill of lading for the Columbian port.
  • Take that document to the DIAN offices. They’ll give you a form that you’ll need to make three copies of (I made one extra thankfully…). You’ll also need up to three copies of your passport (and the page in it with your Panama stamps), bill of lading, and title. This office is supposed to schedule a DIAN inspector to arrive at the port the next morning and inspect the vehicle when it comes out of the container. We filled the form out and double checked with them that it was correct, but would later find out that we didn’t put the port address on it (which is doesn’t ask for anywhere) and so they never sent it to the port. (Fortunately, and luckily, we bumped into the inspector at the port the next morning and had our own copy of the form. She was able to use our copy temporarily until she returned to the DIAN office to make an official one. Lucky us.)
  • You arrive the next morning when the port opens at 7:30a, meet the DIAN inspector, and go get your vehicle out of the container. You drive it out, they check the VIN, and you park it next to the container and leave it for now.
  • You now take a cab back to the DIAN office where you will get a form signed by the inspector and her boss (which is why you have to cab it back to the DIAN). With this from you can now go back to the port and get the vehicle released.
  • Make a copy of the DIAN form. Take this to the port’s main office with copies of your title, passport, and bill of lading. They will produce a bill with your port fees. Ours were $180 which we were told about in advance by our agent.
  • Take bill to the payment window, pay, and get receipt.
  • Take receipt back to the window that issued the bill, they will now give you the release paper.
  • Take bill of lading, DIAN document, release paper, title, and passport back to where you parked the van. A port official will process everything, sign you out in a book, and send you on your way. At the vehicle exit you’ll have to show the paperwork again.
  • Congratulations, you have your rig back!

Don’t forget to swing by one of the many SOAT offices and purchase the mandatory Columbian auto insurance. You have a lot of checkpoints in store and you won’t be getting through them or a police stop without it. The easiest way to find a SOAT that issues insurance for autos is to ask or take a cab.

IMG_4402

(Views: 960)

Read More

Central America

Border: El Ceibo, Mexico – Guatemala

Mexico Side

  • You will drive through a bunch of people waving you on and encouraging you to park with them.  There are many tuk-tuks there as well and you almost want to park here.  Do not.  Go just a little further to the governmental buildings. (These are actual official looking buildings).
  • Park near the end towards immigration.
  • Go first to the Bancomar to export your car. They will want your sticker that you placed inside your car. Bring all your import car paperwork.
  • The Bancomar guy will take a picture of your van, look at the VIN number, give you a receipt for your deposit back, and then you are done with him.
  • If you did not remember your FMA receipt from the initial visa you will have to pay another M$280 for paperwork to get out, if you have your FMA receipt from the bank (not the passport visa) you don’t need to buy this. If you do not have it, buy at the Bancomar place prior to going to immigration.
  • Go to immigration, the office is right outside on the left.  They will look at your passport, ask for your FMA receipt, stamp your passport book, and you are done.

Guatemala Side

  • As soon as you drive across the border, which is about 5 meters from immigration, park right in front of the RV (yes, not so official on this side).  Go into this office (Aduana), give them the originals and copy of driver’s passport and title (or registration).
  • They will send you to the RV directly behind them – to immigration.  Here they will stamp your passport.
  • Back to Aduana.  They will look at the stamped passport book. Then send you for the import fee.  Money changers next door will give you a pretty fair deal especially if you know the exchange rate.  We needed 180 Quetzales for import fee for the car.  Insurance was not required.
  • They sprayed the car for a small fee as well.  Then done.  Fairly easy border.

We arrived exactly at 9 am, when the border opened on Sunday only to have the Bancomar guy be late :D.  So we waited for about 45 minutes.  With our bad Spanish it took a moment to figure out the prerequisites needed, but they were patient with us and we got through fairly well.  I had unfortunately misplaced my FMA receipt so we ended up repaying for mine but I was able to find Eric’s.  But with all the hassle we still finished the border up by 11am.

Border: Guatemala – El Salvador

Sunday, March 9, 2014

Guatemala Side: La Hachadura

  • This border you might run into a line of stopped semi-trucks, drive around them.  “Helpers” might come and try to help you; they will do so for a fee.  I prefer to not use them, especially since they don’t necessarily know more than we do after researching it on-line.  Don’t be worried about going around the semi’s – they are in a different line than people crossing as tourists. They do not get upset.
  • Park at right hand side of blue building – go to immigration for the exit stamp.
  • Walk to 1st building with “Ingreso” on it, here they will cancel you permit paper.

El Salvador Side

  • Park next to immigration on the Right.
  • Get the passports stamped at immigration which is the first office outside.  They will not actually stamp your passport, but they will enter a bunch of stuff into the computer.
  • Next go to the Aduana office, just a little further down in the same building.  Approach the counter and give over your cancelled permit paper, a copy of driver’s passport, and title with originals.  He will enter a bunch of things on a form and inspect the car.  He asked us how many computers we had, how many surfboards, how many cylinders the car was, etc. Then he entered this in a computer while we sat in chairs waiting for him.
  • He handed us back the originals and vehicle permit.  No money was paid.
  • We were not required to buy insurance at this border.

*Some blogs noted that there might be a $5 exit fee and sometimes insurance around $10.

Border: El Salvador – Honduras

Sunday, March 16, 2014

El Salvador Side: El Amatililo

*Note: Some blogs noted that you can be asked on the Honduras side at inspection for proof of warning triangles, fire extinguisher, and spare tire.  We bought some triangles at the gas station right before the border.

  • Again drive around semis. 😀
  • Before we got to the official buildings we were stopped at a checkpoint by a man in a white shirt – very official looking, standing next to a booth.  This was apparently the Aduana booth.  (On the right side of the road).  They wanted 1 copy of permit without stamp. They took our permit and stamped it.  Then they needed 3 copies of permit with stamp.  So we went across the road to get copies.  Gave it back to the official, who will stamp it, check VIN then done here.
  • Drive approximately 3K to official building and take a LEFT!!! (Do not go the obvious way with all the semis.  You will arrive at an official border building.
  • Immigration building – stamp out.
  • Need a copy of vehicle permit w/ stamp for checkpoint.  They will review this and your passport.

Honduras Side

  • You will reach another checkpoint before you get to the border buildings.  The official will want originals and copies of title, license, driver’s passport.  Then he might try to escort you to Aduana’s.  They won’t do anything with you until you go to immigration first.
  • Drive forward, park in front of large building on the left.
  • Go to immigration in the right building.  Grab a paper at the window to fill out while you are waiting in line.  Need one per person. Stamp is $3 pp.
  • Next go to Aduana in the left building.  She inspected our car first – VIN # only.  She asked for all the specs like make, model, year, liters, cylinders. We were told they would ask us for extinguisher, triangles, and spare tire; but she did not do this.
  • Then back to the office window while she typed things in the computer and we filled out a customs form.  (This took a long time for us as she refused to do anything quickly, answering her cell phone for a chat with a friend and then ordering something over the phone as well).  She then gave us a print out of vehicle permit (make 4 copies of this).
  • You will need for Aduana’s 3 copies of the following: vehicle permit, driver’s passport stamp, registration or title, driver passport, driver license, copies of a receipt of payment (paid her for permit).  She will make all the copies into 3 packets. She will keep 2, 1 will be given away at the checkpoint.

Border: Honduras – Nicaragua

*We did the border crossing from El Salvador, Honduras, and Nicaragua in one day.  It wasn’t bad.  On the Honduras side, we got just enough money changed over for a nice pizza at Little Caesar’s Pizza before we got to the Nicaragua border.  Some blogs noted that there were as many as 14 police checkpoints, we did not run into any but again we crossed on Sunday, which seems to be a magical day for us.  The Honduras side was warned to be a little sketchy.

Guasaule, Honduras

  • Official/police will ask to see vehicle permit, and then wave you forward, STAY LEFT.  Drive past the sketchy buildings to the back, where there are 2 grey buildings.
  • Go to immigration: stamp out
  • Walk around directly behind immigration in the building to a door that requires you to pull a rope in order to enter. (A guard let us in) This is Aduana’s.
  • Cancel permit – they will keep original and mark stamp in passport.

Nicaragua Side

*Stay right while driving

Semis again – you know what to do.

  • Fumigation $3 and keep the receipt (sometimes it is not open apparently)
  • Park outside of grey building. Go into the first door to immigration – get visas $10 pp tourist card fee, $2 tax pp.  (There is an ATM here that gives out Cordobas, but it wasn’t working when we were there.) They will give you a receipt, keep it just in case.
  • Then Aduana office for vehicle permit. They will need originals/copy of driver’s passport and title. They will inspect car and check VIN.
  • Last checkpoint will ask for all paperwork and receipts.

Run for the hills and cold beers after doing all these borders.

Border: Nicaragua – Costa Rica

Sunday, March 23, 2014

Nicaragua Side

  • You will get stopped at a check point; they will check everyone’s passport.
  • Give the vehicle permit to another man at this check point, they will scribble on it and hand it back.
  • Drive to set of buildings ahead and turn left – drive past customs/immigration and park.
  • Go to the Exit immigration window and pay $1 pp exit tax, proceed to immigration window in the same building.
  • At immigration window, fill out your tourist card and take extras for Costa Rica :D. Pay another $2 fee and keep receipt.
  • Head across the street to a window marked Aduana.  This is to the left of the Duty Free shop but in the same building. This man will take your vehicle permit and give you a customs form to fill out.  He will stamp and sign this.
  • He will then have you go get your car inspected by a guy wandering around in a white shirt with a DGA logo.  He will stamp and sign your customs form after looking at your VIN.
  • Then lastly go back across the street to the immigration building and enter at the left side for a police officer to sign your customs sheet.  They also may be wandering about.
  • Keep the customs sheet for the checkpoint. They will take the “overly stamped” customs sheet and keep it.

*Note: we were sent to the police too soon and he signed and stamped the wrong thing, then told us we were done.  It seems best if you get to Aduanas and the inspection first.  The inspector was inspecting other cars with a clipboard and not too hard to find.  The aduana window was a dark window – did not look open.

Costa Rica Side

  • Stay to the right and stop at the fumigation, this can cost CR $2175.  (We were just waved through w/o fumigation).
  • Drive by the building on the left, park on right, close to entry at the fence.
  • Go to immigration and get stamp.  Nice official building.  Fill out your extra tourist card info to hand in.
  • Walk out through the metal detector and conveyor belt.
  • NOW, HERE IS WHERE THEY MAKE IT COMPLICATED.  There are 2 Aduana offices. One is marked and on your right in a yellow building that you have already seen once you head to immigration.  DO NOT START HERE.
  • Go get insurance.  This office is through the fence, past all the parked semis, in that empty looking building at the very end.  Go to the window and give the person here your title, driver’s passport, and license and copy of each. Pay $40 for 3 months. (They will not let you do less).
  • Go to the copy shop which is just down the stairs and to the left in a booth in same area.  You can give him any number of change and he will not give you anything back :D.  Make copies of the insurance and a copy of entry stamp in driver’s passport. 
  • Now go back to the first Aduana building (remember the yellow one). He will want originals and copies of: driver’s passport and entry stamp, insurance, and title.  They will check the VIN and the car have you fill out a paper on the specs of the car, and then give you a sheet to take to second Aduana office.
  • Now go back to where insurance office was, go to the end and go in.  He will ask for all the copies, enter more stuff in the computer and finally hand you a vehicle permit.
  • GET out of there and run for the hills! 😀

Border: Costa Rica – Panama

Paso Canoas, Costa Rica

  • Park next to Costa Rican immigration building on Left. Go to the end that you first see as you drive by.  Fill out an exit form and hand to the window marked Salida.
  • Go left from Salida window and then right to get to Aduana office which is inside a nice air conditioned room.
  • Ask to cancel vehicle permit, fill out a form. Hand over original permit papers and driver’s passport. They will check VIN.  (Ours did not even leave the room)
  • They will keep original but hand back form with stamp for proof of cancel

*We literally were through this border in 15 minutes – it was awesome! In between the 2 countries is a large area of shopping that is duty free.  In the middle is a bank where you can change over the Costan Rican money to American dollars again.  Do it here, it will be your last chance.  Now drive through the crazy area to the largest building – a dirty white building.

Panama Side

  • Park at the other end of the immigration next to fumigation. Now go the small booth across from the main building marked Seguridad.  Get insurance for your car.  They need original and copies of: title and driver’s passport.  They charged us $15.75.  She gave us insurance and a copy of insurance.
  • Now go to immigration.  Some people had to pay for a stamp here; other’s had to prove that they had at least $500 in a bank account.  We just had to have driver’s insurance with the promise that we were shipping our car out.
  • Now we needed to go up stairs to an office and have our insurance stamped.
  • Then down to the office marked Capturo and Manifesto for permit. Make sure if you are shipping across the Darien Gap that you double check every number, that chasis are labeled with your VIN or n/a, and that engine number is also noted as the VIN. Make them do it right or you will have to find somewhere in Panama City or Colon to fix it.  They will want to know from what port city you are shipping from, so know ahead of time. (Panama City or Colon)
  • Then go through the brown door kiddy corner to window you were just at.  A man here will have you fill out a declaration form and check your car’s VIN. He will sign and stamp your vehicle permit.
  • Lastly, pay for fumigation.  Apparently, this changes from day to day as well, we paid $8, and some friends, behind us at a different crossing paid $3.

Our Route

View Larger Map

Central America Tips

Coming soon…

(Views: 1312)

Read More

Panama

Boquete

Boquete – Two obvious basalt formations just 5 minutes from town. If this was somewhere with a lot of climbing it would be considered excessively grid bolted… but it’s not somewhere with a lot of climbing, so the gym-style bolt grid simply means more routes in a land with hardly any. Great fun, mostly easy clip ups on the first formation though the second formation has some 11s and 12s. The crux for many of the less travelled routes will be small wasp and bee nests. Lots of those. We climbed nearly every route and only had one issue with them though. The bees don’t really sting, more like bite…

04014379

(Views: 515)

Read More

Pool poaching

60k With No Brakes, Temporarily Homelessness, and The Art of Luxury Pool Poaching

As if the weeks of planning, paperwork acquisition, and a minor bomb threat weren’t enough to make the shipping process the stressful pain in the ass that anyone who’s been through it will tell you it is, no sooner than we pull away from the hostel on the morning we ship, then the brakes completely die! Refilling the reservoir with brake fluid deposits its entirety on the ground faster than you can get the van in gear and even need to stop. Not a brake line which we could duct tape, but the actual slave in the caliper. After 10,000 miles of travel with only one spark plug going bad, we cannot believe the bad luck as we scramble to decide on a course of action. (more…)

(Views: 4907)

Read More