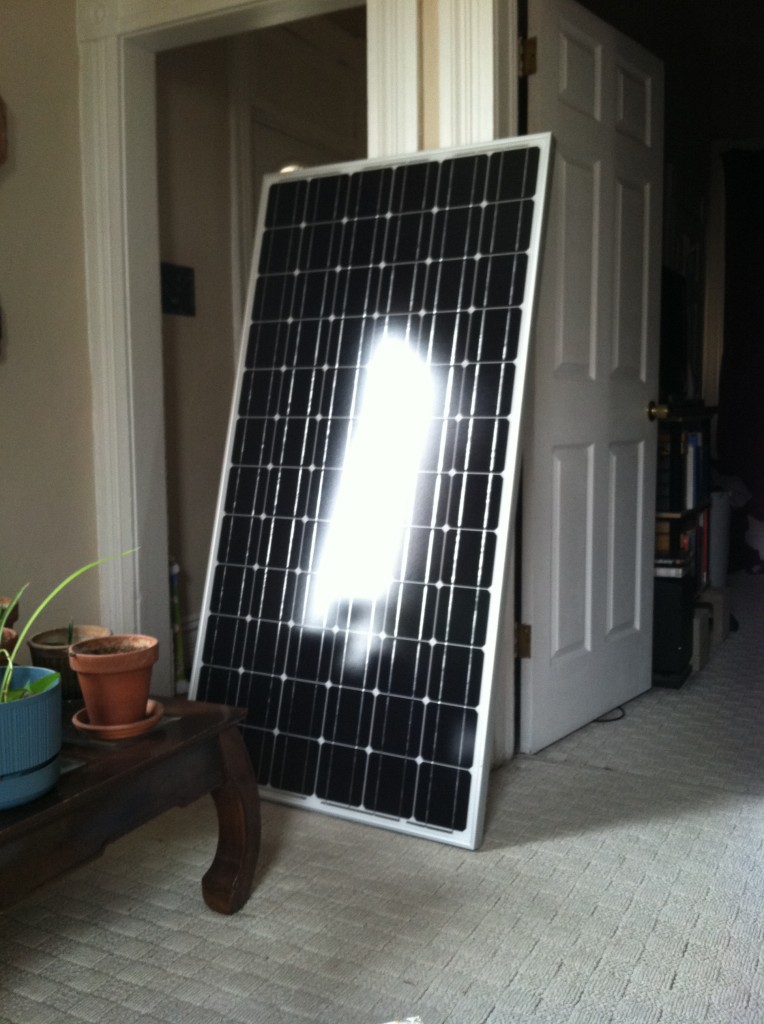
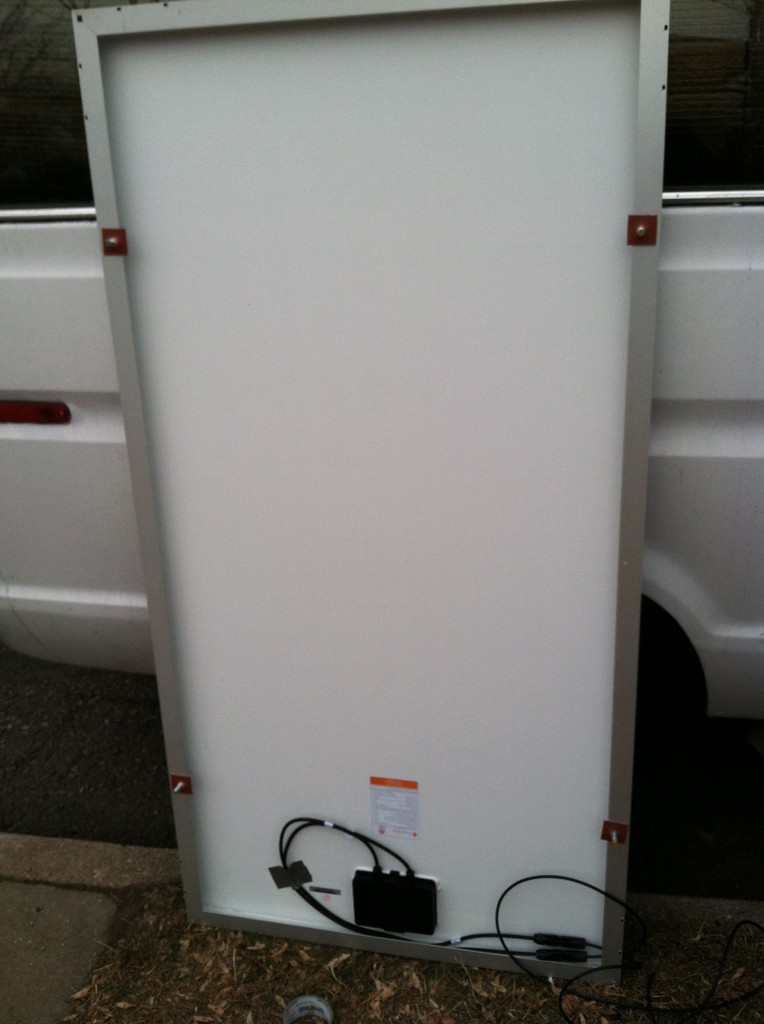
Initially the solar setup was going to be part of the larger electrical post coming soon, but the installation was complicated and time consuming enough that I thought it deserved its own post. The panel itself is quite large – it’s a regular house sized panel and, of course, it came with no hardware or mounting instructions. Further, there are only 4 bolt holes on the frame and all of them face down meaning the panel itself will prevent access to them. This makes it very difficult to use a bolt with it – how would I tighten it once it’s hidden underneath the installed panel?
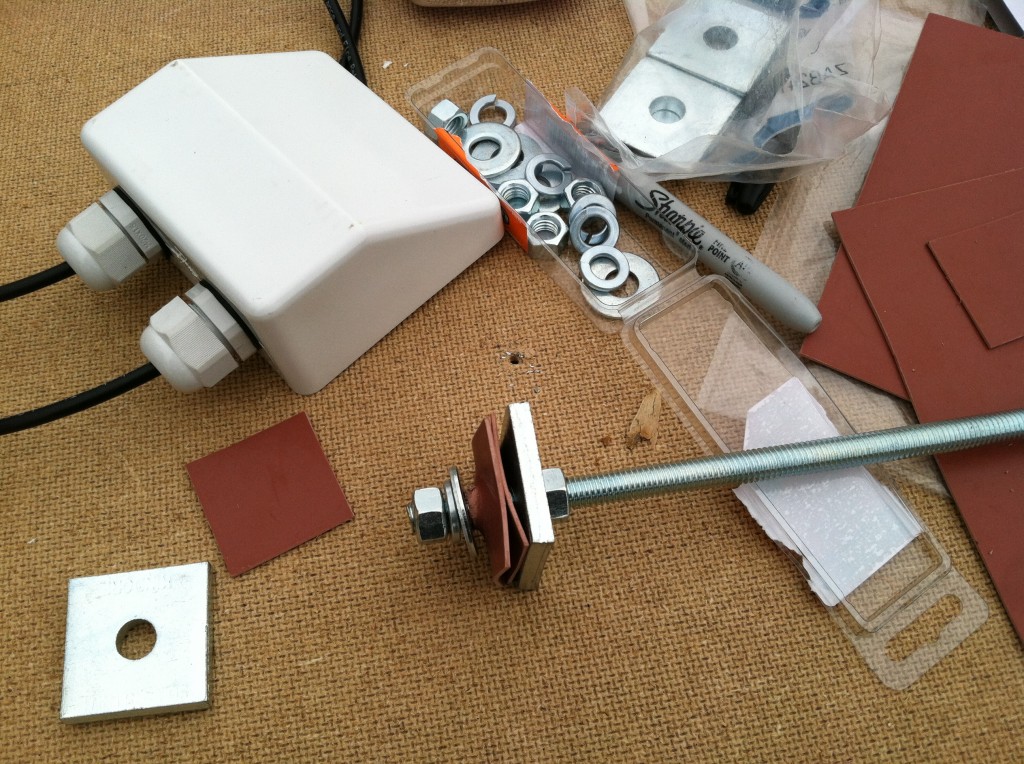
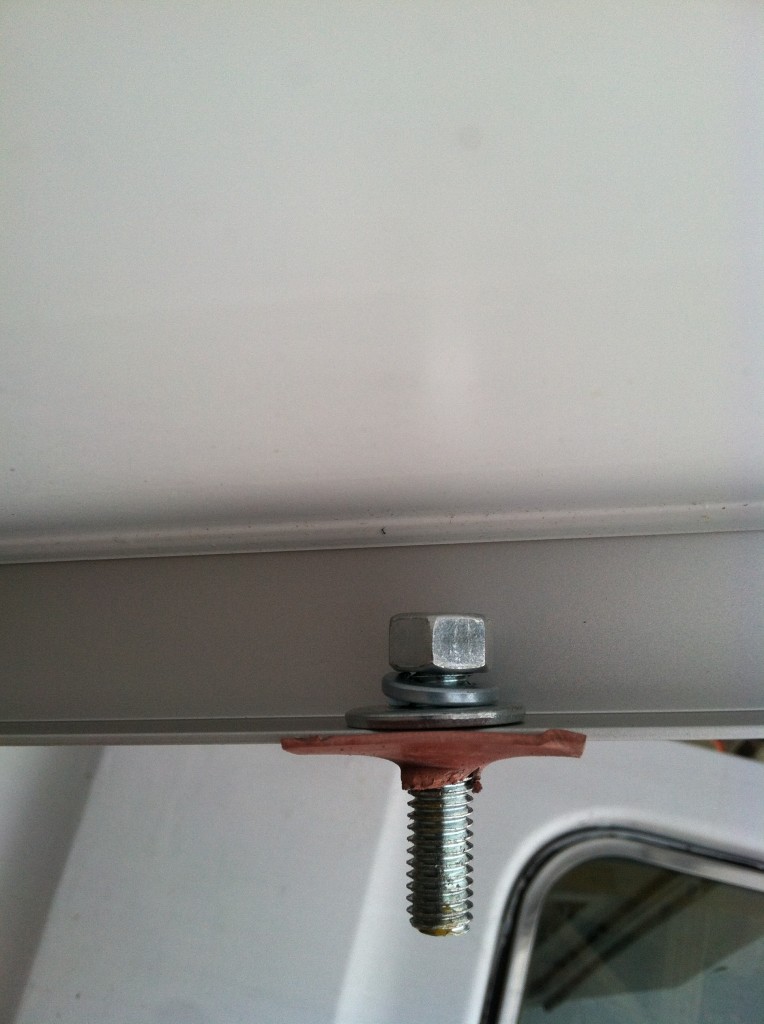
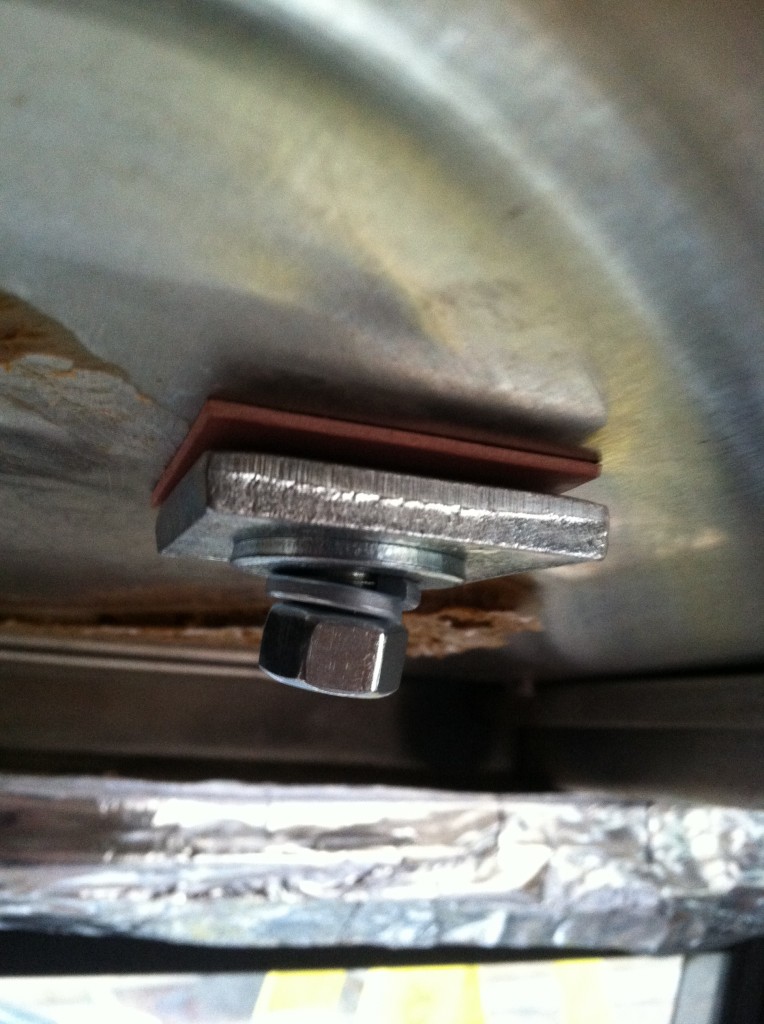
After wandering around the Depot for a while, I not only found a solution that would work but also one that turned the peculiar bolt hole orientation to my advantage. I figured that if I could mount it with the holes as is, there would be no way to remove the panel from outside the van which would make it nearly impossible to steal. I purchased threaded rod rather than bolts so that I could use nuts on both ends. I also bought square sheets of rubber gasket to seal the holes and keep water out of the ceiling and large, square washers to keep the holes in the thin aluminum roof braced and strong.
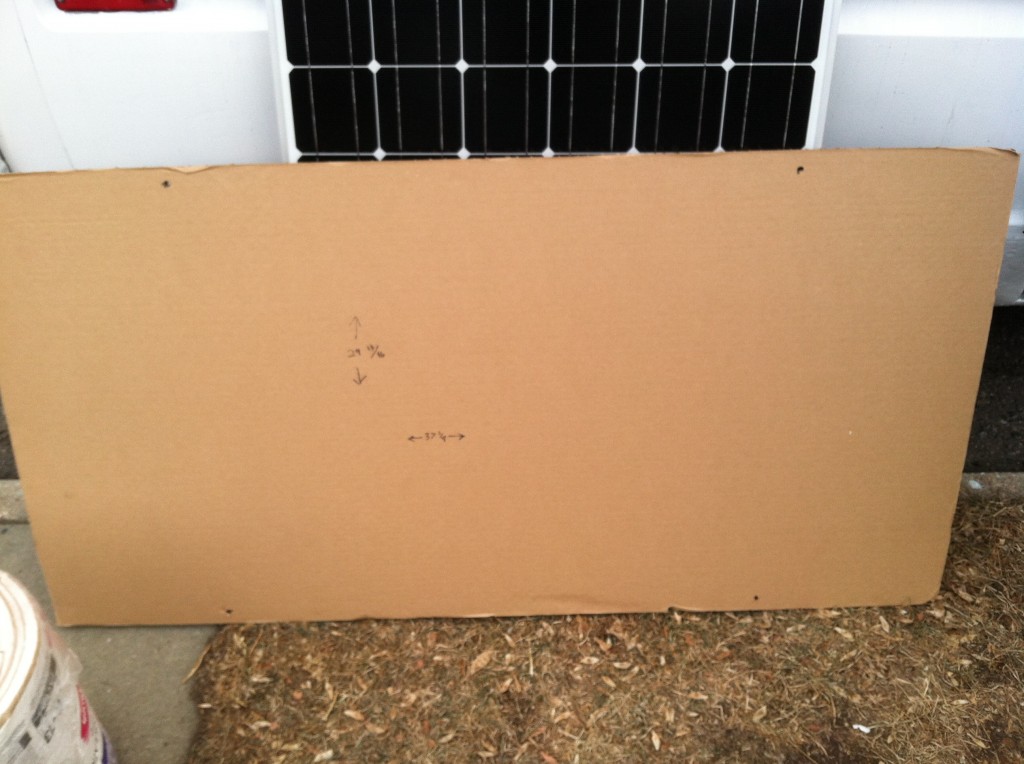
I cut the threaded rod with a jigsaw, careful to already have a nut on the rod so that after the cut I could remove the nut which would fix any damage to the threads from the cutting. I used lock washers and fixed the bolts/nuts so that the four of them were pointing out from the bottom of the panel. Then, I made a template from the cardboard packaging the panel came in – normally I would just measure but I’m always a bit more careful when it comes to putting holes in the roof. I used the template to drill four holes in the roof.
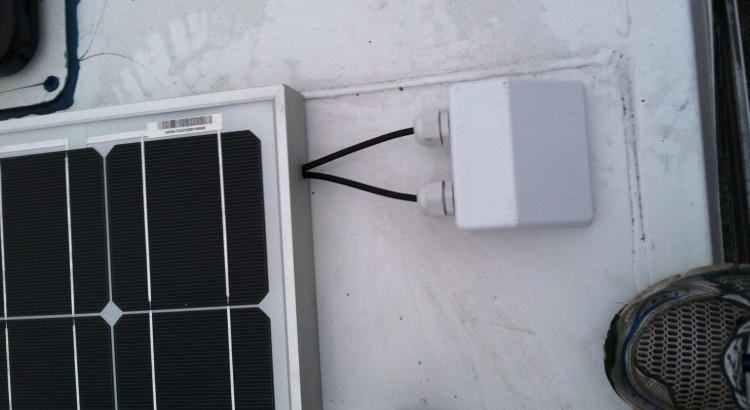
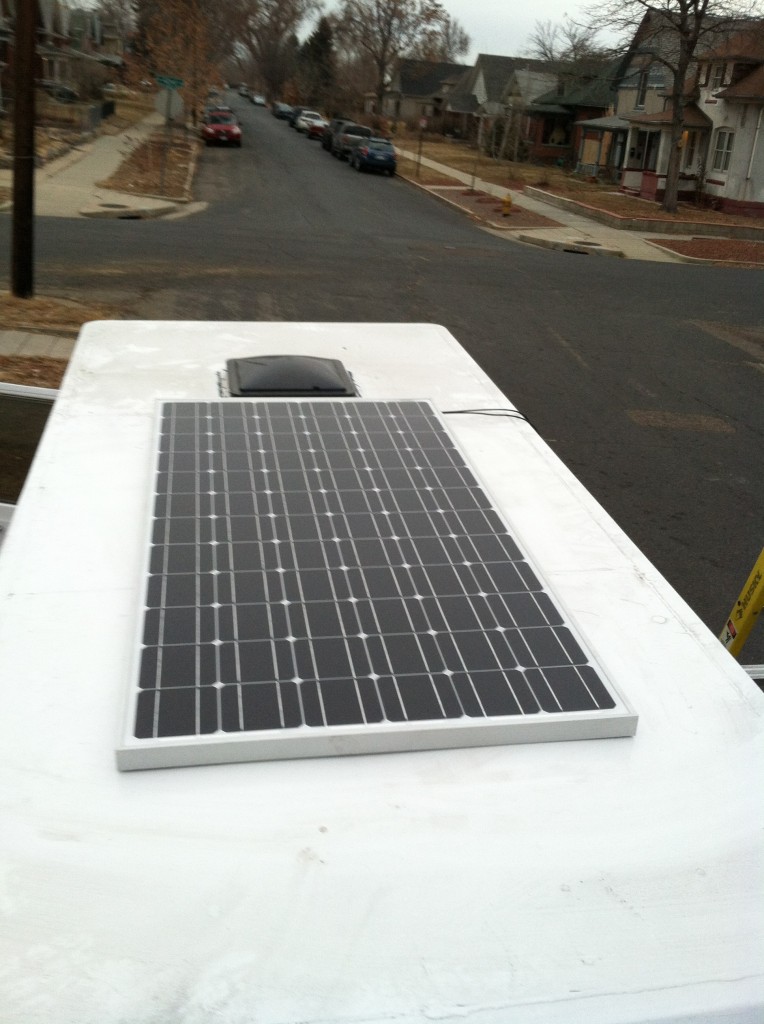
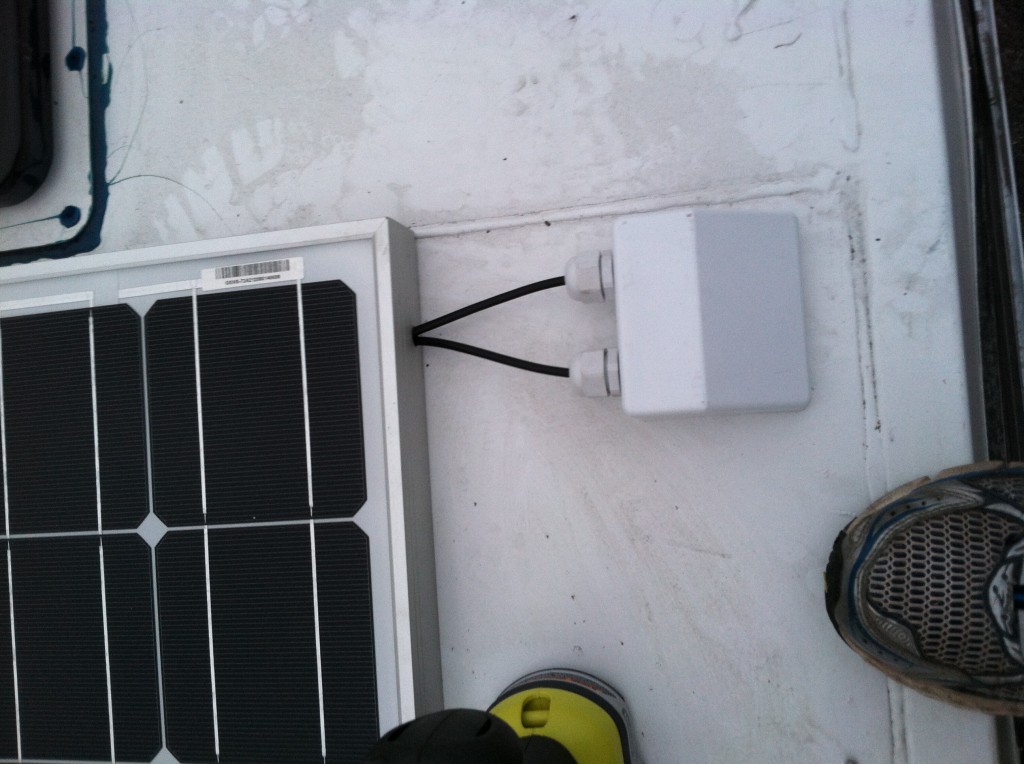
Before mounting the panel I drilled an additional hole in it’s frame for the wires and ran them through in advance. Finally, I put the panel on the roof and was quite pleased to find my bolts lined up with the holes perfectly. Tightening the nuts down to the roof from the inside worked perfectly too and the gaskets appear to have sealed as planned.
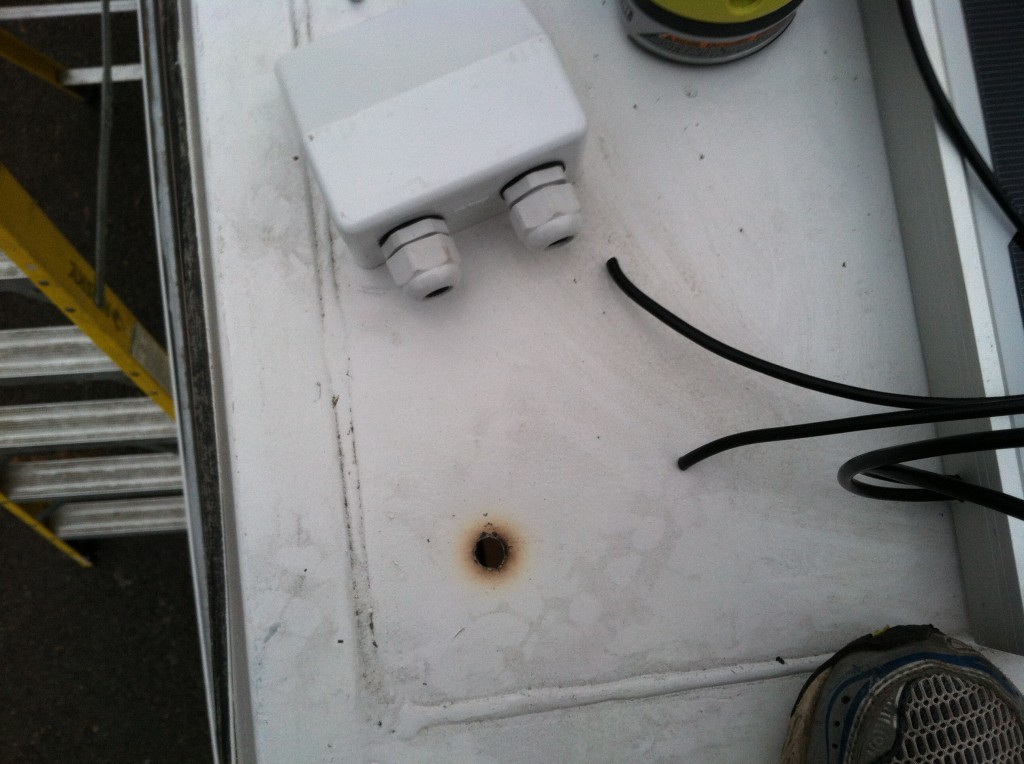
I added one more hole to the roof, ran the wires through it, and mounted the cable housing cover using heavy duty, double-sided adhesive strips.
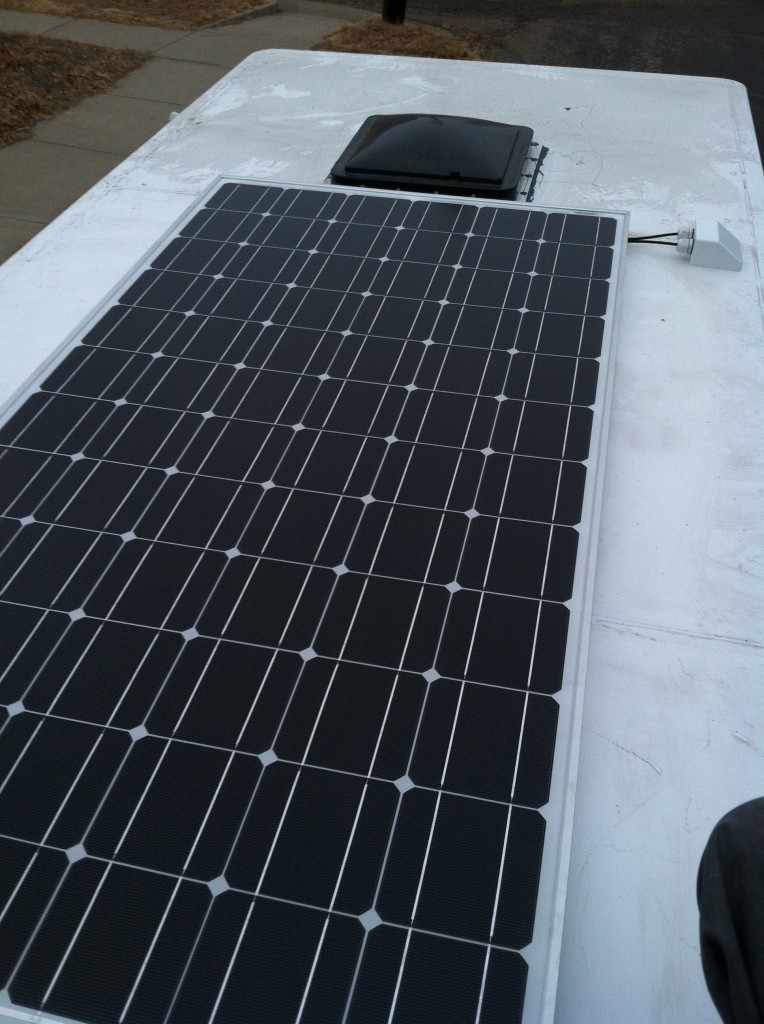
The finished install really looks pro! It’s very low profile and with the height of the roof being what it is you can’t even see it from the ground!
More on the solar, pricing, and other electrical components soon…
